Toolbar Menu
Customise the icons displayed on the Toolbar Menu in RMS.
The Toolbar Menu provides quick access to frequently used menu options and can be customised per User.
-
Information
-
Use
- Add Button
Information
The Toolbar Menu provides quick access to frequently used menu options and can be customised per User.
The following Toolbar Menu options are available.
| Toolbar Icon | Shortcut |
|---|---|
| Accounting | |
 |
Accounts Receivable |
 |
Cash Account |
 |
Financial Interface |
 |
POS Lite |
 |
Quick Account Access |
 |
Travel Agent Commission |
| Charts | |
 |
Add Ons Chart |
 |
Availability Chart |
 |
Booking Chart |
 |
Event Reservation |
 |
Rate Manager |
 |
Reservation Position List |
 |
Reservation Search |
 |
To Do Chart |
| Help | |
 |
Help Centre |
 |
Service Request Menu |
| Housekeeping | |
 |
Clean Screen |
 |
Housekeeping Roster |
| Miscellaneous | |
 |
Control Panel |
 |
Dashboard |
 |
Guest Search |
 |
Modules |
| Reservations | |
 |
In/Out Movements |
 |
Make a Reservation |
 |
Master Reservation |
 |
Quick Quote |
 |
Repeat Reservation |
| Utilities | |
 |
Interactive Map |
 |
Job Management |
 |
Night Audit |
 |
Report Writer |

Category, Area, Reservation, Guest and Rate are default System Labels that can be customised.

Users will require Security Profile access to use selected shortcuts.
-
Use
- Add Button
Use
- Log into RMS.
- Hover over the Toolbar Menu.
- Select the
 'Customise Icons' icon.
- Remove Icon: Hover over a Toolbar Icon and select the 'x' icon.
-
Add Icon:
- Navigate to an Icon Category Tab.
- Click and drag a Toolbar Icon into position.
- Reorder Icon: Click and drag a Toolbar Icon to reposition.
- Save/Exit.

Use the  'Reset to Defaults' icon to reset all Toolbar Menu Icons to the original setting.
-
Guide
- Add Button
Guide
Log into RMS.
Hover over the Toolbar Menu and select the ![]() 'Customise Icons' icon.
'Customise Icons' icon.

Remove Icon: Hover over a Toolbar Icon and select the 'x' icon.
Add Icon:
Navigate to an Icon Category Tab.
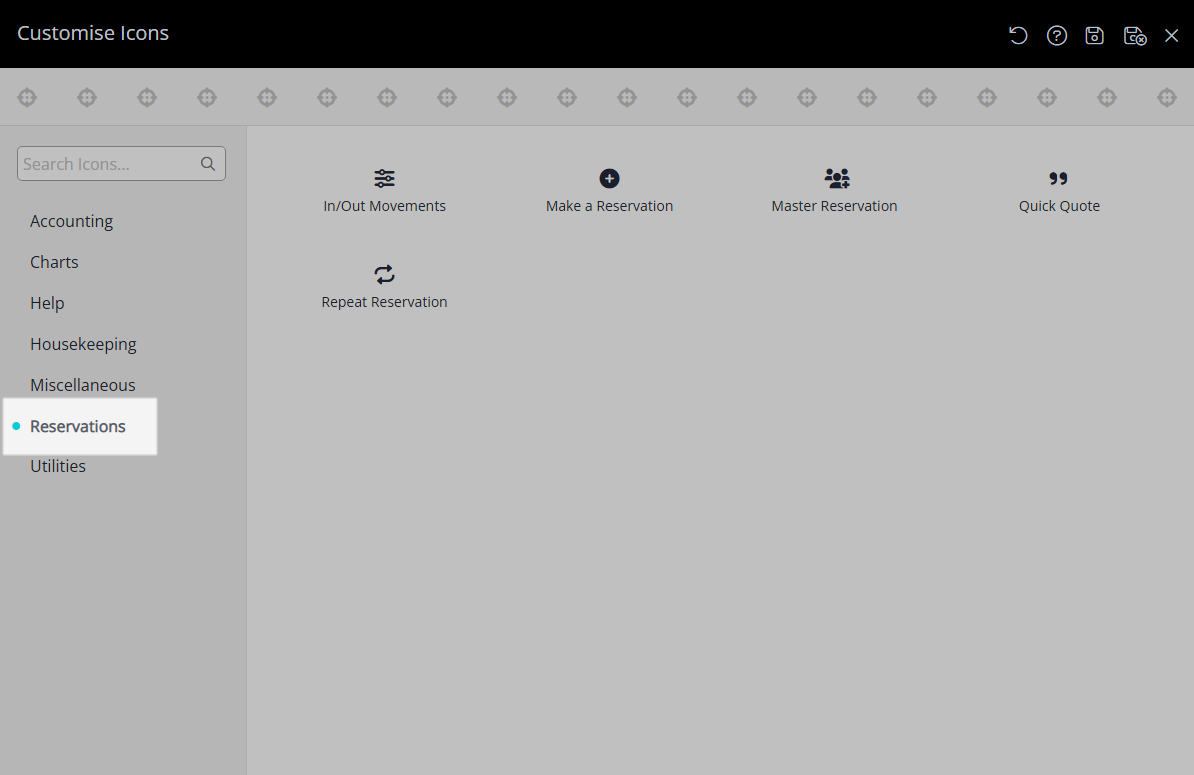
Click and drag a Toolbar Icon into position.
Reorder Icon: Click and drag a Toolbar Icon to reposition.
Select the  'Save/Exit' icon to store the changes made and leave the setup.
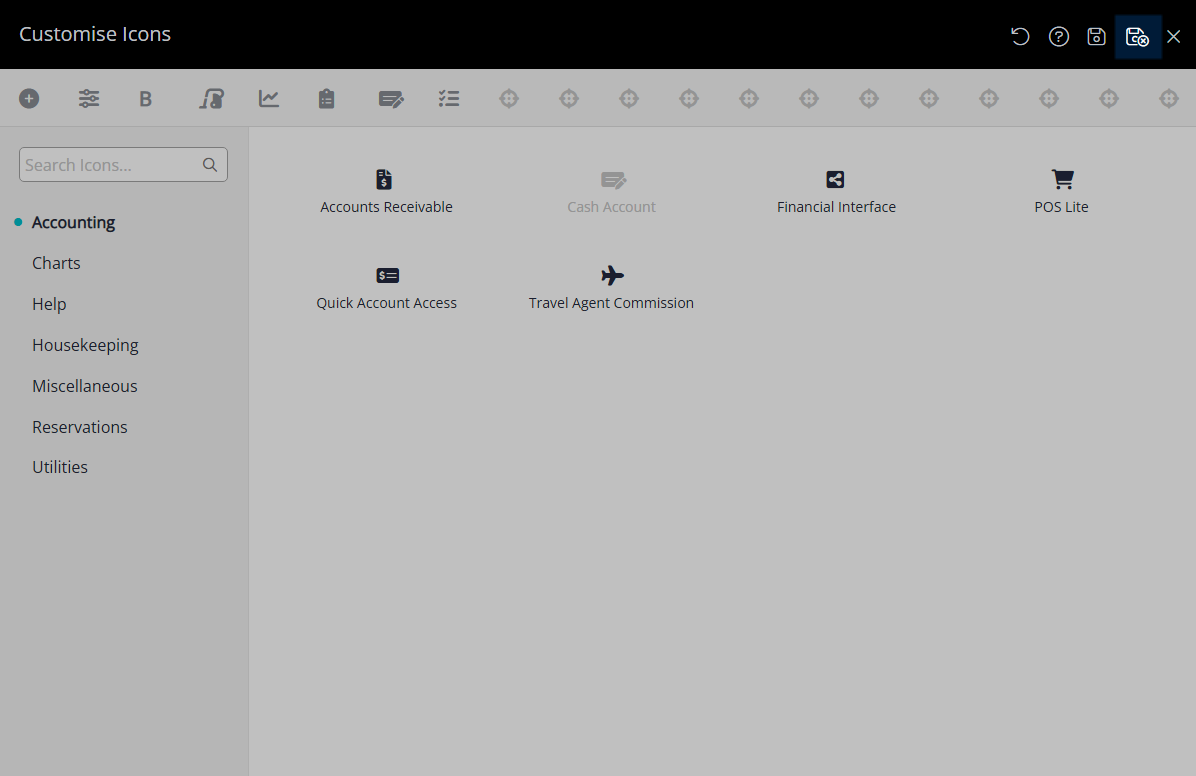
The Toolbar Menu will now display the selected icons as a shortcut to the selected menu options.

Use
- Log into RMS.
- Hover over the Toolbar Menu.
- Select the 'Customise Icons' icon.
- Remove Icon: Hover over a Toolbar Icon and select the 'x' icon.
-
Add Icon:
- Navigate to an Icon Category Tab.
- Click and drag a Toolbar Icon into position.
- Reorder Icon: Click and drag a Toolbar Icon to reposition.
- Save/Exit.
Use the 'Reset to Defaults' icon to reset all Toolbar Menu Icons to the original setting.
-
Guide
- Add Button
Guide
Log into RMS.
Hover over the Toolbar Menu and select the ![]() 'Customise Icons' icon.
'Customise Icons' icon.
Remove Icon: Hover over a Toolbar Icon and select the 'x' icon.
Add Icon:
Navigate to an Icon Category Tab.
Click and drag a Toolbar Icon into position.
Reorder Icon: Click and drag a Toolbar Icon to reposition.
Select the 'Save/Exit' icon to store the changes made and leave the setup.
The Toolbar Menu will now display the selected icons as a shortcut to the selected menu options.
