Company
Setup a business entity that can be used for Accounts Receivable, Reservations and the Corporate Portal in RMS.
A Company is a business that can be added and used for Reservations, Accounts Receivable and the Corporate Portal.
-
Information
-
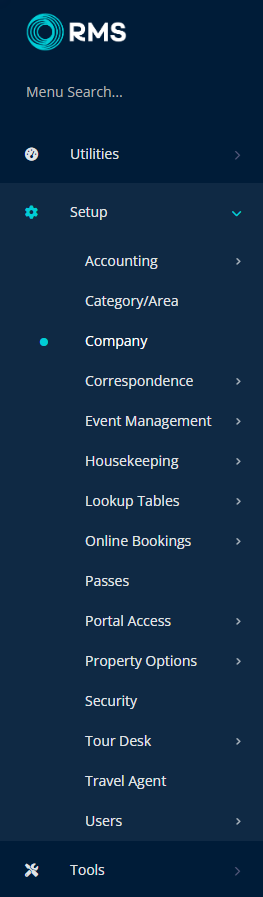
Setup
- Add Button
Information
A Company is a business that can be added and used for Reservations, Accounts Receivable and the Corporate Portal.
Company Branches can be setup with a Master Company and Branch Offices including the option to have all Accounts Receivable Tax Invoices directed to the Master Company.
Company Rates can be used to limit the Rate Types available to a Company based on any contracts or negotiations.
Associated Guests can be added to a Company and will populate the preset Company information when added to a Reservation.
Company Contacts can be added to simplify managing correspondence with the business.
Corporate Portal access can be granted to enable a Company to create or manage their own Reservations based on the configured options.
Documents can be uploaded to and viewed on a Company to record contracts, received correspondence external to RMS or other related documentation.
Company Notes including Billing Notes can be setup on a Company to provide additional information to users in RMS.
A Company Trace can be added to automatically create a Trace on a Reservation when the Company is selected.
A Company Requirement can be used to add preset Requirements to a Reservation when the Company is selected.
A Credit Card Token can be created on a Company and used for payment processing on Company Reservations or Accounts Receivable when using a Payment Gateway with RMS.

Reservation, Company, Guest, Sundry and Rate are default System Labels that can be customised.

Users will require Security Profile access to use these features.
-
Setup
- Add Button
Setup
Have your System Administrator complete the following.
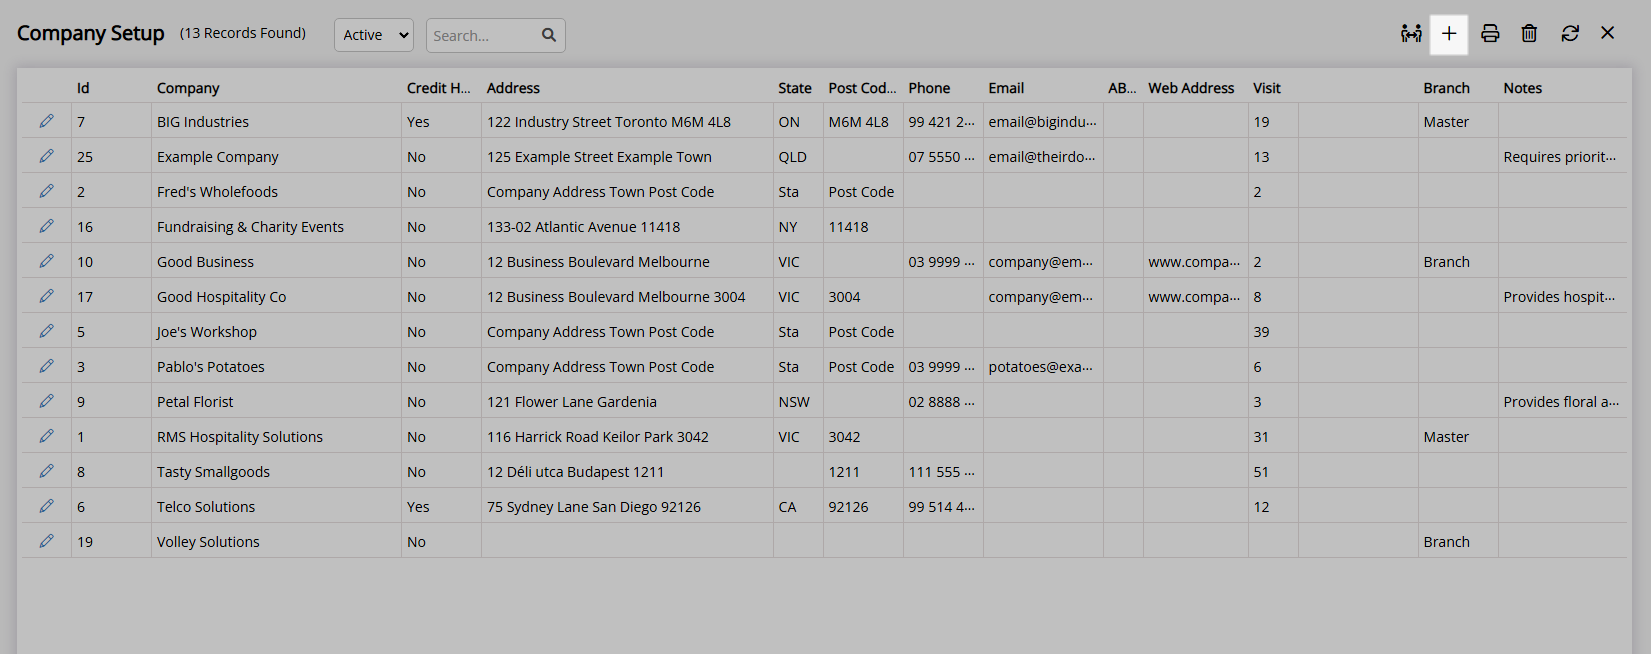
- Go to Setup > Company in RMS.
- Select the
 'Add' icon.
 - Navigate to the 'Company Details' tab.
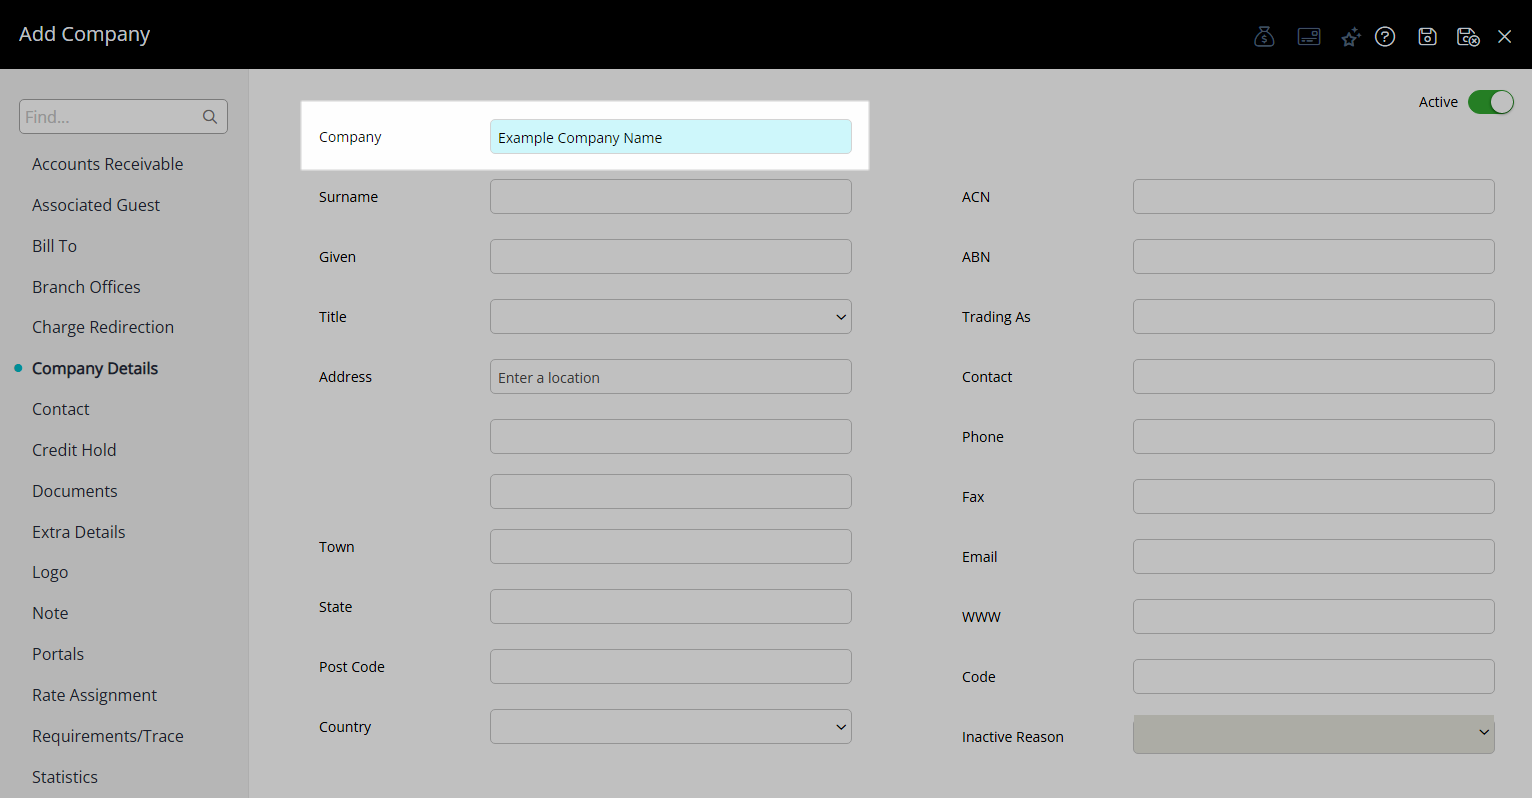
- Enter the Company Name.
- Enter the Company Contact Information.
-
Optional: Navigate to the 'Extra Details' tab.
- Optional: Select a Market & Sub Market Segment.
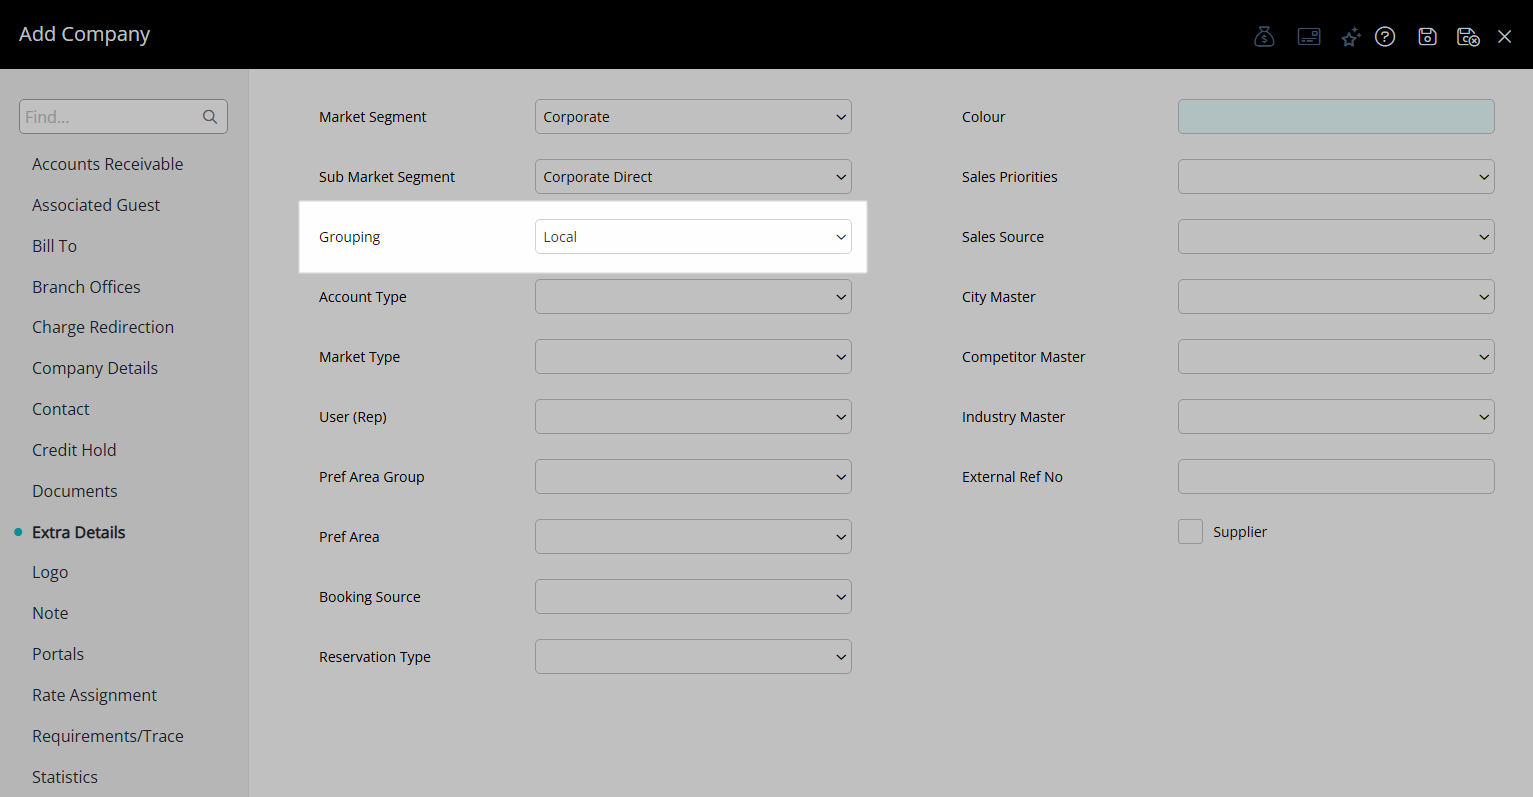
- Optional: Select a Grouping.
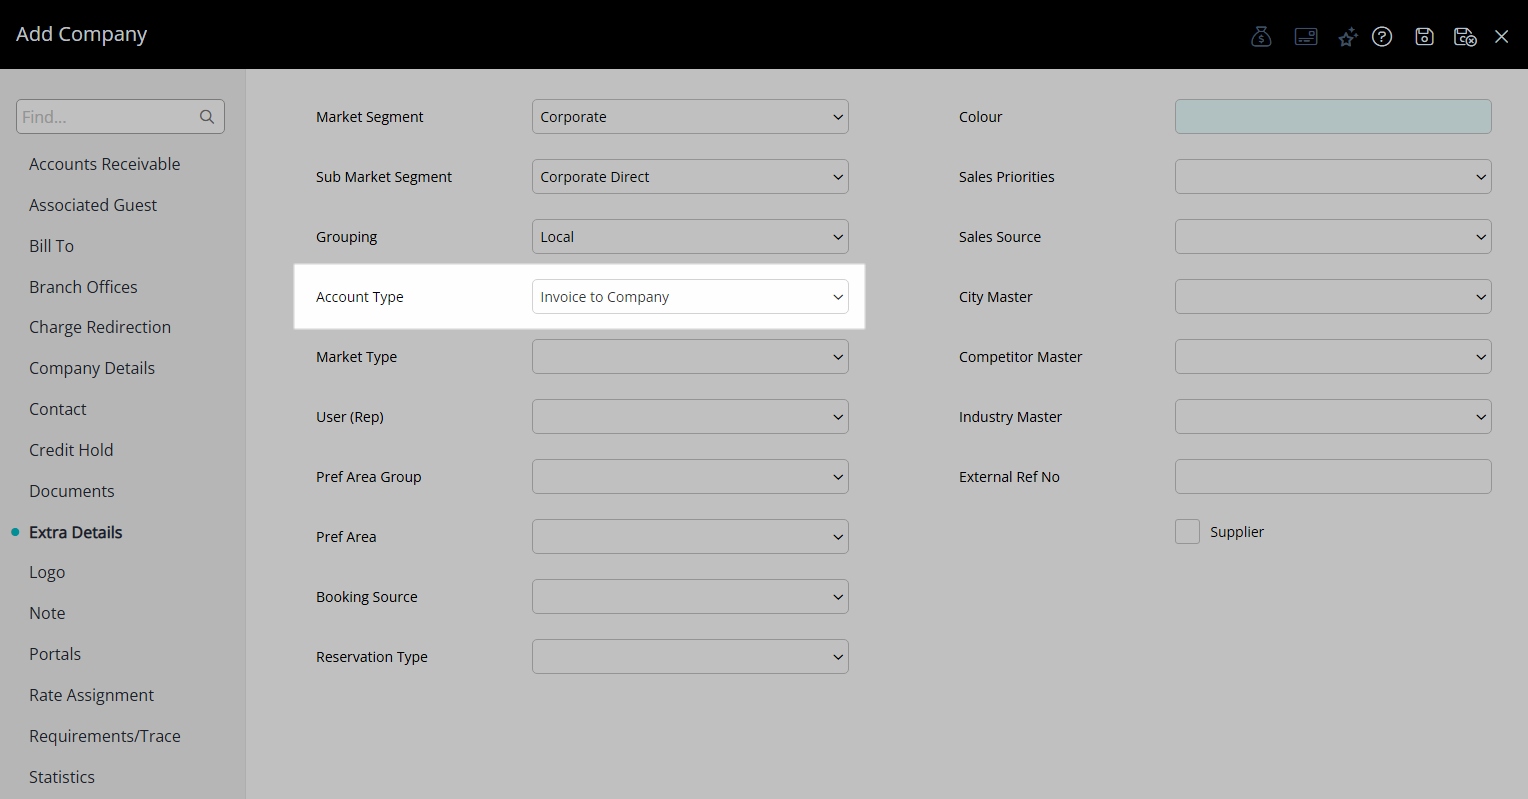
- Optional: Select an Account Type.
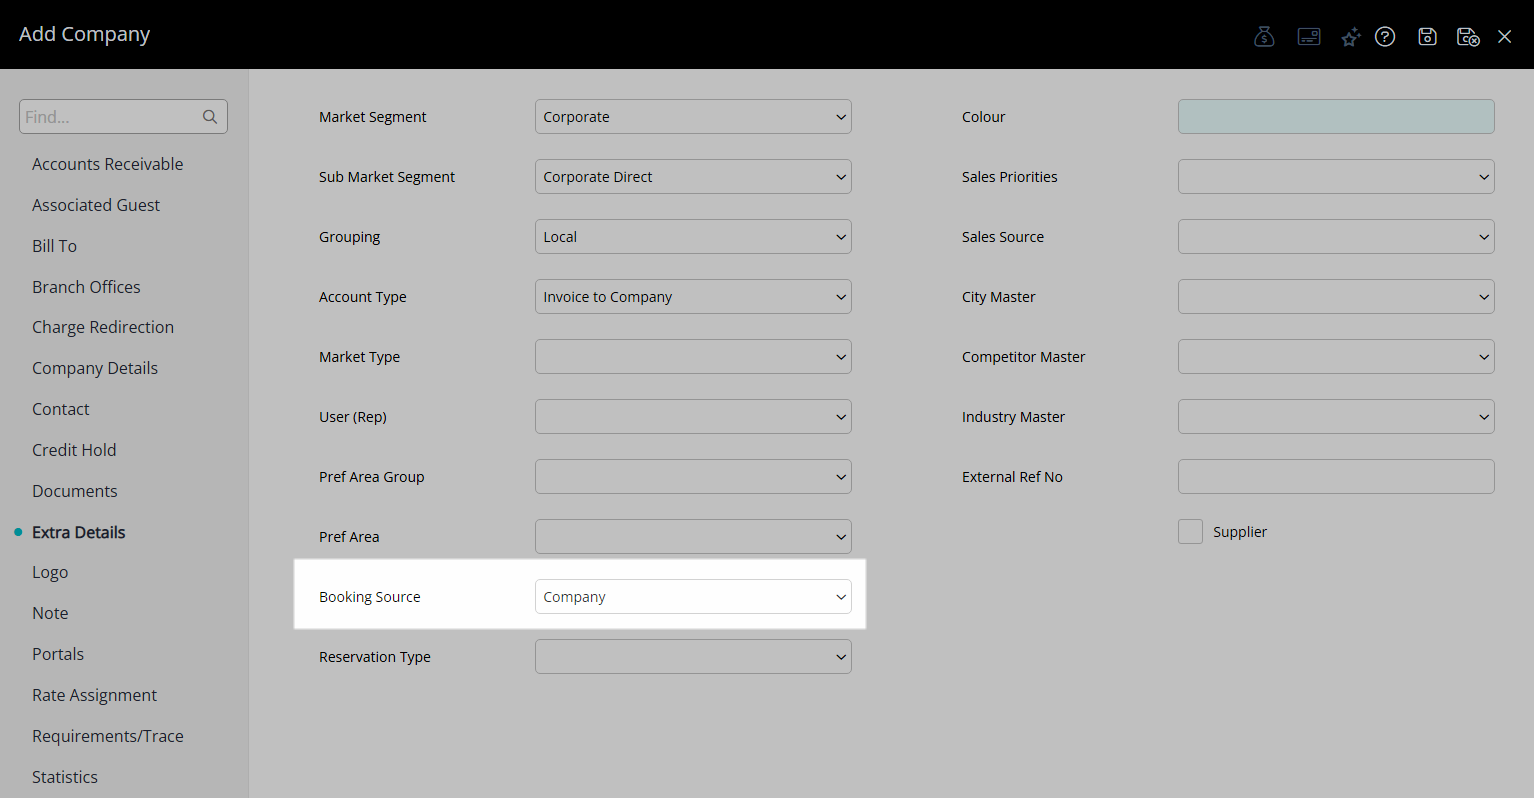
- Optional: Select a Booking Source.
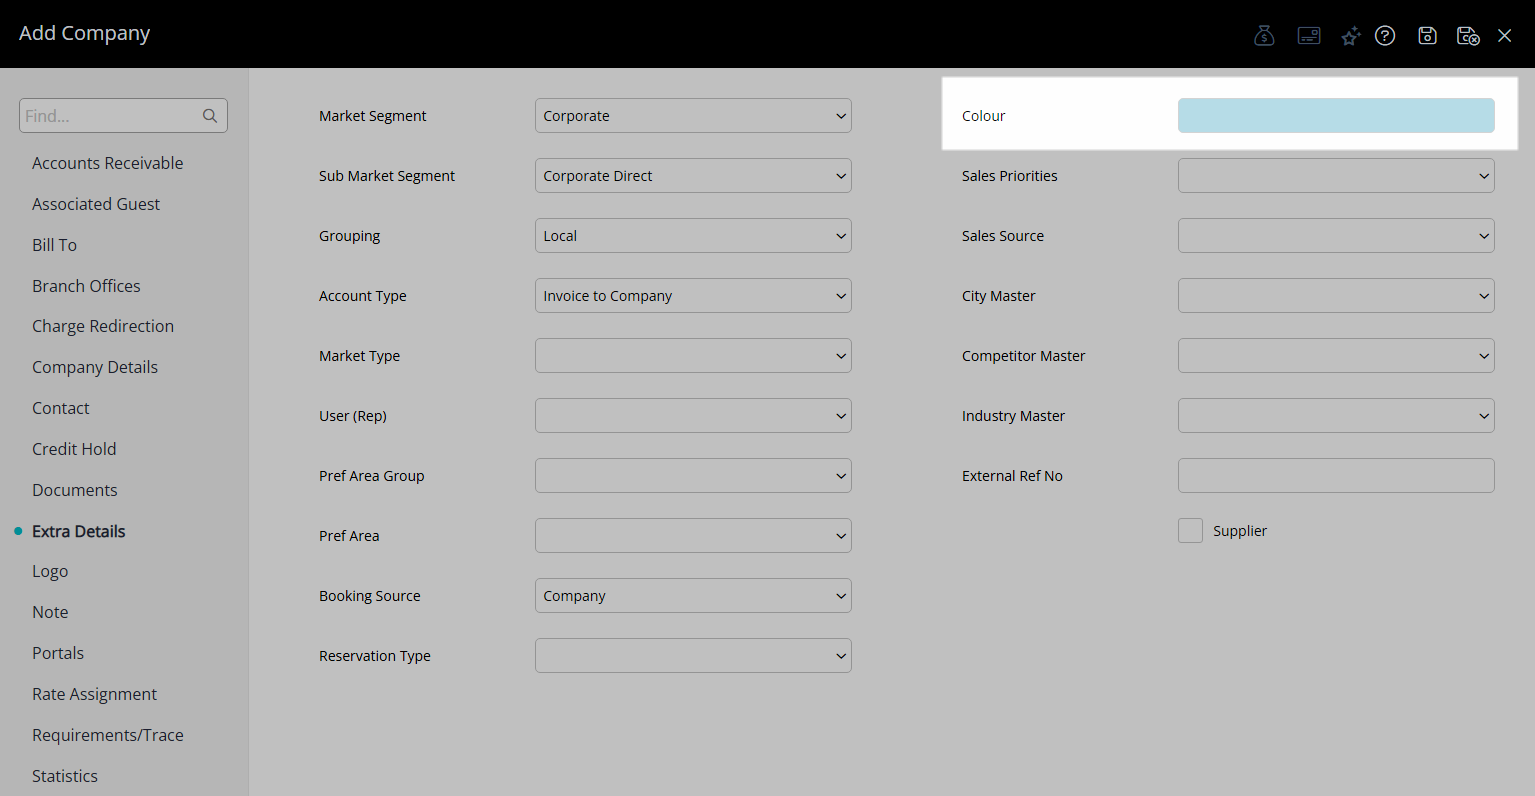
- Optional: Select a Colour.
-
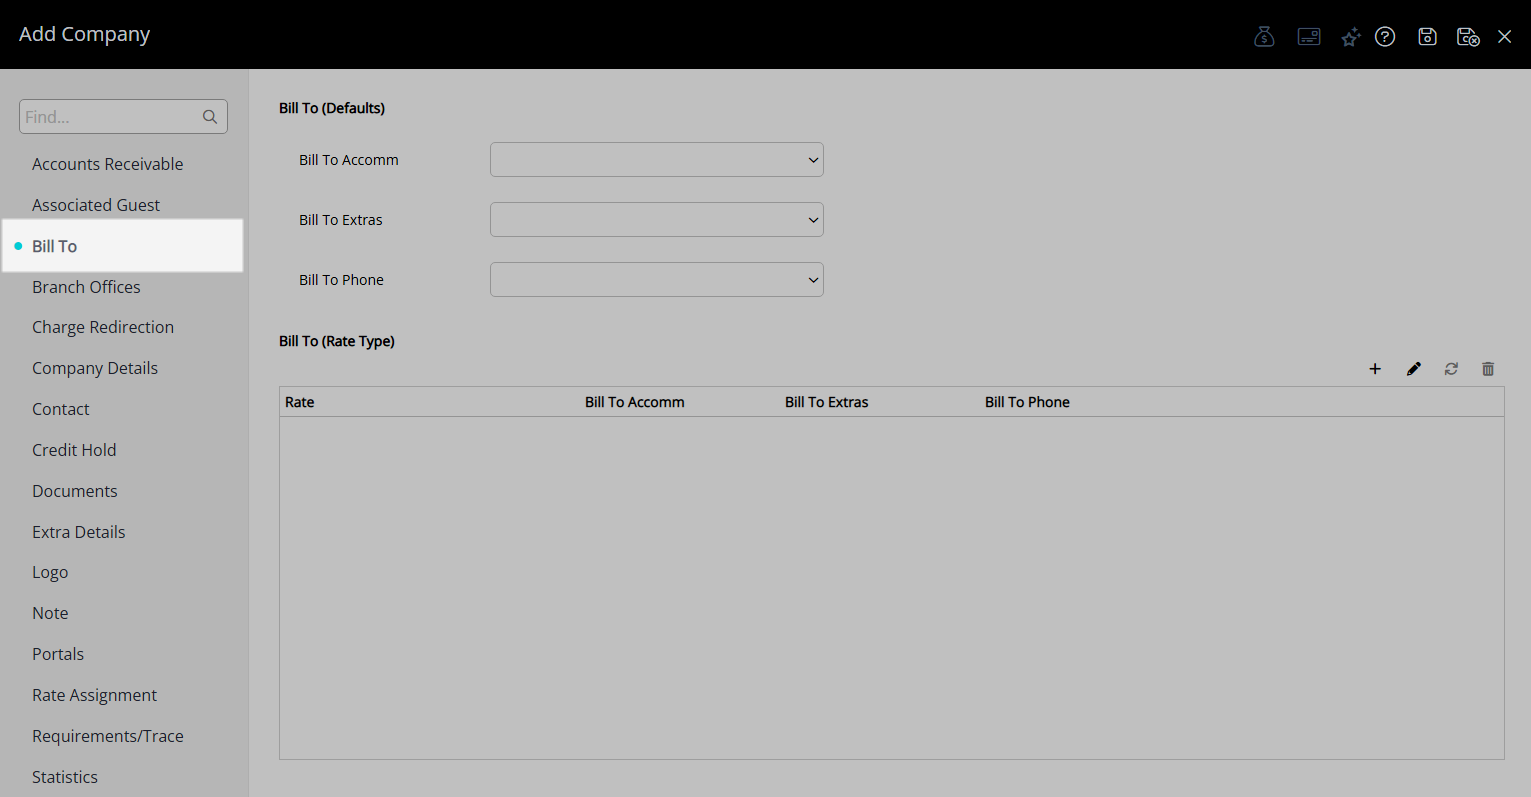
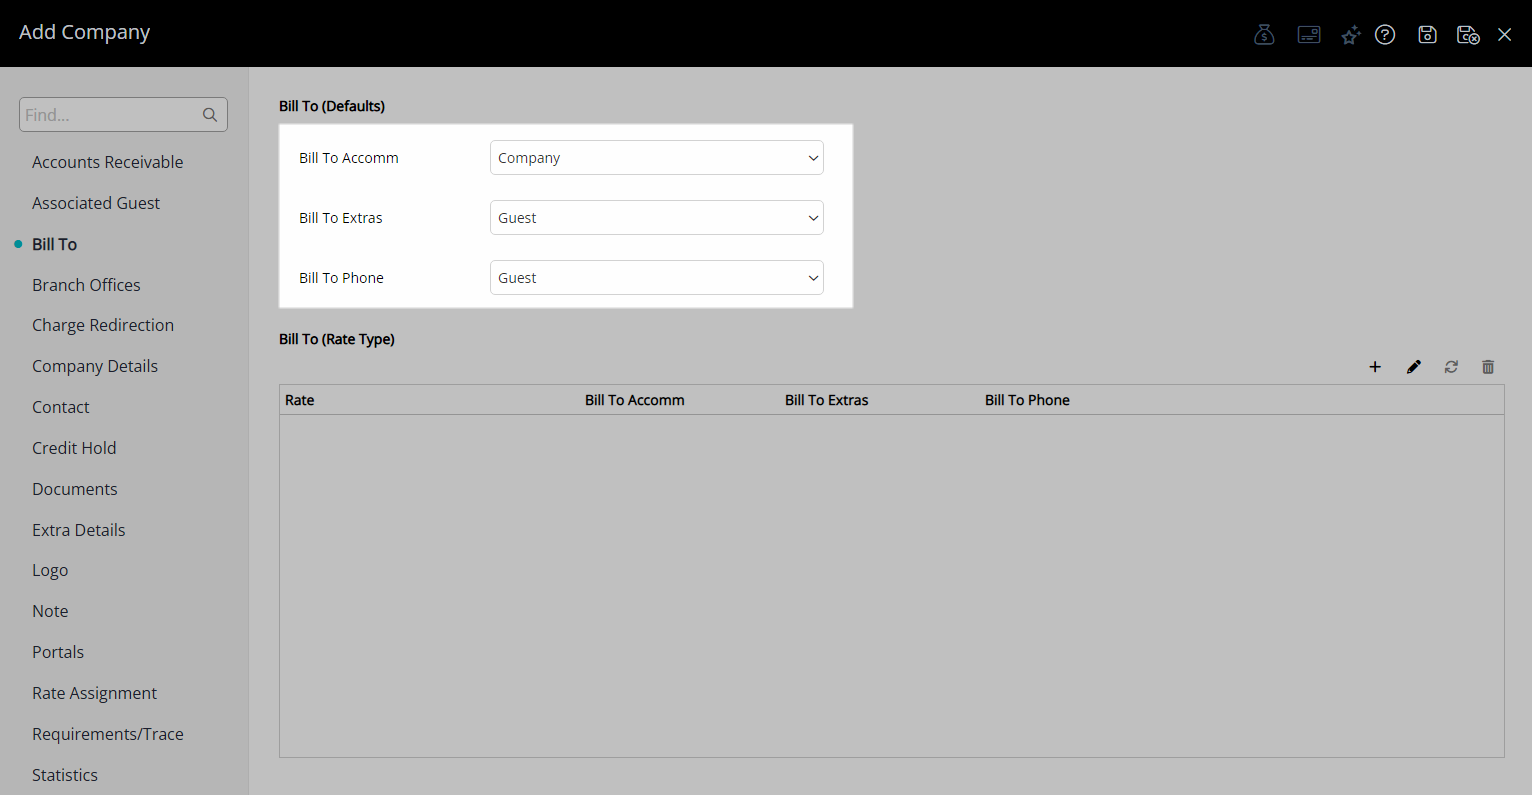
Optional: Set the Default Bill To.
- Navigate to the 'Bill To' tab.
- Select a Bill To for each Account Type.
-
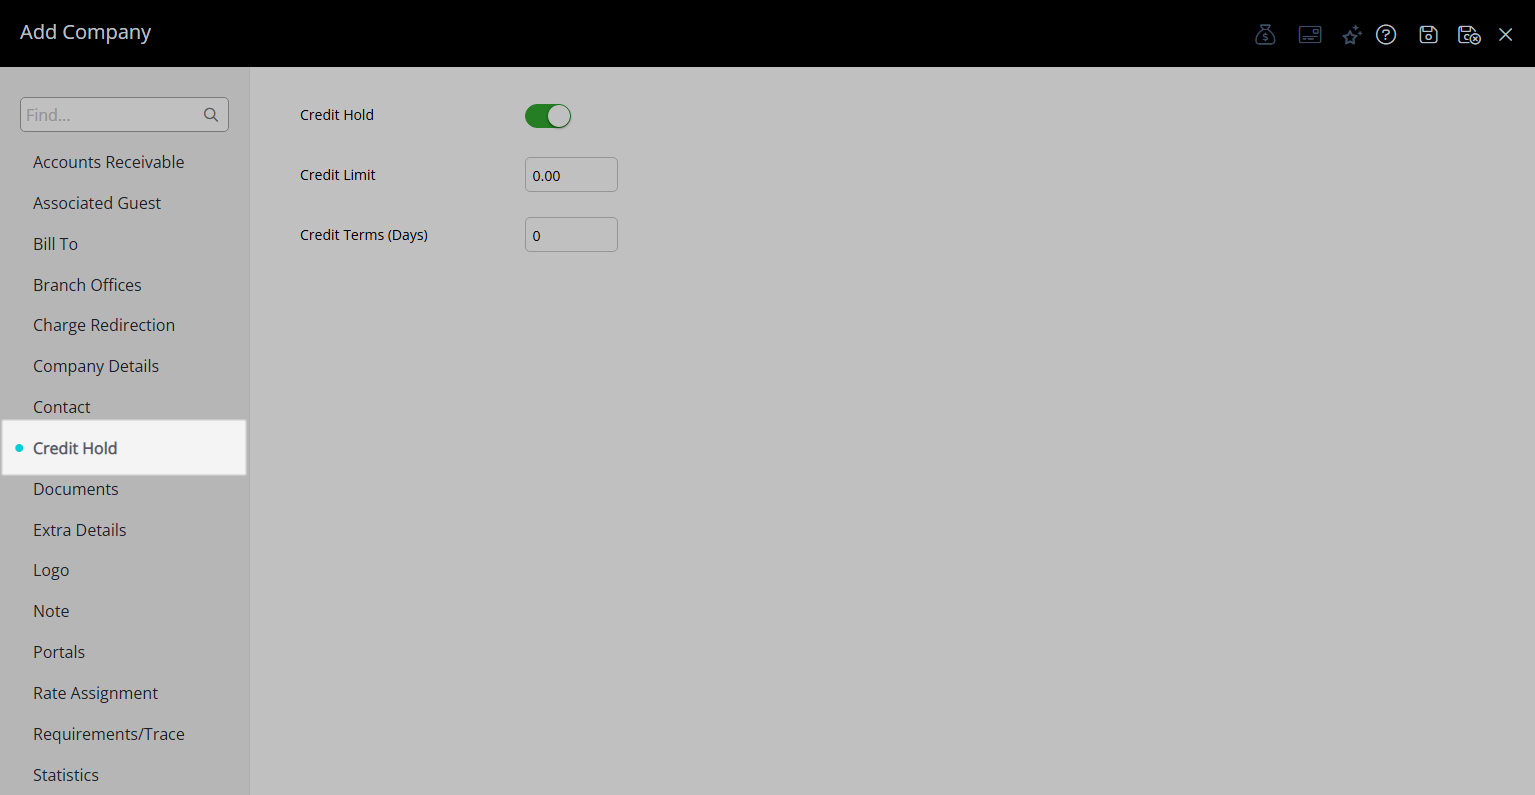
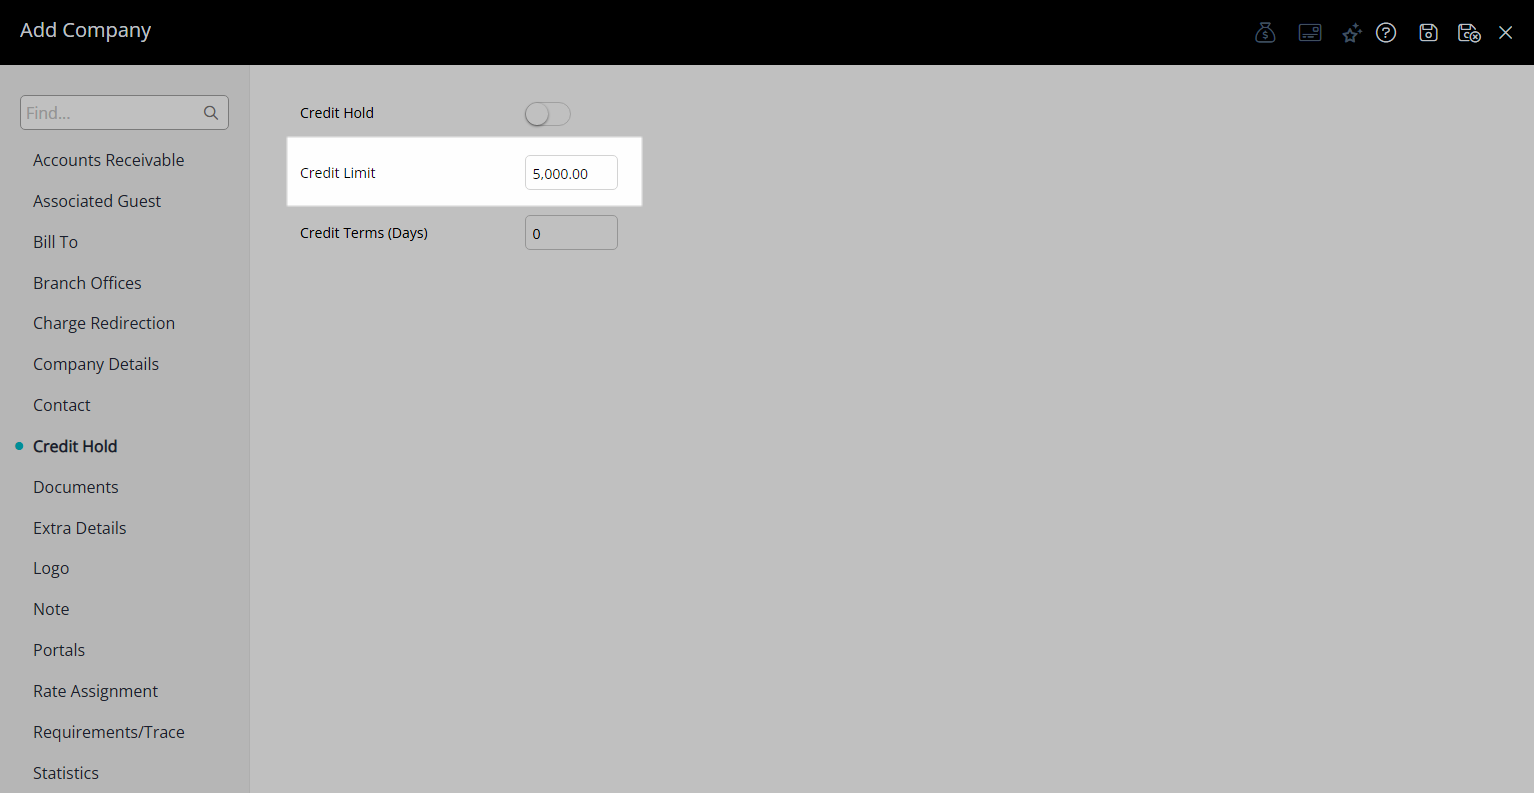
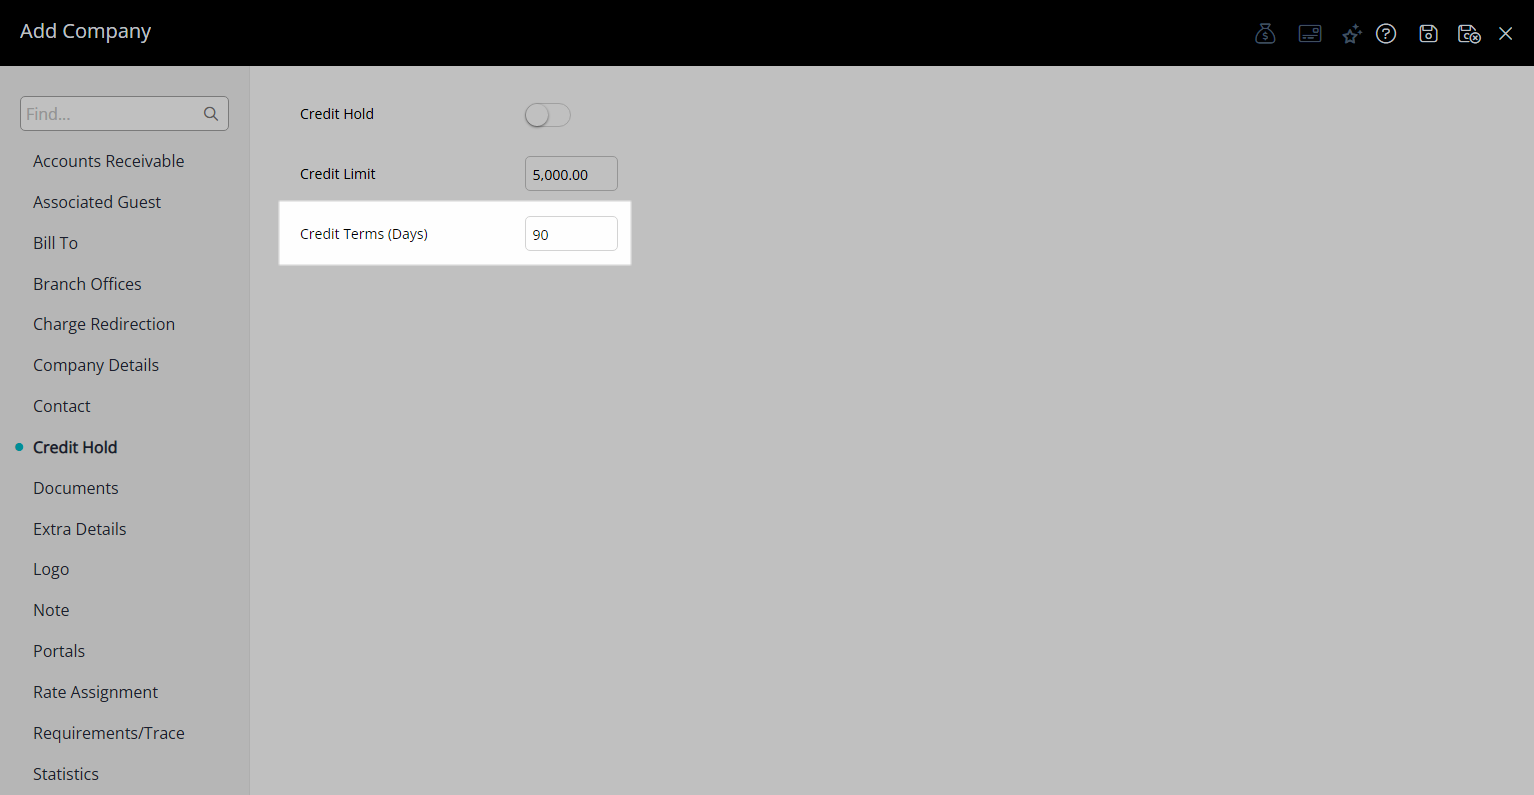
Optional: Remove the Credit Hold.
- Navigate to the 'Credit Hold' tab.
- Select the toggle 'Credit Hold'.
- Optional: Enter a Credit Limit.
- Optional: Enter a Credit Term.
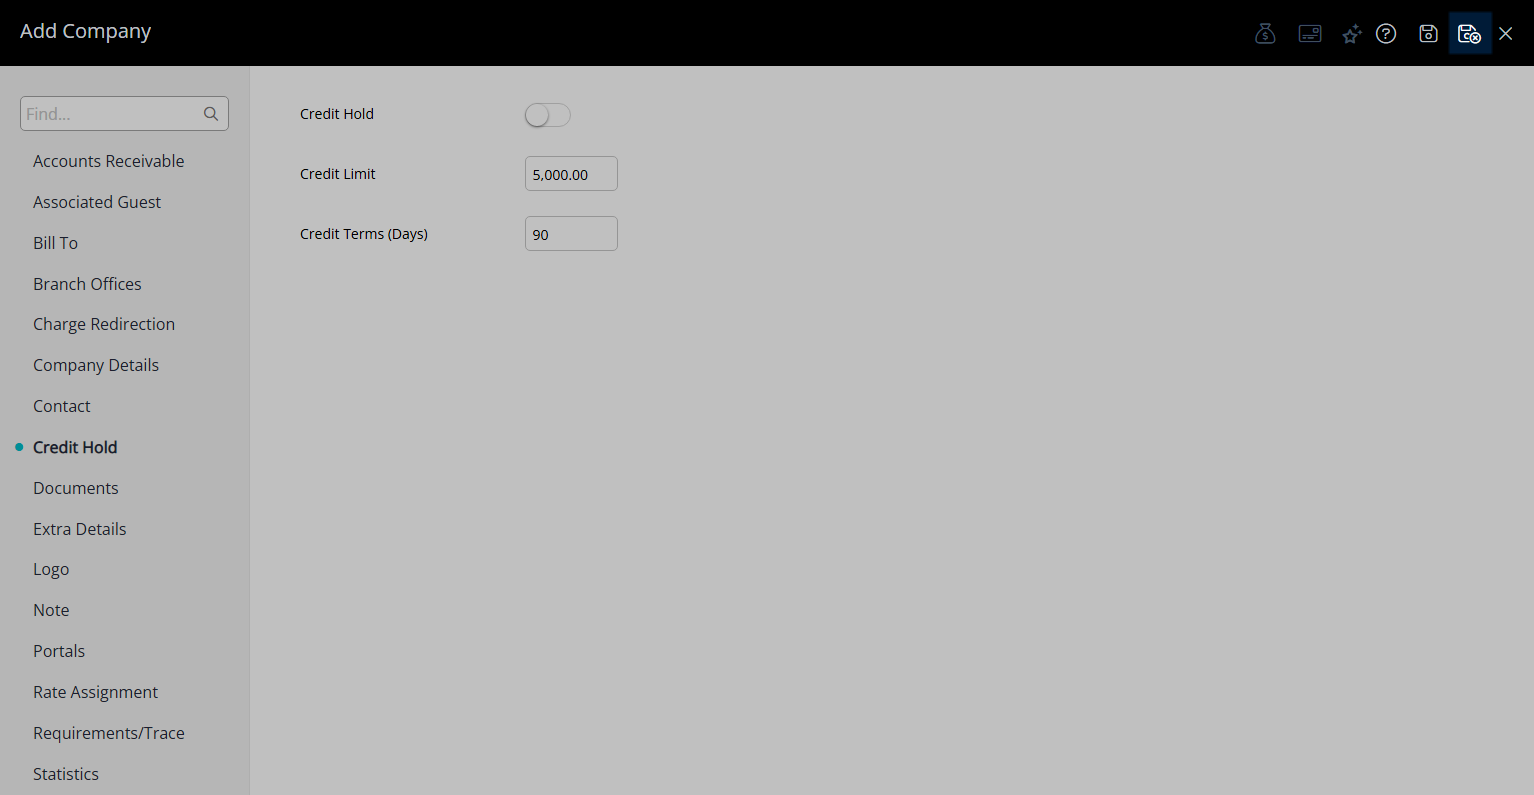
- Save/Exit.
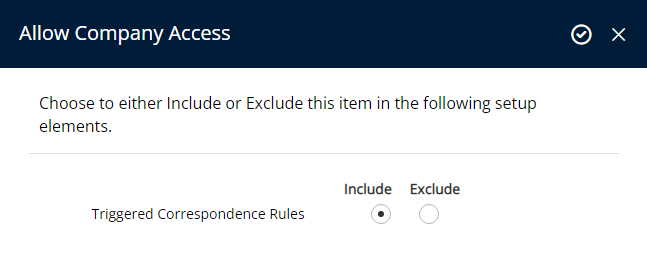
- Select the Company Access and choose the
 'Apply' icon.

Options selected on the 'Extra Details' tab will be used to auto-populate in the related fields on the Reservation when this Company is selected.
The colour selected will be used to display Reservations in the corresponding Company Colour when that view option is chosen on the Booking Chart.
All newly created companies will default to being on 'Credit Hold'.
To use a Company with Accounts Receivable the Credit Hold must be removed.
The Bill To options selected on a Company will be used by default on the Reservation Account when the Company is selected.
-
Guide
- Add Button
Guide
Go to Setup > Company in RMS.
Select the ![]() 'Add' icon.
'Add' icon.
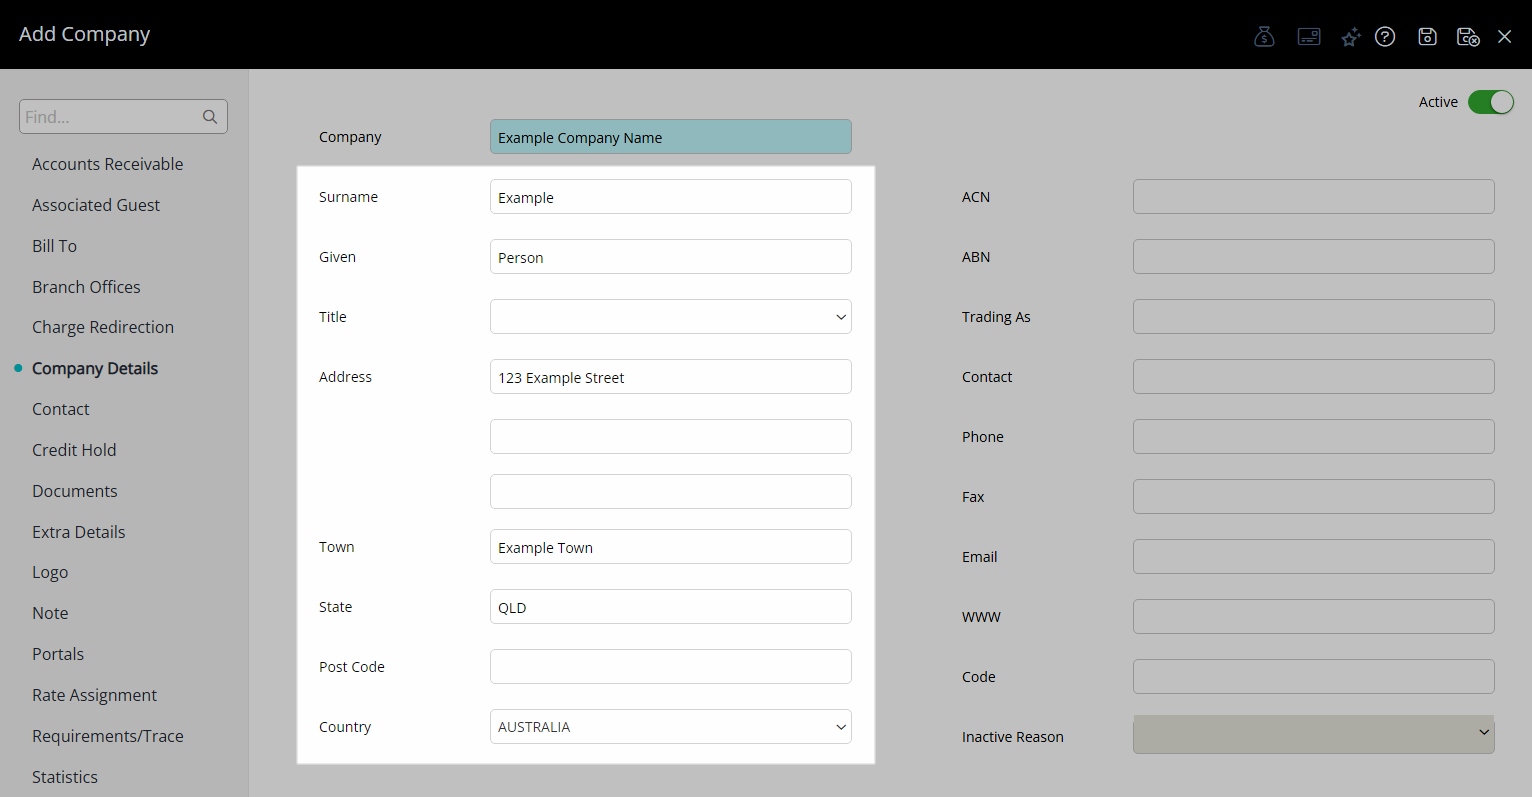
Navigate to the 'Company Details' tab.
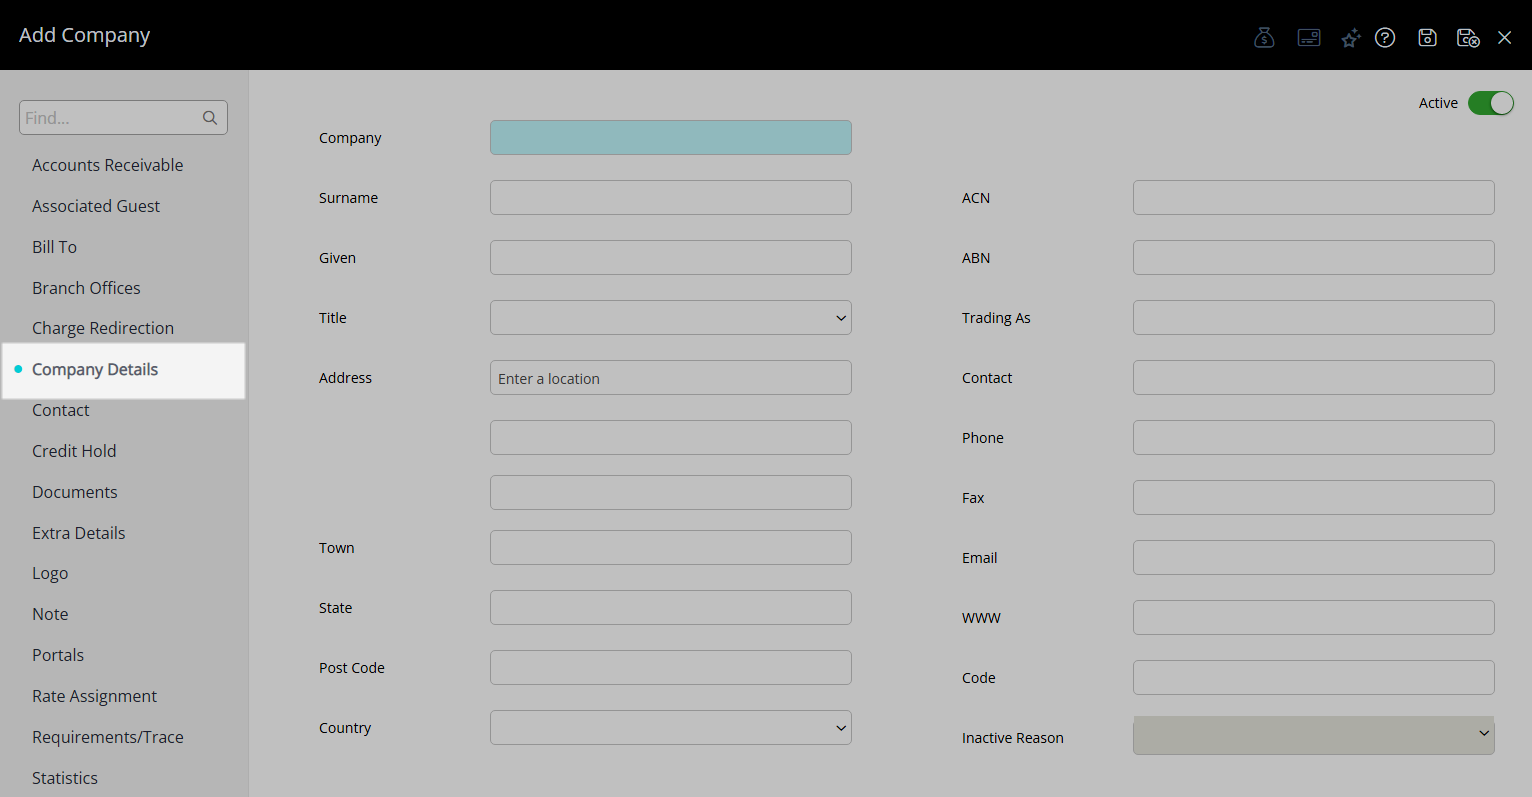
Enter the Company Name.
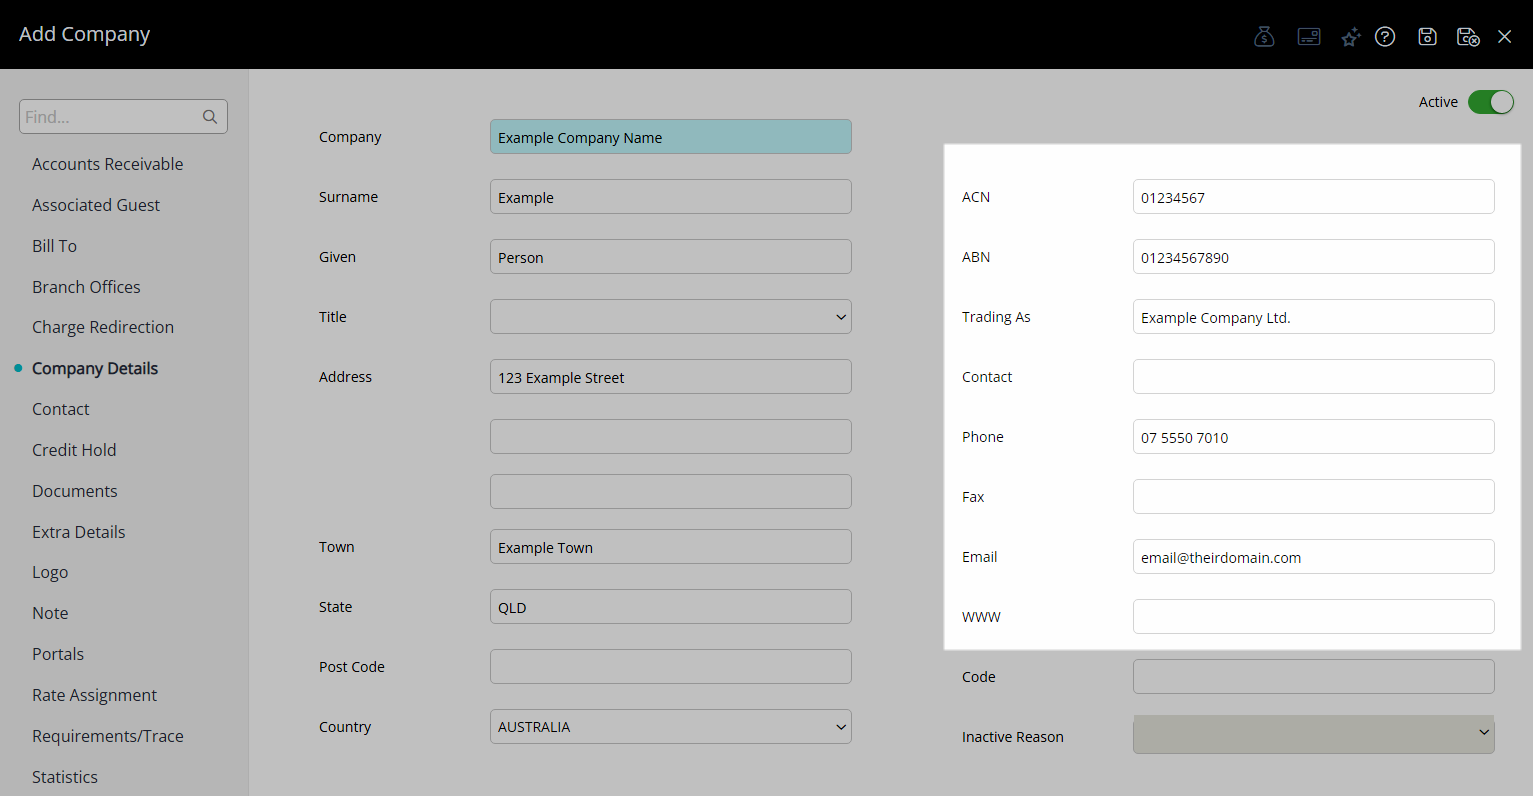
Enter the Company Contact Information.
Optional: Navigate to the 'Extra Details' tab.
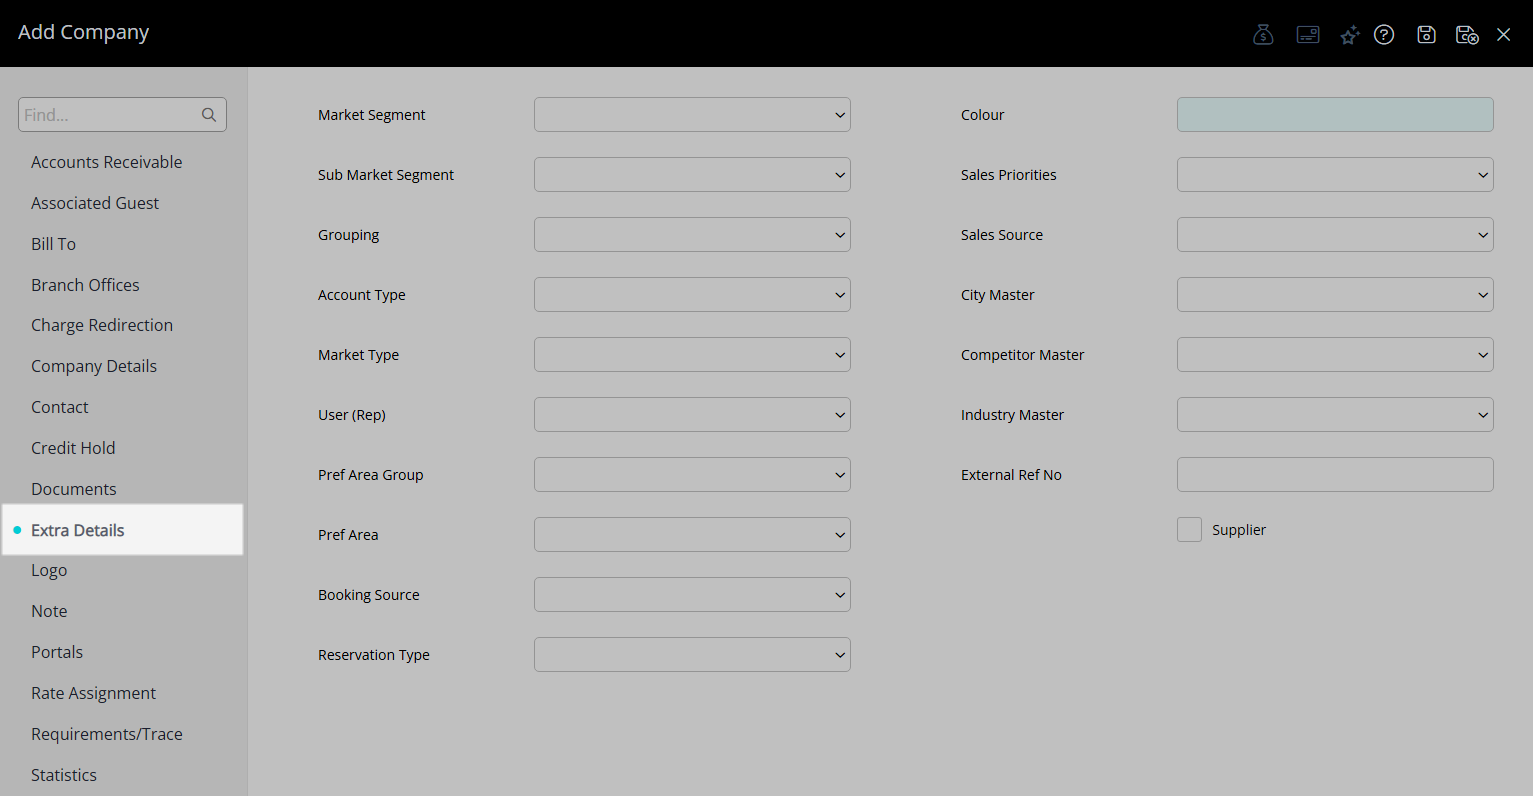
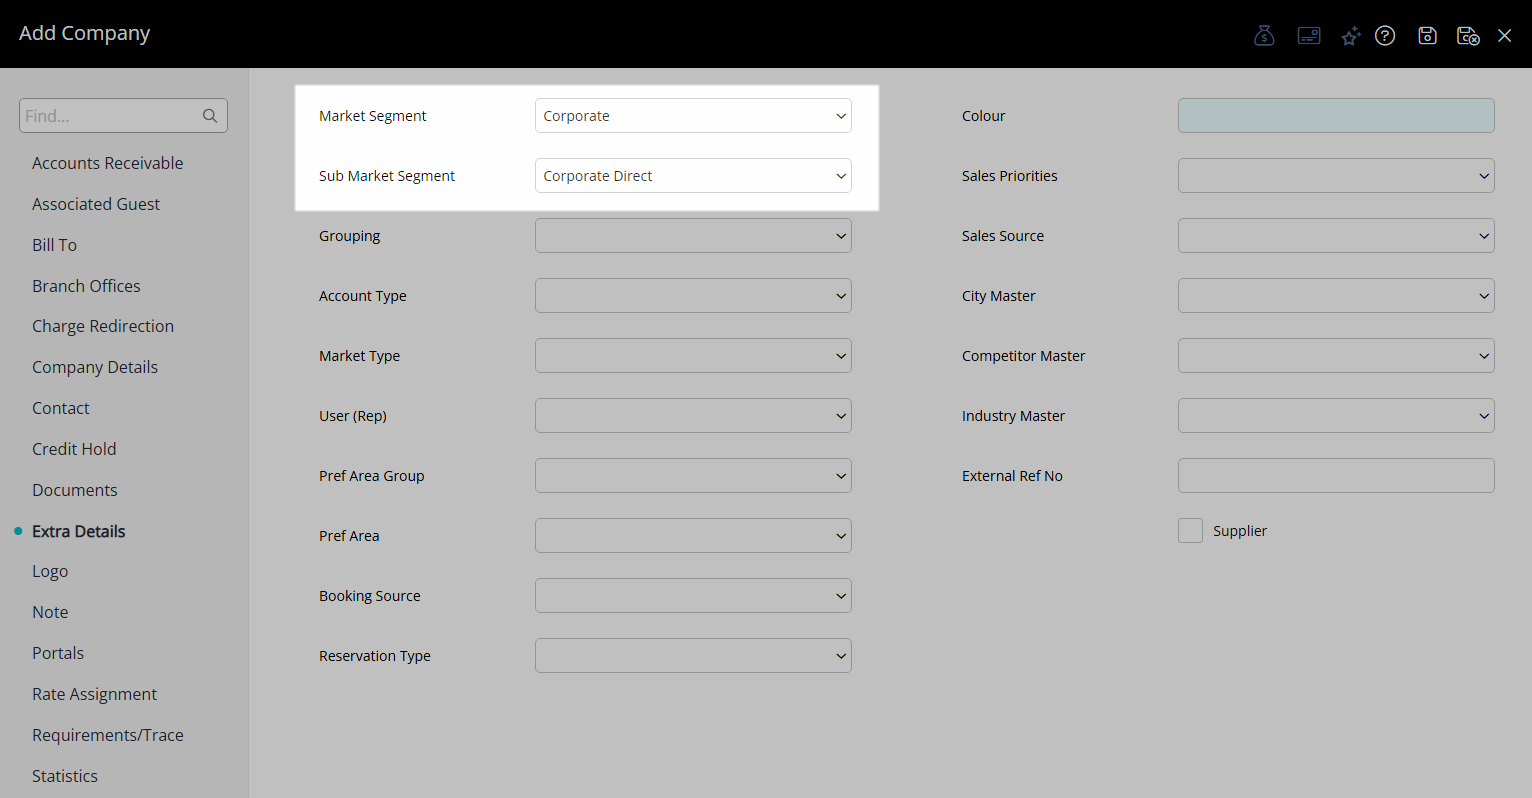
Optional: Select a Market & Sub Market Segment.
Optional: Select a Grouping.
Optional: Select an Account Type.
Optional: Select a Booking Source.
Optional: Select a Colour.
Optional: Set the Default Bill To.
Navigate to the 'Bill To' tab.
Select a Bill To for each Account Type.
Optional: Remove the Credit Hold.
Navigate to the 'Credit Hold' tab.
Select the toggle 'Credit Hold'.

Optional: Enter a Credit Limit.
Optional: Enter a Credit Term.
Select the  'Save/Exit' icon to store the changes made and leave the setup.
Select the Company Access and choose the  'Apply' icon.
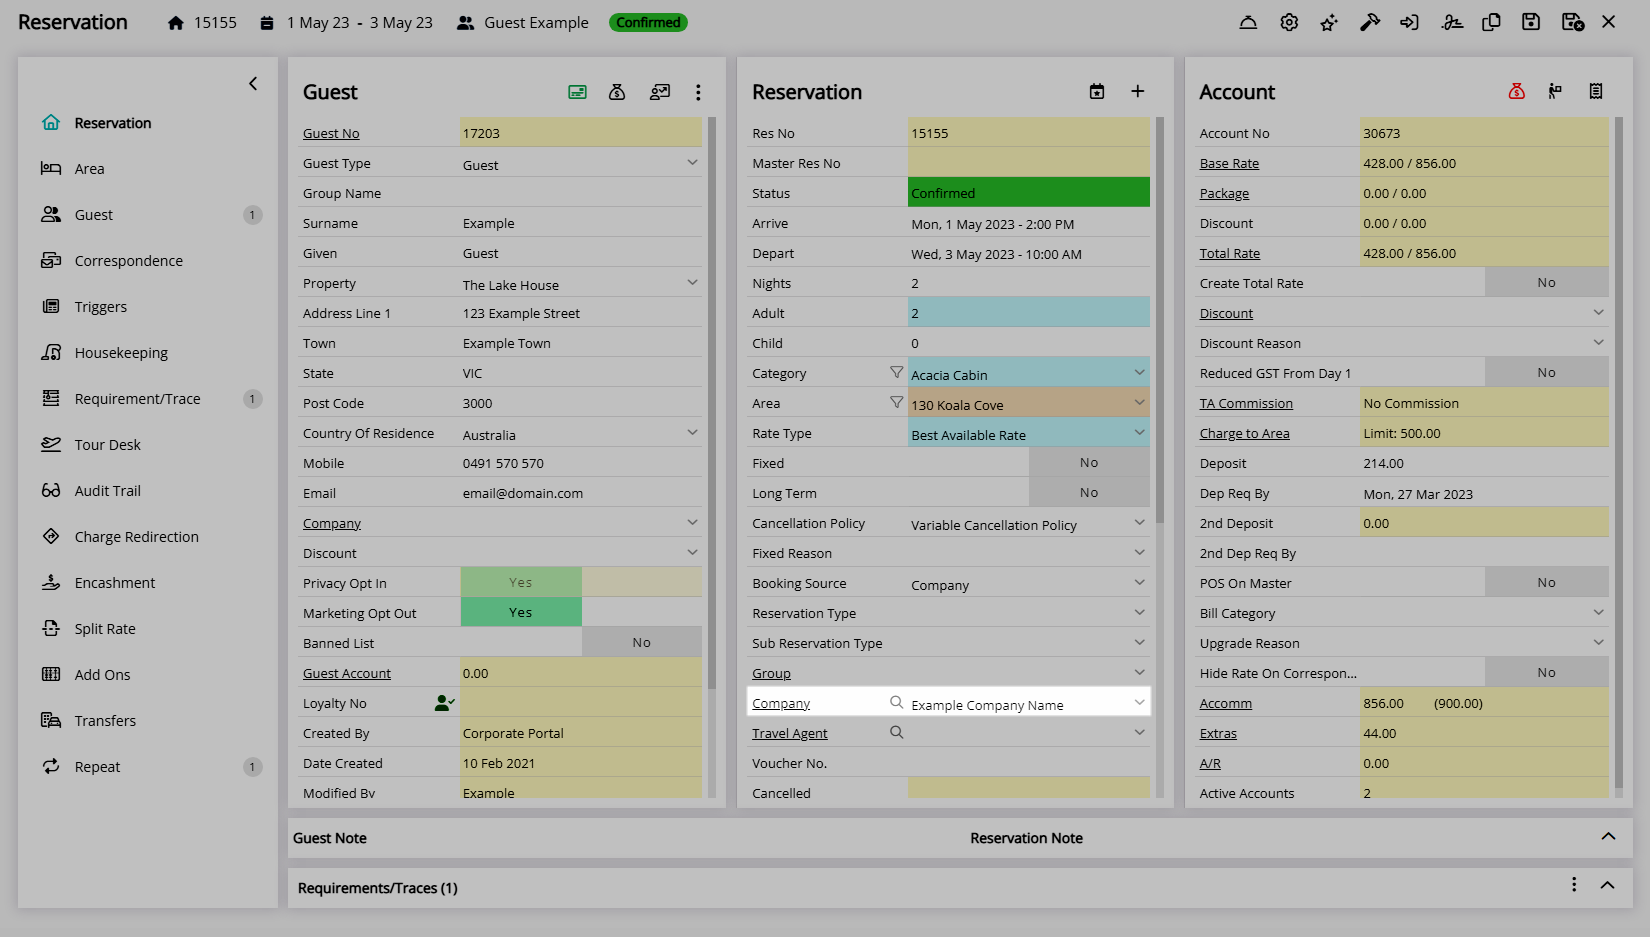
The Company can now be selected on a Reservation.
Setup
Have your System Administrator complete the following.
- Go to Setup > Company in RMS.
- Select the 'Add' icon.
- Navigate to the 'Company Details' tab.
- Enter the Company Name.
- Enter the Company Contact Information.
-
Optional: Navigate to the 'Extra Details' tab.
- Optional: Select a Market & Sub Market Segment.
- Optional: Select a Grouping.
- Optional: Select an Account Type.
- Optional: Select a Booking Source.
- Optional: Select a Colour.
-
Optional: Set the Default Bill To.
- Navigate to the 'Bill To' tab.
- Select a Bill To for each Account Type.
-
Optional: Remove the Credit Hold.
- Navigate to the 'Credit Hold' tab.
- Select the toggle 'Credit Hold'.
- Optional: Enter a Credit Limit.
- Optional: Enter a Credit Term.
- Save/Exit.
- Select the Company Access and choose the 'Apply' icon.
Options selected on the 'Extra Details' tab will be used to auto-populate in the related fields on the Reservation when this Company is selected.
The colour selected will be used to display Reservations in the corresponding Company Colour when that view option is chosen on the Booking Chart.
All newly created companies will default to being on 'Credit Hold'.
To use a Company with Accounts Receivable the Credit Hold must be removed.
The Bill To options selected on a Company will be used by default on the Reservation Account when the Company is selected.
-
Guide
- Add Button
Guide
Go to Setup > Company in RMS.
Select the ![]() 'Add' icon.
'Add' icon.
Navigate to the 'Company Details' tab.
Enter the Company Name.
Enter the Company Contact Information.
Optional: Navigate to the 'Extra Details' tab.
Optional: Select a Market & Sub Market Segment.
Optional: Select a Grouping.
Optional: Select an Account Type.
Optional: Select a Booking Source.
Optional: Select a Colour.
Optional: Set the Default Bill To.
Navigate to the 'Bill To' tab.
Select a Bill To for each Account Type.
Optional: Remove the Credit Hold.
Navigate to the 'Credit Hold' tab.
Select the toggle 'Credit Hold'.
Optional: Enter a Credit Limit.
Optional: Enter a Credit Term.
Select the 'Save/Exit' icon to store the changes made and leave the setup.
Select the Company Access and choose the 'Apply' icon.
The Company can now be selected on a Reservation.
