Corporate Portal
Reservation management for a Company, Travel Agent or Wholesaler in RMS.
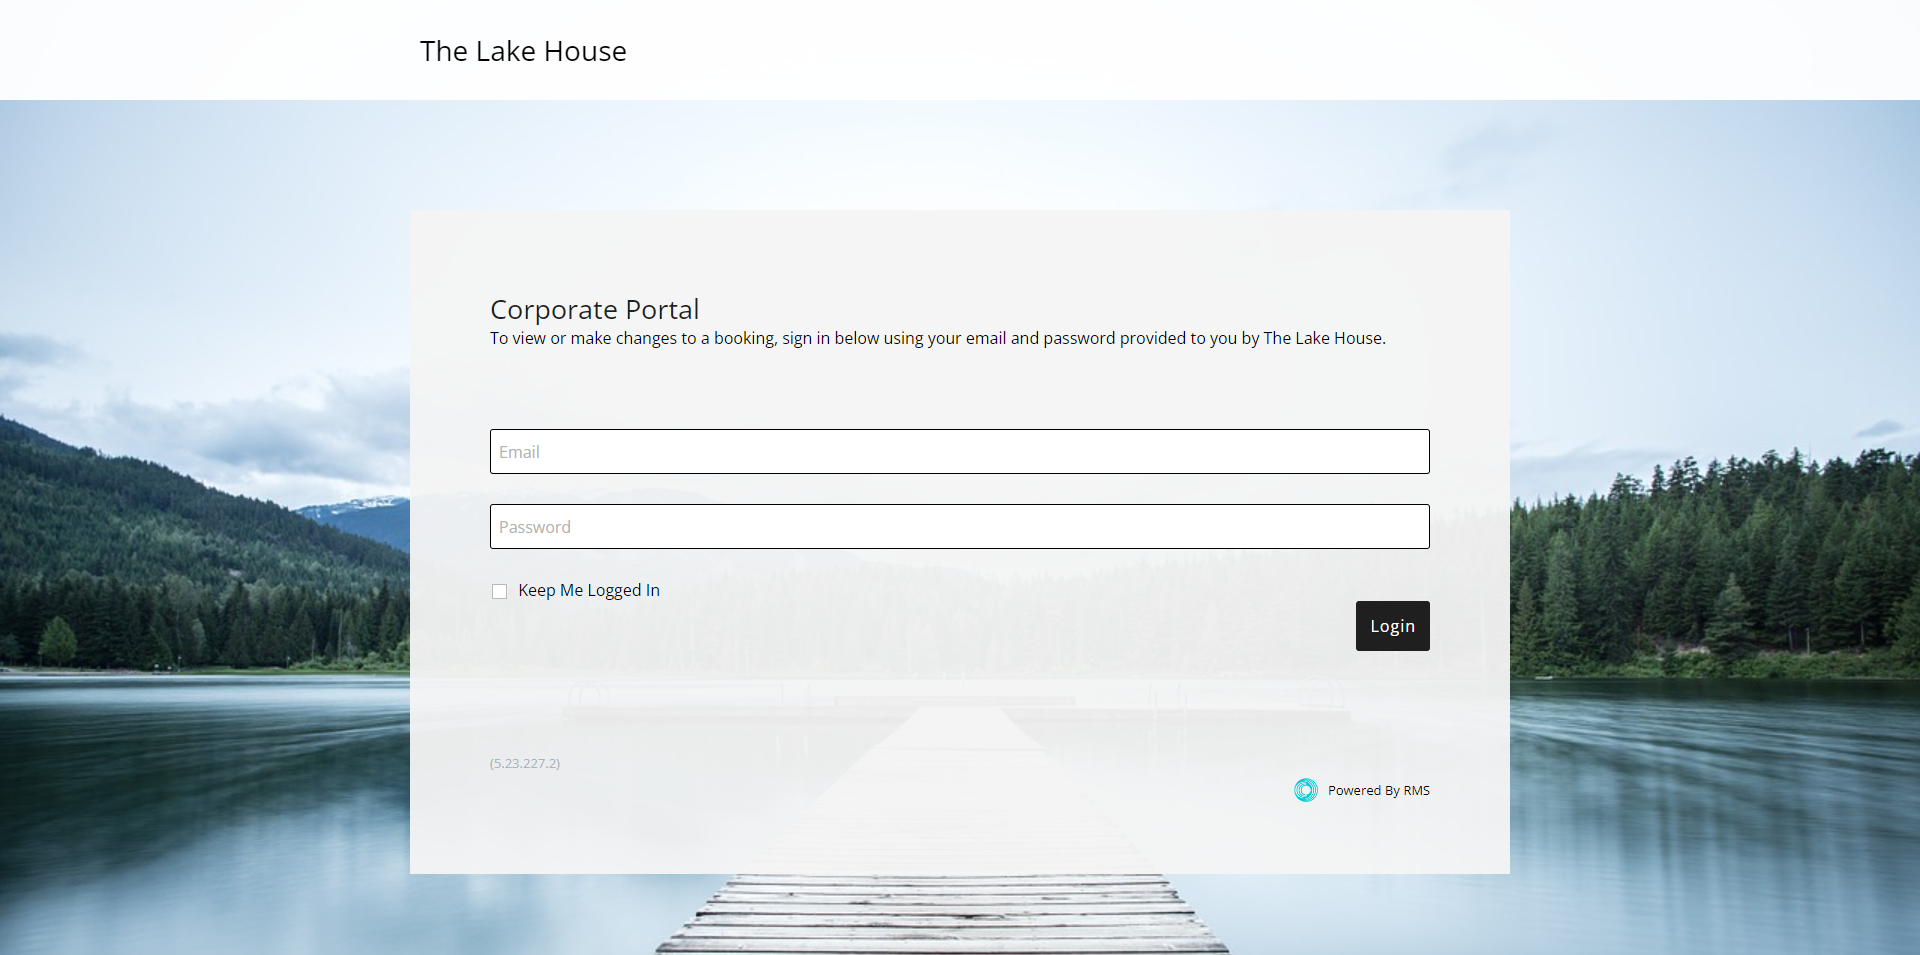
The Corporate Portal is an exclusive Reservation Management area that can be made available to a Company, Travel Agent or Wholesaler.
-
Information
-
Setup
- Add Button
Information
The Corporate Portal is an exclusive Reservation Management area that can be made available to a Company, Travel Agent or Wholesaler.
Access to the Corporate Portal can be customised to allow viewing or editing their information, printing statements, submitting payments using a connected Payment Gateway, viewing availability and/or creating a Reservation.
Reservations can be set to create as an enquiry, Pencil Reservation, Unconfirmed Reservation or Confirmed Reservation.
The Corporate Portal uses the Colour Theme setup in Online Options and can be customised further with a background image, Property Logo and Photos.
Interactive Form Letters can be sent to the Corporate Portal for the Travel Agent, Company or Wholesaler to action.
Credit Card payments can be enabled for the Corporate Portal when using a Payment Gateway with payment disabled for an individual Company, Travel Agent or Wholesaler.
The Terms and Conditions set for the Corporate Portal will use the Terms & Conditions Hierarchy to apply to the Reservation.
Documents can be sent to the Corporate Portal directly from the Company, Travel Agent or Wholesaler.

The following options are available in the Corporate Portal.
Accounting
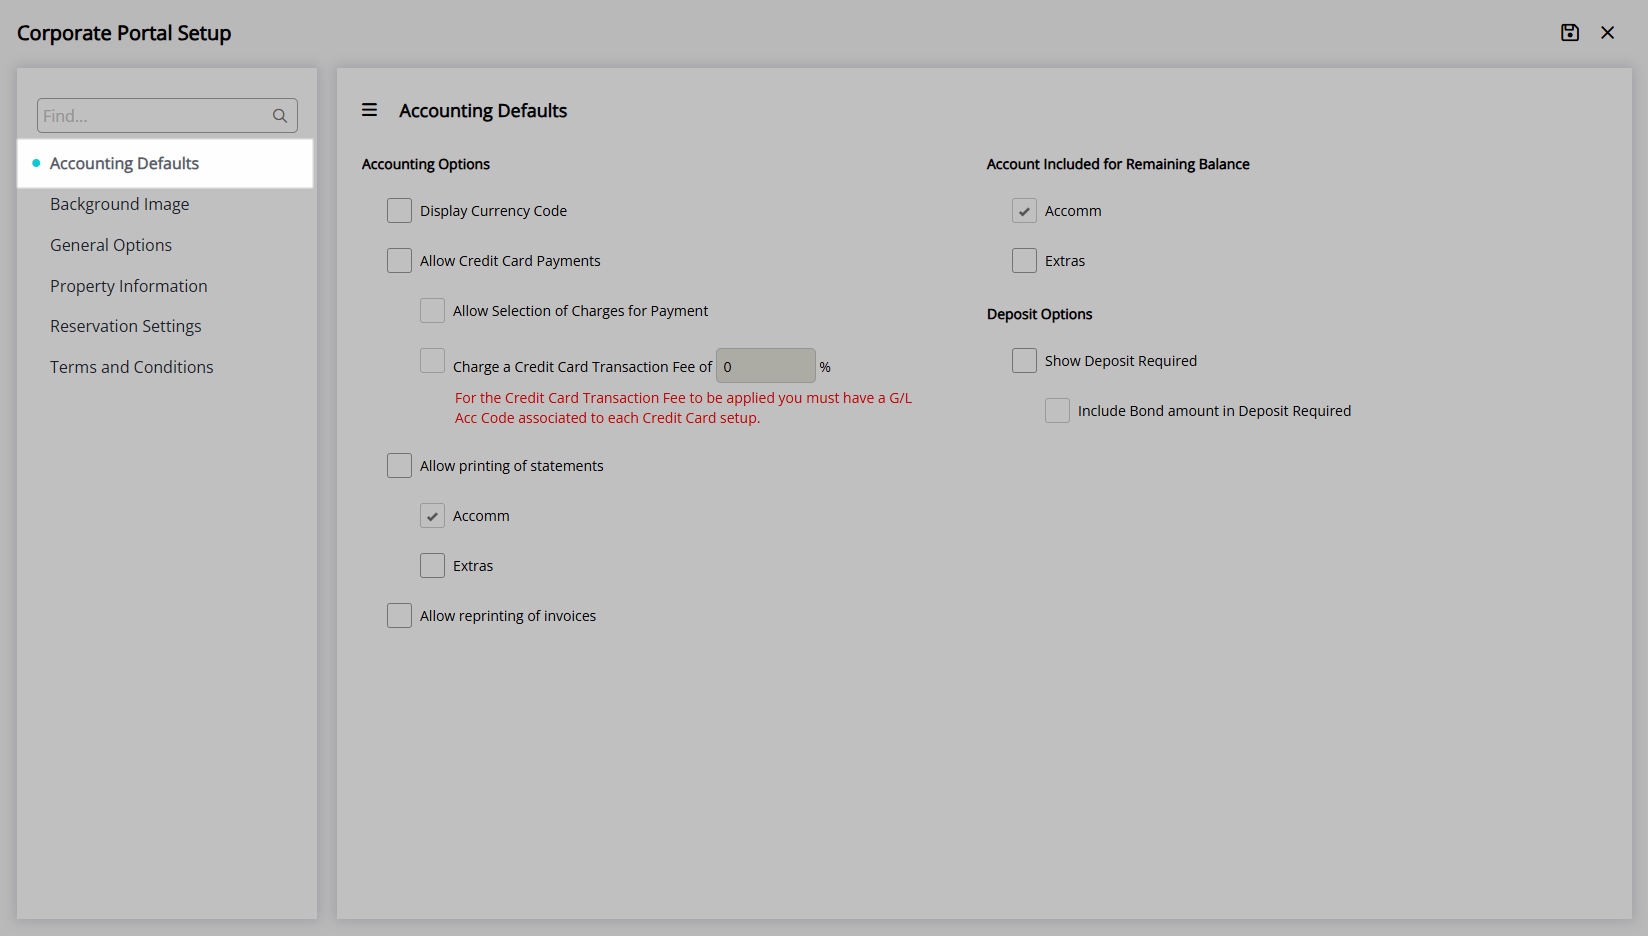
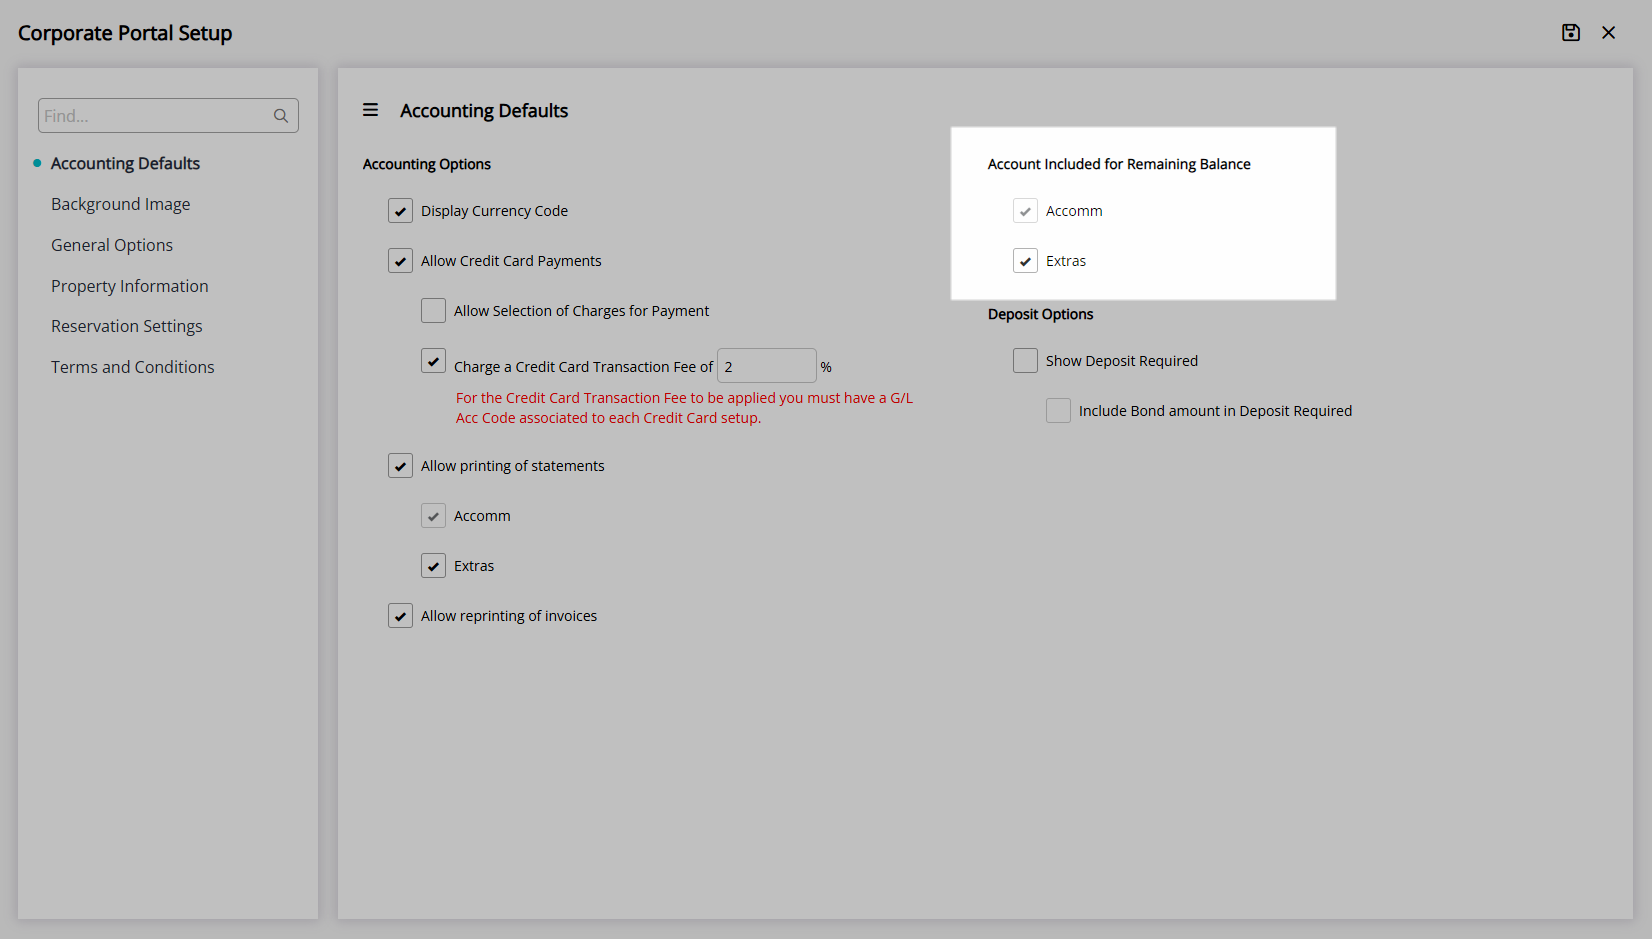
The Accounting Defaults set for the Corporate Portal determine the display and options available for account information to the Company, Travel Agent or Wholesaler.
| Option | Description |
|---|---|
| Display Currency Code | A currency code will be displayed with any financial values shown. |
| Allow Credit Card Payments | Enables secure credit card payments to be submitted in the Corporate Portal using the connected Payment Gateway. |
| Allow Selection of Charges for Payment | Enables selecting specific charges on the Account to allocate payment to when using Credit Card Payments. |
| Charge a Credit Card Transaction Fee | Includes the percentage value set as a Credit Card Transaction Fee when submitting payment in the Corporate Portal. A General Ledger Account Code for Transaction Fees must be setup on the Credit Card to charge the fee. |
| Allow Printing Statements | Provides the option to print an Account Statement in the Corporate Portal. |
| Allow Reprinting Tax Invoices | Provides the option to reprint a previously generated Tax Invoice in the Corporate Portal. |
| Account Included for Remaining Balance | The Reservation Account Types included in the displayed Remaining Balance. |
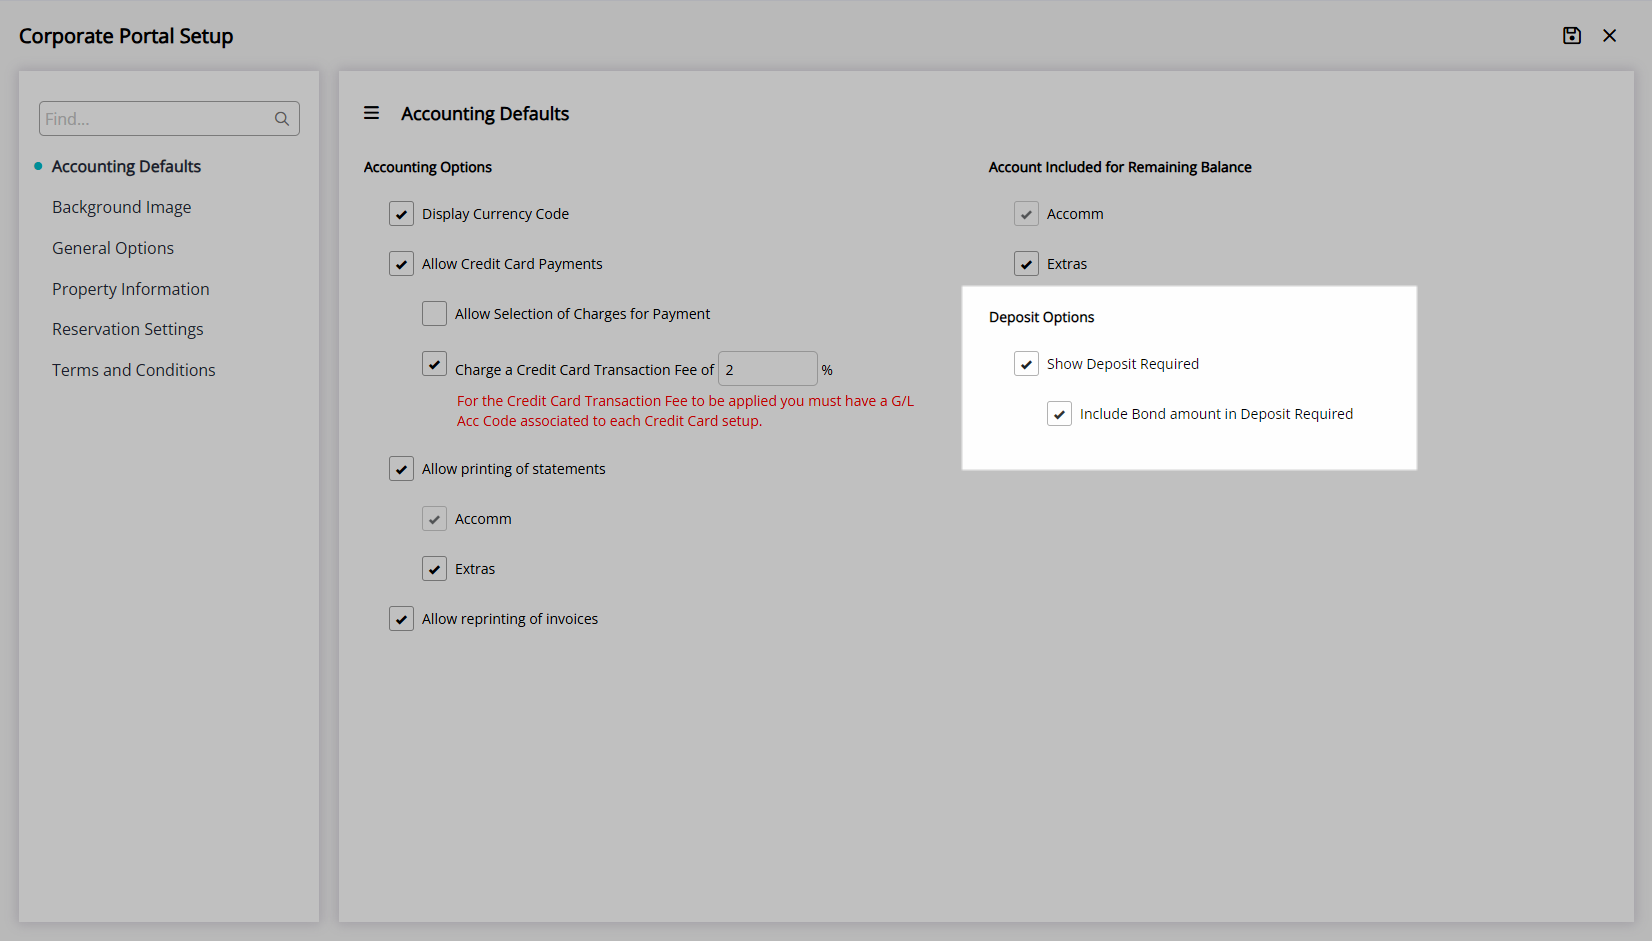
| Show Deposit Required | Displays the Deposit Amount Due. |
| Include Bond Amount in Deposit Required | Any Rate Table Bond will be included in the displayed Deposit Amount Due. |
General
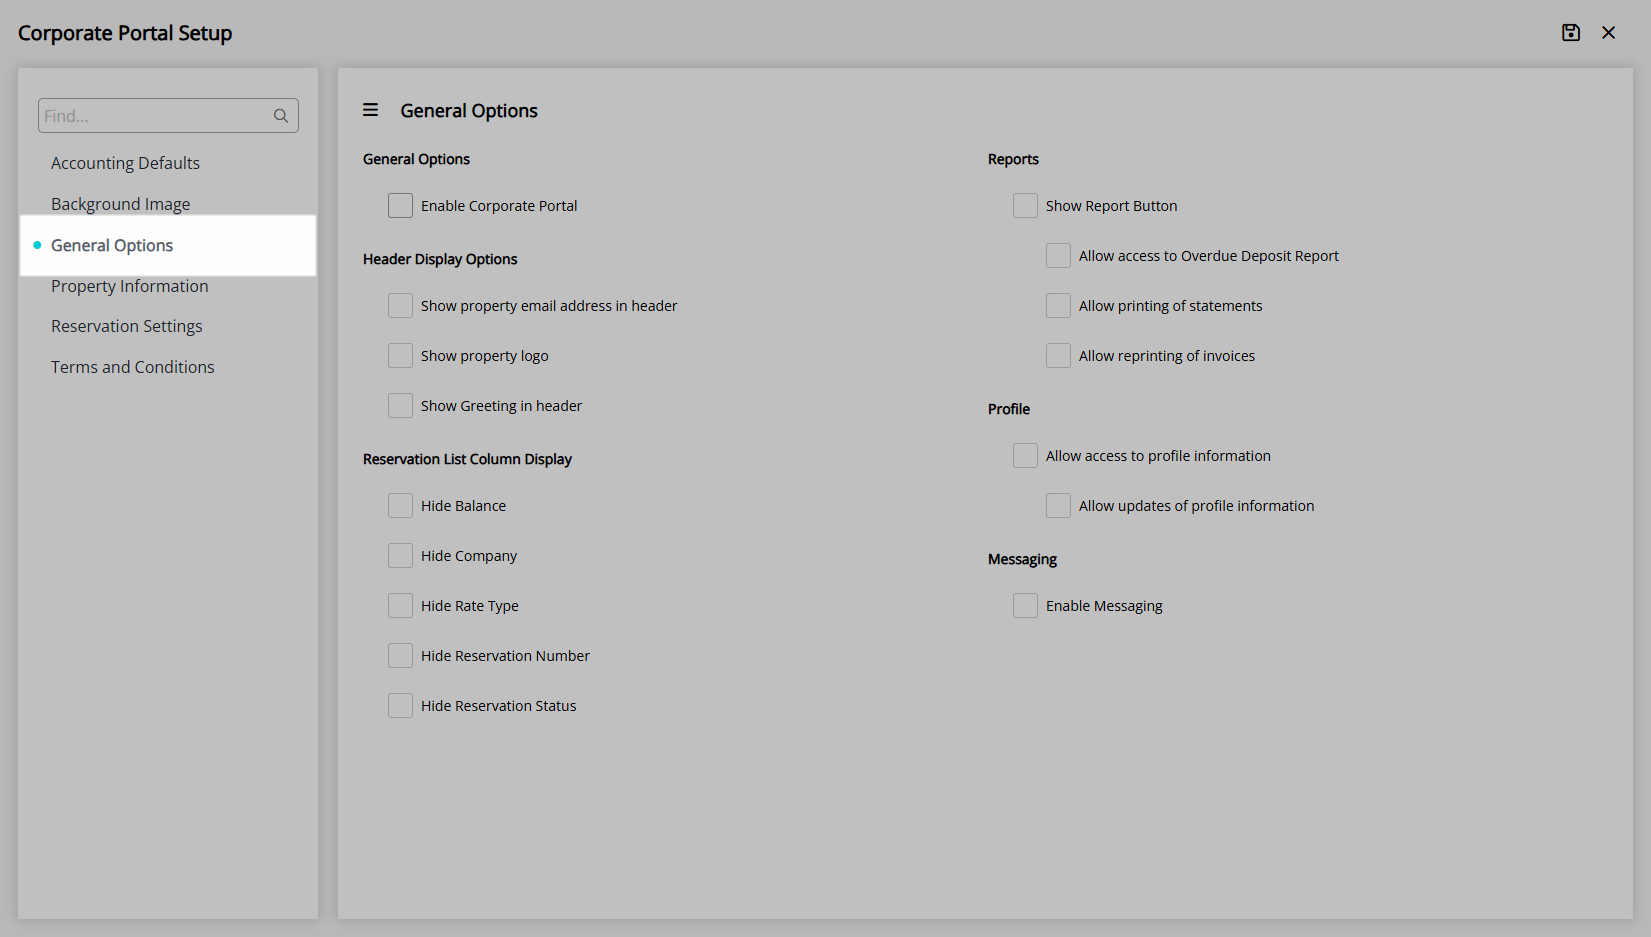
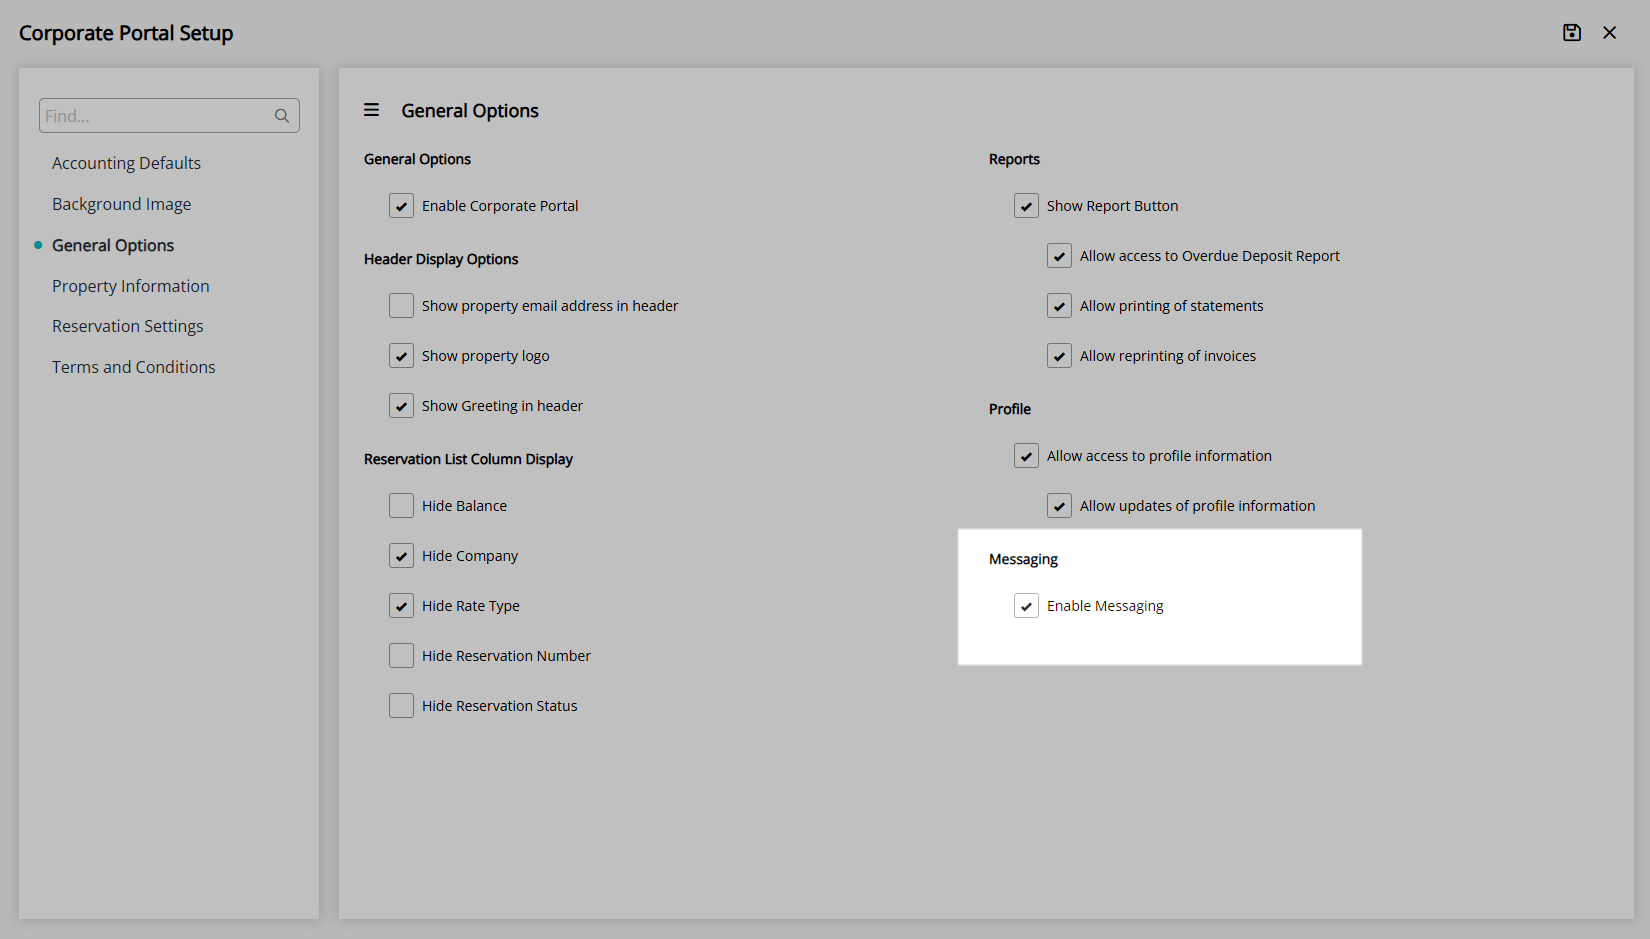
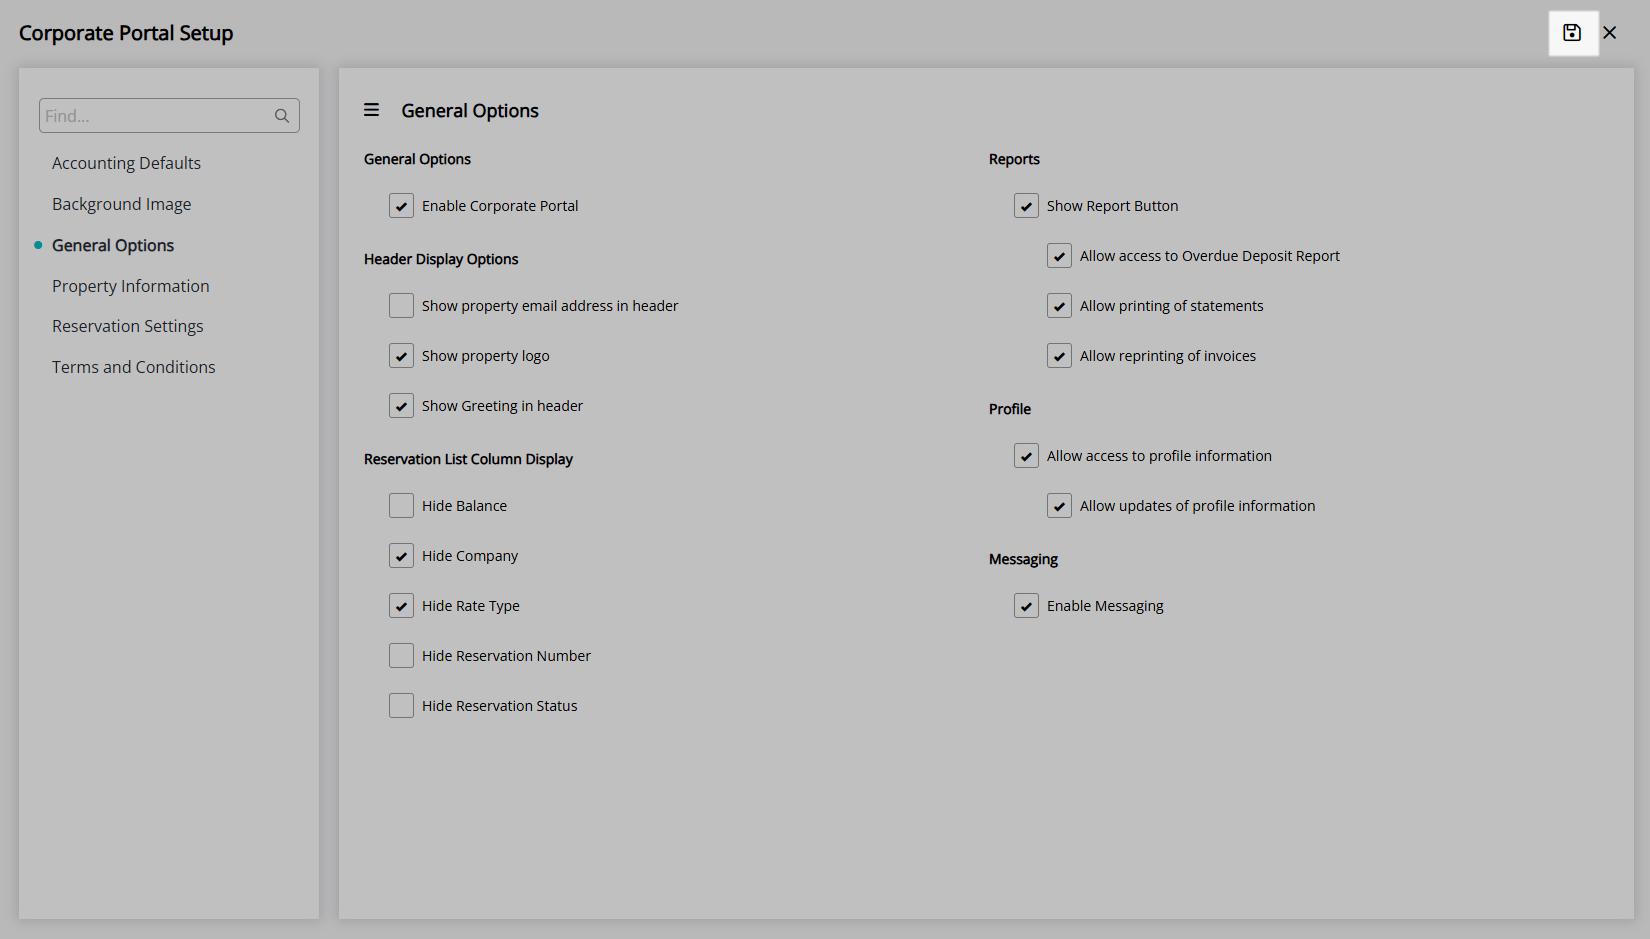
The General Options determine the display options and features available in the Corporate Portal.
| Option | Description |
|---|---|
| Enable Corporate Portal | Activates the Corporate Portal. |
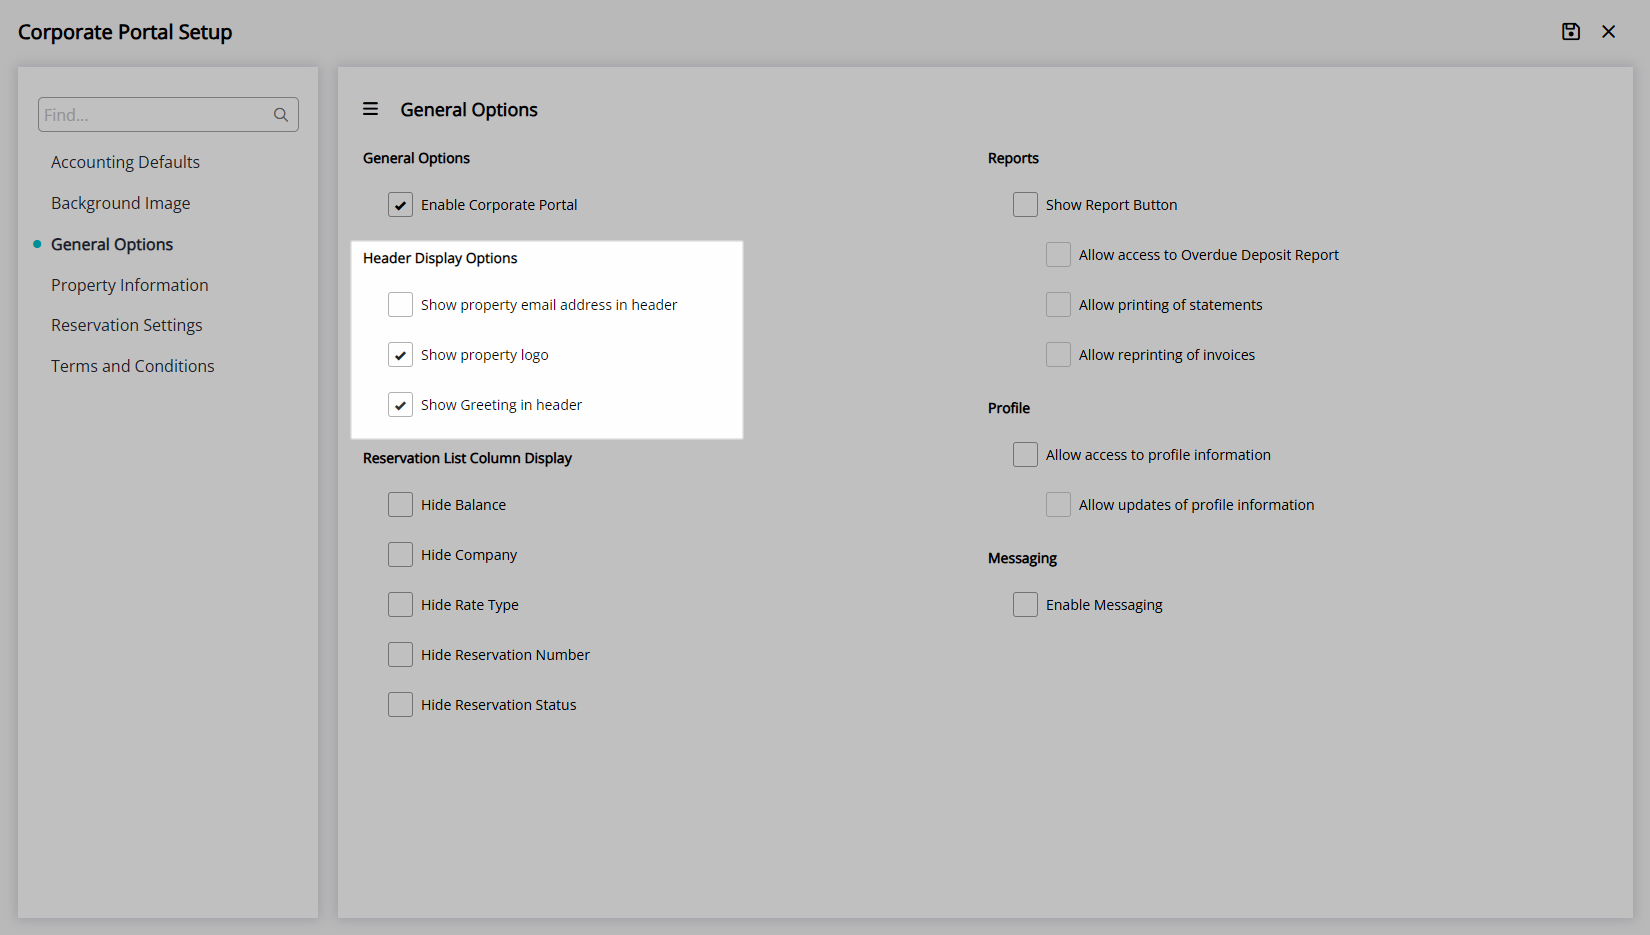
| Show Property Email Address in Header | Includes the Property's email address in the top section of the Corporate Portal. |
| Show Property Logo | Includes the Property Logo in the top section of the Corporate Portal. |
| Show Greeting in Header | Includes a personalised entity greeting in the top section of the Corporate Portal. Eg. "Hello Example Company" |
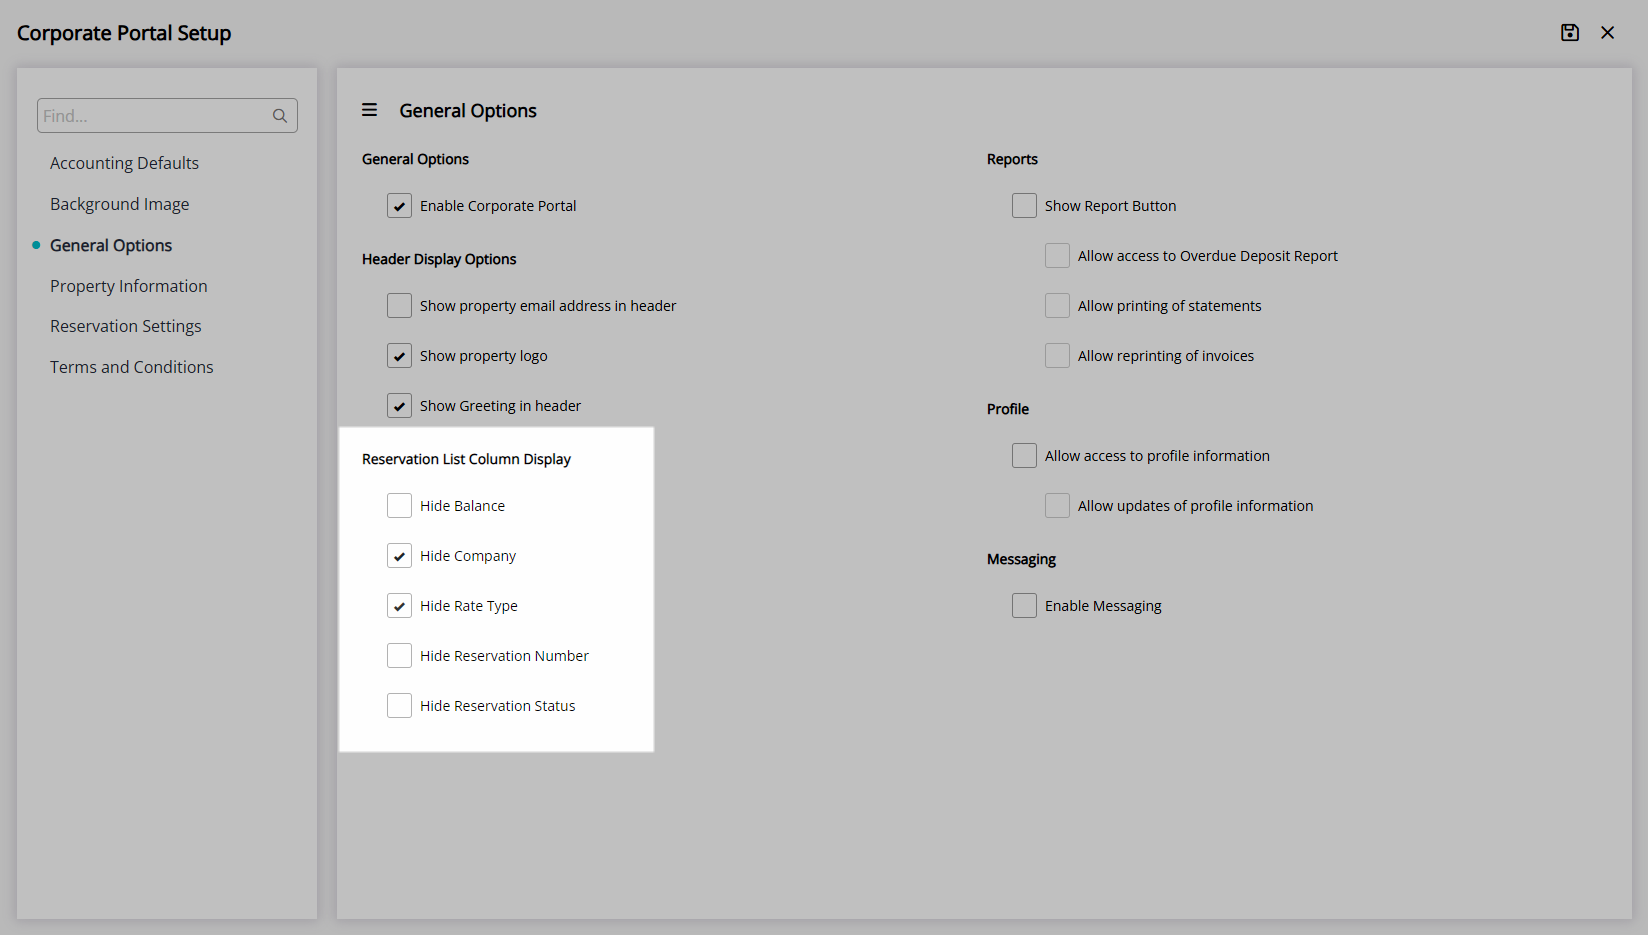
| Hide Balance | Removes the display of the Account Balance on the Reservation. |
| Hide Company | Removes the display of the Company selected on the Reservation. |
| Hide Rate Type | Removes the display of the Rate Type selected on the Reservation. |
| Hide Reservation Number | Removes the unique identifying Reservation Number on the Reservation. |
| Hide Reservation Status | Removes the display of the Reservation Status on the Reservation. |
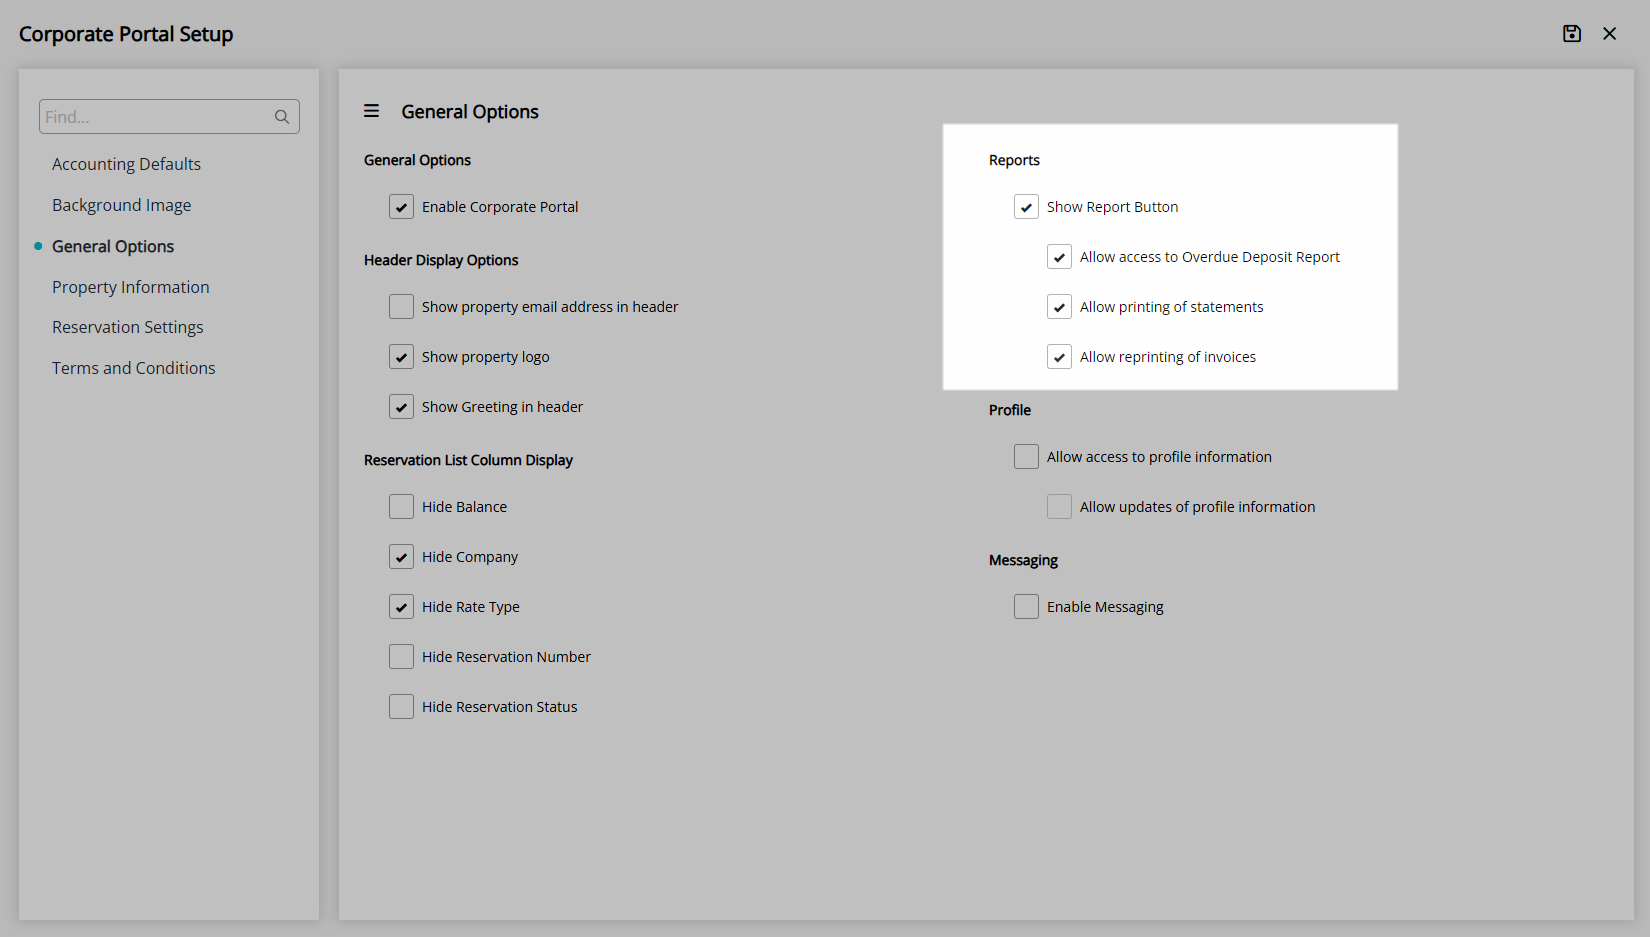
| Show Report Button | Enables generating selected reports in the Corporate Portal. |
| Allow Access to Overdue Deposit Report | Includes the Overdue Deposit Report in the report menu. |
| Allow Printing of Statements | Includes Account Statements in the report menu. |
| Allow Reprinting of Tax Invoices | Includes Reprint Tax Invoice in the report menu. |
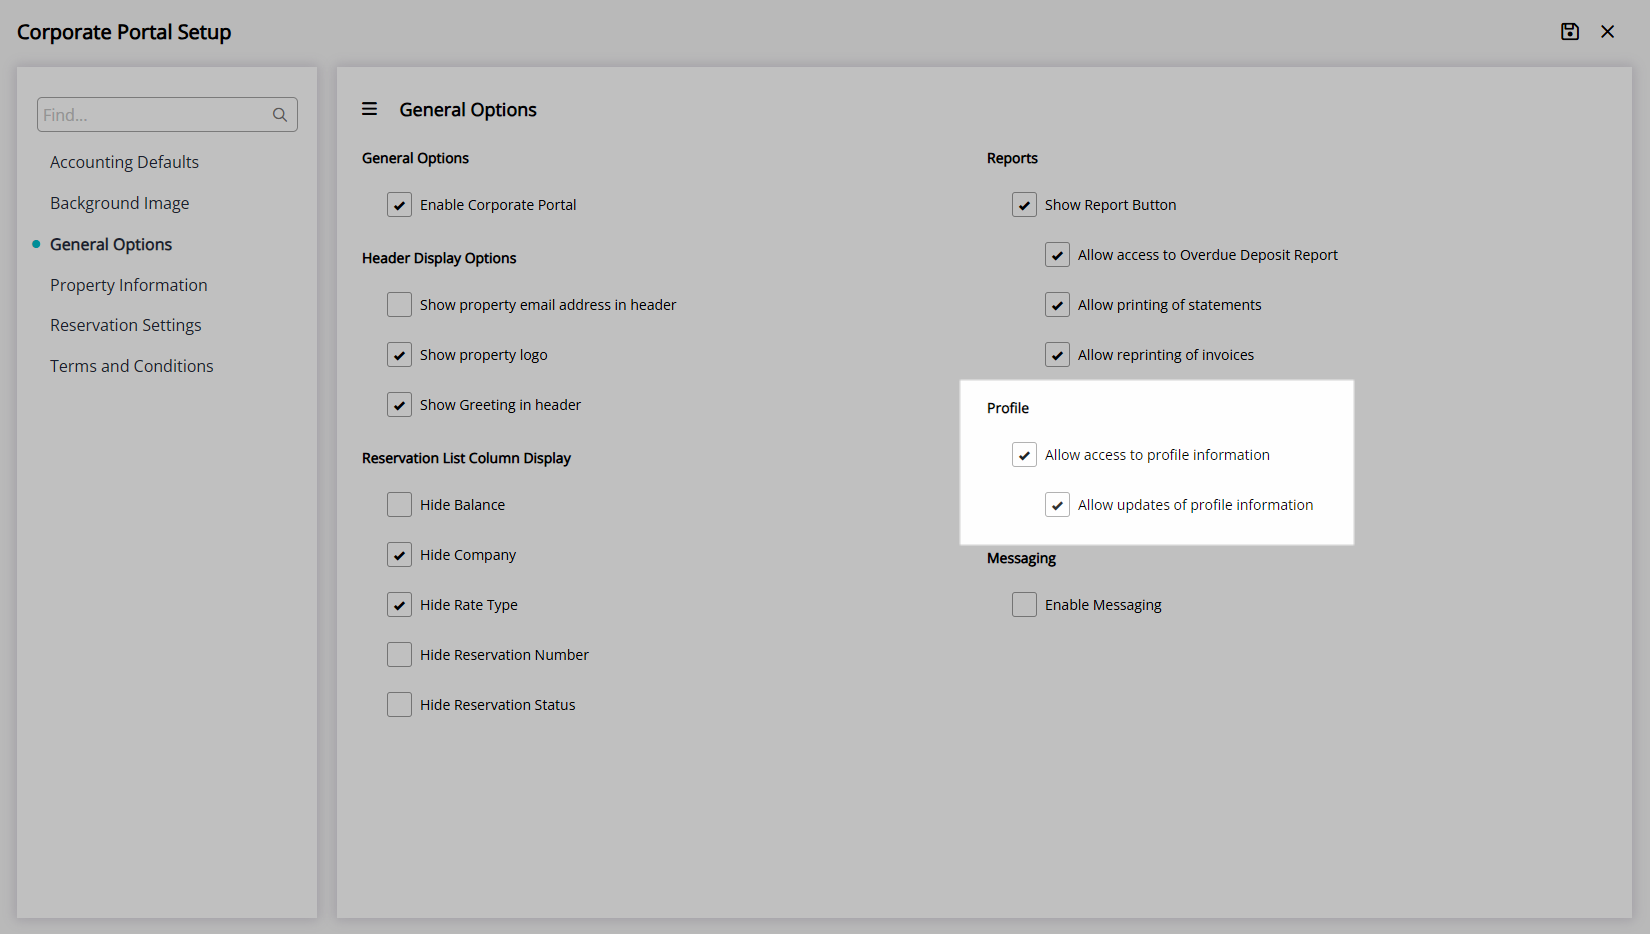
| Allow Access to Profile Information | Allows the Company, Travel Agent or Wholesaler to view their profile information. |
| Allow Updates to Profile Information | Allows the Company, Travel Agent or Wholesaler to edit their profile information. |
| Enable Messaging | Allows sending a message to the Property in the Corporate Portal. |
Property
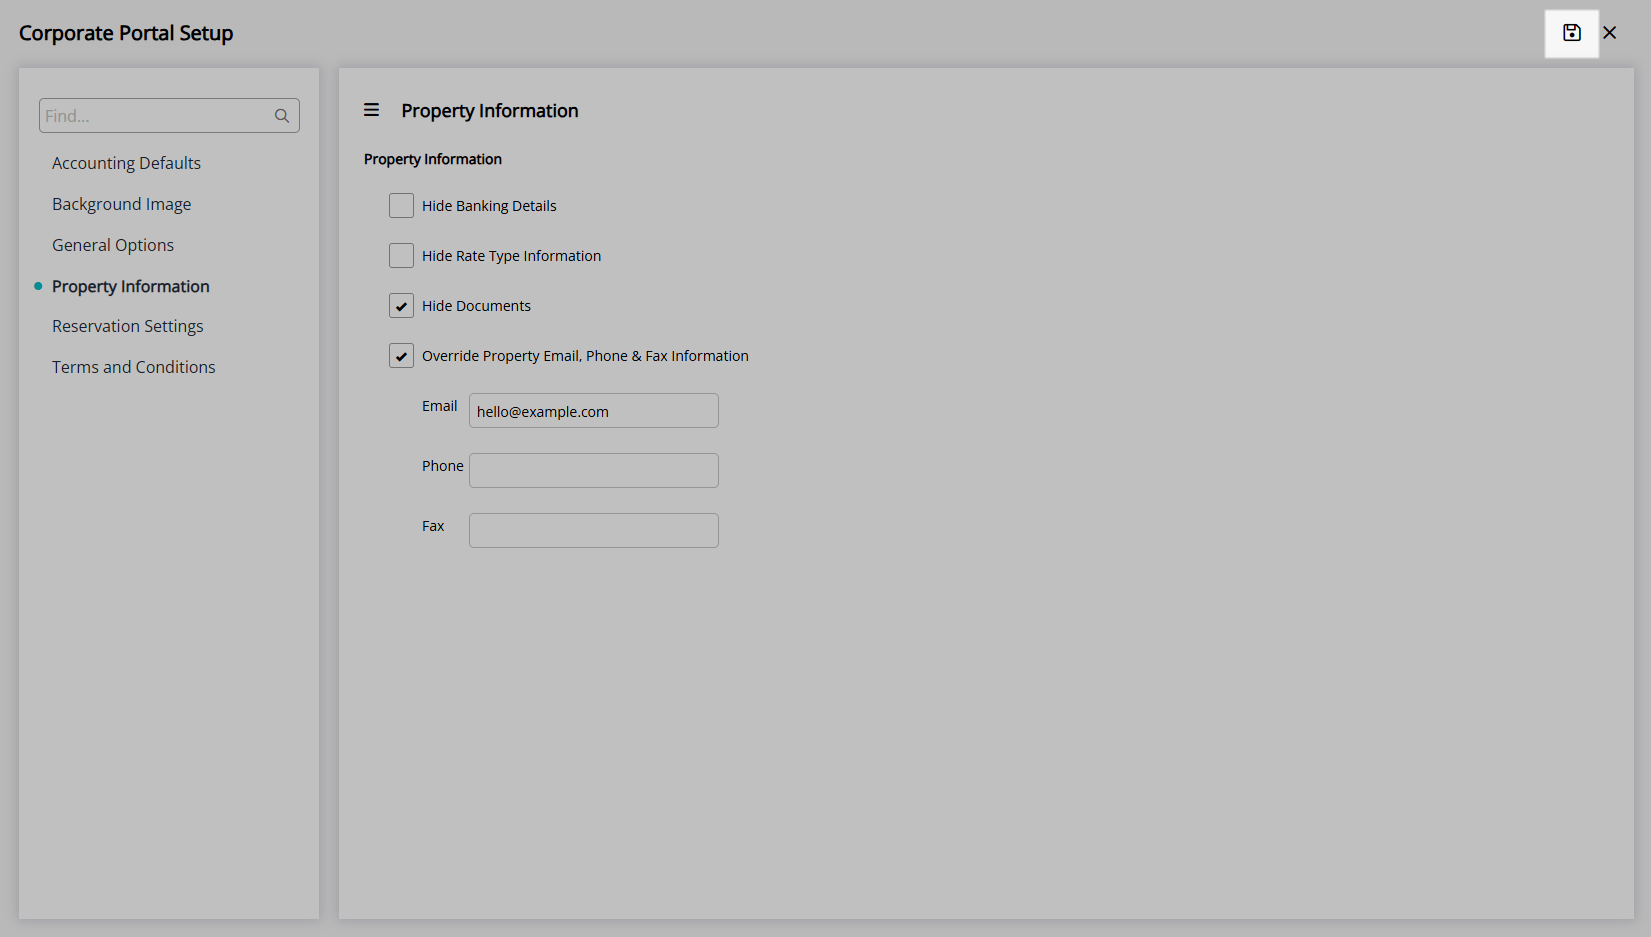
The Property Information determines what details for the Property are displayed in the Corporate Portal.
| Option | Description |
|---|---|
| Hide Banking Details | Property Bank Details will not be shown in the Corporate Portal. |
| Hide Rate Type Information | Rate Type information will not be shown in the Corporate Portal. |
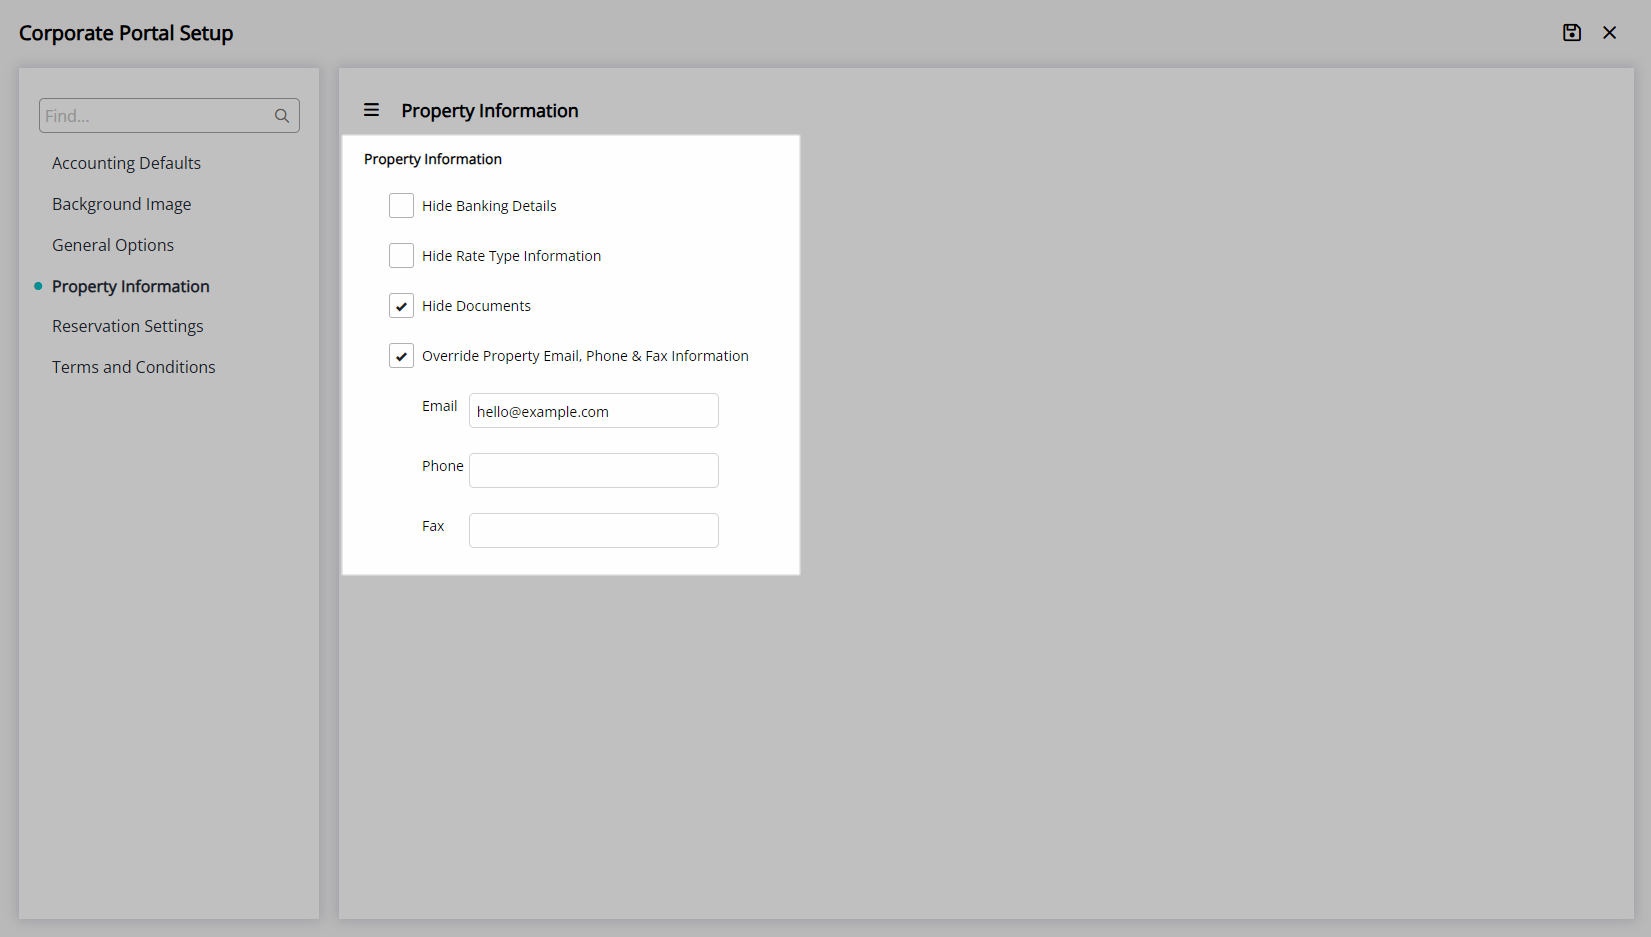
| Hide Documents | Documents saved on the Company, Travel Agent or Wholesaler will not be shown in the Corporate Portal. |
| Override Property Email, Phone & Fax Information | Enter an alternative email address, phone number and/or fax number to display as the property's contact details in the Corporate Portal. |
Reservation
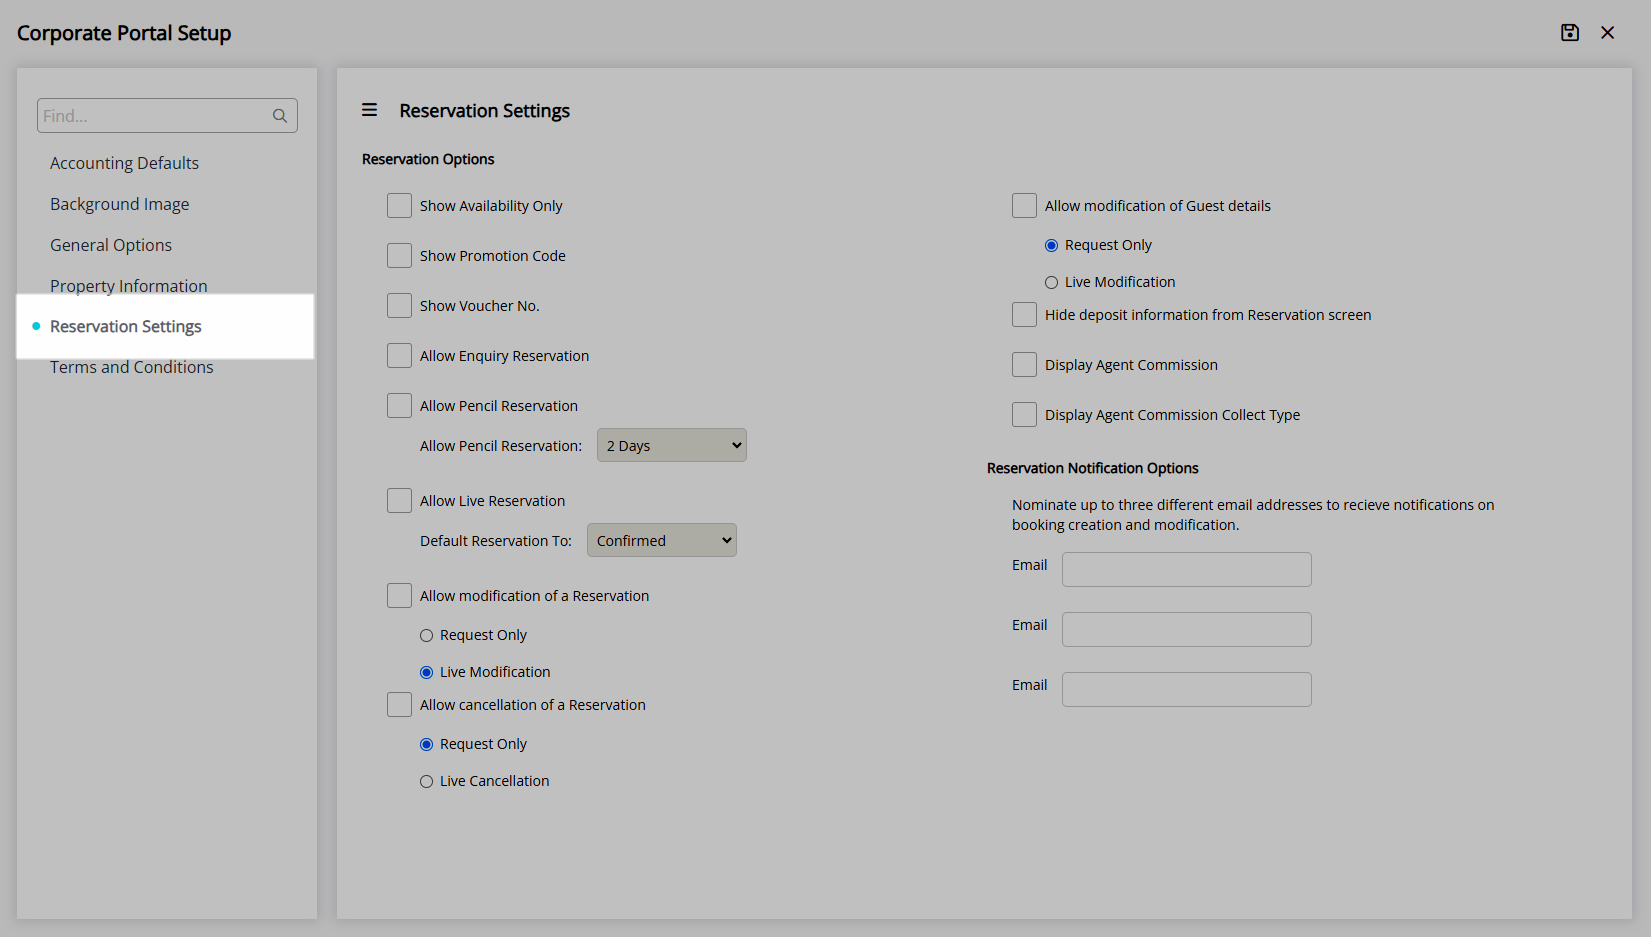
The Reservation Settings determine the information and options available for Reservations in the Corporate Portal.
| Option | Description |
|---|---|
| Show Availability Only | Displays Property Availability for the selected dates with no option to create a Reservation. |
| Show Promotion Code | The Promotional Code field will be displayed to enable access to Discounts or Rate Types by entering the related code. |
| Voucher Number | Displays the Voucher Number field on the Reservation Details. |
| Allow Enquiry Reservation | An Enquiry Reservation can be generated and sent to the property. |
| Allow Pencil Reservation | A Pencil Reservation can be created with the selected expiry period. |
| Allow Live Reservation | A Reservation can be created in the selected Reservation Status. |
| Allow Modification of Reservation | An existing Reservation can be modified live or as a request sent to the property. |
| Allow Cancellation of Reservation | An existing Reservation can be cancelled live or as a request sent to the property. |
| Allow Modification of Guest Details | Guest Details on an existing Reservation can be changed. |
| Hide Deposit Information | The Deposit Amount and Deposit Due Date will not be shown on the Reservation. |
| Display Agent Commission | The Travel Agent Commission will be shown on the Reservation. |
| Display Agent Commission Collect Type | The Collect Type set on the Travel Agent Commission will be shown on the Reservation. |
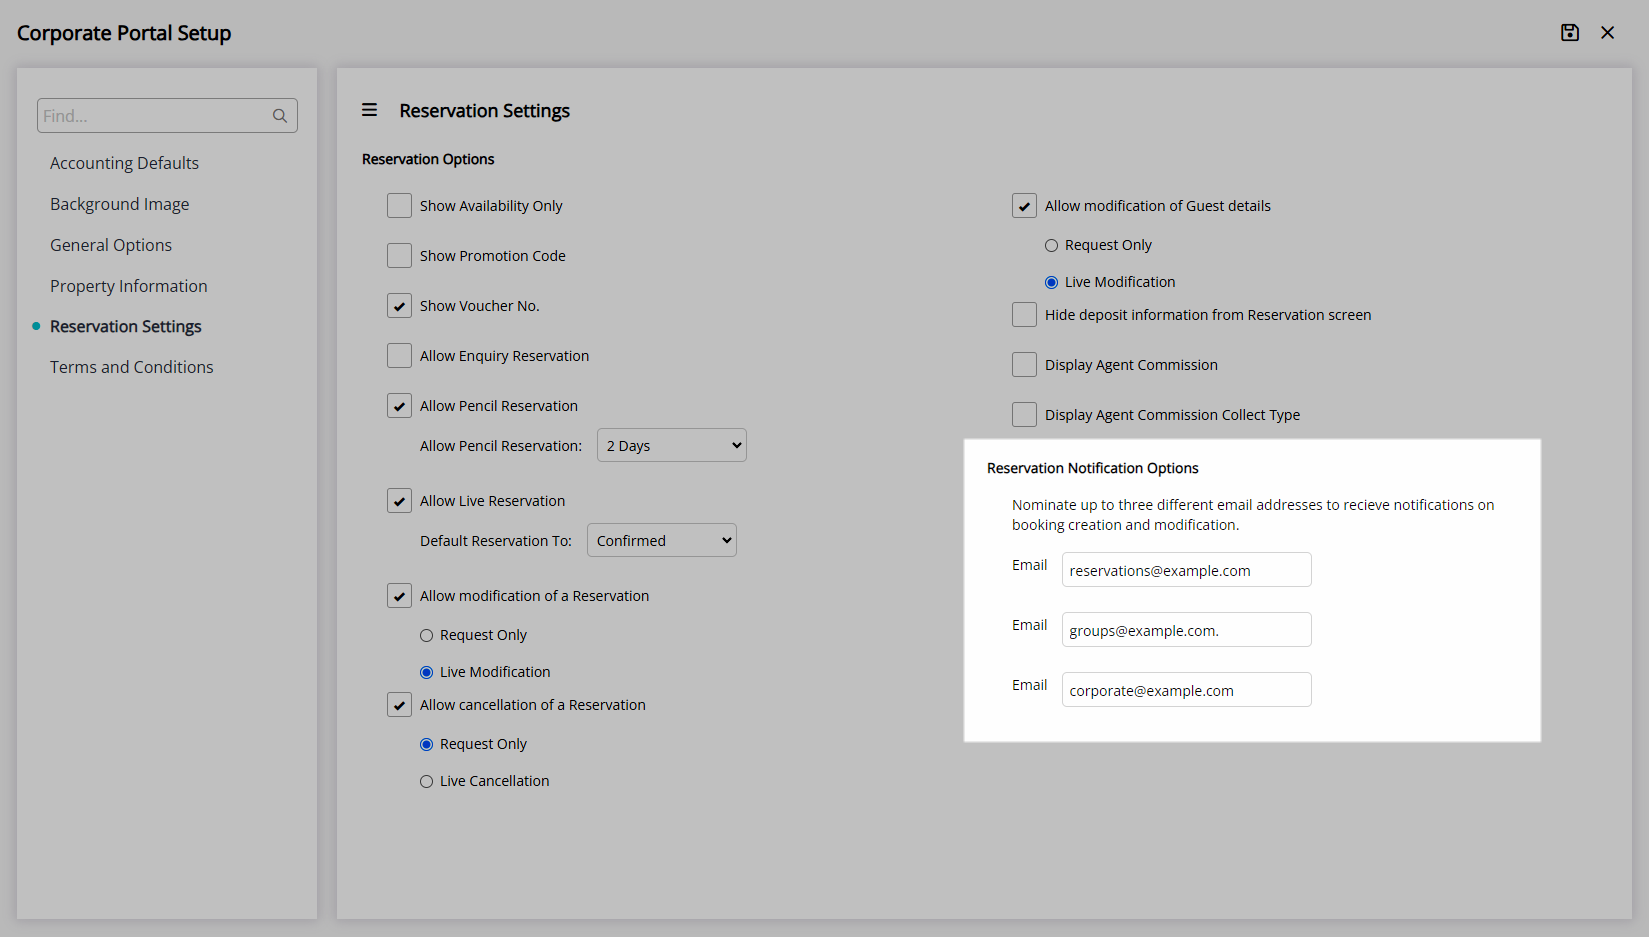
| Reservation Notification Options | Enter up to three email addresses to receive notifications for new, modified or cancelled Reservations. |
-
Setup
- Add Button
Setup
Have your System Administrator complete the following.
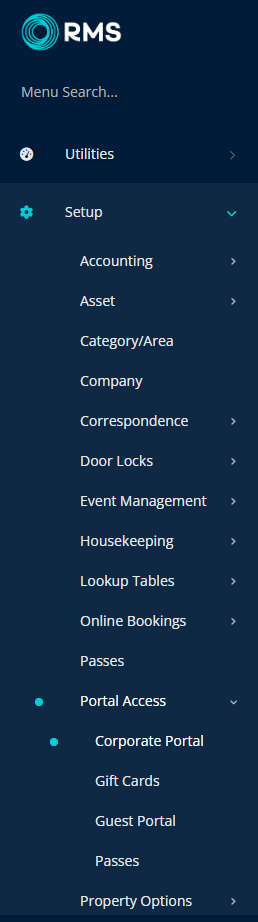
- Go to Setup > Portal Access > Corporate Portal.
-
General Options:
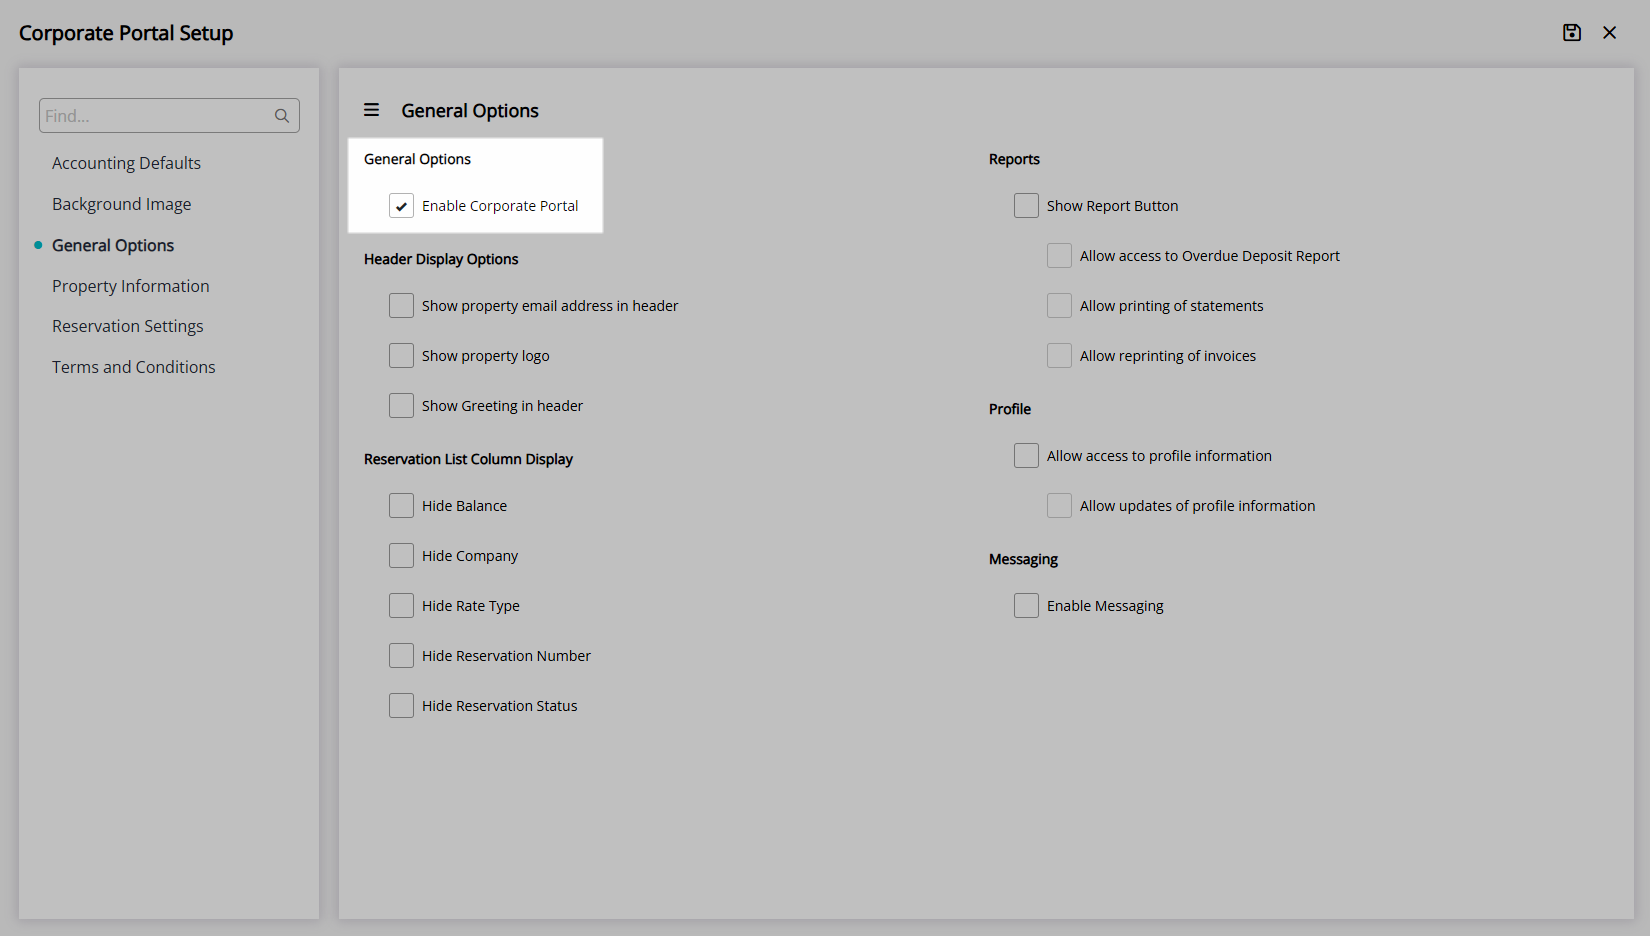
- Navigate to the 'General Options' tab.
- Select the checkbox 'Enable Corporate Portal'.
- Optional: Select the checkbox for the Header Display Options.
- Optional: Select the checkbox for the Reservation List Column Display.
- Optional: Select the checkbox for the Reports.
- Optional: Select the checkbox for the Profile.
- Optional: Select the checkbox for Messaging.
- Save.
-
Accounting Defaults:
- Navigate to the 'Accounting Defaults' tab.
- Optional: Select the checkbox and enter the values for the Accounting Options.
- Optional: Select the checkbox for the Reservation Account Types included in the Remaining Balance.
- Optional: Select the checkbox for the Deposit Options.
- Save.
-
Property Information:
- Navigate to the 'Property Information' tab.
- Optional: Select the checkbox and enter the values for the Property Information.
- Save.
-
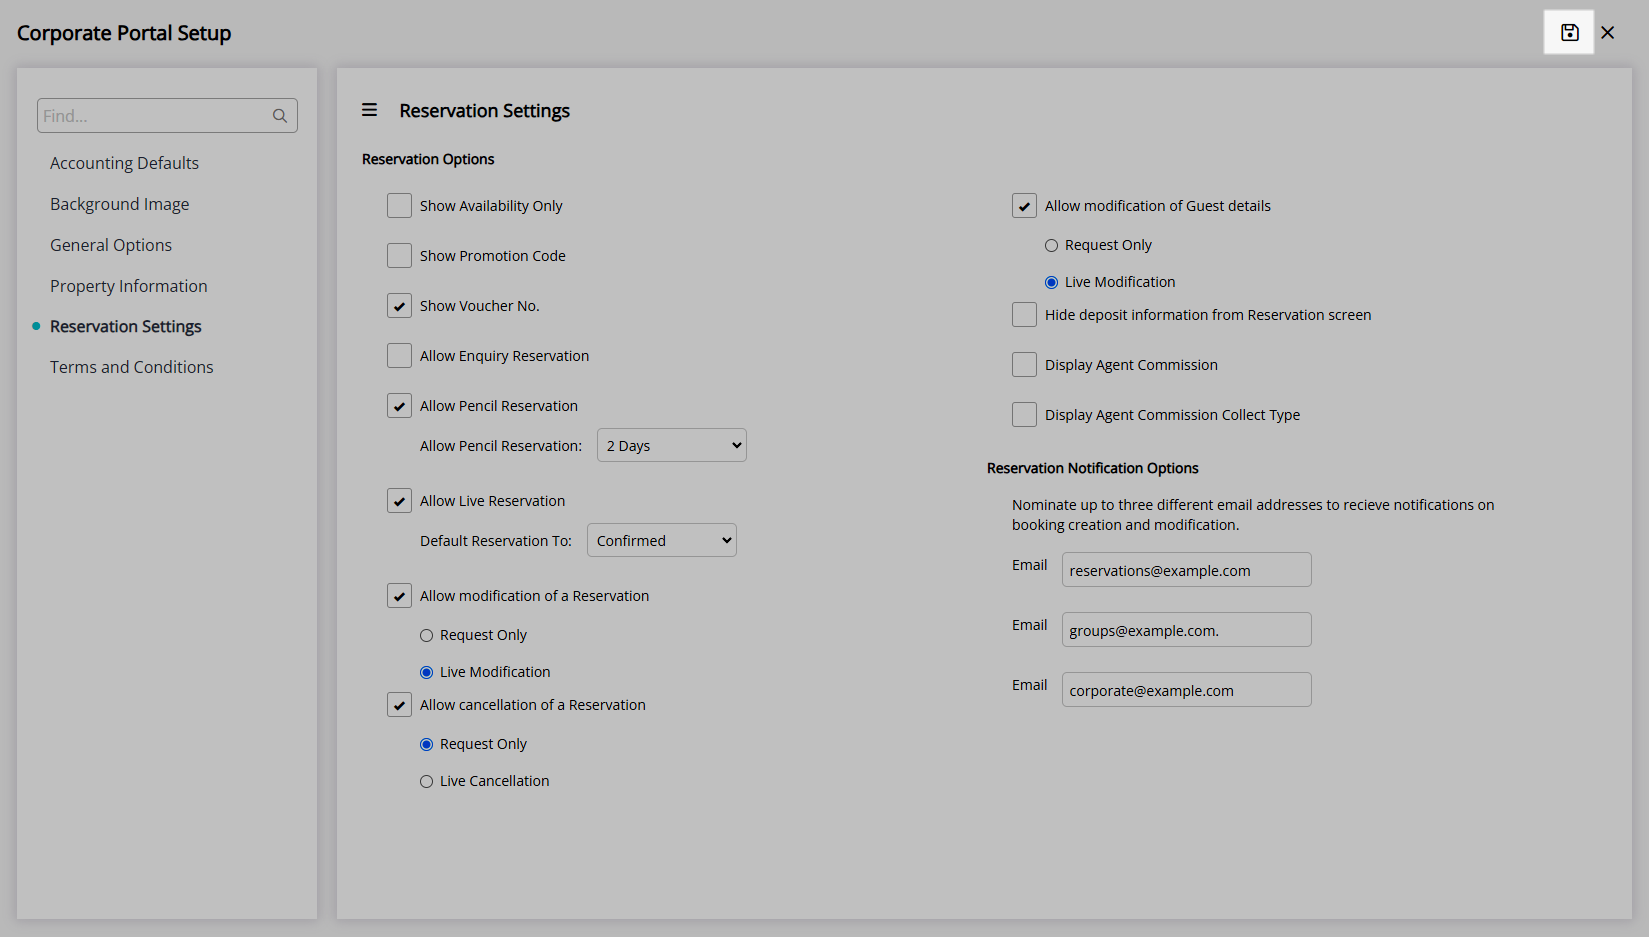
Reservation Settings:
- Navigate to the 'Reservation Settings' tab.
- Optional: Select the checkbox and options for the Reservation Options.
- Optional: Enter up to 3 Email Addresses for Reservation Notifications.
- Save.
-
Terms & Conditions:
- Navigate to the 'Terms and Conditions' tab.
- Enter the Corporate Portal Terms & Conditions.
- Save.
-
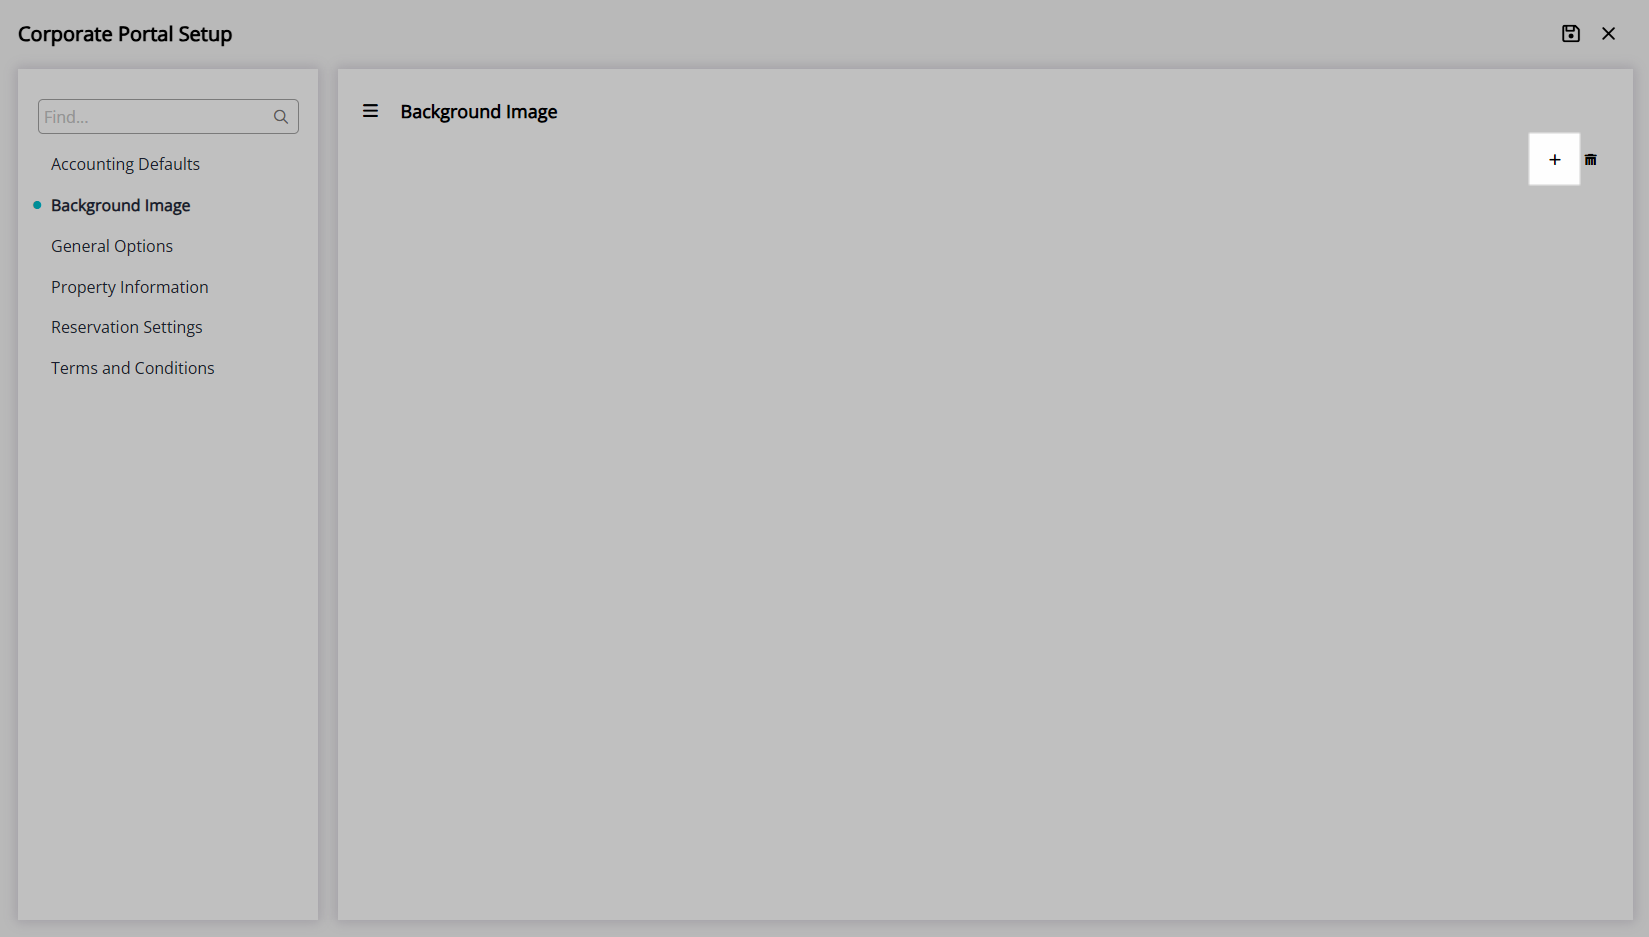
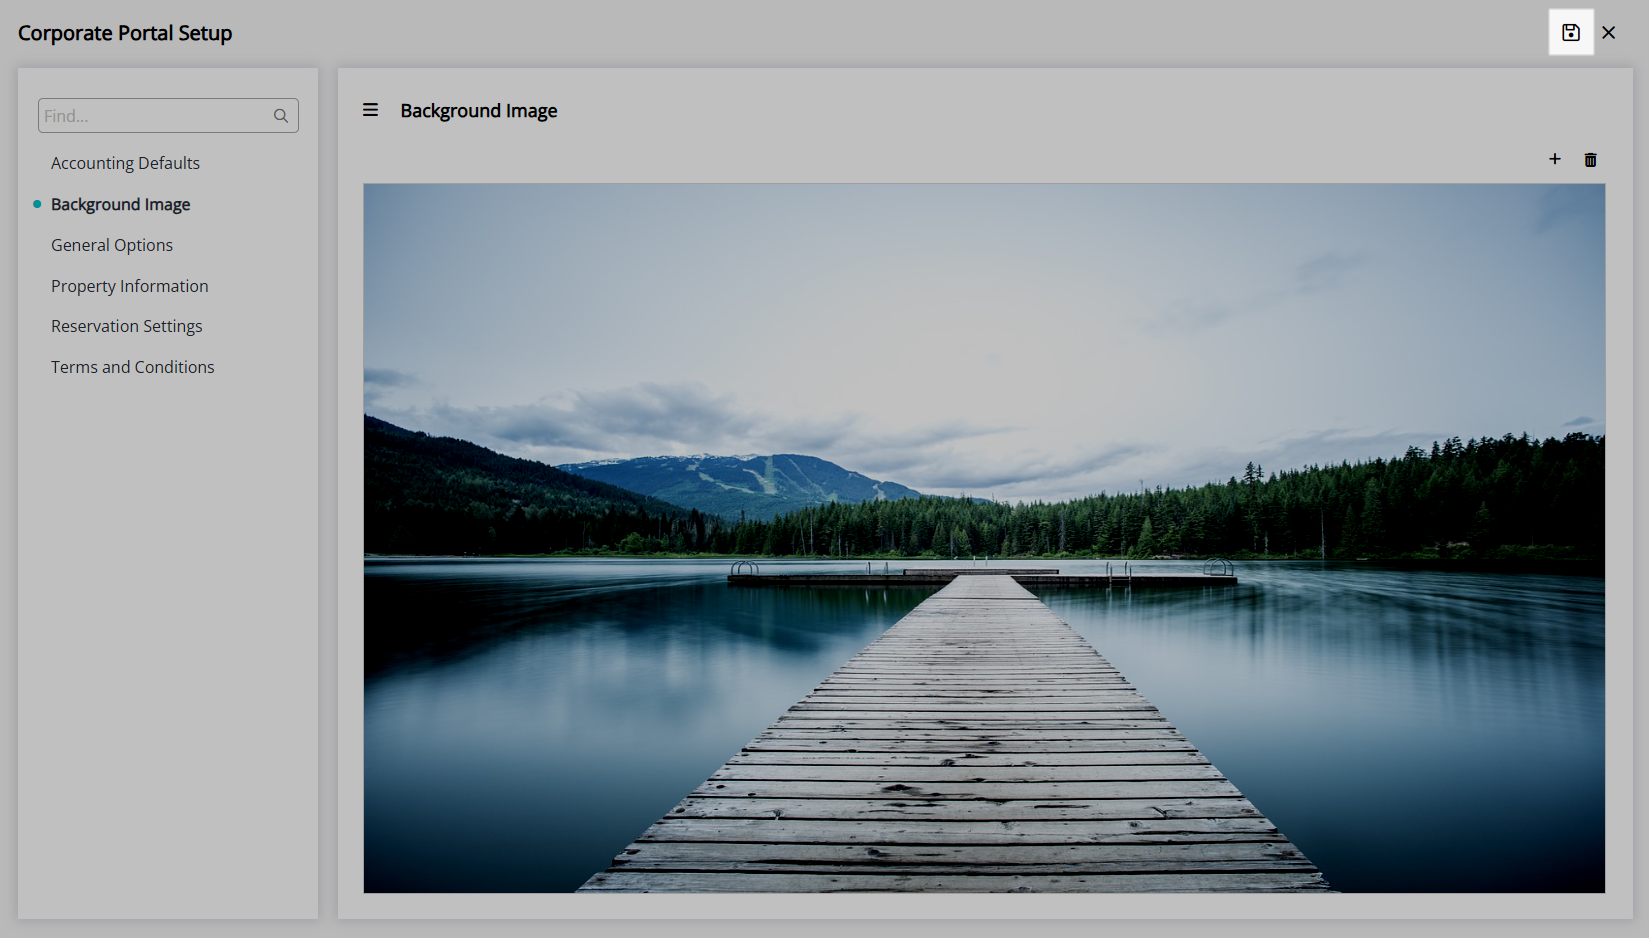
Background Image:
- Navigate to the 'Background Image' tab.
- Select the
 'Add' icon.
 - Select an Image File and choose 'Open'.
- Save.
- Save/Exit.
-
Guide
- Add Button
Guide
Go to Setup > Portal Access > Corporate Portal.
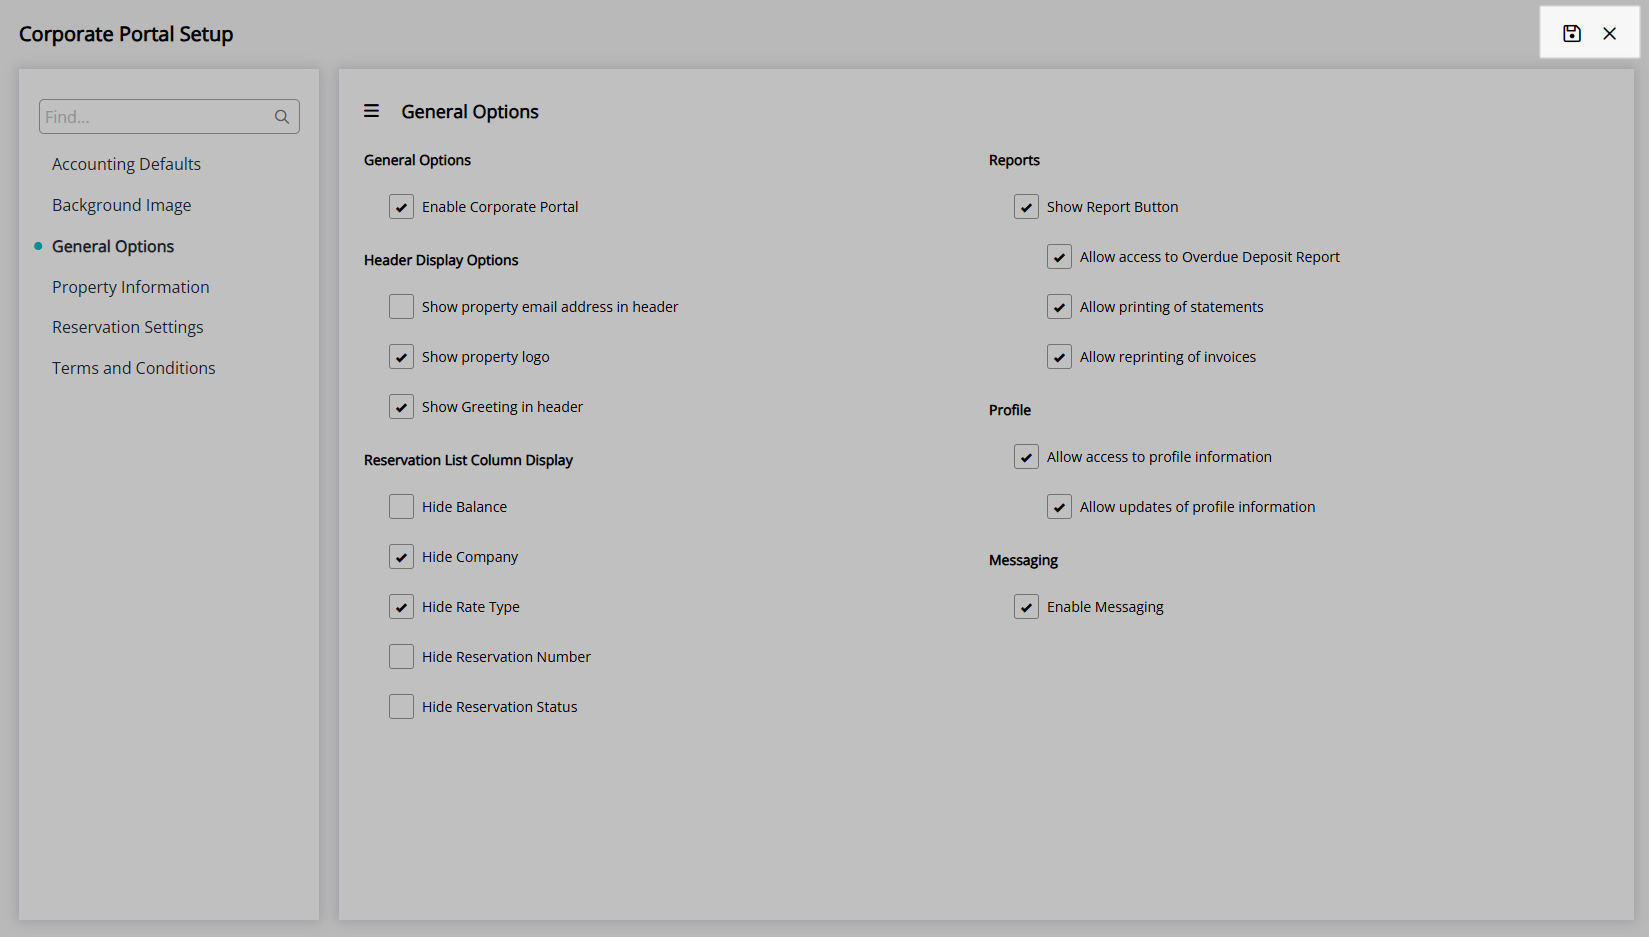
General Options:
Navigate to the 'General Options' tab.
Select the checkbox 'Enable Corporate Portal'.
Optional: Select the checkbox for the Header Display Options.
Optional: Select the checkbox for the Reservation List Column Display.
Optional: Select the checkbox for the Reports.
Optional: Select the checkbox for the Profile.
Optional: Select the checkbox for Messaging.
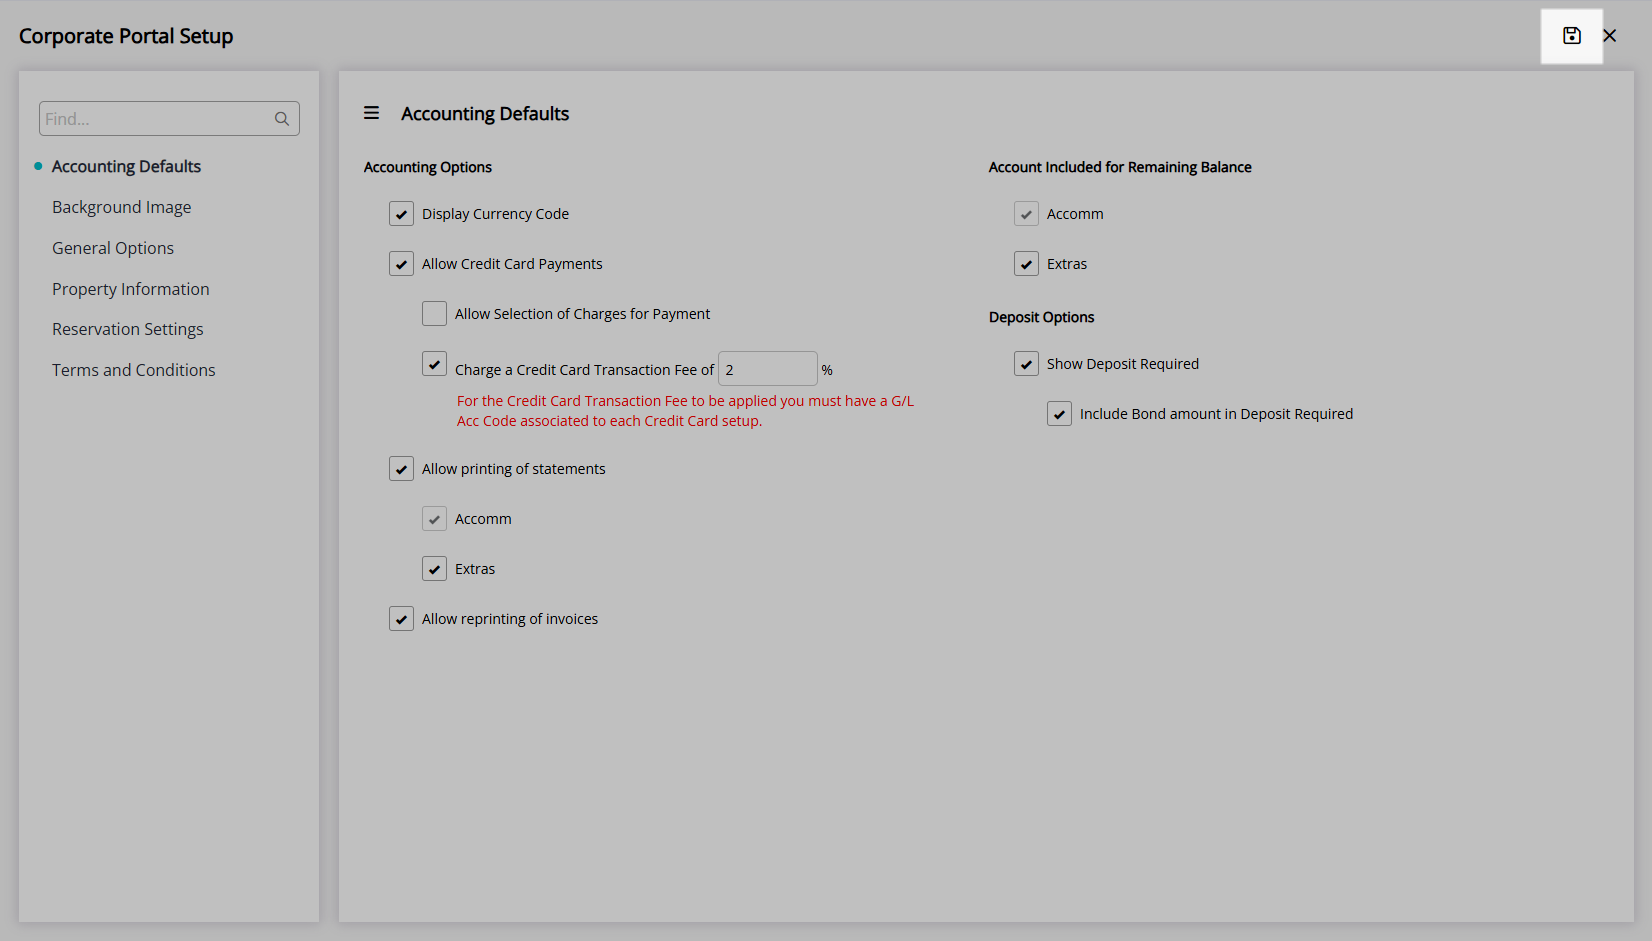
Select the  'Save' icon to store the changes made.
Accounting Defaults:
Navigate to the 'Accounting Defaults' tab.
Optional: Select the checkbox and enter the values for the Accounting Options.

Optional: Select the checkbox for the Reservation Account Types included in the Remaining Balance.
Optional: Select the checkbox for the Deposit Options.
Select the 'Save' icon to store the changes made.
Property Information:
Navigate to the 'Property Information' tab.
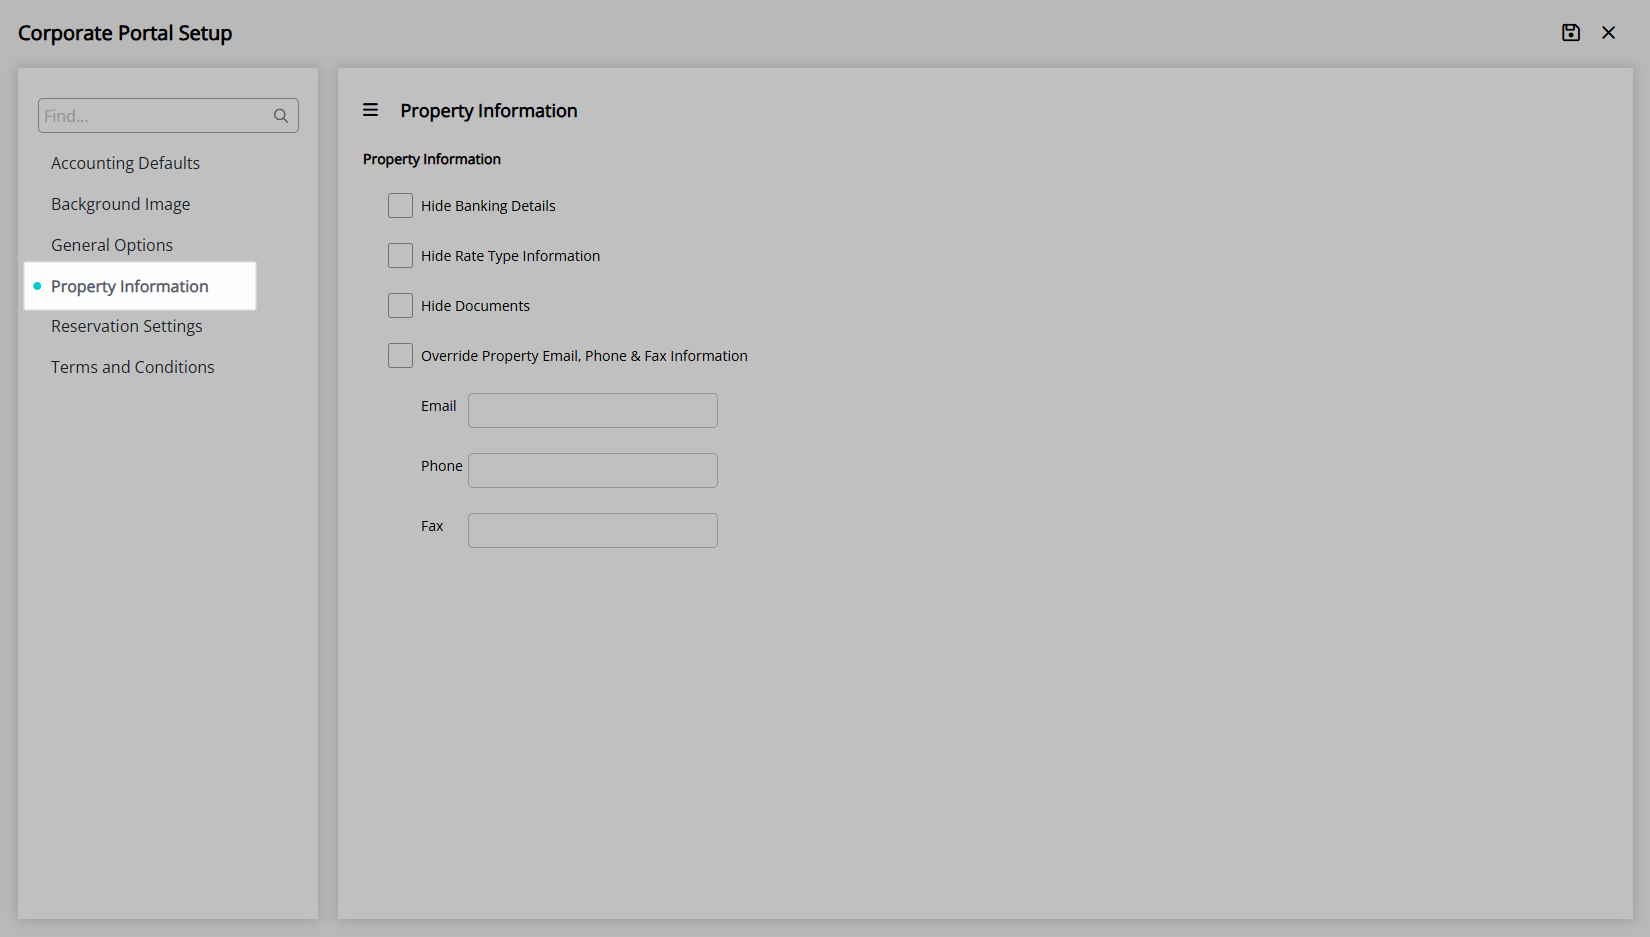
Optional: Select the checkbox and enter the values for the Property Information.
Select the 'Save' icon to store the changes made.
Reservation Settings:
Navigate to the 'Reservation Settings' tab.
Optional: Select the checkbox and options for the Reservation Options.

Optional: Enter up to 3 Email Addresses for Reservation Notifications.
Select the 'Save' icon to store the changes made.
Terms & Conditions:
Navigate to the 'Terms and Conditions' tab.
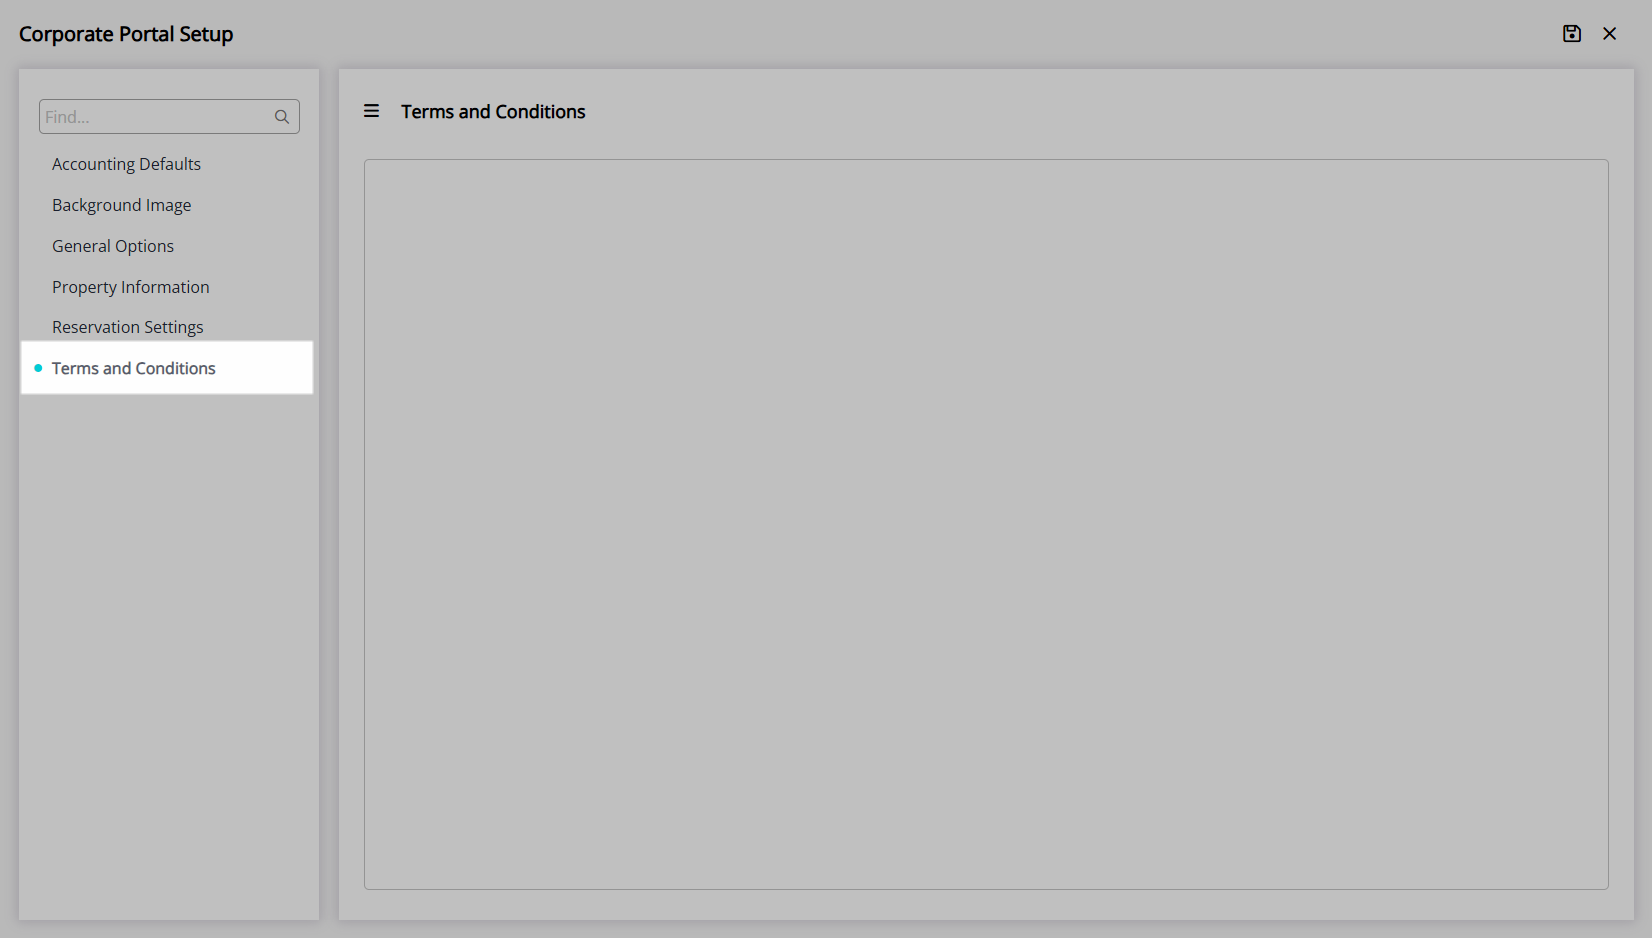
Enter the Corporate Portal Terms & Conditions.
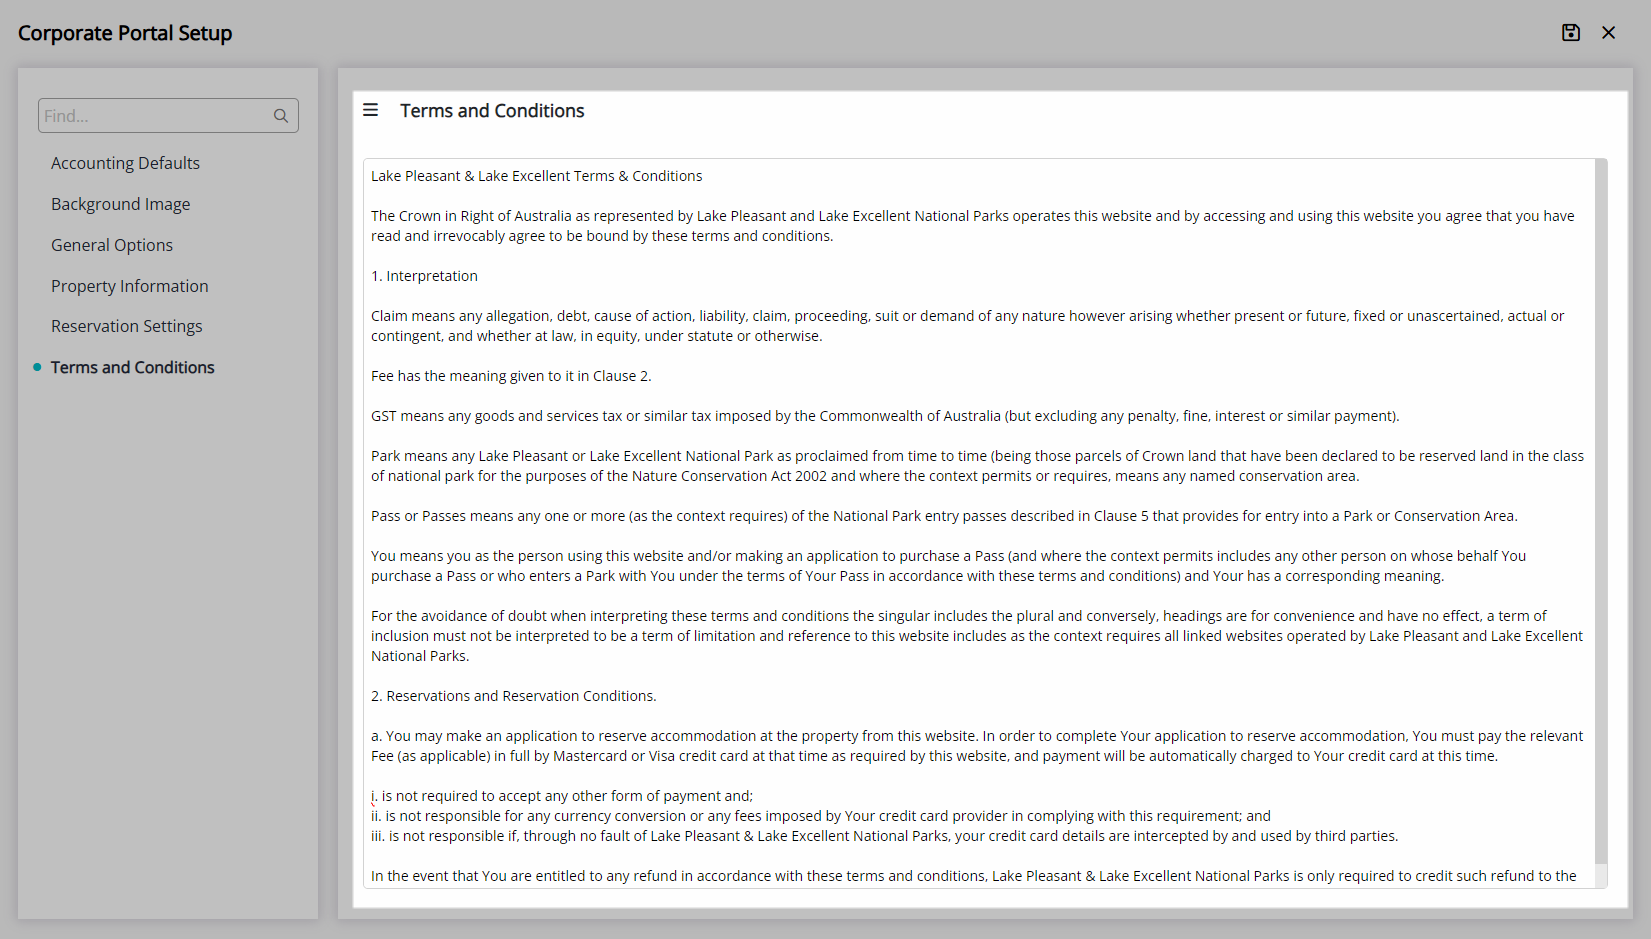
Select the 'Save' icon to store the changes made.
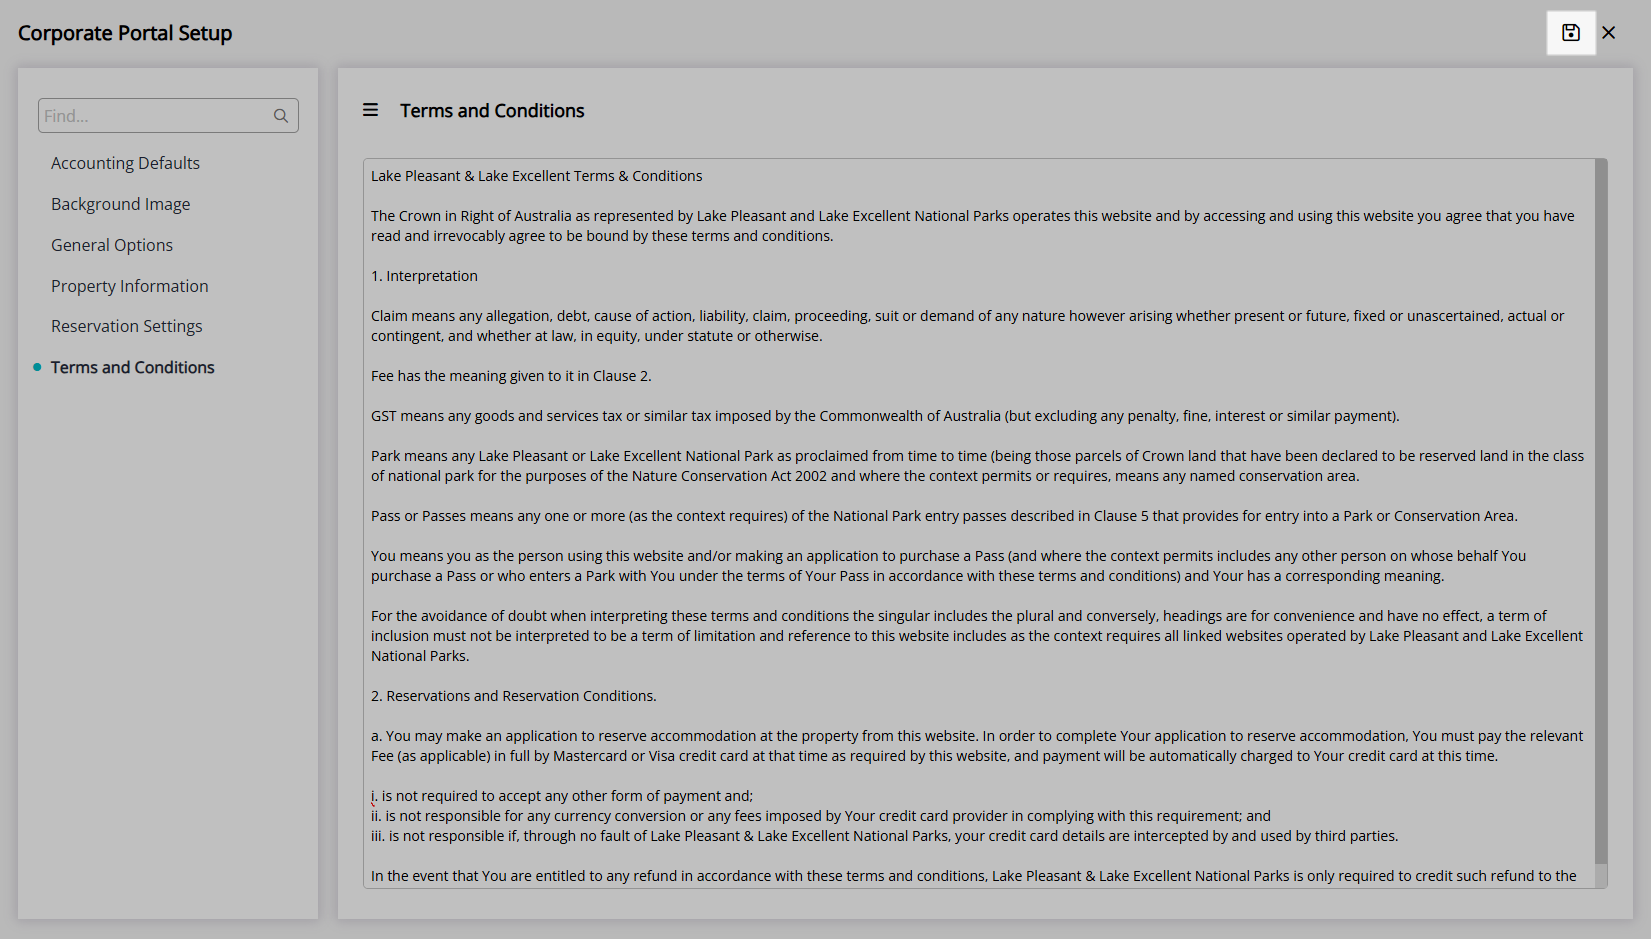
Background Image:
Navigate to the 'Background Image' tab.
Select the ![]() 'Add' icon.
'Add' icon.
Select an Image File and choose 'Open'.
Select the 'Save' icon to store the changes made.
Select the 'Save' icon to store the changes made and the  'Exit' icon to leave the setup.
The Corporate Portal can be accessed by replacing 'xxxx' in the below URL with the Property's RMS Client ID.
https://corporateportal.rmscloud.com/Login/Index?clientId=xxxx
Only a Company, Travel Agent or Wholesaler setup with an Email Address and Online Password can access the Corporate Portal.

Setup
Have your System Administrator complete the following.
- Go to Setup > Portal Access > Corporate Portal in the Side Menu of RMS.
-
General Options:
- Navigate to the 'General Options' tab.
- Select the checkbox 'Enable Corporate Portal'.
- Optional: Select the checkbox for the Header Display Options.
- Optional: Select the checkbox for the Reservation List Column Display.
- Optional: Select the checkbox for the Reports.
- Optional: Select the checkbox for the Profile.
- Optional: Select the checkbox for Messaging.
- Save.
-
Accounting Defaults:
- Navigate to the 'Accounting Defaults' tab.
- Optional: Select the checkbox and enter the values for the Accounting Options.
- Optional: Select the checkbox for the Reservation Account Types included in the Remaining Balance.
- Optional: Select the checkbox for the Deposit Options.
- Save.
-
Property Information:
- Navigate to the 'Property Information' tab.
- Optional: Select the checkbox and enter the values for the Property Information.
- Save.
-
Reservation Settings:
- Navigate to the 'Reservation Settings' tab.
- Optional: Select the checkbox and options for the Reservation Options.
- Optional: Enter up to 3 Email Addresses for Reservation Notifications.
- Save.
-
Terms & Conditions:
- Navigate to the 'Terms and Conditions' tab.
- Enter the Corporate Portal Terms & Conditions.
- Save.
-
Background Image:
- Navigate to the 'Background Image' tab.
- Select the 'Add' icon.
- Select an Image File and choose 'Open'.
- Save.
- Save/Exit.
-
Guide
- Add Button
Guide
Go to Setup > Portal Access > Corporate Portal in the Side Menu of RMS.
General Options:
Navigate to the 'General Options' tab.
Select the checkbox 'Enable Corporate Portal'.
Optional: Select the checkbox for the Header Display Options.
Optional: Select the checkbox for the Reservation List Column Display.
Optional: Select the checkbox for the Reports.
Optional: Select the checkbox for the Profile.
Optional: Select the checkbox for Messaging.
Select the 'Save' icon to store the changes made.
Accounting Defaults:
Navigate to the 'Accounting Defaults' tab.
Optional: Select the checkbox and enter the values for the Accounting Options.
Optional: Select the checkbox for the Reservation Account Types included in the Remaining Balance.
Optional: Select the checkbox for the Deposit Options.
Select the 'Save' icon to store the changes made.
Property Information:
Navigate to the 'Property Information' tab.
Optional: Select the checkbox and enter the values for the Property Information.
Select the 'Save' icon to store the changes made.
Reservation Settings:
Navigate to the 'Reservation Settings' tab.
Optional: Select the checkbox and options for the Reservation Options.
Optional: Enter up to 3 Email Addresses for Reservation Notifications.
Select the 'Save' icon to store the changes made.
Terms & Conditions:
Navigate to the 'Terms and Conditions' tab.
Enter the Corporate Portal Terms & Conditions.
Select the 'Save' icon to store the changes made.
Background Image:
Navigate to the 'Background Image' tab.
Select the ![]() 'Add' icon.
'Add' icon.
Select an Image File and choose 'Open'.
Select the 'Save' icon to store the changes made.
Select the 'Save' icon to store the changes made and the 'Exit' icon to leave the setup.
The Corporate Portal can be accessed by replacing 'xxxx' in the below URL with the Property's RMS Client ID.
https://corporateportal.rmscloud.com/Login/Index?clientId=xxxx
Only a Company, Travel Agent or Wholesaler setup with an Email Address and Online Password can access the Corporate Portal.