Waitlist
Maximise occupancy opportunities with waitlist reservations in RMS.
Waitlist is a feature available in RMS that enables creating reservations that cannot be confirmed due the category, area, rate, or dates not being available with the opportunity to confirm the reservation at a later date when availability opens up or the restrictions are lifted.
Waitlist reservations allow for maximising occupancy opportunities ahead of guaranteed allotments being released or during popular periods that frequently result in cancellations or changed travel plans including property or local events, concerts, weddings, conferences etc.
Waitlist reservations use the 'Quote' status and will not deduct from availability until the Reservation Status is changed to 'Unconfirmed' or 'Confirmed'. The Waitlist Codes lookup table can be used to record the waitlist reason or set a waitlist priority order to assist with managing waitlist reservations.
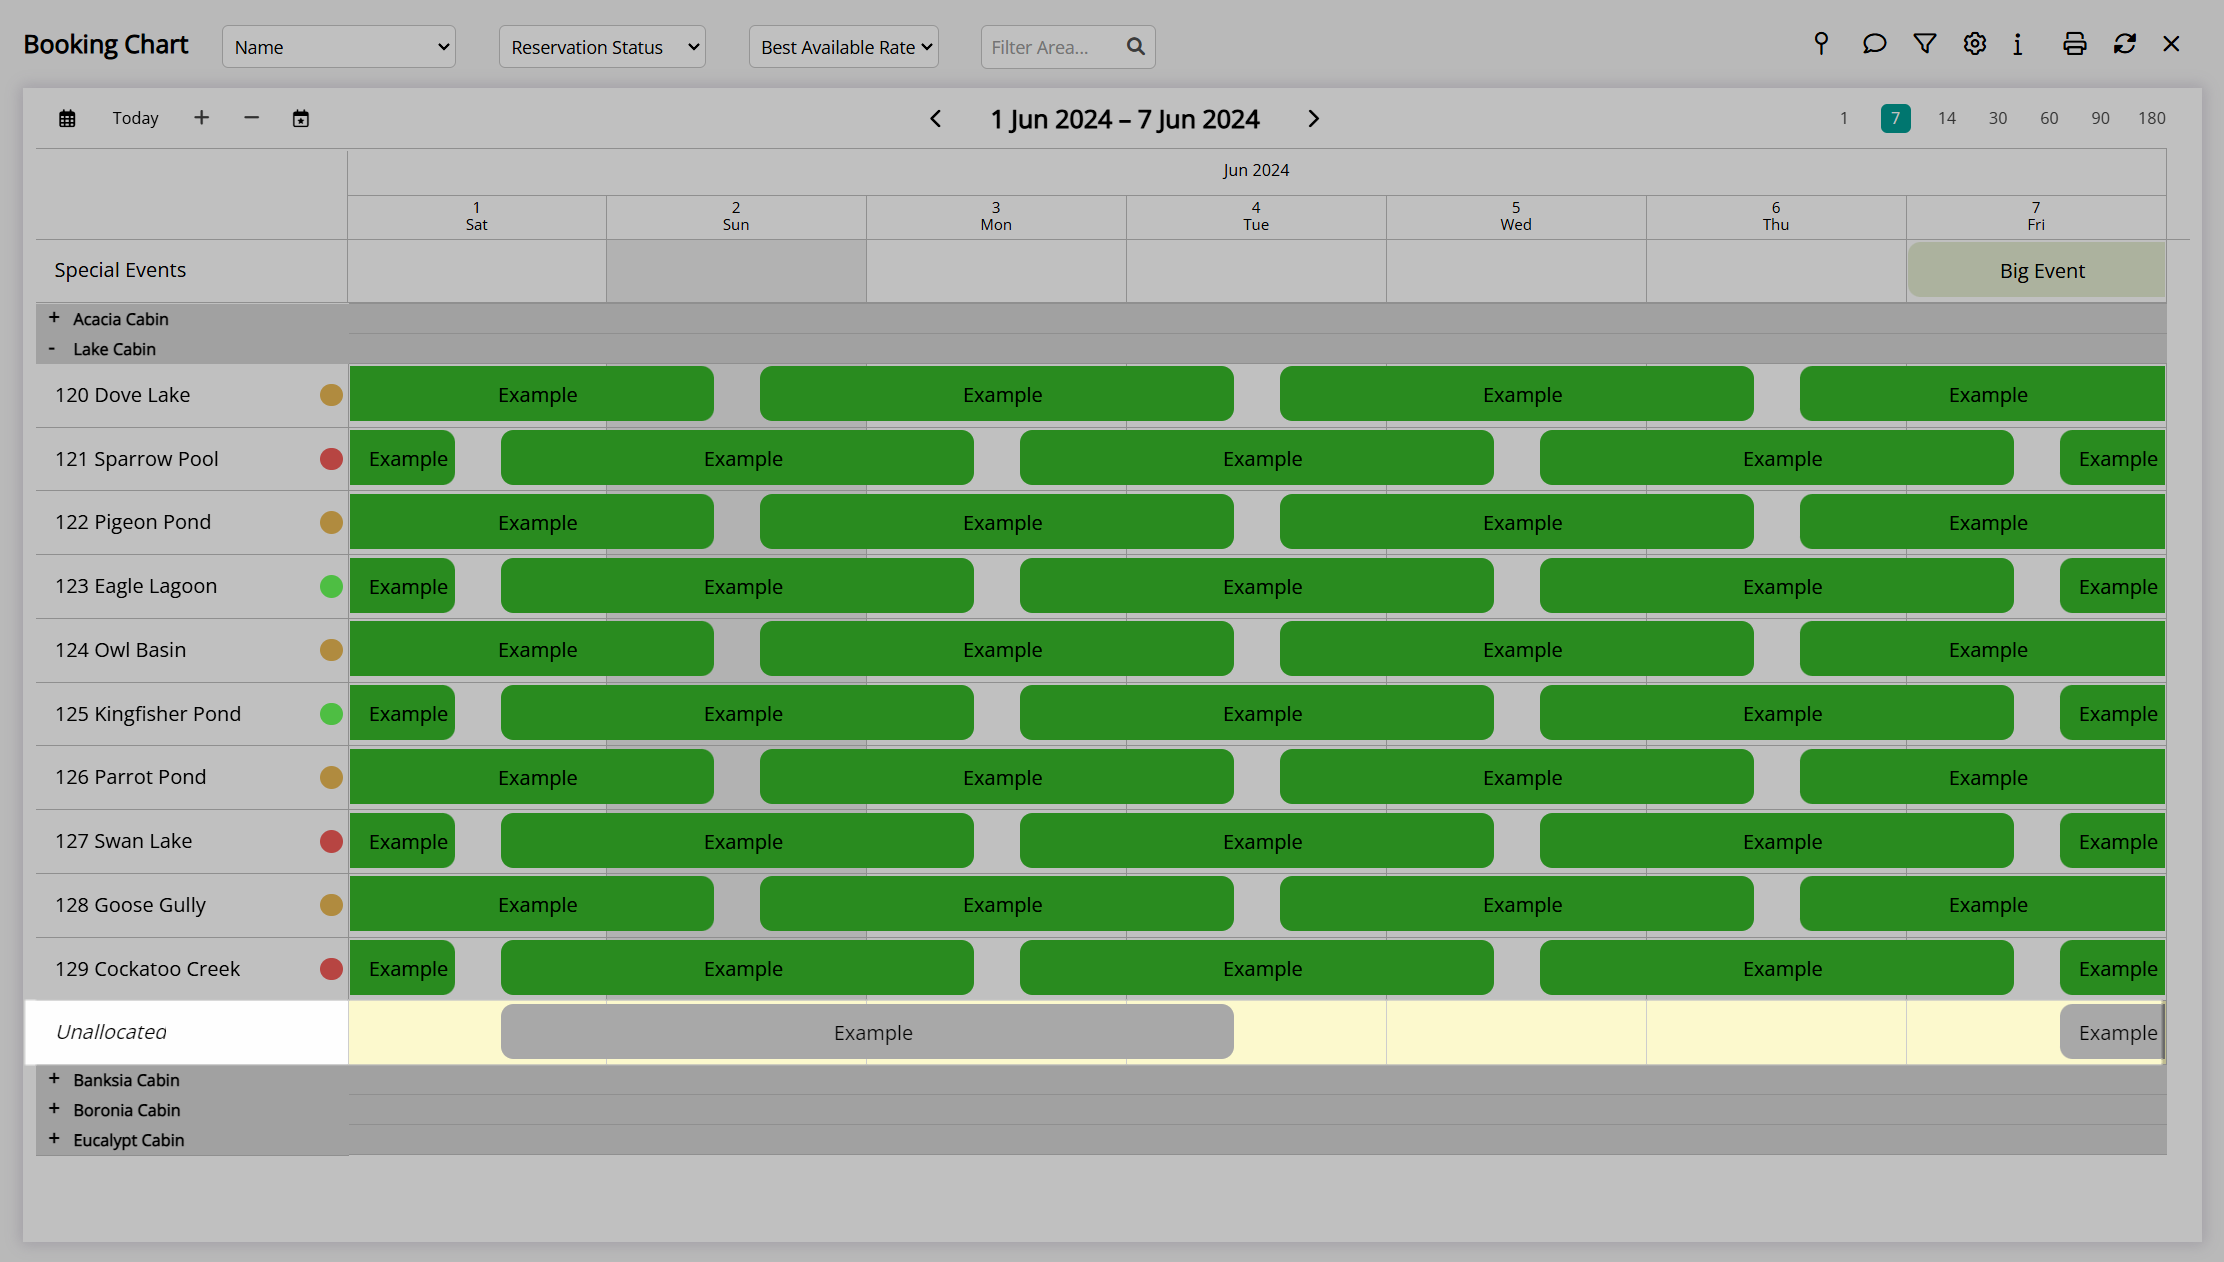
When setup as Book by Area the waitlist can be enabled to park waitlist reservations in an area that already has a confirmed or unconfirmed reservation allocated, allowing visibility of individual area waitlists on the Booking Chart. Book by Category can choose to allow waitlisting for specific areas or maintain a category level waitlist that can be confirmed if the category availability opens up.
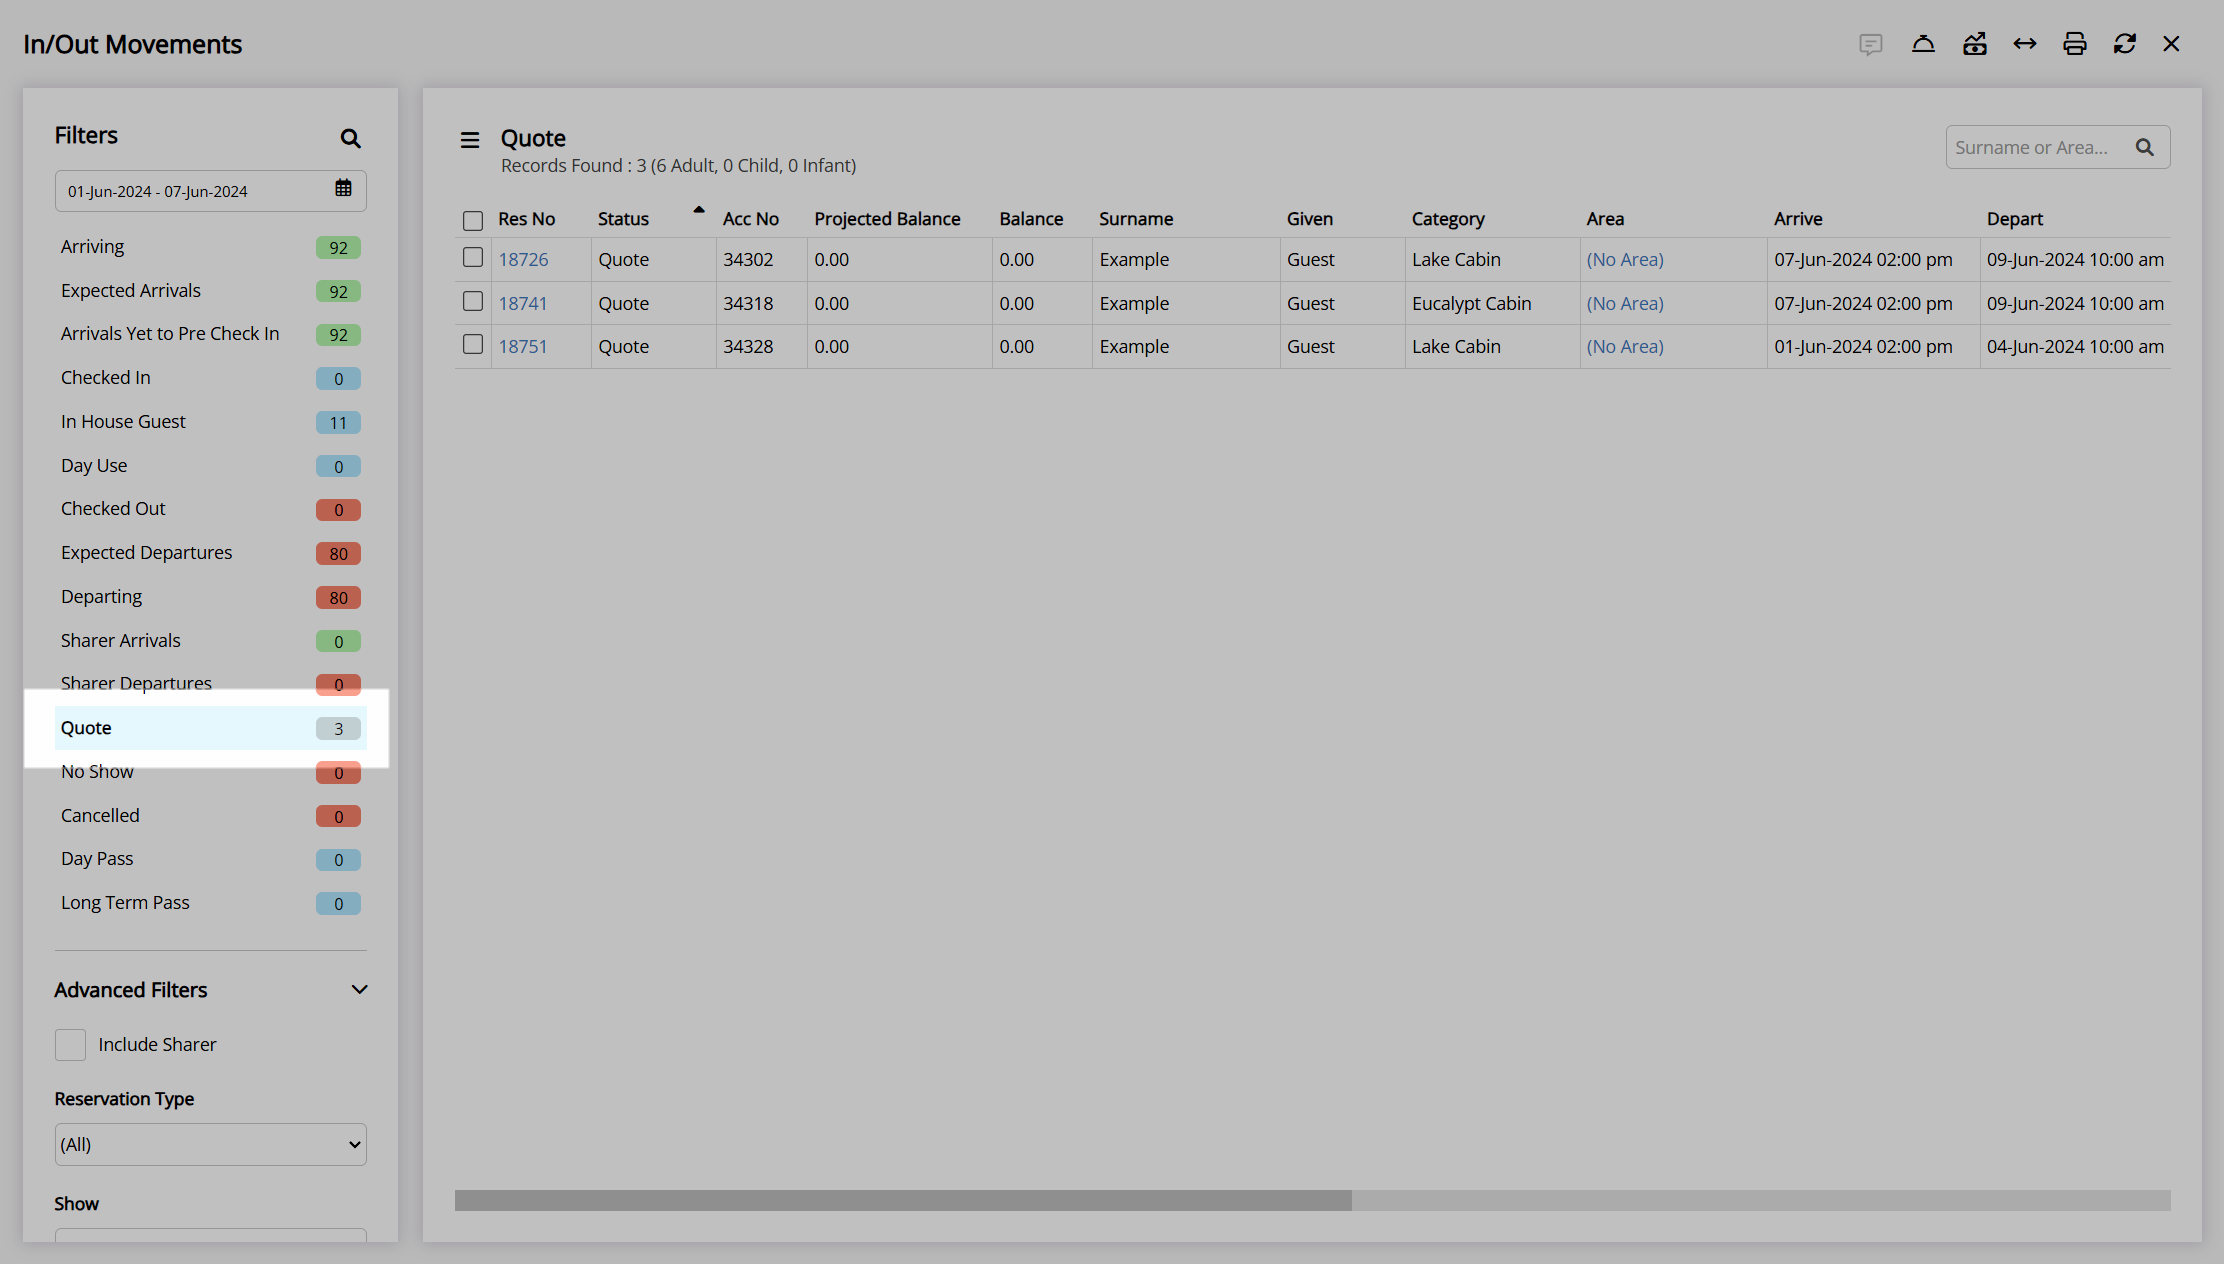
The Reservation List report by 'Quote' status and the 'Quote' view on In/Out Movements can be used with the Availability Chart or Booking Chart to view and manage waitlist reservations over a wide date range or when allocating areas when setup as Book by Category.
Setup
Have your System Administrator complete the following.
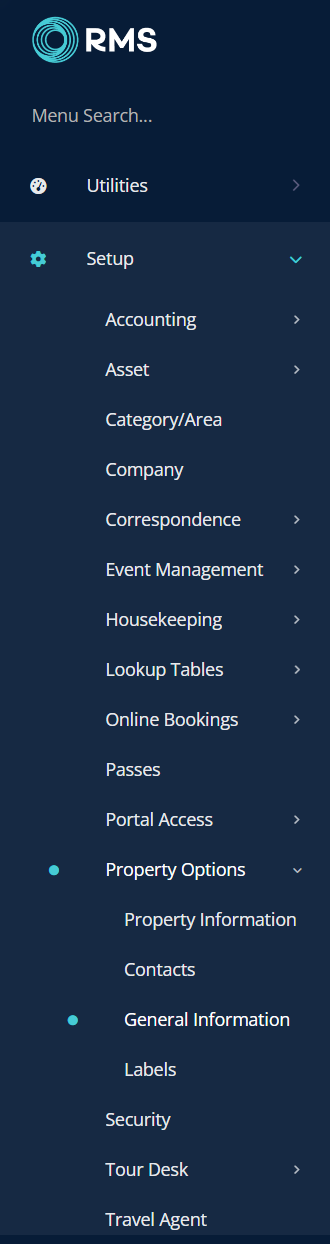
- Go to Setup > Property Options > General Information in the side menu of RMS.
- Navigate to the 'Reservation Options' tab.
- Select the checkbox 'Use Quote Status'.
- Optional: Select the checkbox 'Allow Selection of Unavailable Areas for Quotes'.
- Save/Exit.
-
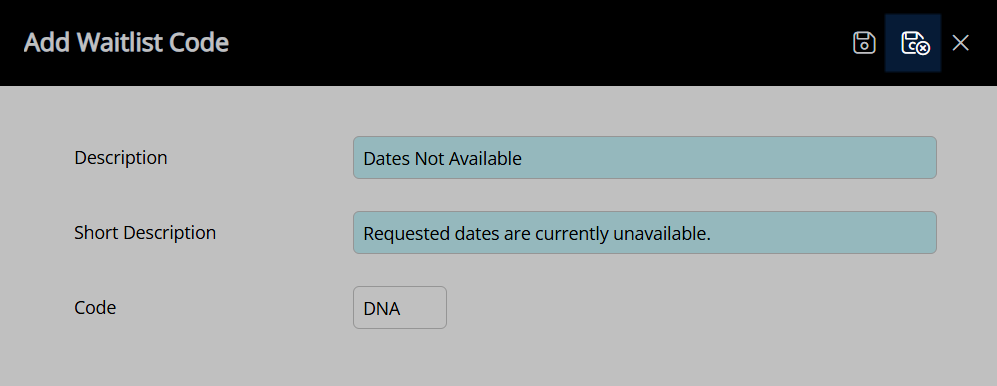
Optional: Setup Waitlist Codes.
- Go to Setup > Lookup Tables > Waitlist Codes in the side menu of RMS.
- Select the
 'Add' icon.
 - Enter a Waitlist Code Description.
- Enter a Short Description.
- Enter a Waitlist Code.
- Save/Exit.
Go to Setup > Property Options > General Information in the side menu of RMS.
Navigate to the 'Reservation Options' tab.
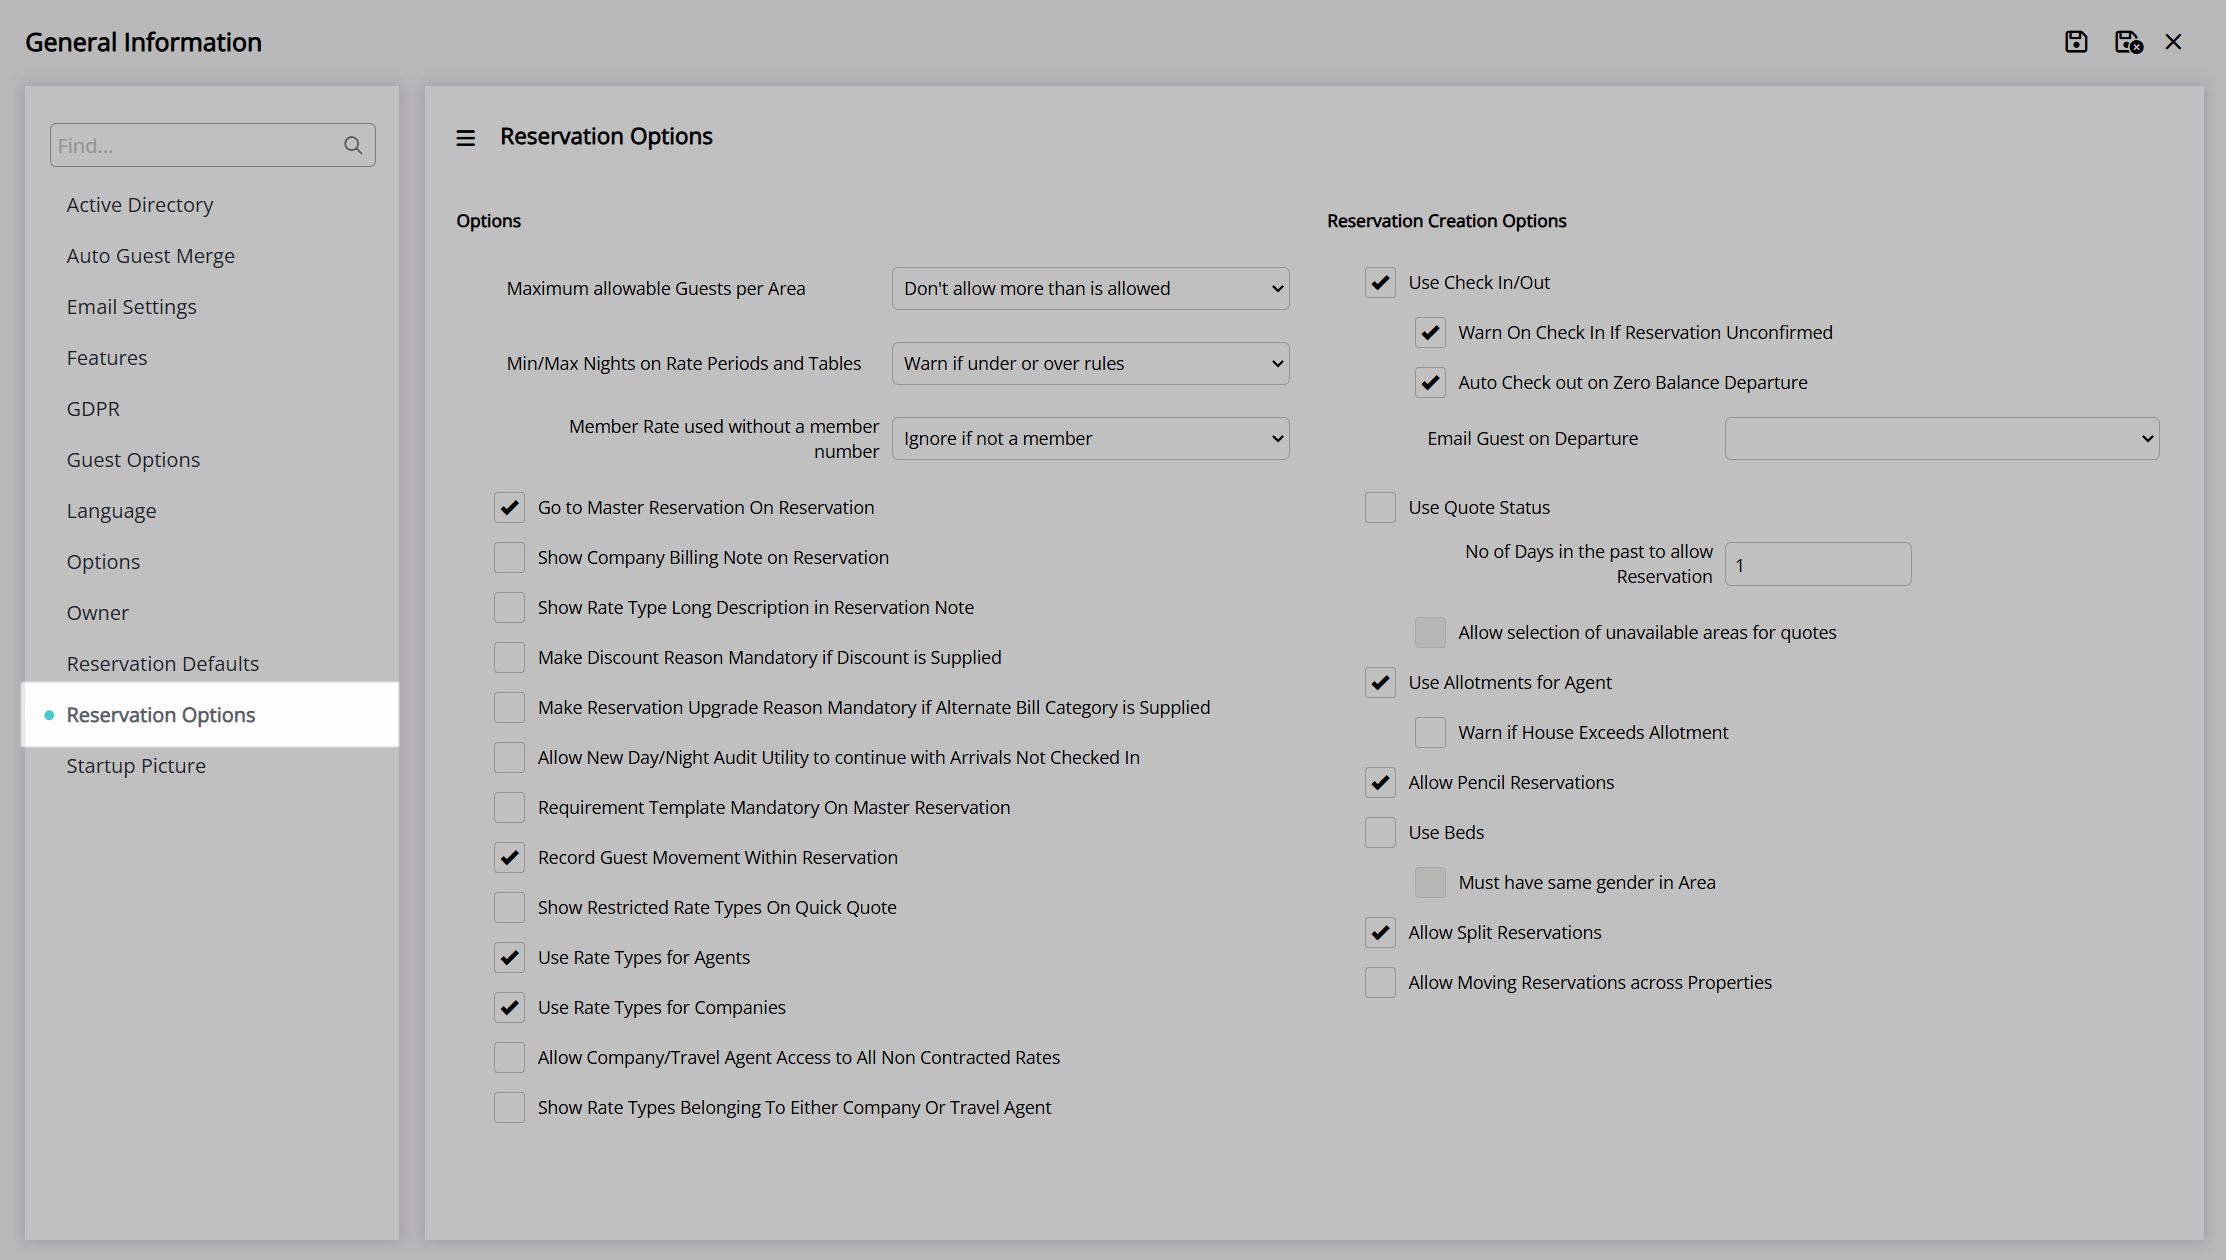
Select the checkbox 'Use Quote Status'.

Optional: Select the checkbox 'Allow Selection of Unavailable Areas for Quotes'.
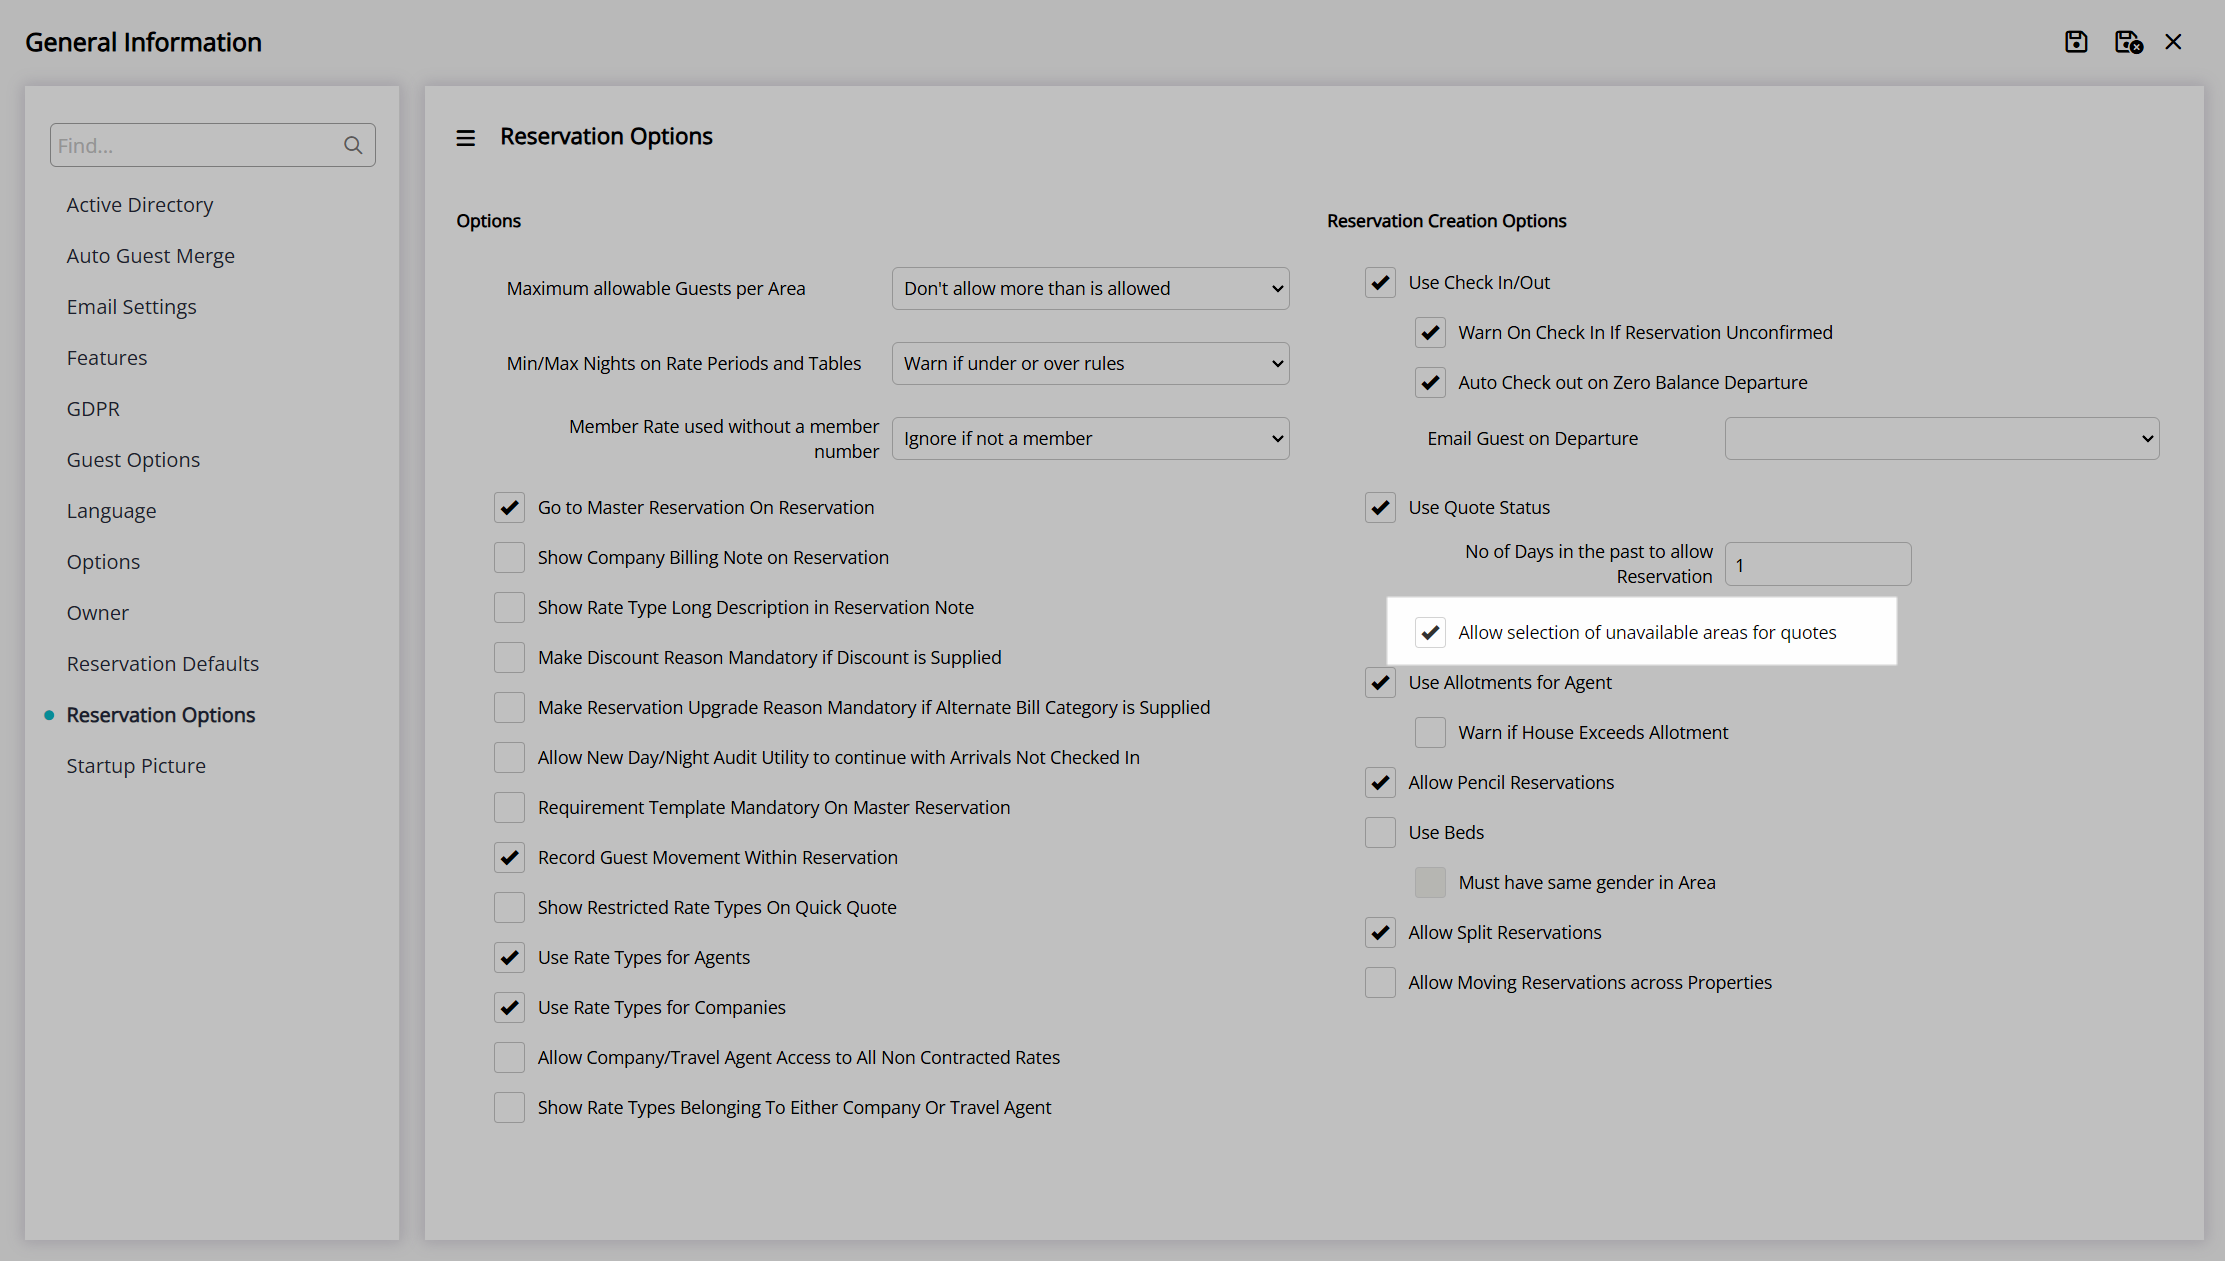
Select the  'Save/Exit' icon to store the changes made and leave the setup.

Optional: Setup Waitlist Codes.
Waitlist Codes
Go to Setup > Lookup Tables > Waitlist Codes in the side menu of RMS.

Select the  'Add' icon.

Enter a Waitlist Code Description.

Enter a Short Description.

Enter a Waitlist Code.

Select the  'Save/Exit' icon to store the changes made and leave the setup.
Waitlist reservations can now be created using 'Quote' status in RMS.

Waitlist Reservation
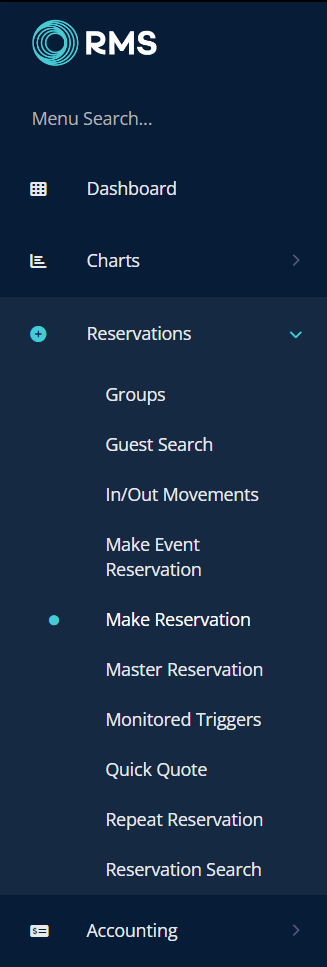
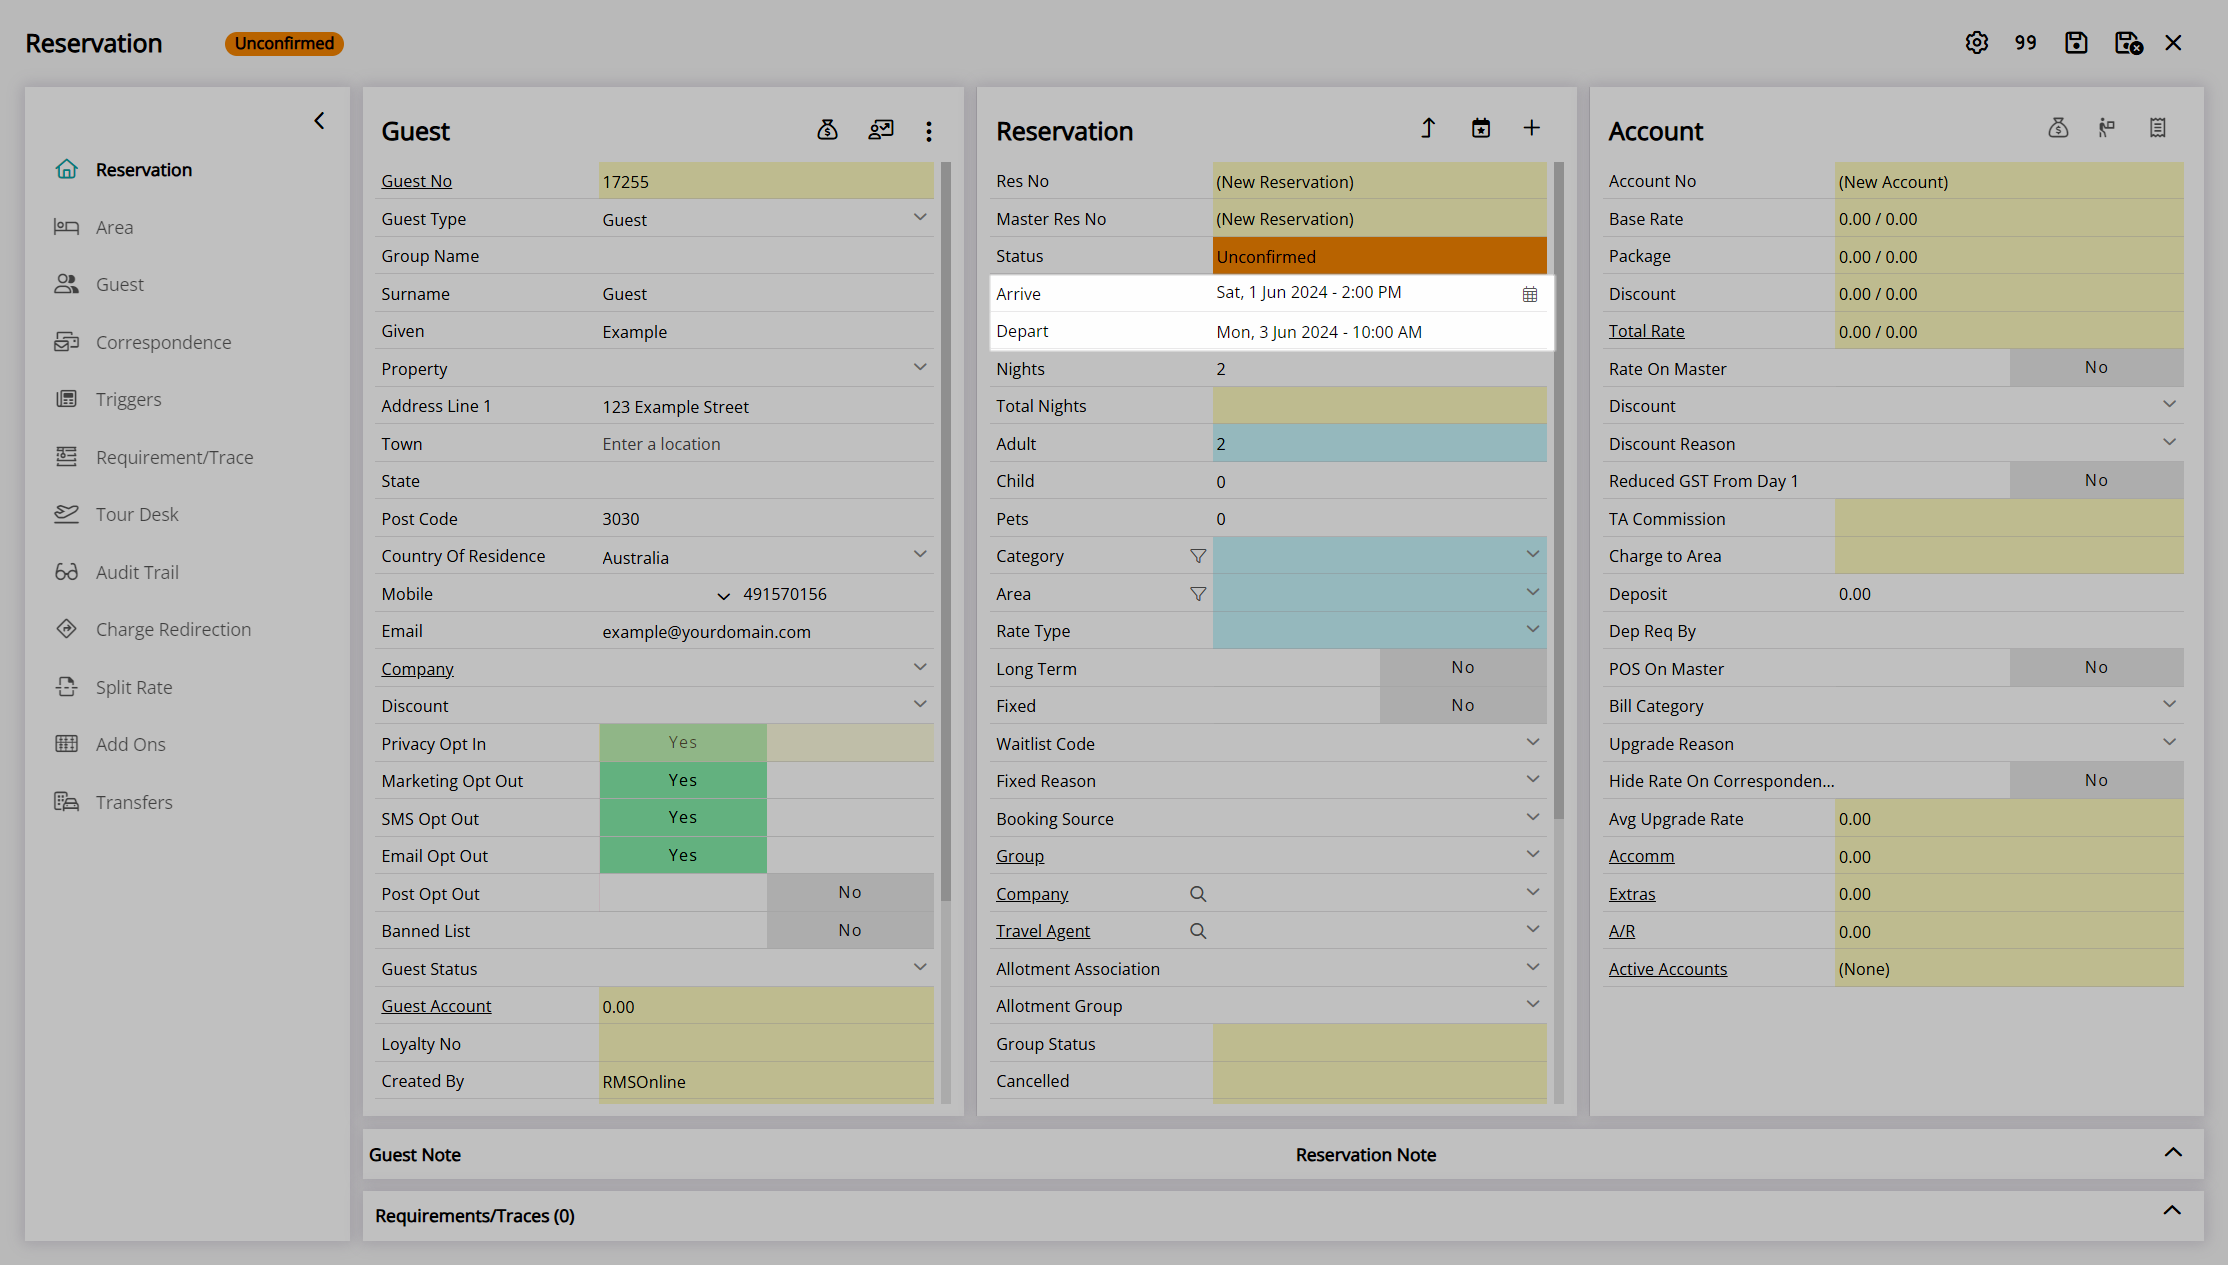
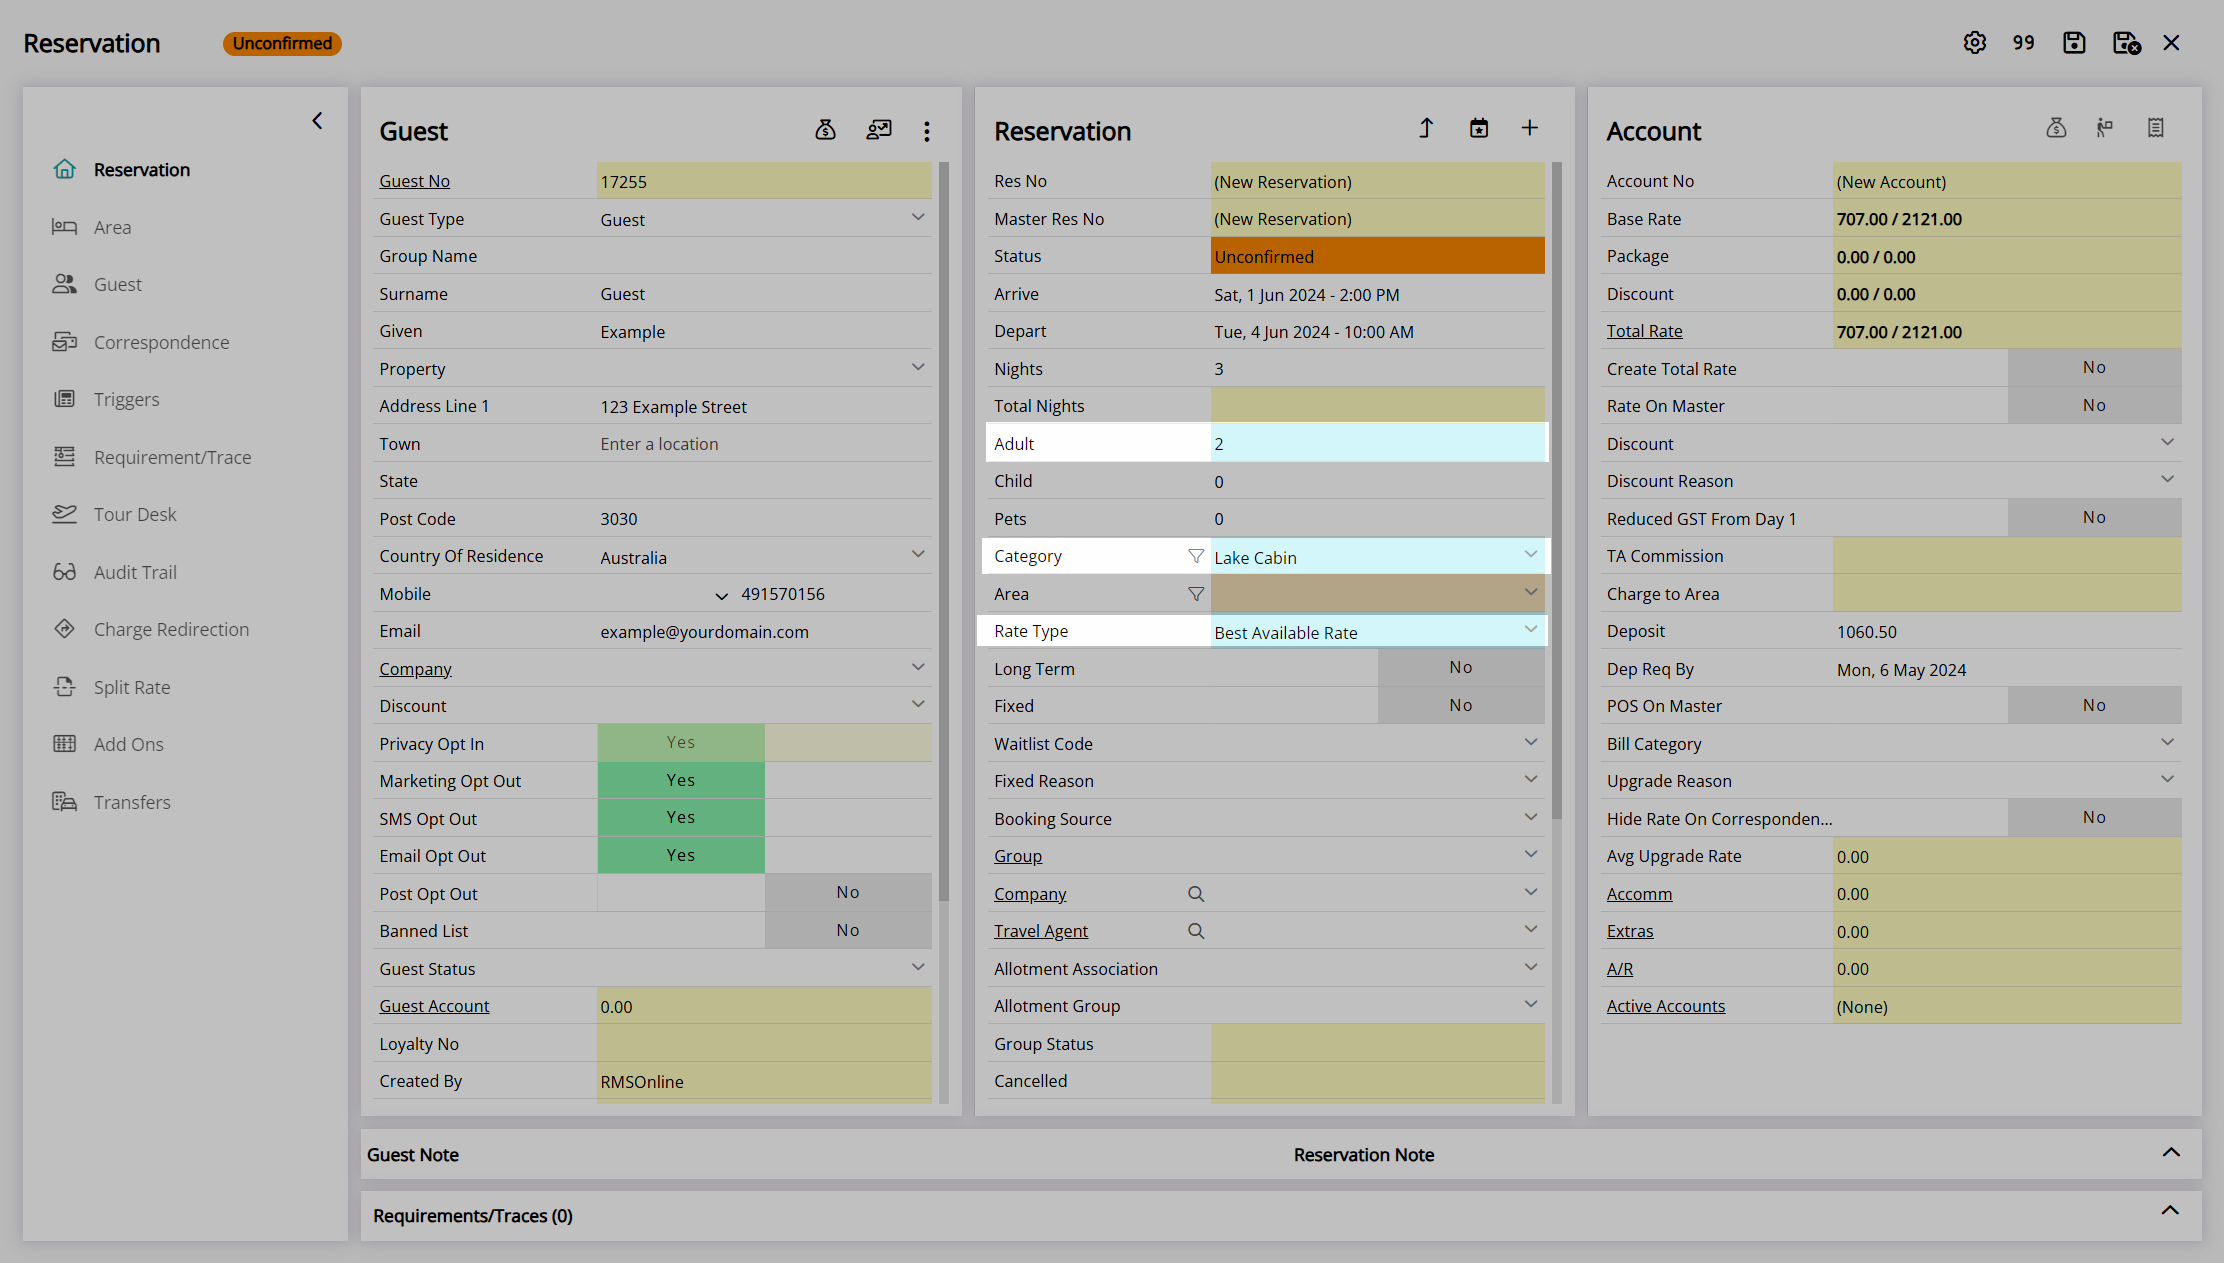
- Go to Reservations > Make Reservation in the side menu of RMS.
- Enter the Guest Details.
- Select an Arrive Date and Depart Date.
- Select a Category.
- Optional: Select an Area.
- Select a Rate Type.
- Complete Mandatory Reservation Fields.
- Select the
 'Quote' icon.
 - Optional: Select a Waitlist Code.
- Save/Exit.
Go to Reservations > Make Reservation in the side menu of RMS.
Enter the Guest Details.
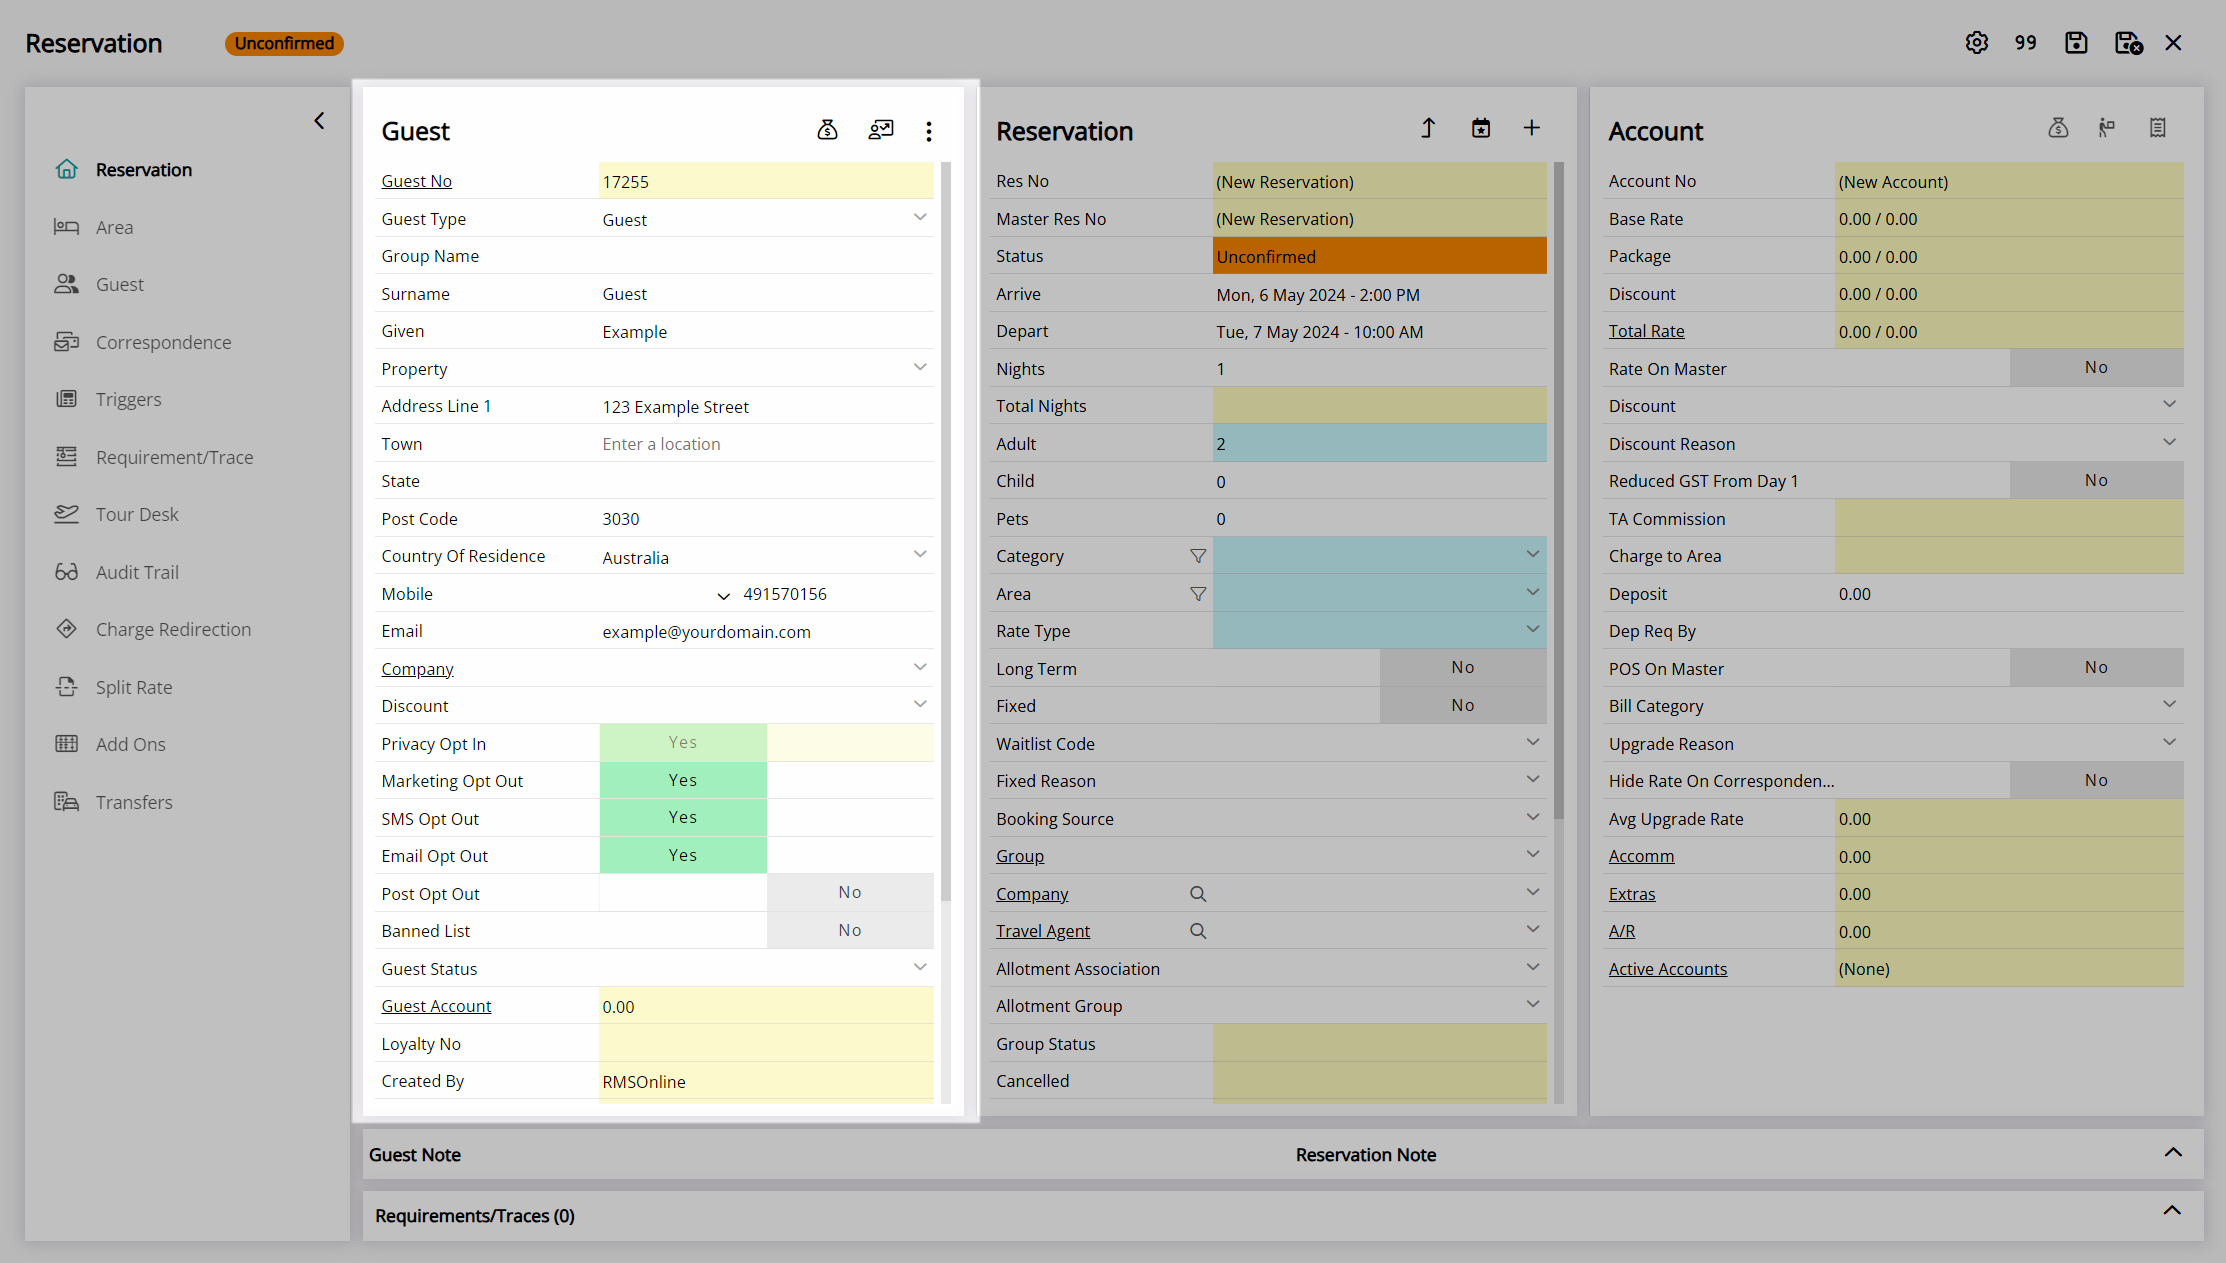
Select an Arrive Date and Depart Date.
Select a Category.

Optional: Select an Area.

Select a Rate Type.

Complete Mandatory Reservation Fields.
Select the ![]() 'Quote' icon.
'Quote' icon.

Optional: Select a Waitlist Code.

Select the  'Save/Exit' icon to store the changes made and create the waitlist reservation.

This waitlist reservation will be visible in the 'Unallocated Row' on the Booking Chart if used or on the 'Quote' view of In/Out Movements.