Tours
Setup a tour, event, activity, or experience when using the Tour Desk module in RMS.
A tour is an activity, event, or experience that can be booked and paid for on a reservation when using the Tour Desk module in RMS.
Tour availability can be set for a date range or indefinitely with the tour duration and schedule defined for each date range.
Pricing of tickets is set on the tour schedule enabling changes in pricing, availability, and schedules to be added, updated, or removed without impacting existing tour bookings.
Including tour inventory allows for managing tour capacity, ticket or seat allocation, and viewing availability to maximise sales of tours on offer.
Tour Desk includes a tour voucher that can be used as a ticket or as proof of payment with the option to create custom tickets and waivers using a form letter.
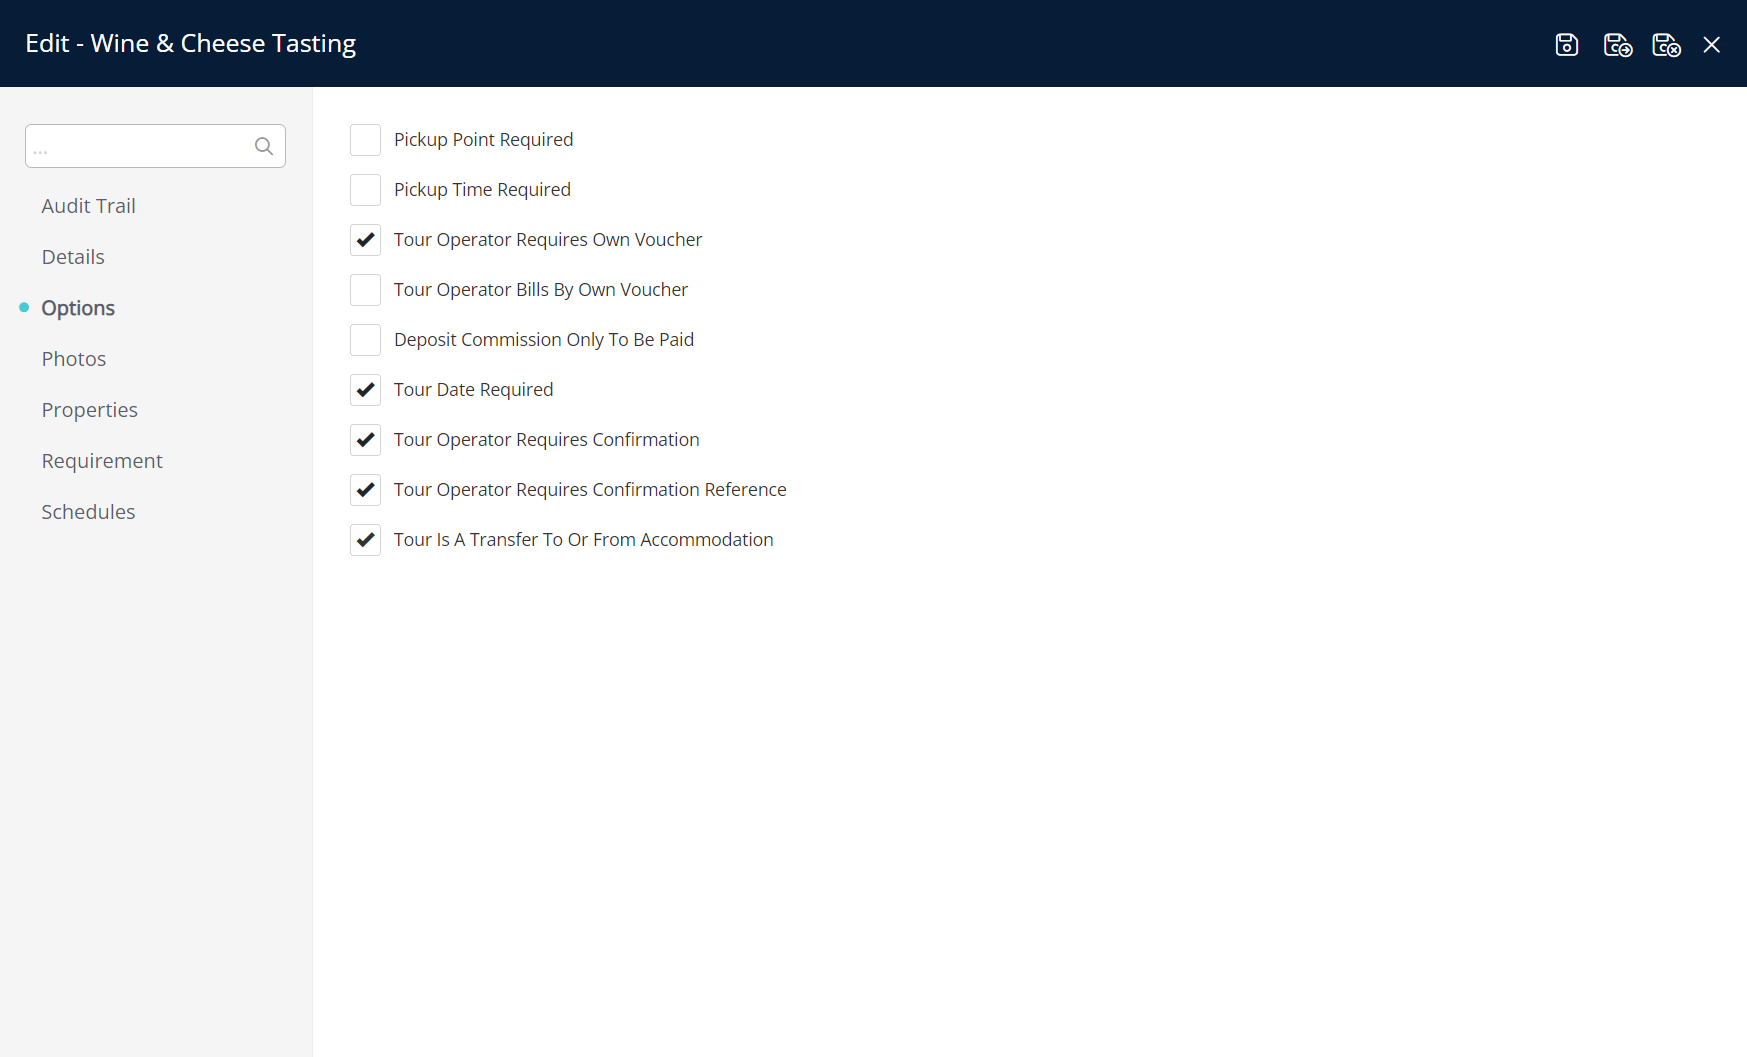
Additional options are available on a tour to specify pick-up points, pick-up times, tour operator vouchers, tour commissions, or if a tour is considered a transfer to or from the accommodation.
Tour photos can be added to display with the tour details on the RMS Internet Booking Engine or Guest Portal to encourage guests to book onto available tours during the online booking process.
Ticket types can be set as available per tour schedule with the option to choose if that ticket type will also be available for purchase on the RMS Internet Booking Engine.
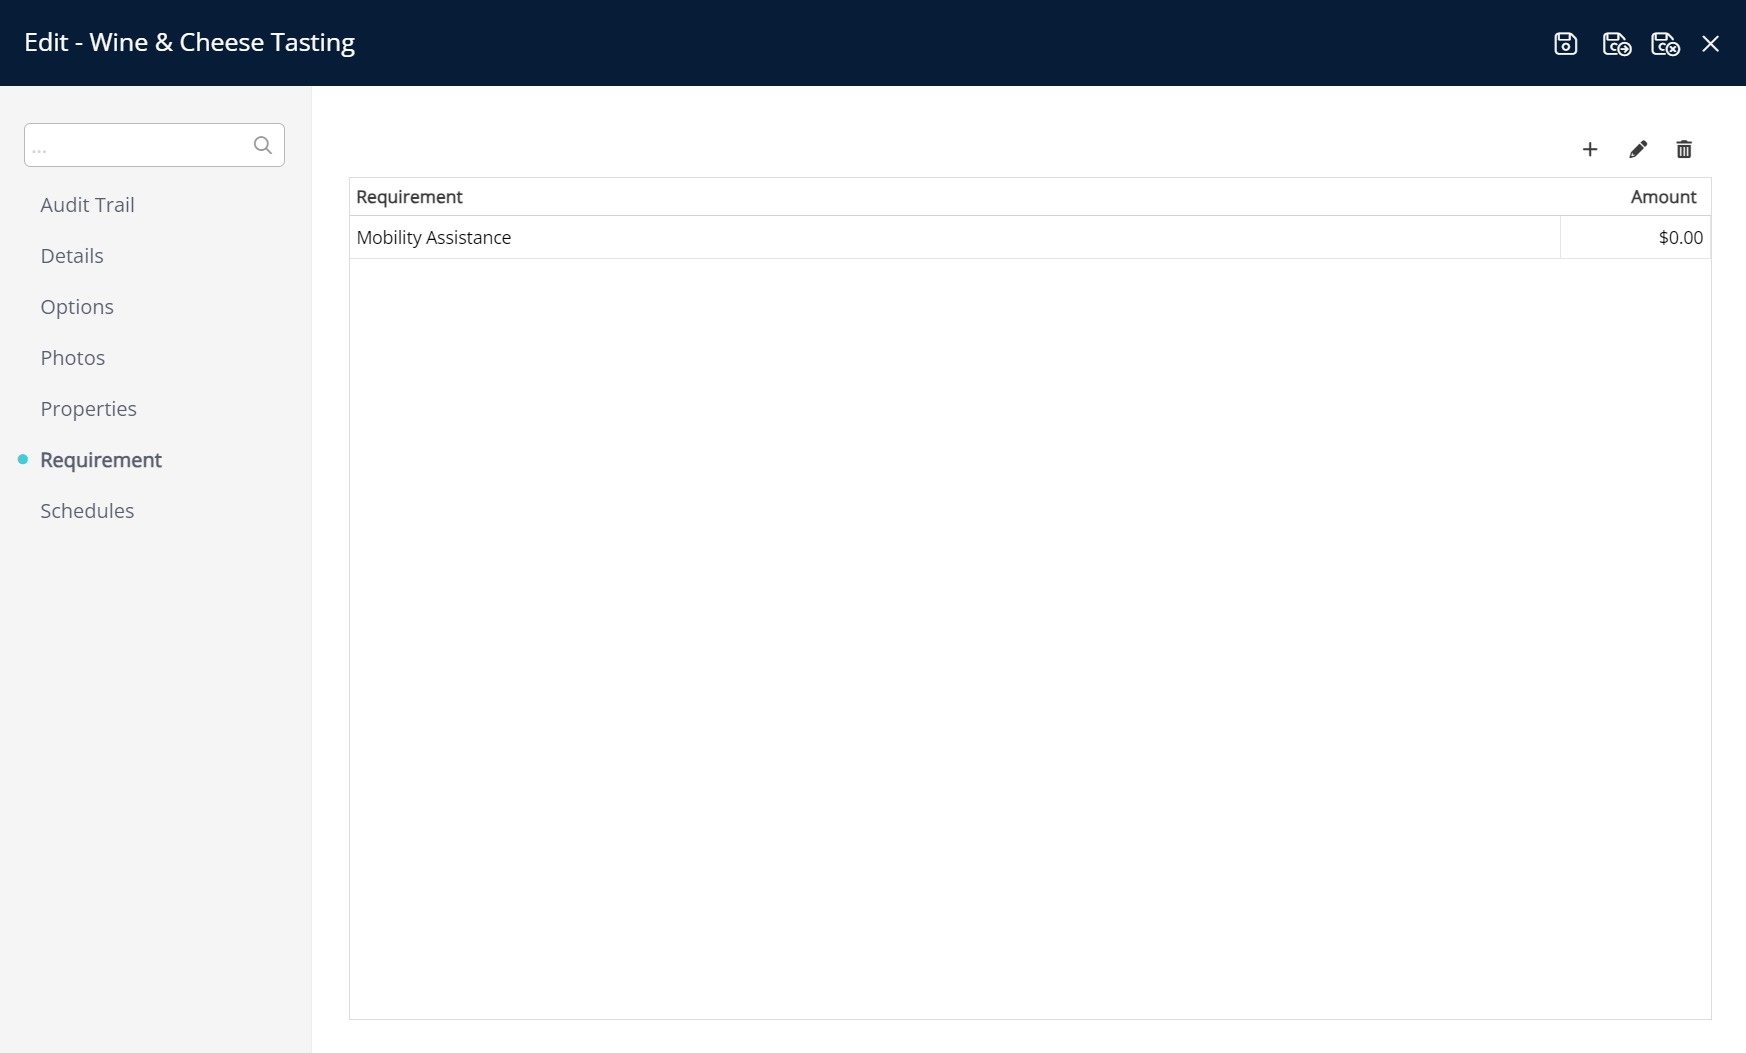
Requirements can be used to add optional tour extras to upgrade or offer premium inclusions on top of the base activity, event, tour, or experience.
All tours include an audit trail of changes made showing which user made the change, when the change was made, and what was changed.
Setup
Complete the following setup to create a tour in RMS:
- Tour
- Tour Schedules & Ticket Prices
- Tour Options (Optional)
- Tour Photos (Optional)
- Tour Requirements (Optional)
Tour
Have your System Administrator complete the following.
- Go to Setup > Tour Desk > Tours in the side menu of RMS.
- Select the
 'Add' icon.
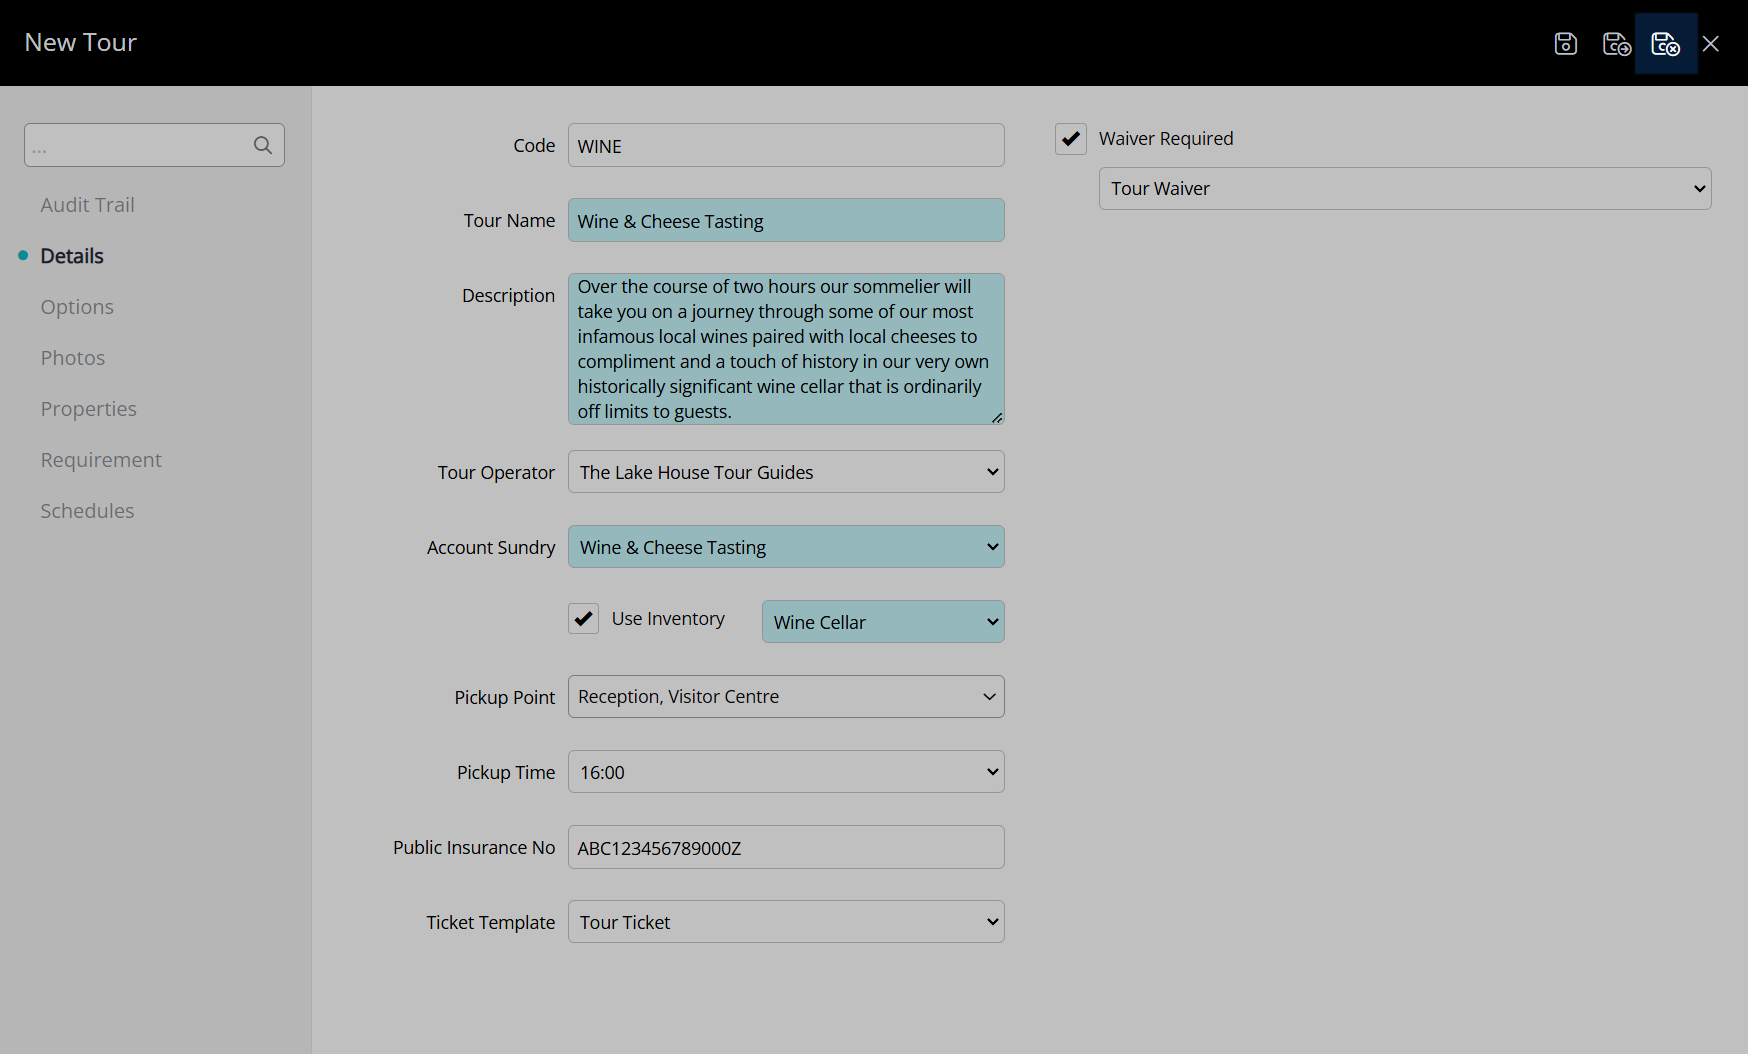
 - Optional: Enter a Tour Code.
- Enter the Tour Name.
- Enter a Tour Description.
- Optional: Select a Tour Operator.
- Select a Tour Sundry Charge.
- Optional: Select the checkbox 'Use Inventory' and select the Tour Inventory.
- Optional: Select one or more Pickup Points.
- Optional: Select a Pickup Time.
- Optional: Enter the Public Insurance Number.
- Optional: Select a Form Letter as the Ticket Template.
- Optional: Select the checkbox 'Waver Required' and select a Form Letter for the waiver.
- Save.
- Setup Tour Schedules & Ticket Prices.
- Optional: Setup Tour Options.
- Optional: Setup Tour Photos.
- Optional: Setup Tour Requirements.
- Save/Exit.
Go to Setup > Tour Desk > Tours in the side menu of RMS.

Select the  'Add' icon.

Optional: Enter a Tour Code.

Enter the Tour Name.
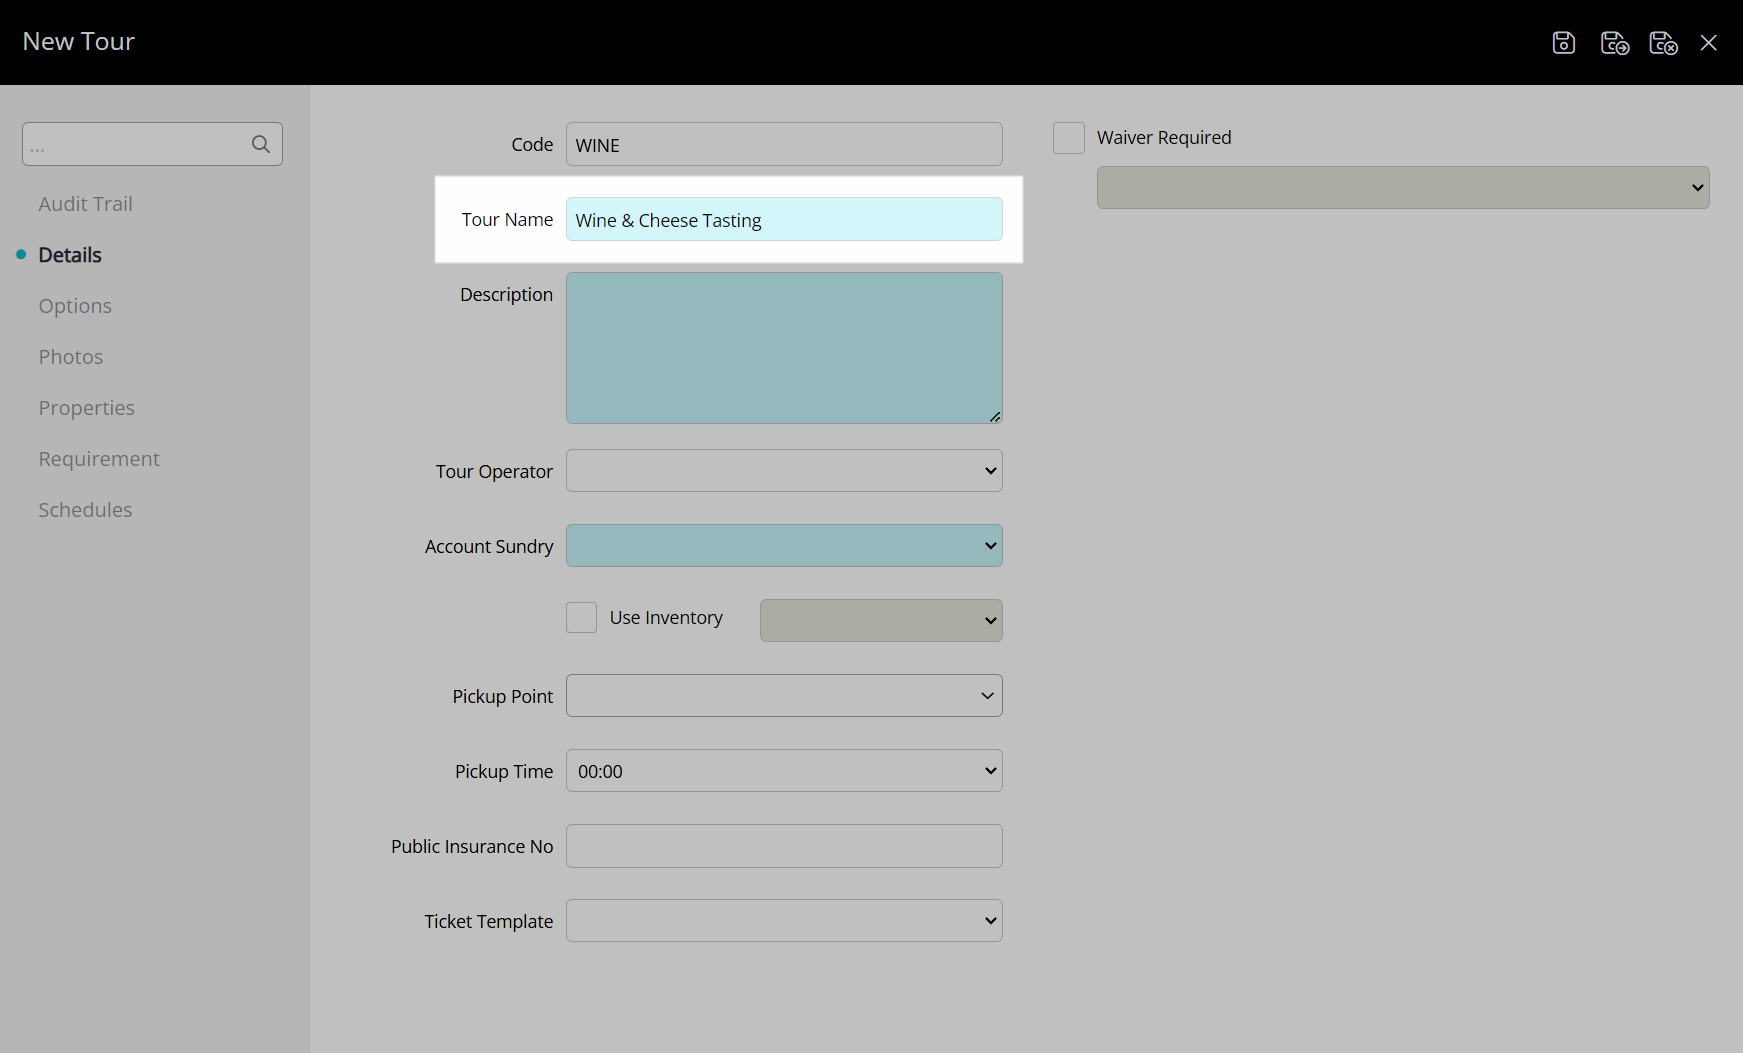
Enter a Tour Description.

Optional: Select a Tour Operator.
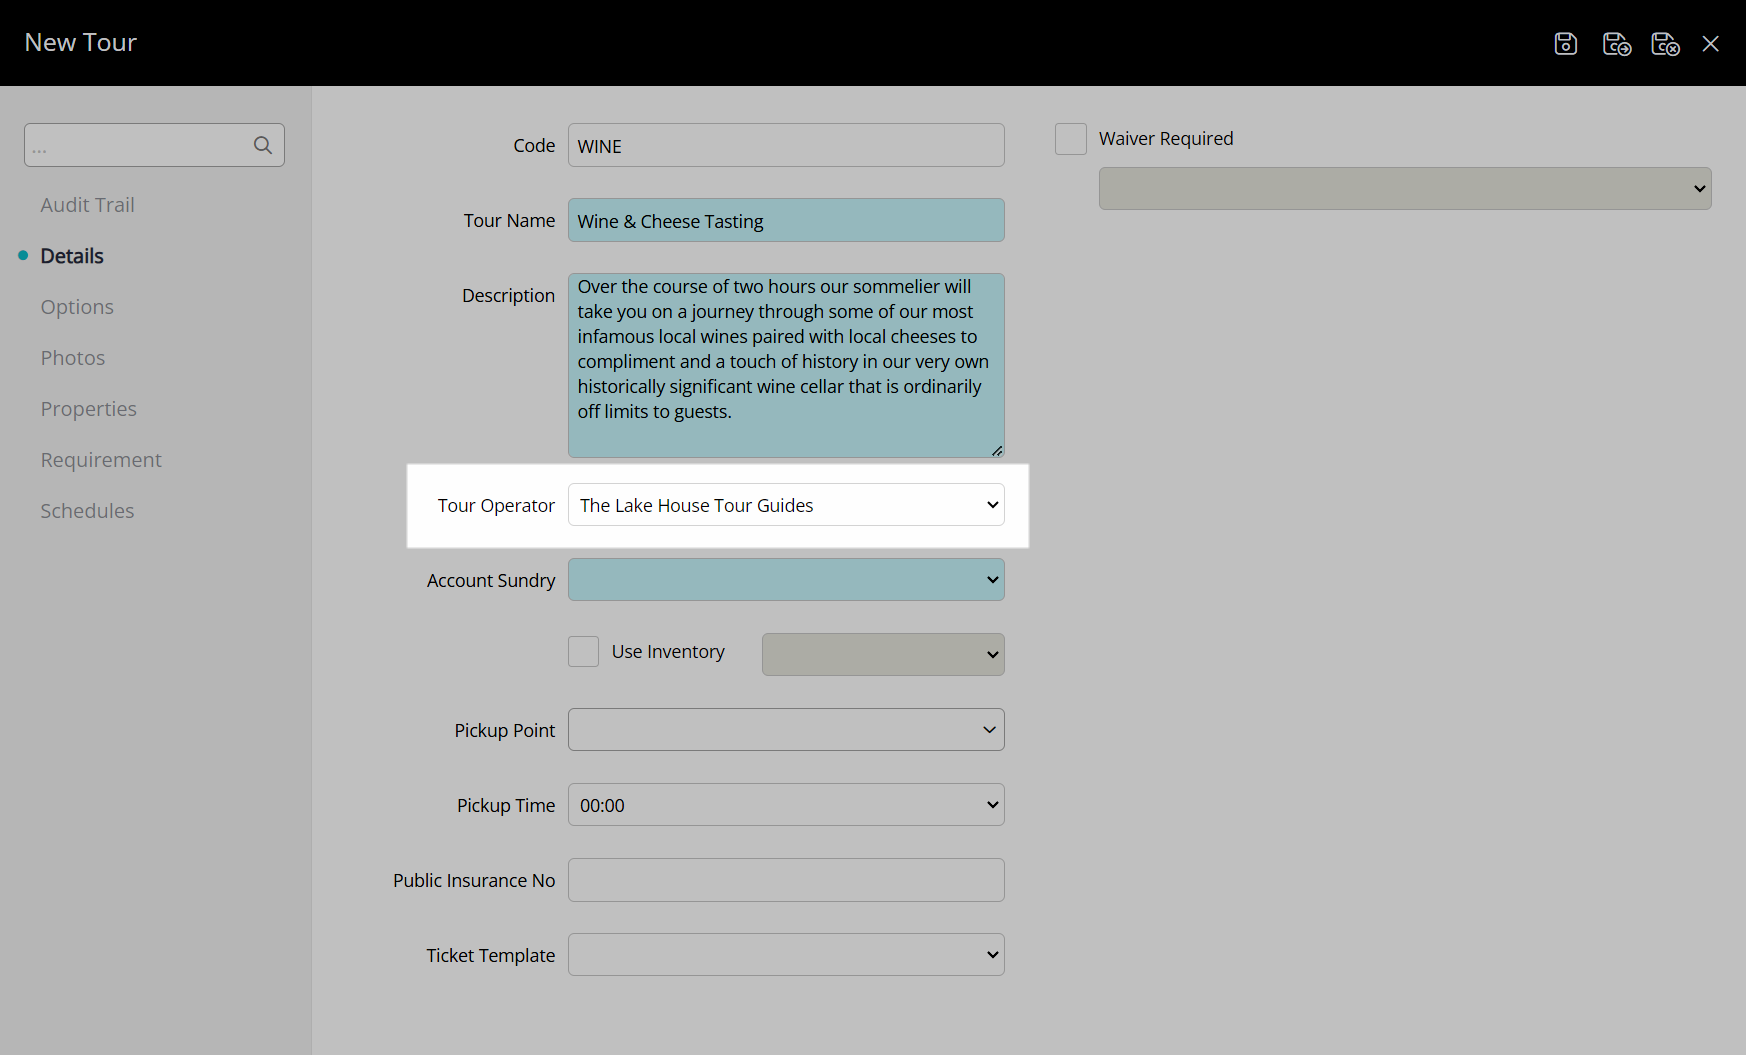
Select a Tour Sundry Charge.

Optional: Select the checkbox 'Use Inventory' and select the Tour Inventory.
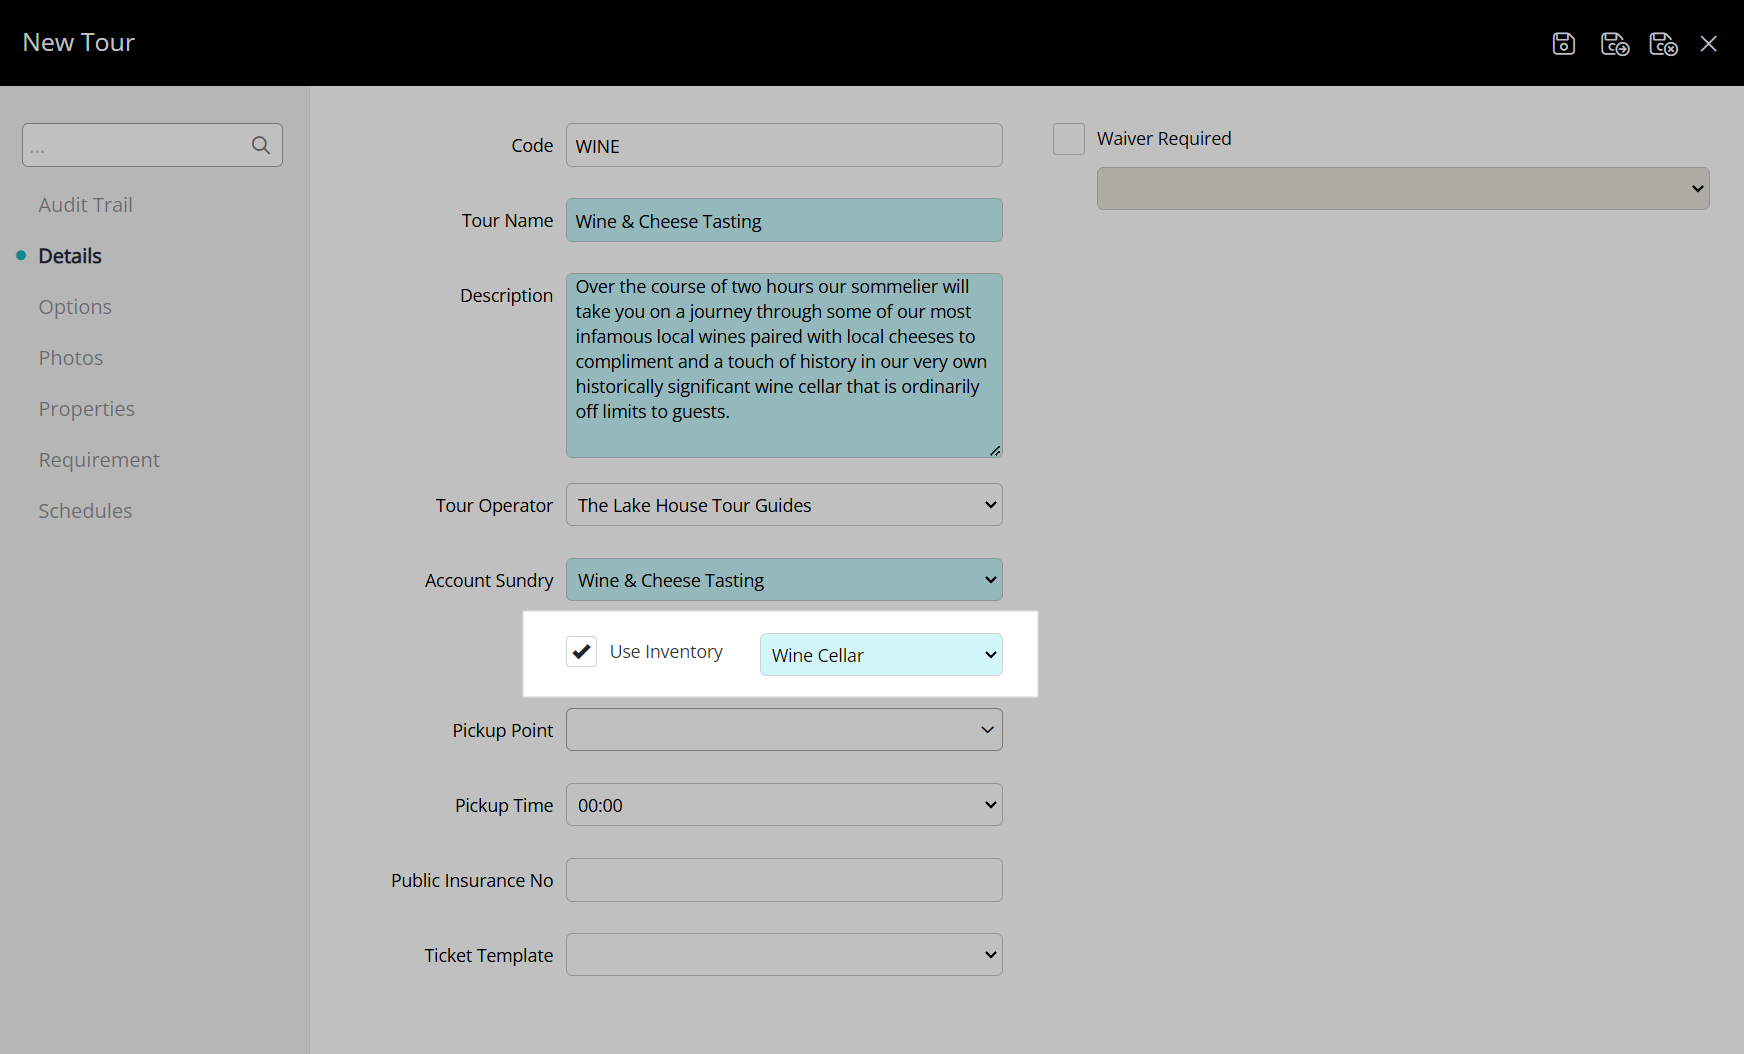
Optional: Select one or more Pickup Points.
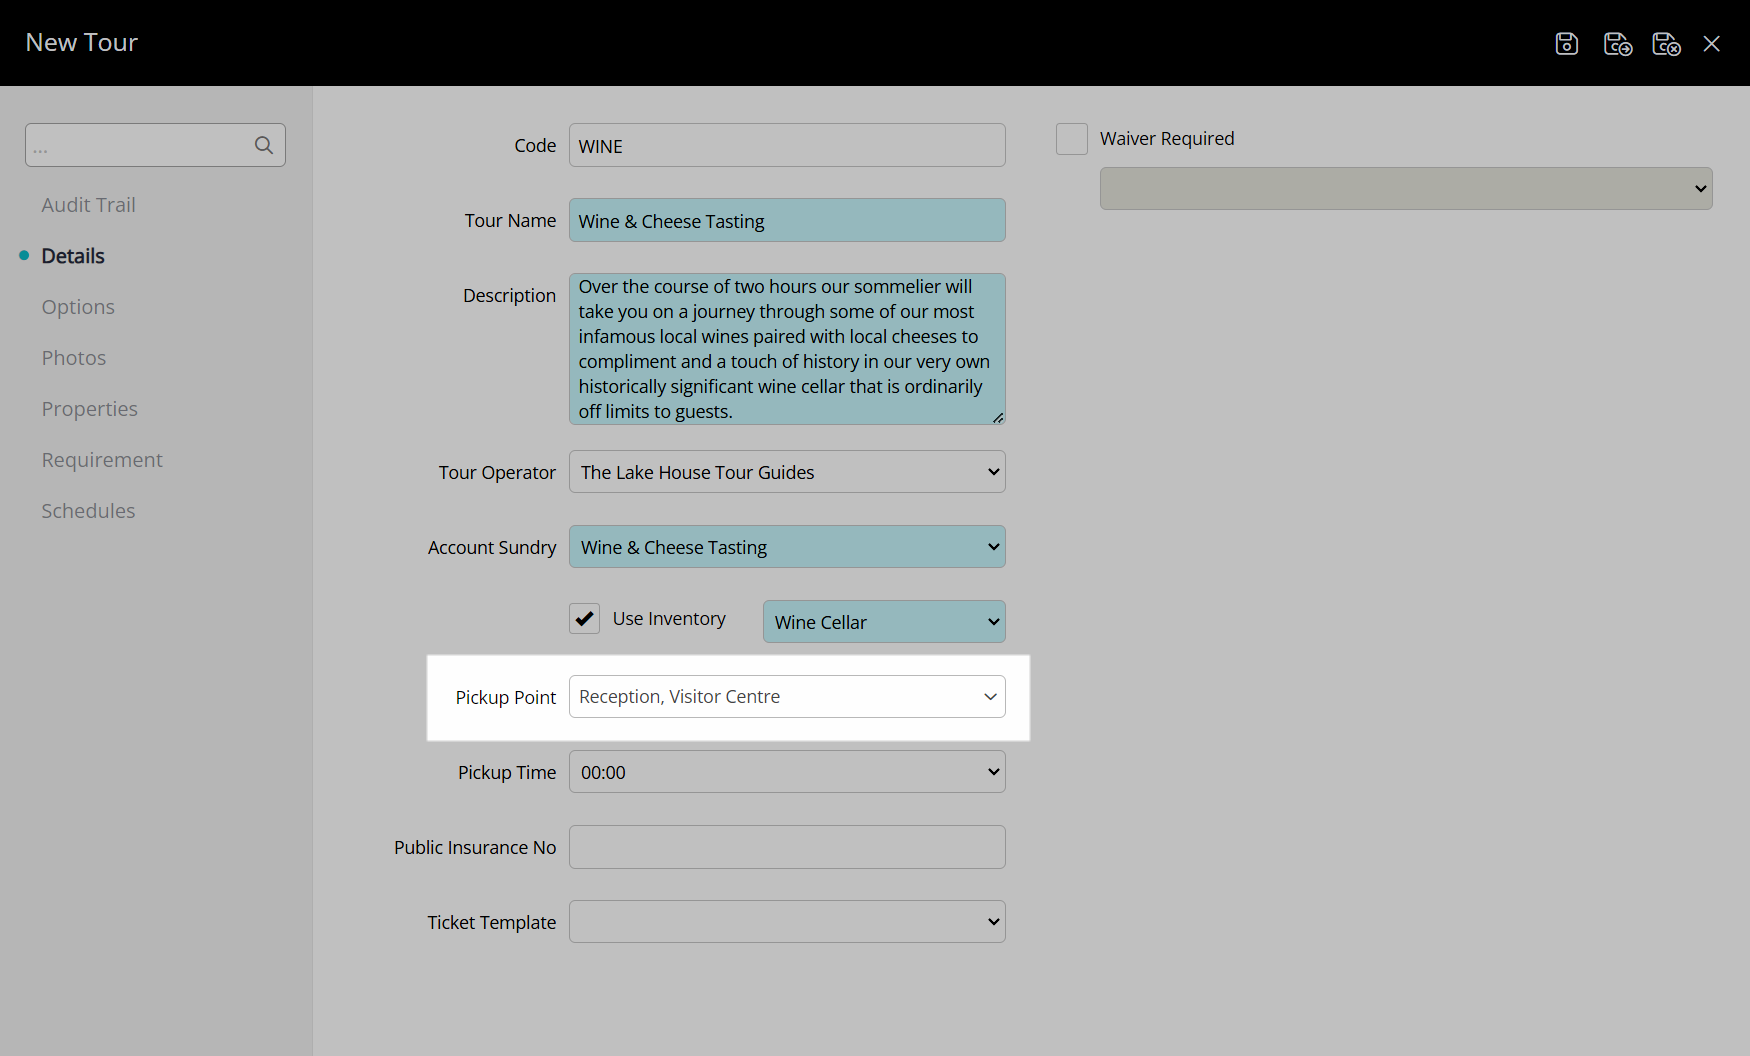
Optional: Select a Pickup Time.
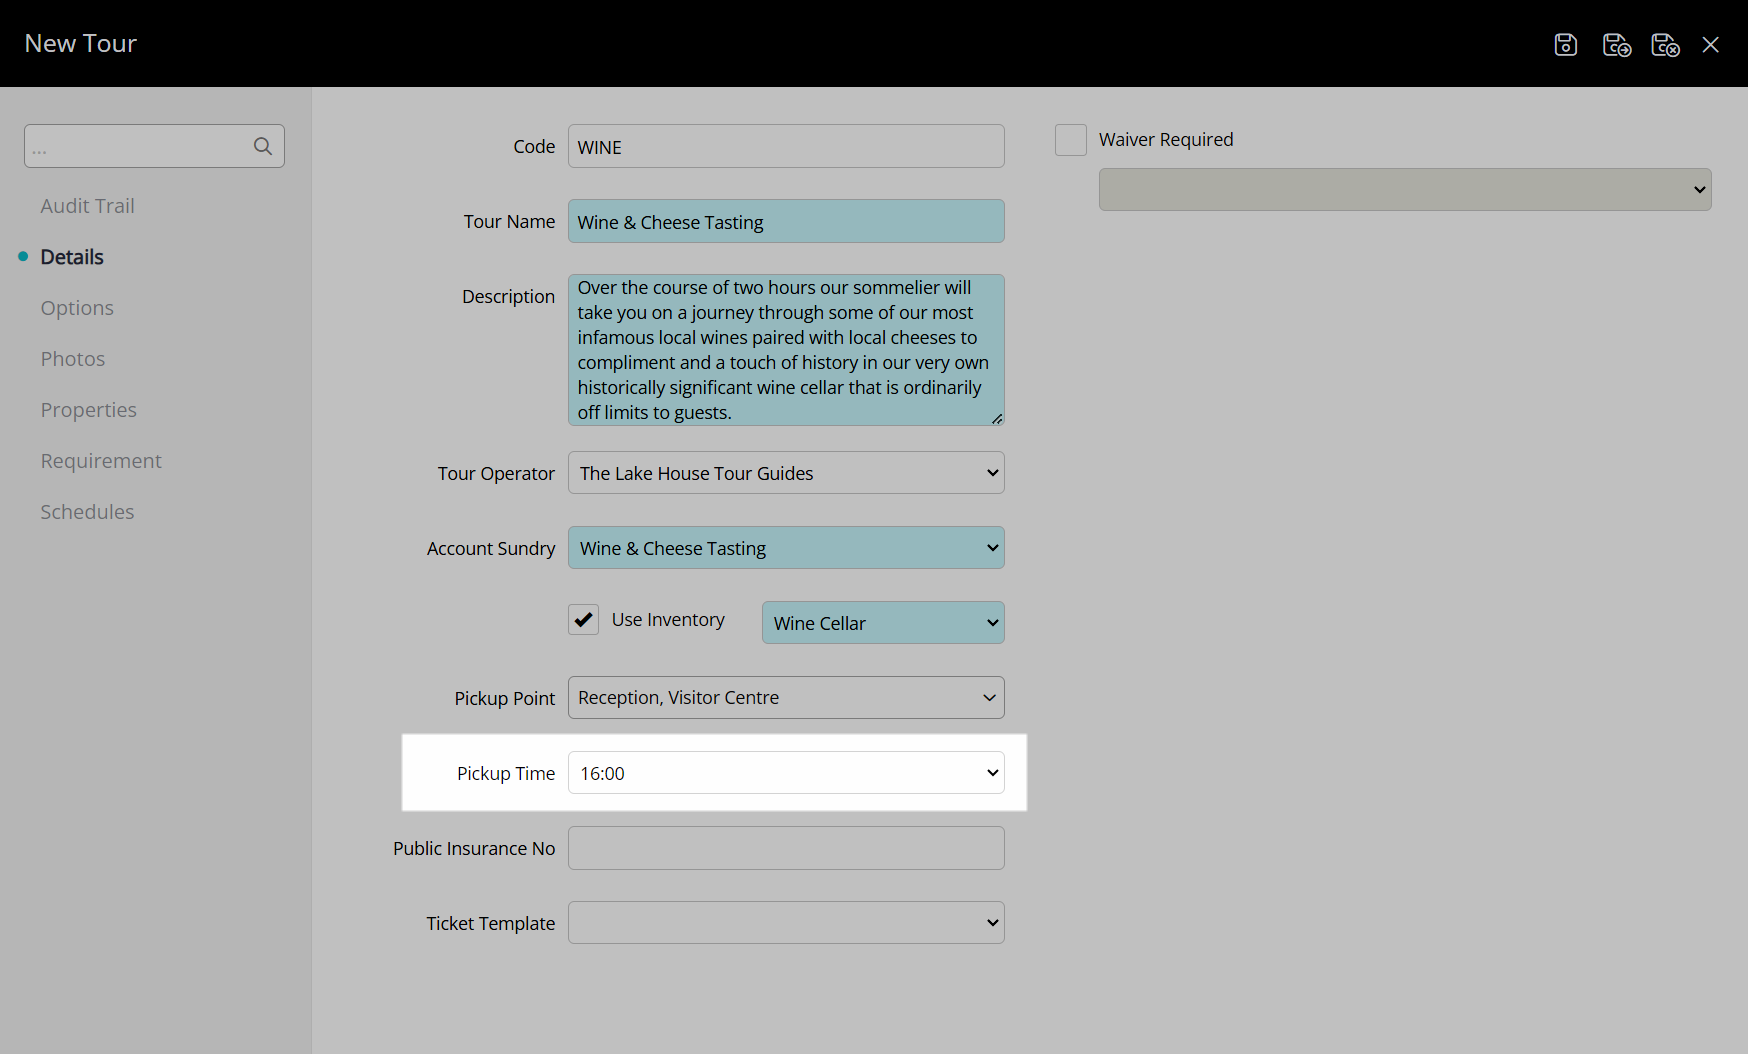
Optional: Enter the Public Insurance Number.
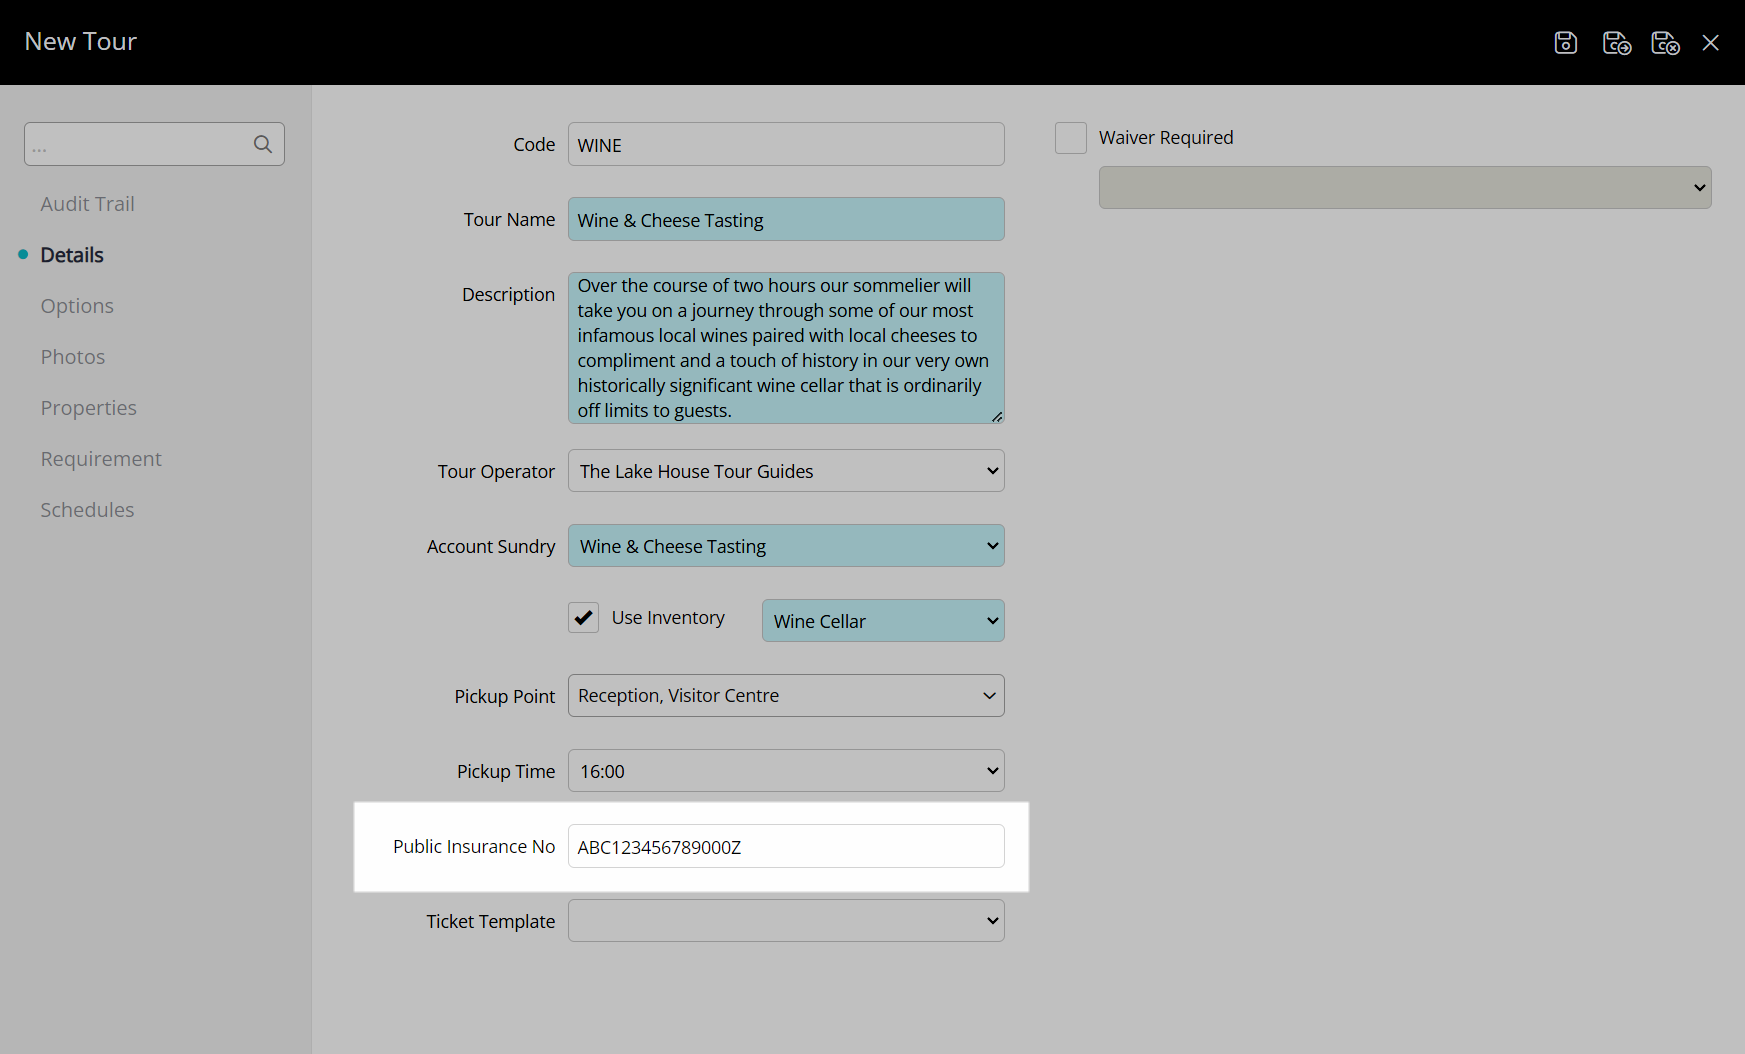
Optional: Select a Form Letter as the Ticket Template.

Optional: Select the checkbox 'Waver Required' and select a Form Letter for the waiver.
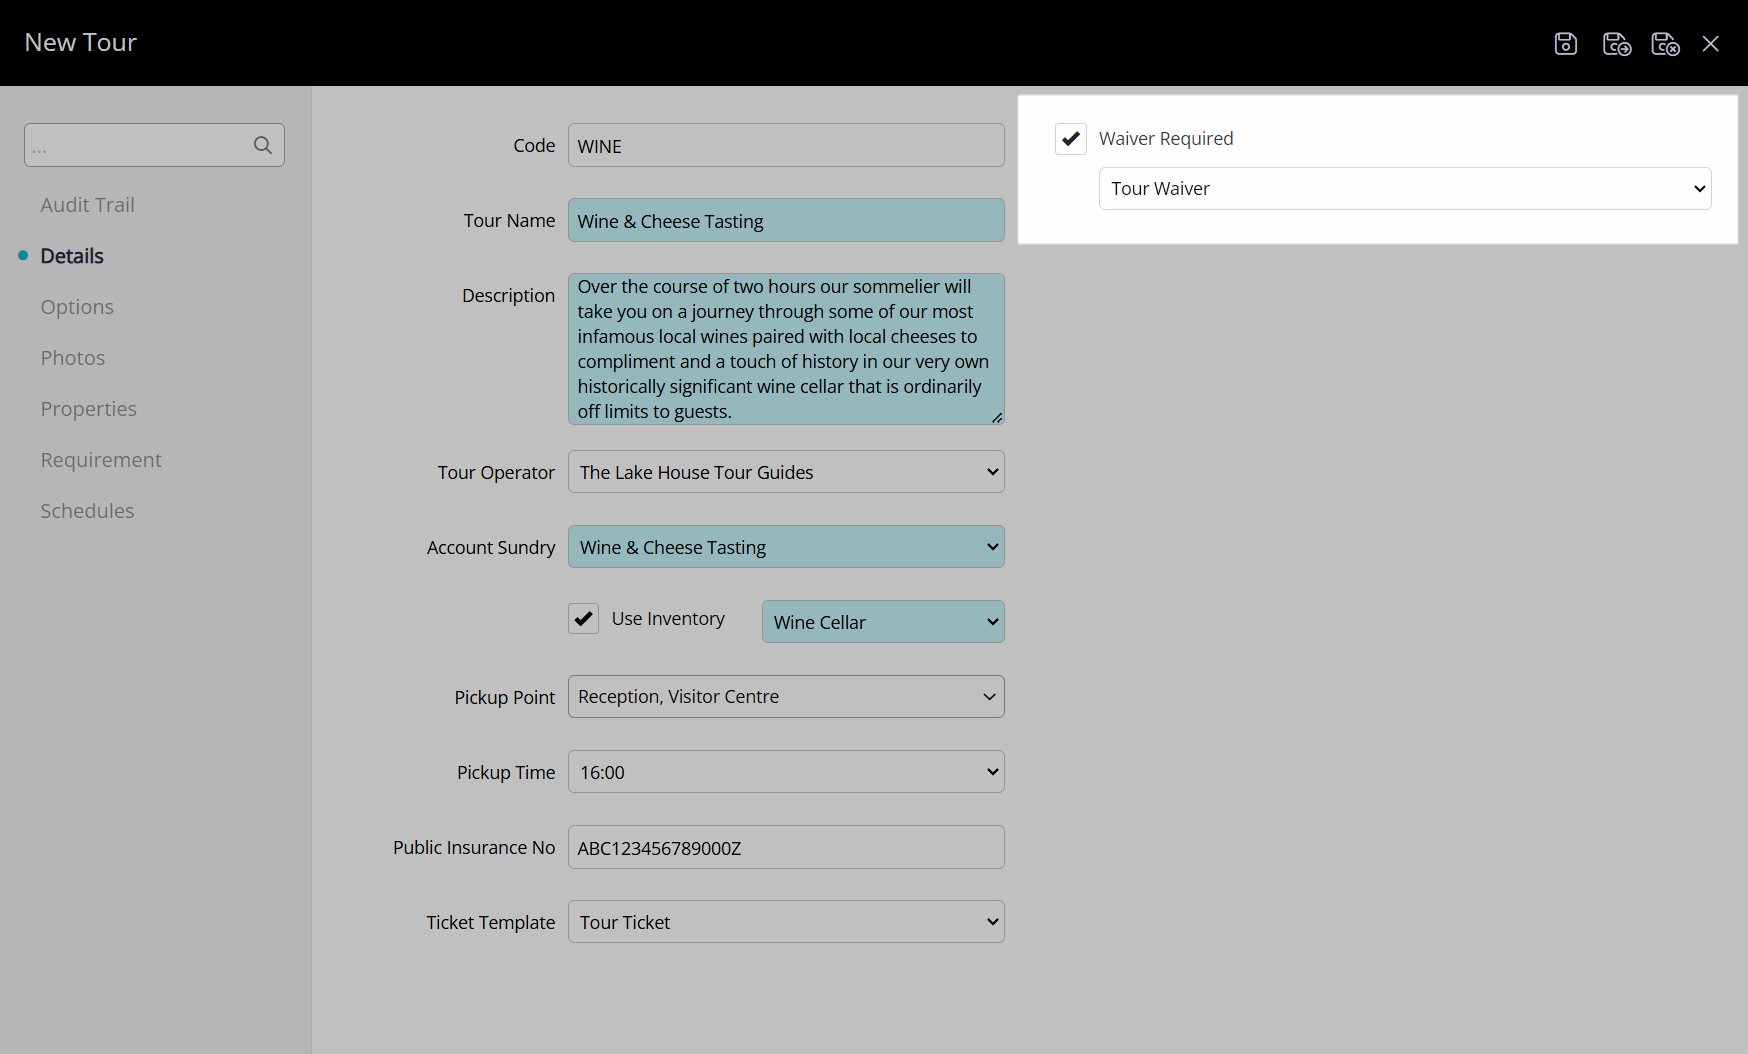
Select the  'Save' icon to store the changes made and create the Tour.
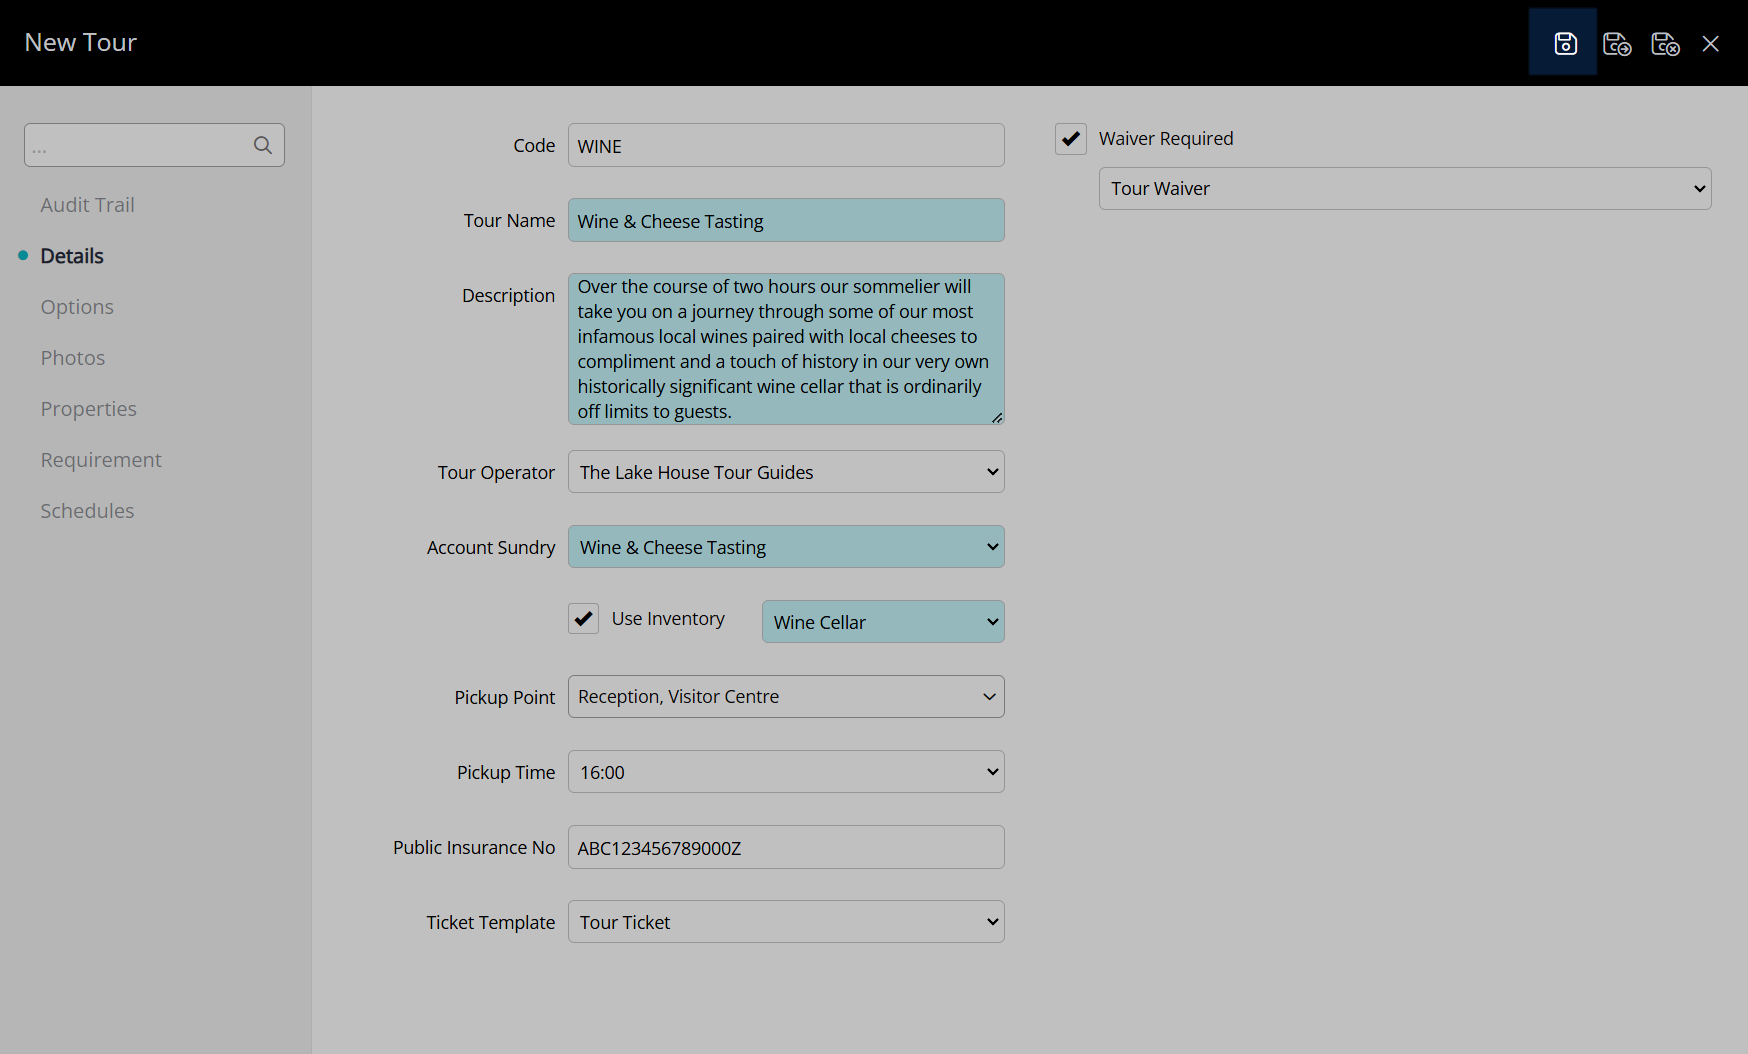
Setup Tour Schedules & Ticket Prices.

Optional: Setup Tour Options.
Optional: Setup Tour Photos.

Optional: Setup Tour Requirements.
Select the  'Save/Exit' icon to store the changes made and leave the tour setup.
Tour Schedules & Ticket Prices
Have your System Administrator complete the following.
- Go to Setup > Tour Desk > Tours in the side menu of RMS.
- Select the
 'Edit' icon on an existing Tour.
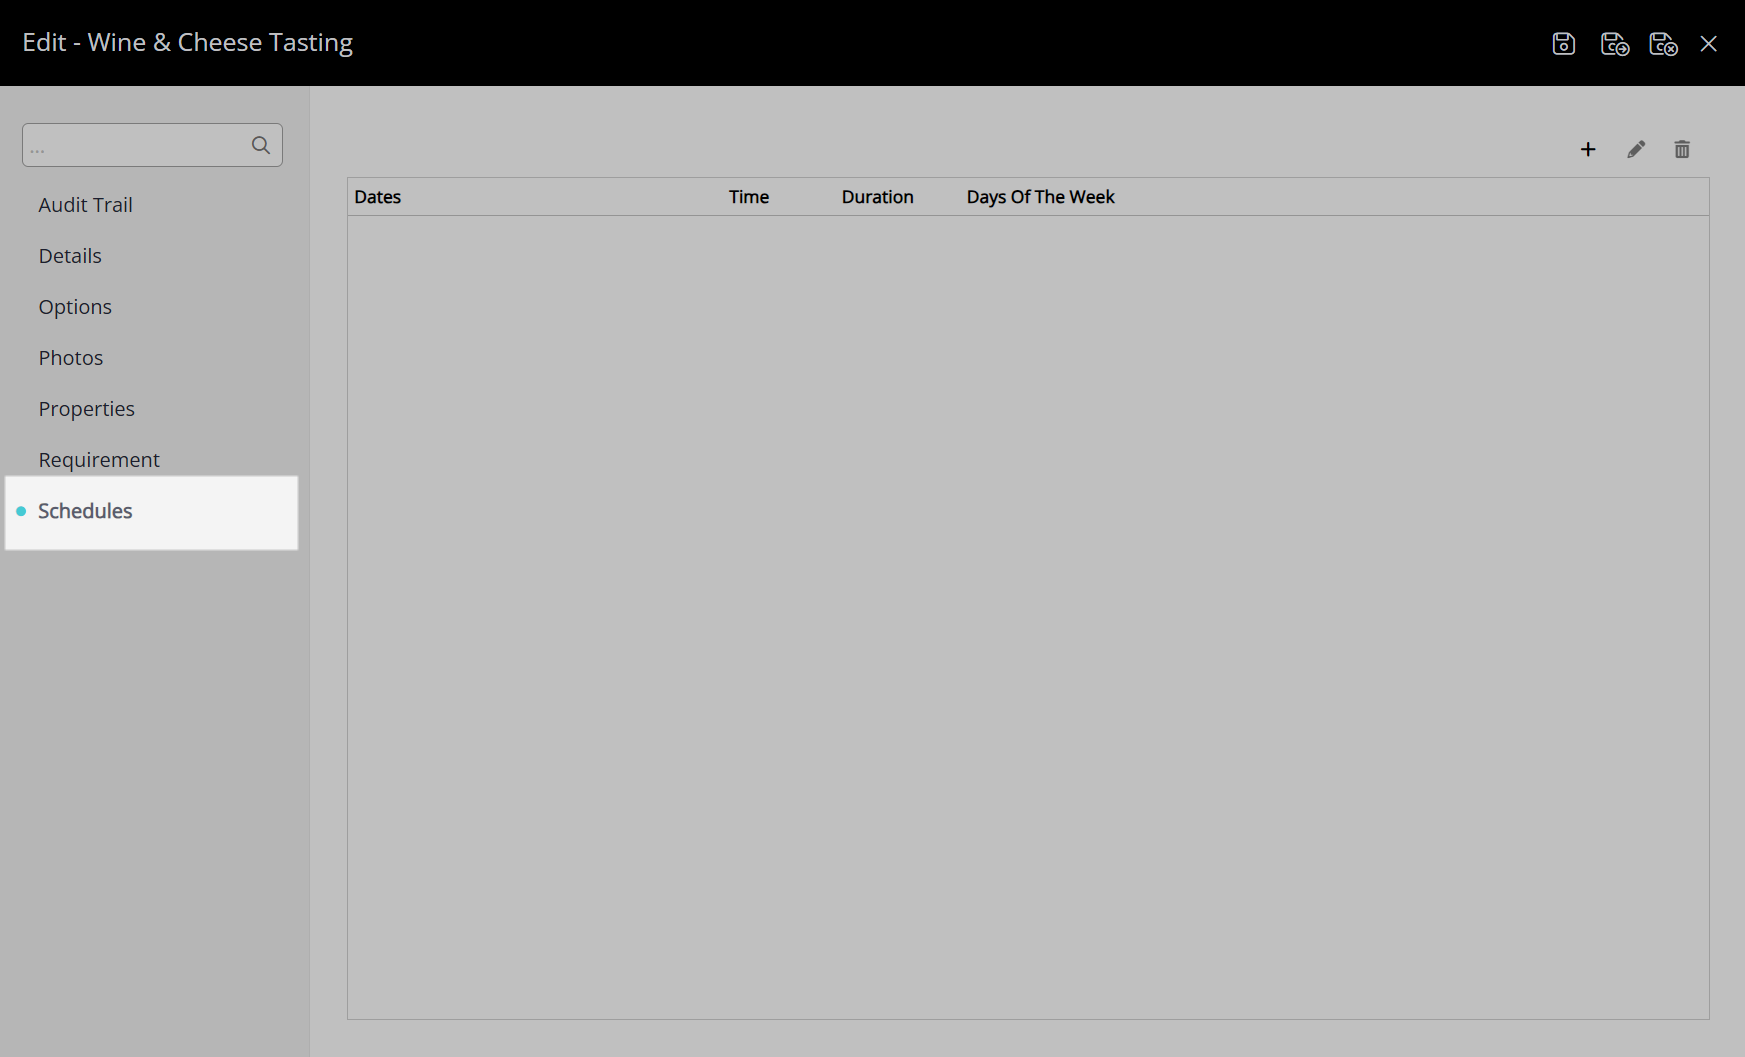
 - Navigate to the 'Schedules' tab.
- Select the
 'Add' icon.
 - Select a Date Range or select the checkbox 'Set Permanently'.
- Enter the Ticket Price for each Ticket Type and select the 'Available' checkbox.
- Optional: Select the checkbox 'Available Online'.
- Enter the Maximum Number Per Ticket Type.
- Select a Start Time and enter a Duration in minutes or hours.
- Select the checkbox for Tour Availability Days of the Week.
- Optional: Enter the Combined Agent Tickets.
- Save/Exit.
Go to Setup > Tour Desk > Tours in the side menu of RMS.

Select the ![]() 'Edit' icon on an existing Tour.
'Edit' icon on an existing Tour.

Navigate to the 'Schedules' tab.
Select the ![]() 'Add' icon.
'Add' icon.
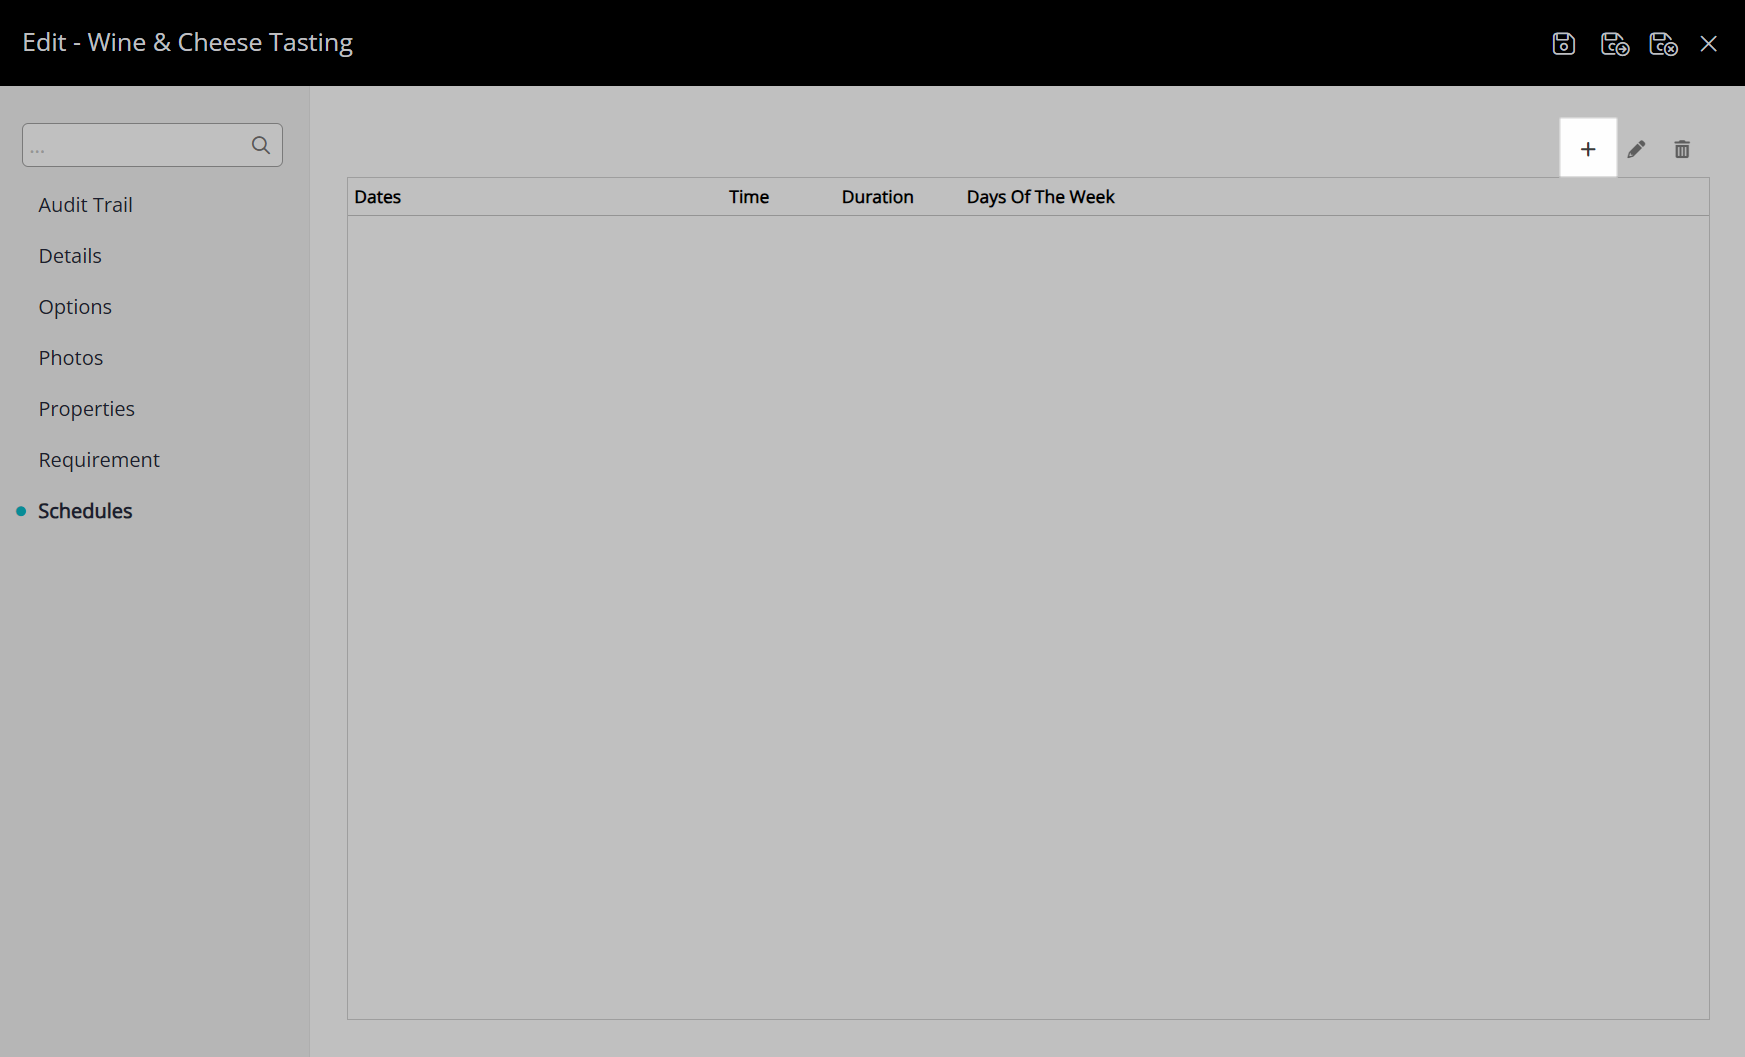
Select a Date Range or select the checkbox 'Set Permanently'.
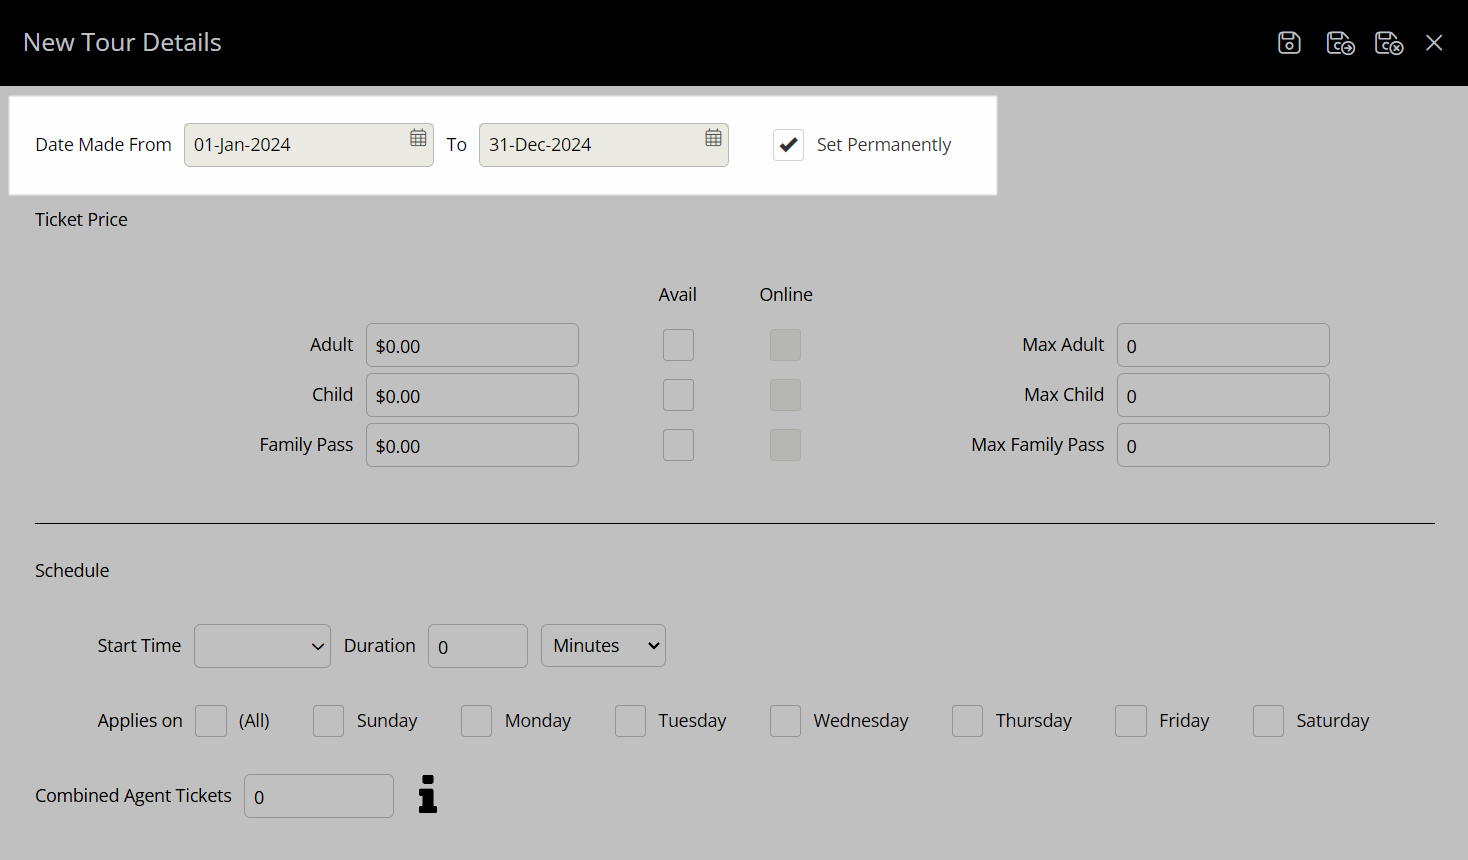
Enter the Ticket Price for each Ticket Type and select the 'Available' checkbox.
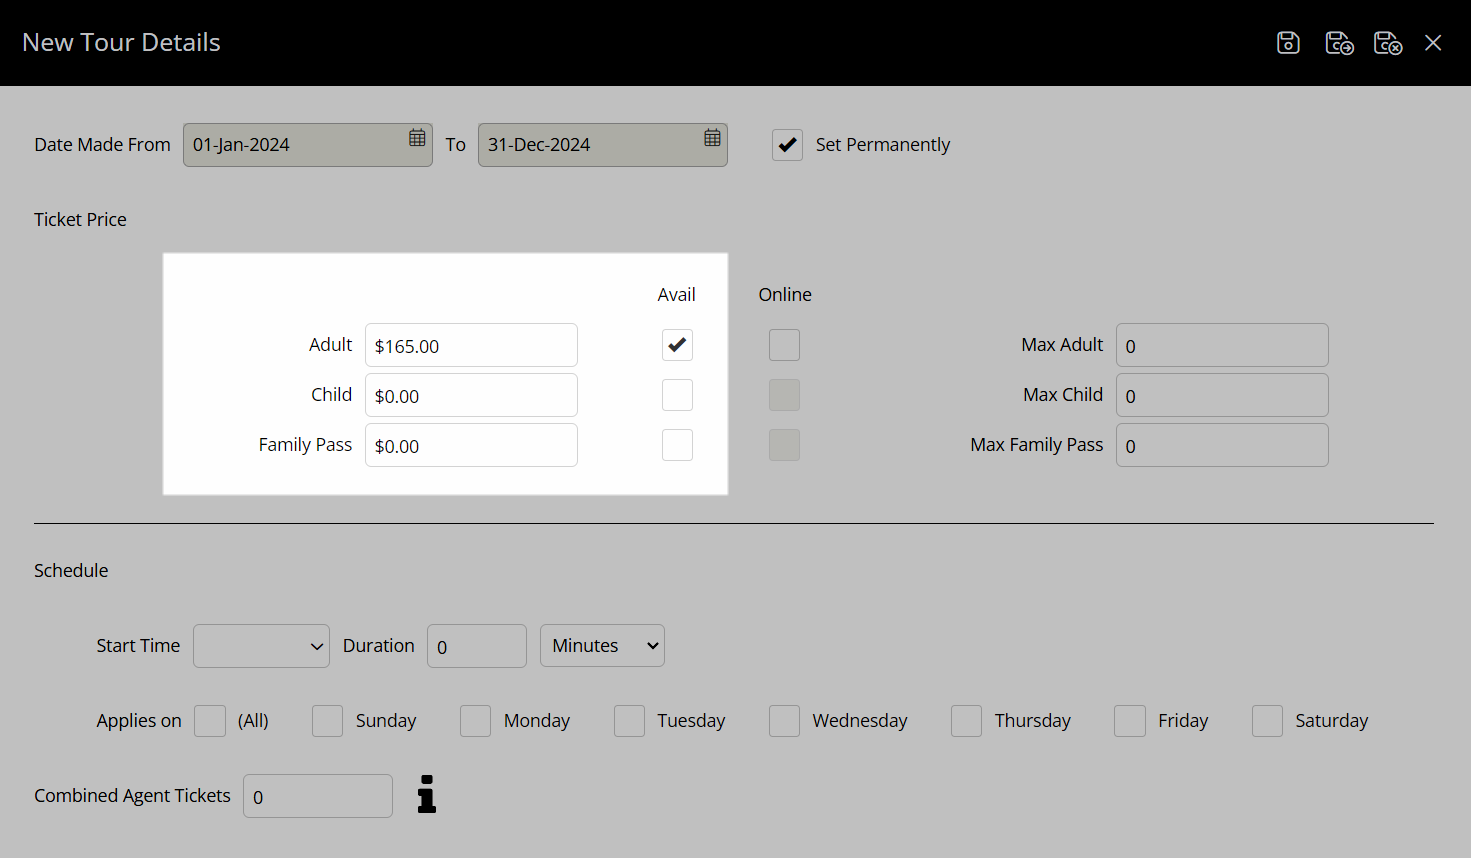
Optional: Select the checkbox 'Available Online'.
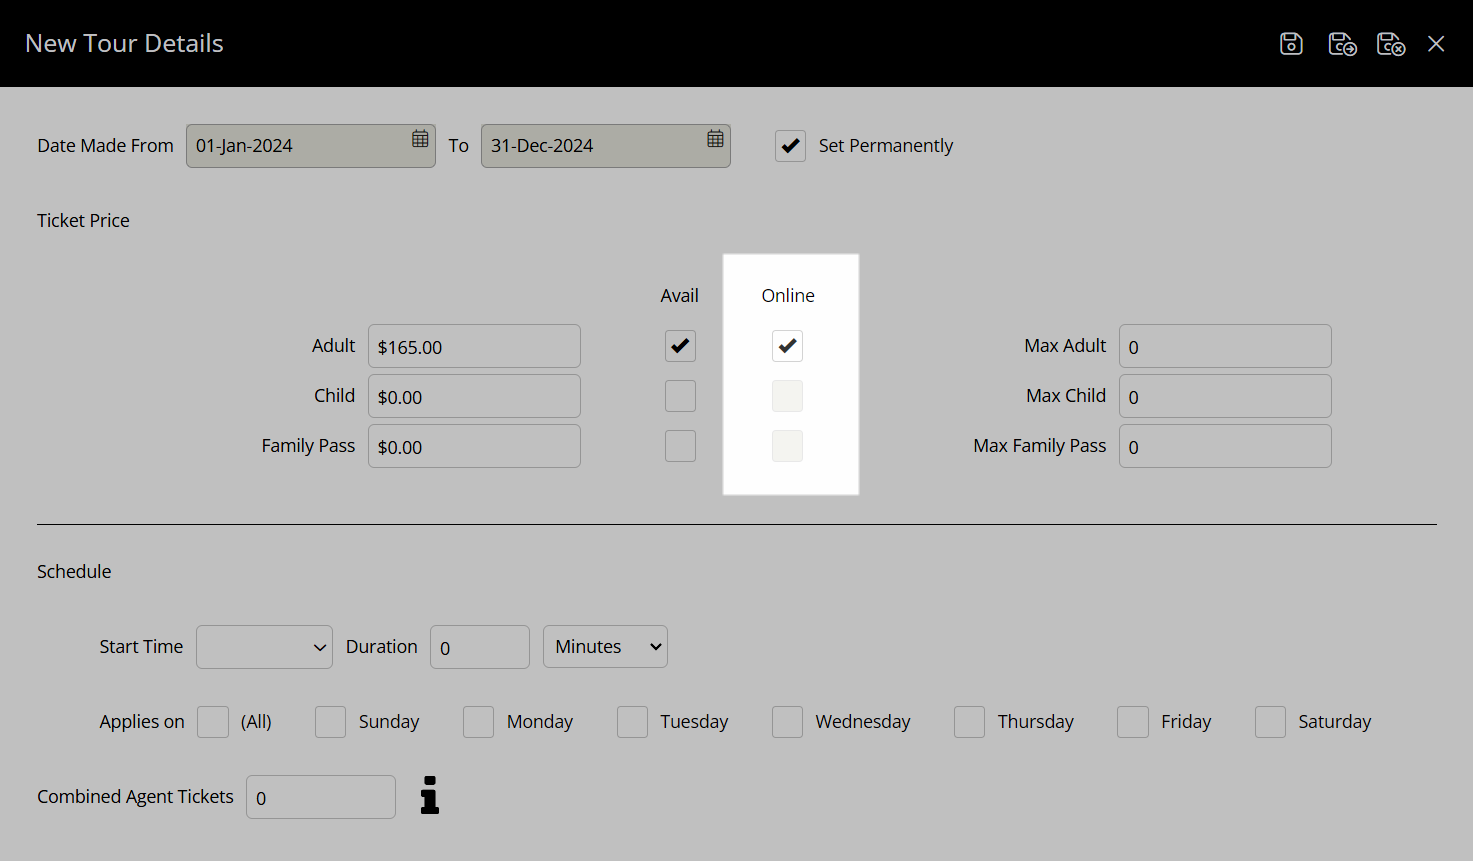
Enter the Maximum Number Per Ticket Type.

Select a Start Time and enter a Duration in minutes or hours.

Select the checkbox for Tour Availability Days of the Week.
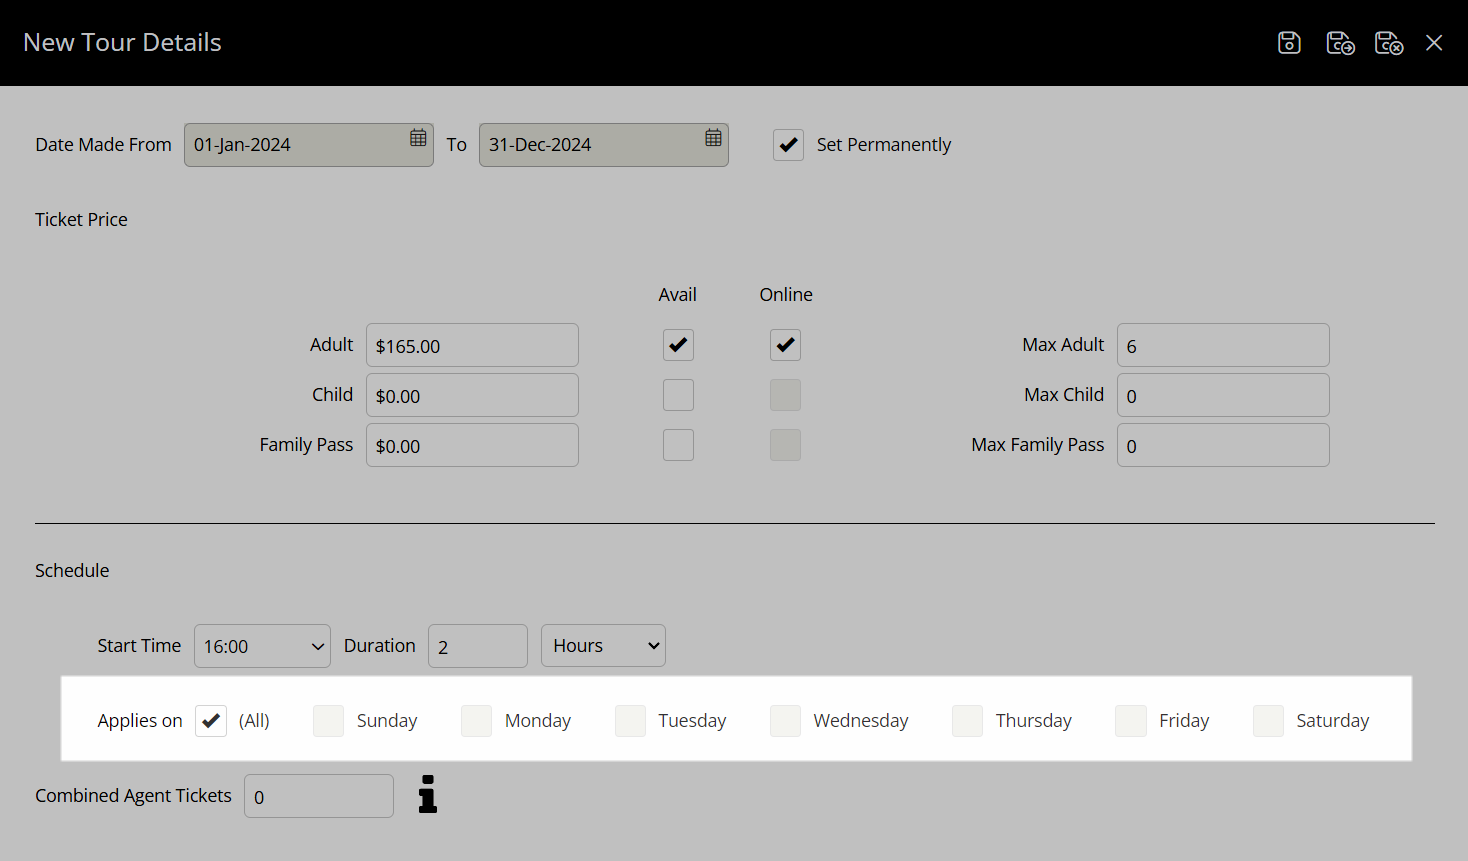
Optional: Enter the Combined Agent Tickets.
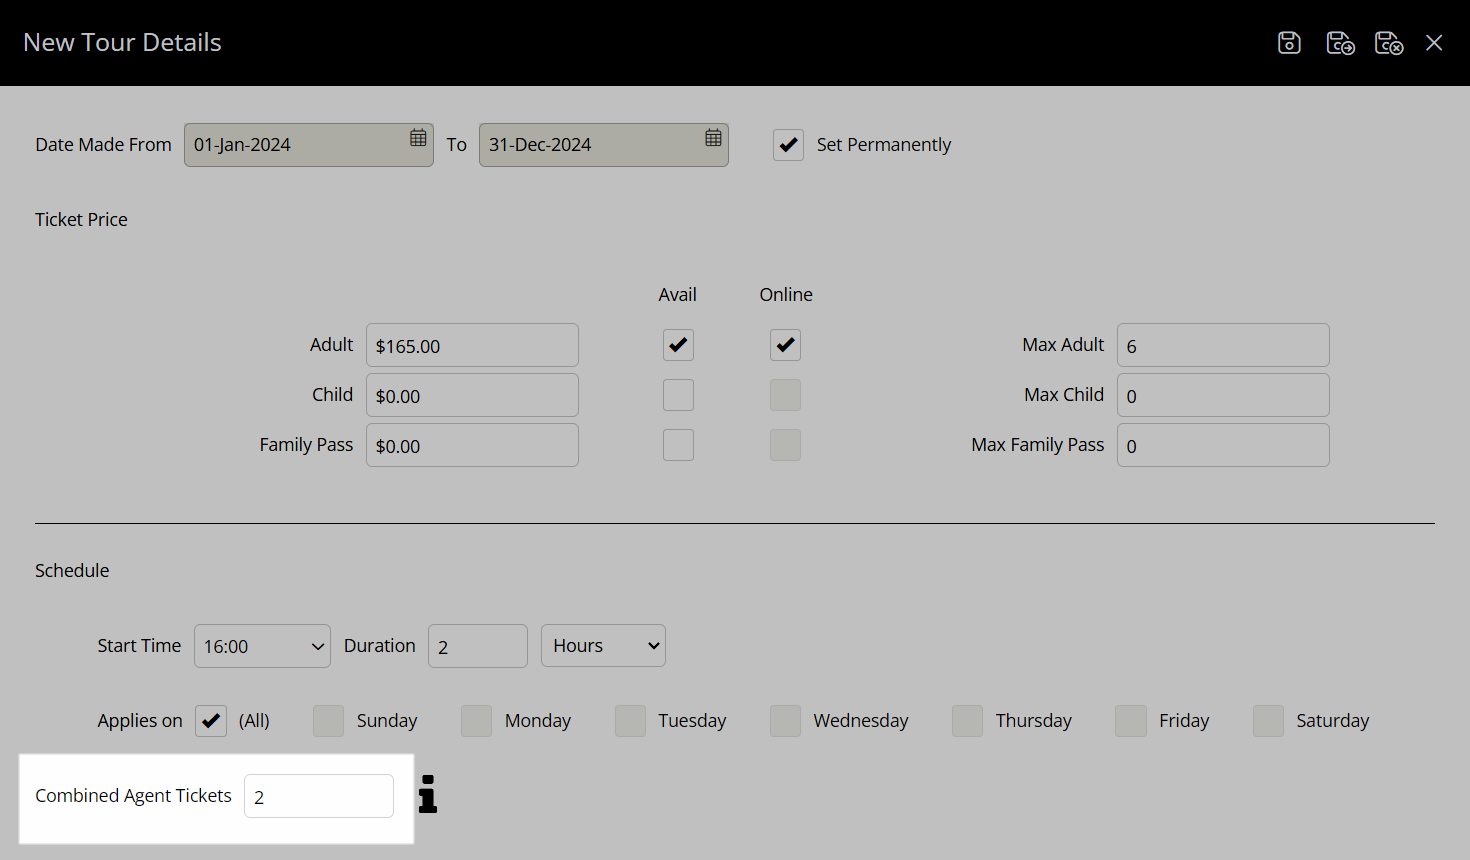
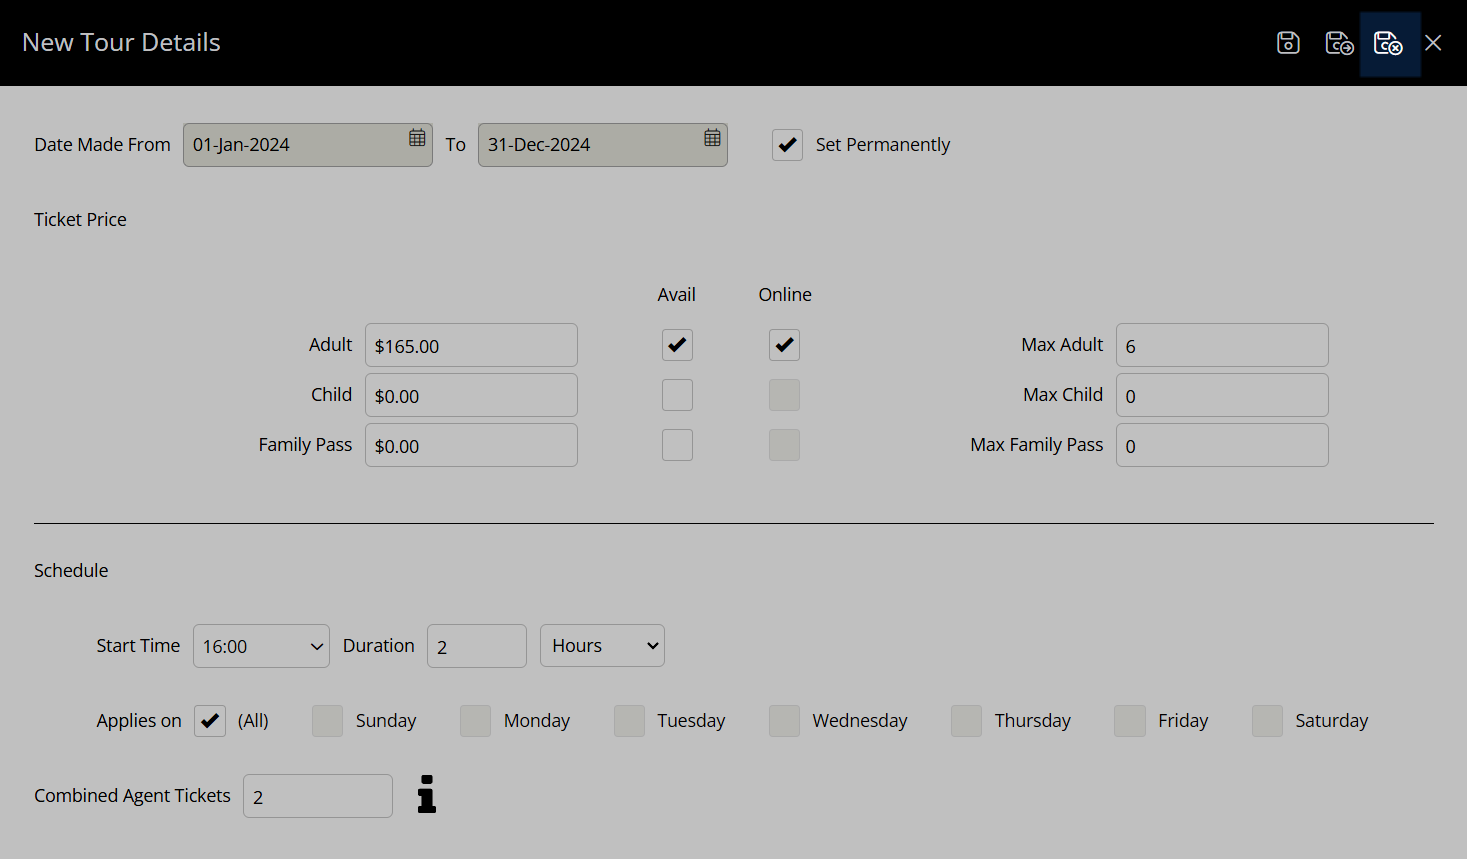
Select the  'Save/Exit' icon to store the changes made and return to the tour setup.
Repeat these steps to create as many schedules and ticket price variations as required for the tour.
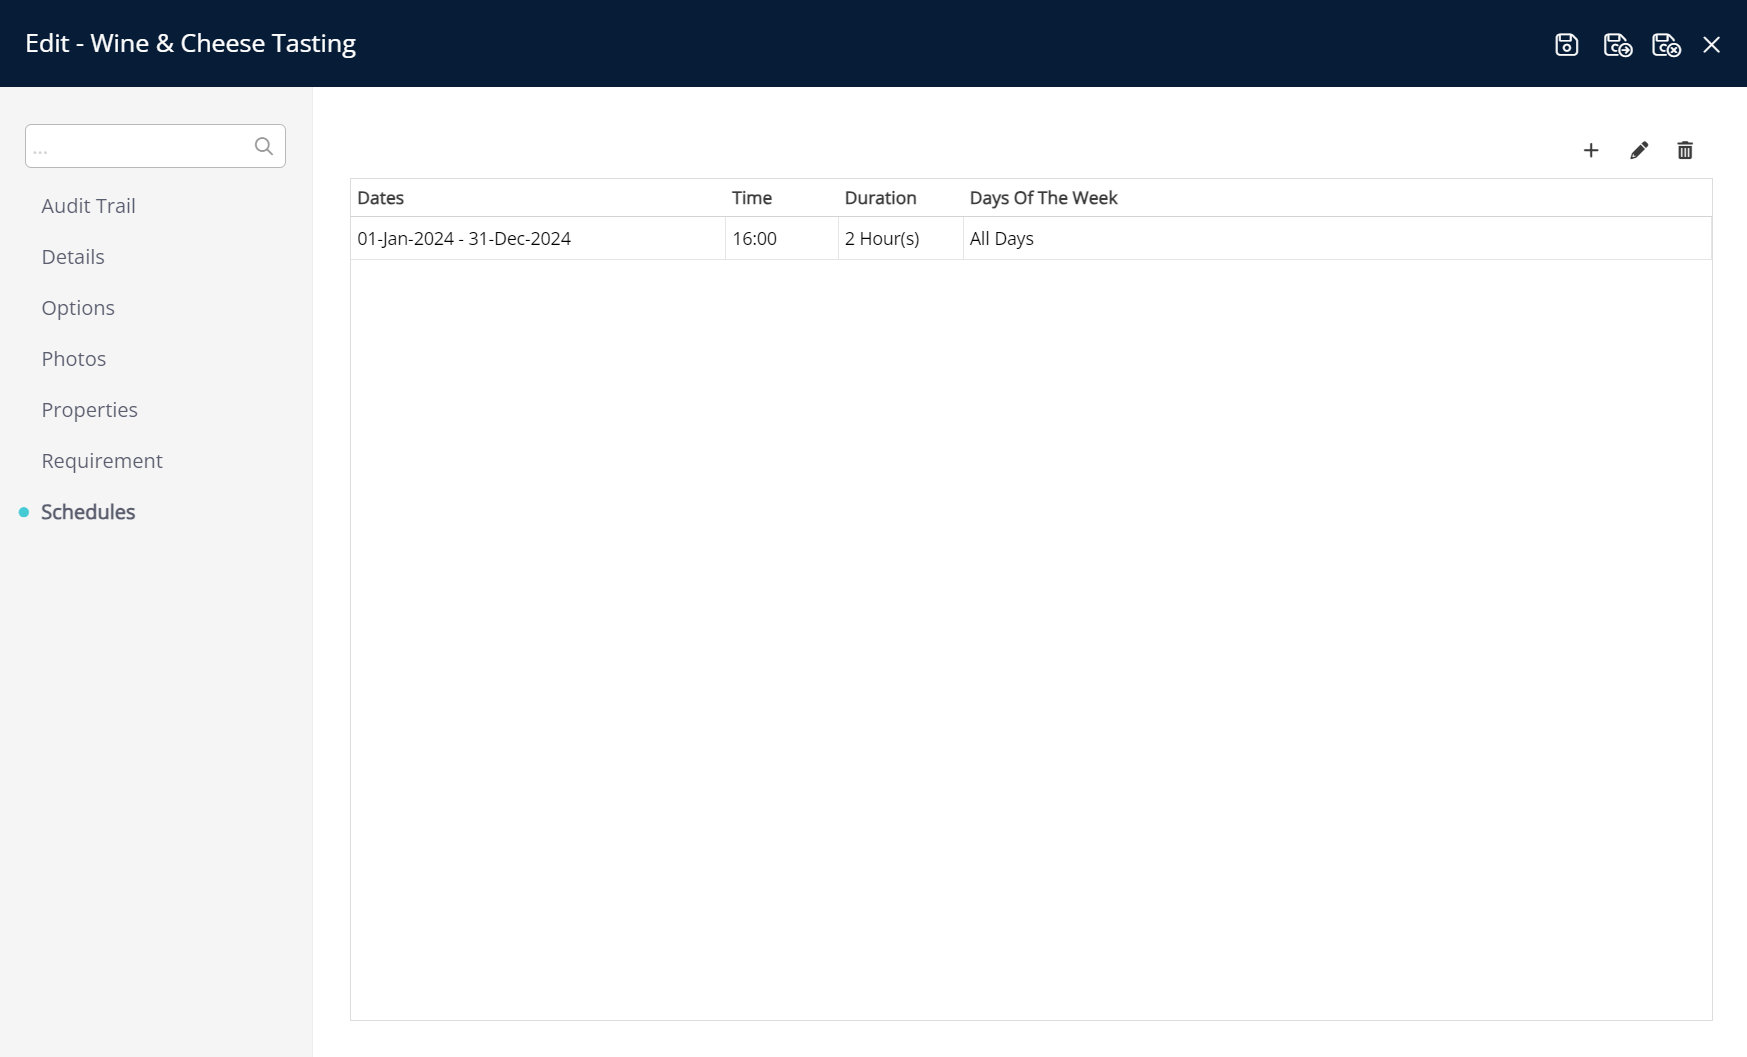
This tour will now be available for booking on an existing reservation.
Tour Options
Have your System Administrator complete the following.
- Go to Setup > Tour Desk > Tours in the side menu of RMS.
- Select the
 'Edit' icon on an existing Tour.
 - Navigate to the 'Options' tab.
- Optional: Select the checkbox 'Pickup Point Required'.
- Optional: Select the checkbox 'Pickup Time Required'.
- Optional: Select the checkbox 'Tour Operator Requires Own Voucher' or 'Tour Operator Bills By Own Voucher'.
- Optional: Select the checkbox 'Deposit Commission Only To Be Paid'.
- Optional: Select the checkbox 'Tour Date Required'.
- Optional: Select the checkbox 'Tour Operator Requires Confirmation'.
- Optional: Select the checkbox 'Tour Operator Requires Confirmation Reference'.
- Optional: Select the checkbox 'Tour is a Transfer To or From Accommodation'.
- Save.
Go to Setup > Tour Desk > Tours in the side menu of RMS.

Select the ![]() 'Edit' icon on an existing Tour.
'Edit' icon on an existing Tour.

Navigate to the 'Options' tab.
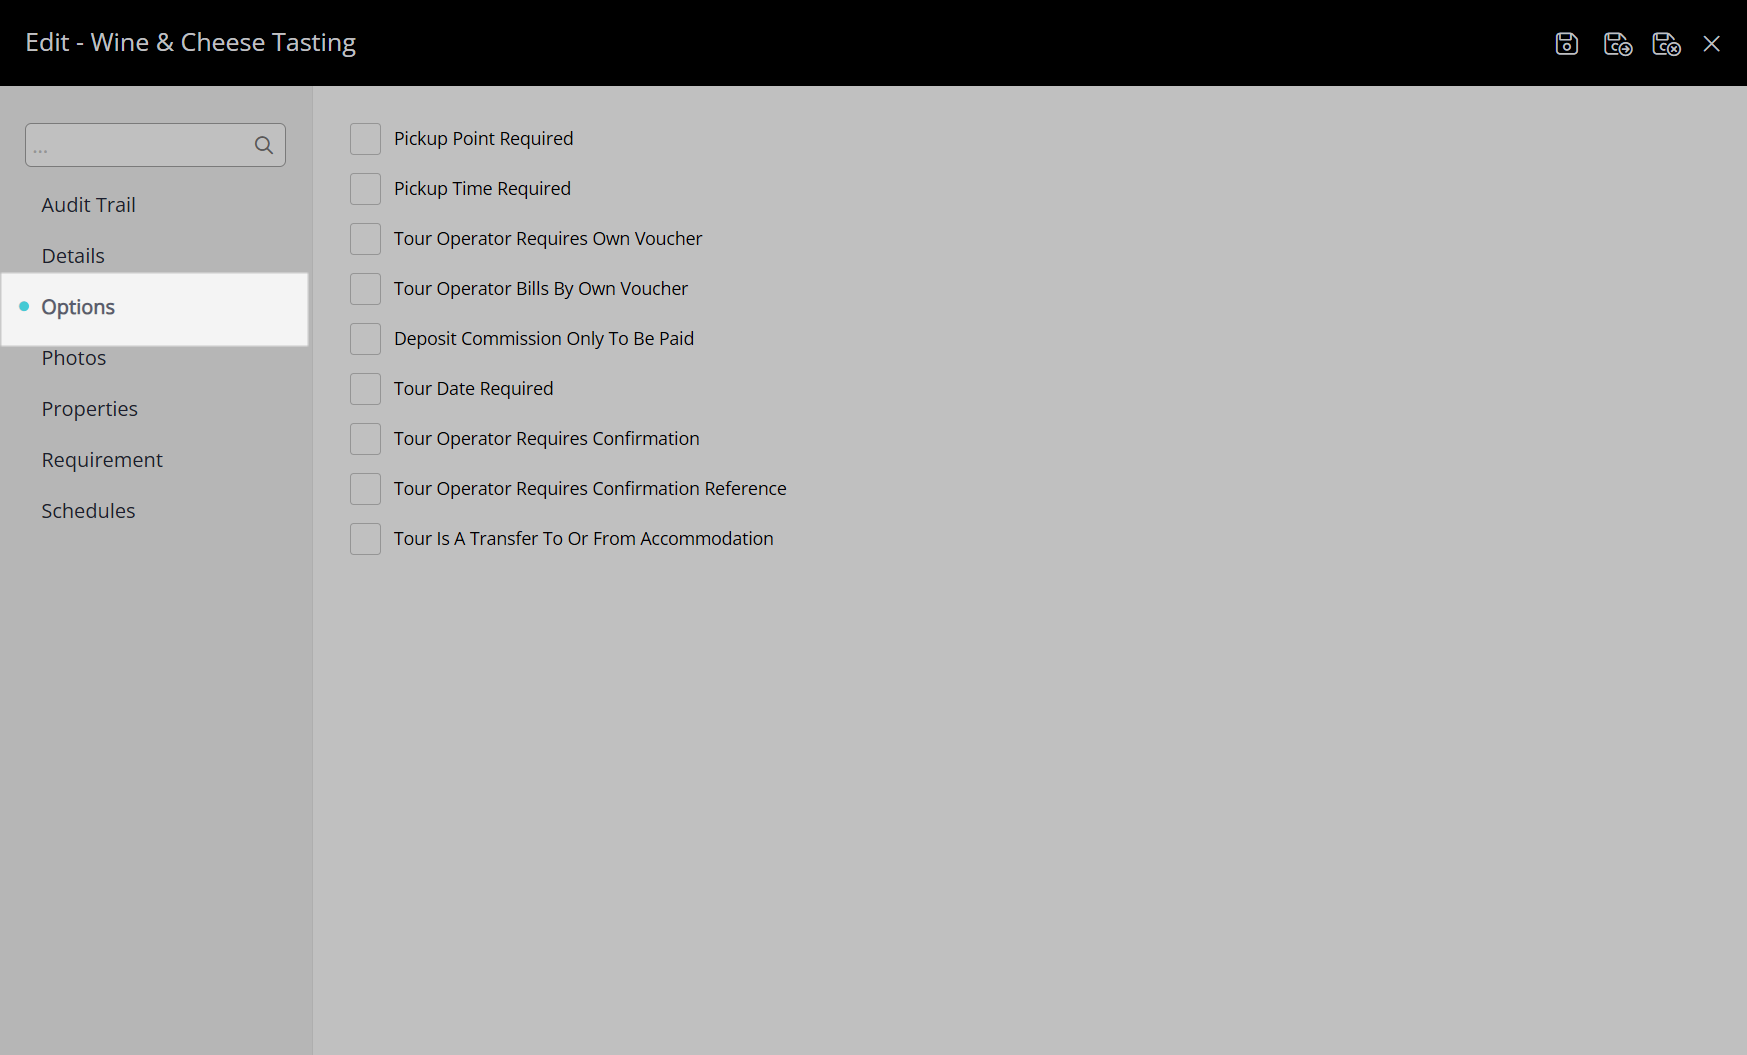
Optional: Select the checkbox 'Pickup Point Required'.

Optional: Select the checkbox 'Pickup Time Required'.
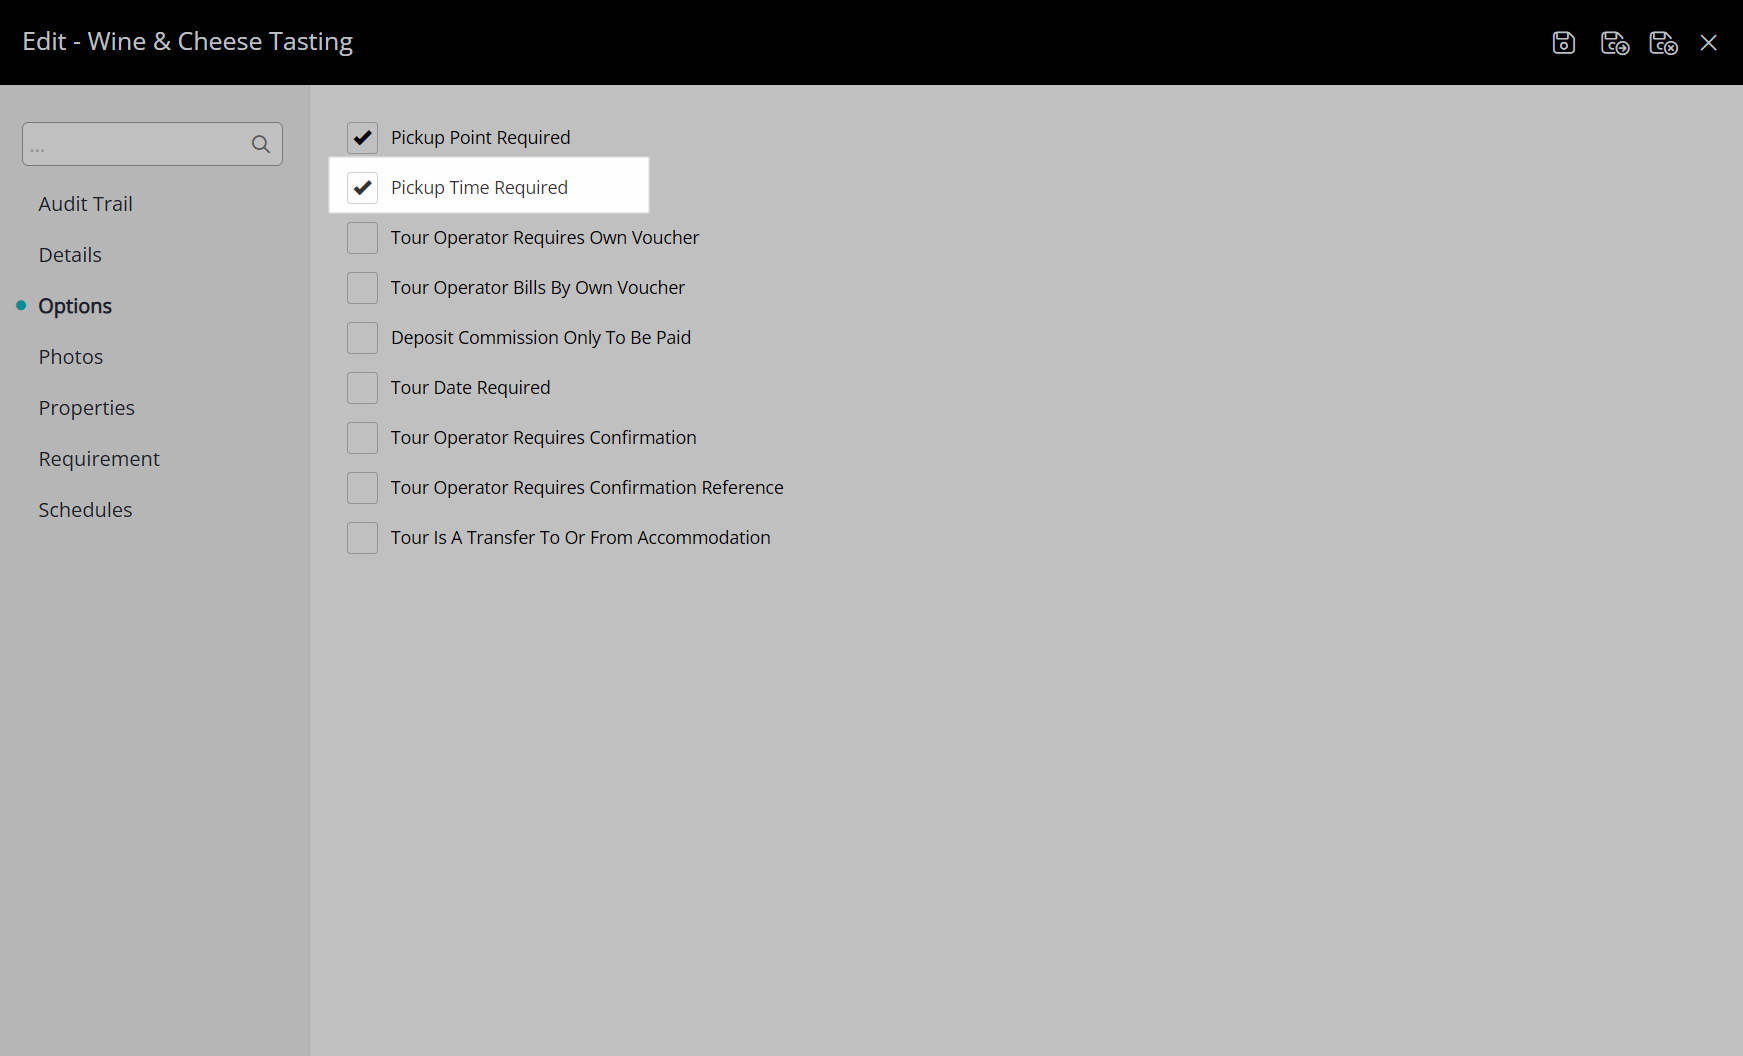
Optional: Select the checkbox 'Tour Operator Requires Own Voucher' or 'Tour Operator Bills By Own Voucher'.
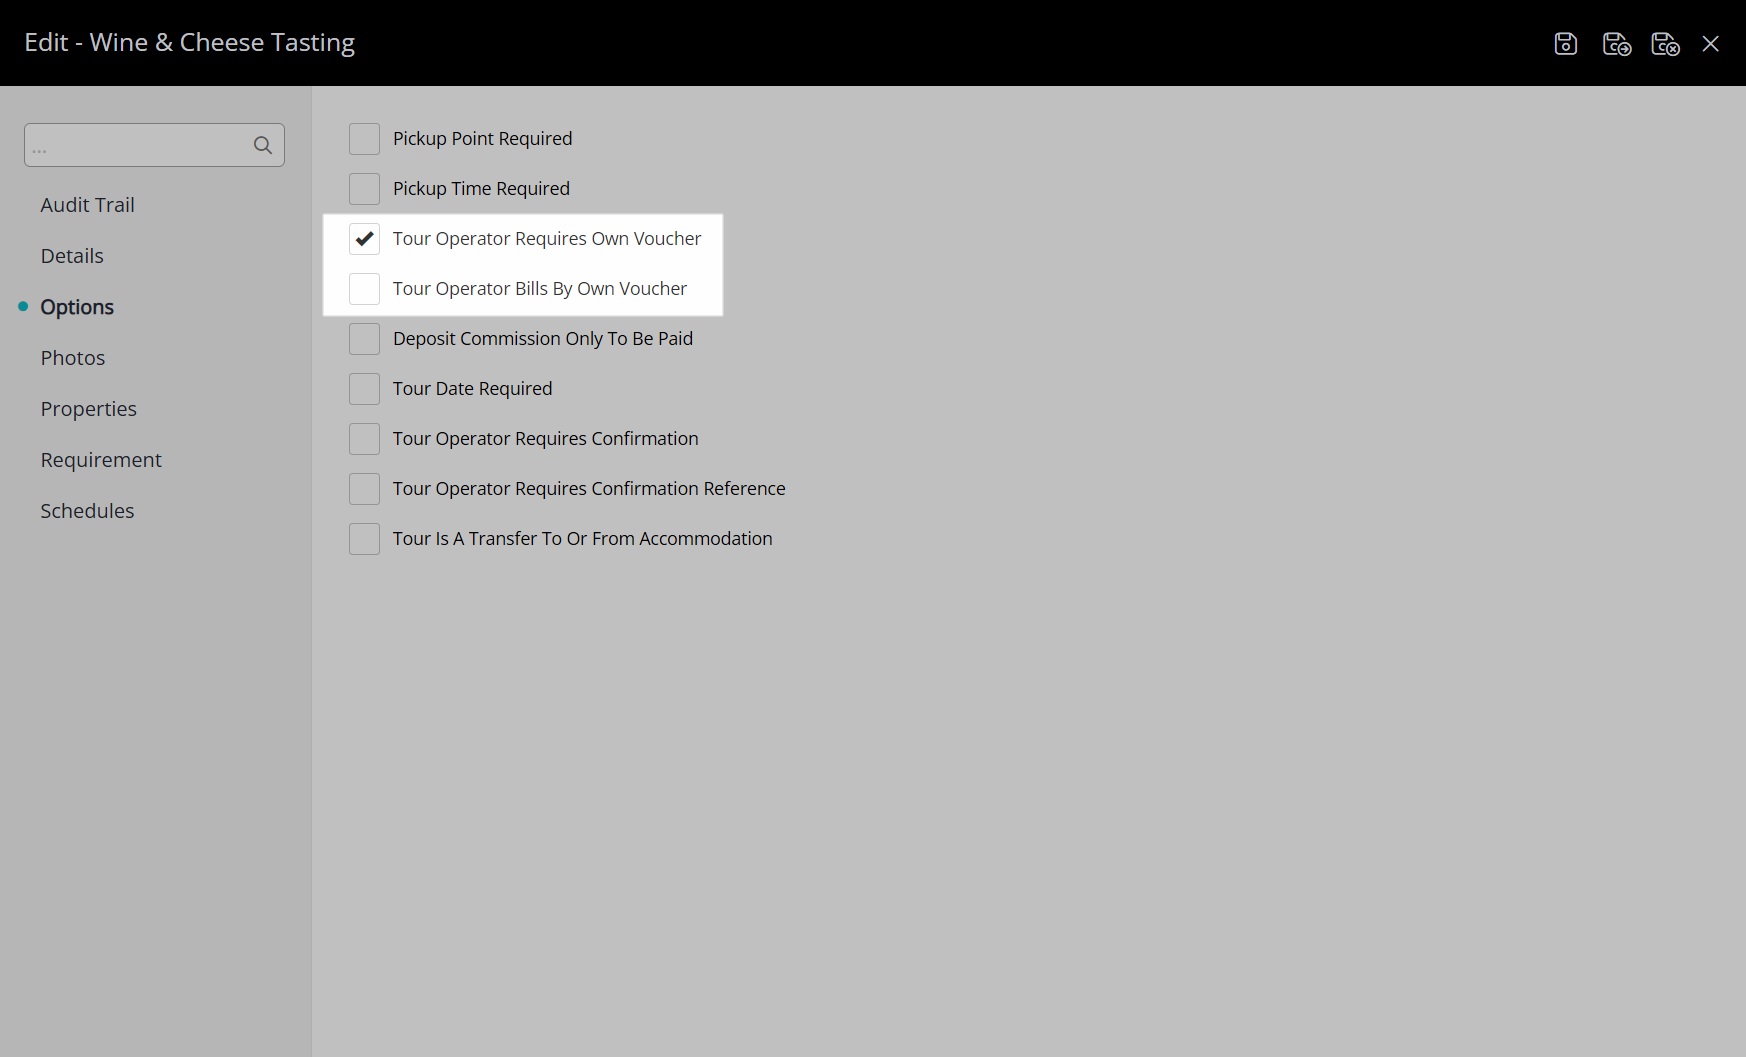
Optional: Select the checkbox 'Deposit Commission Only To Be Paid'.
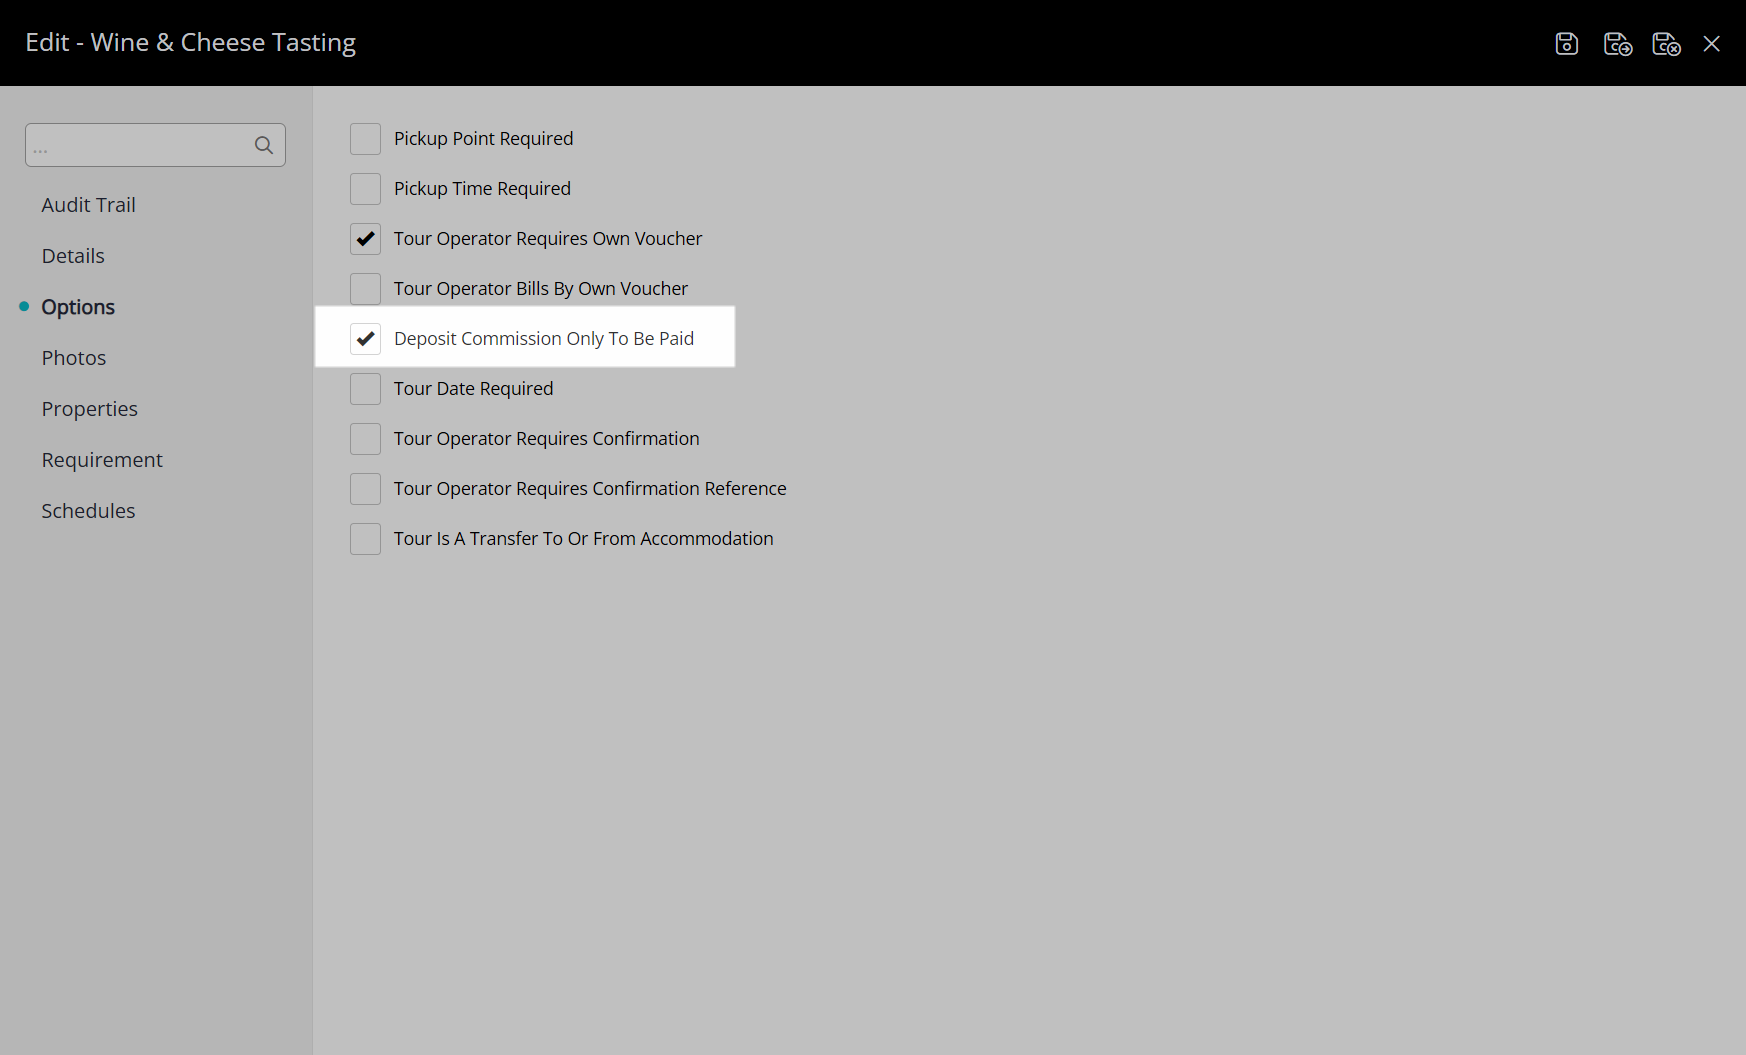
Optional: Select the checkbox 'Tour Date Required'.

Optional: Select the checkbox 'Tour Operator Requires Confirmation'.
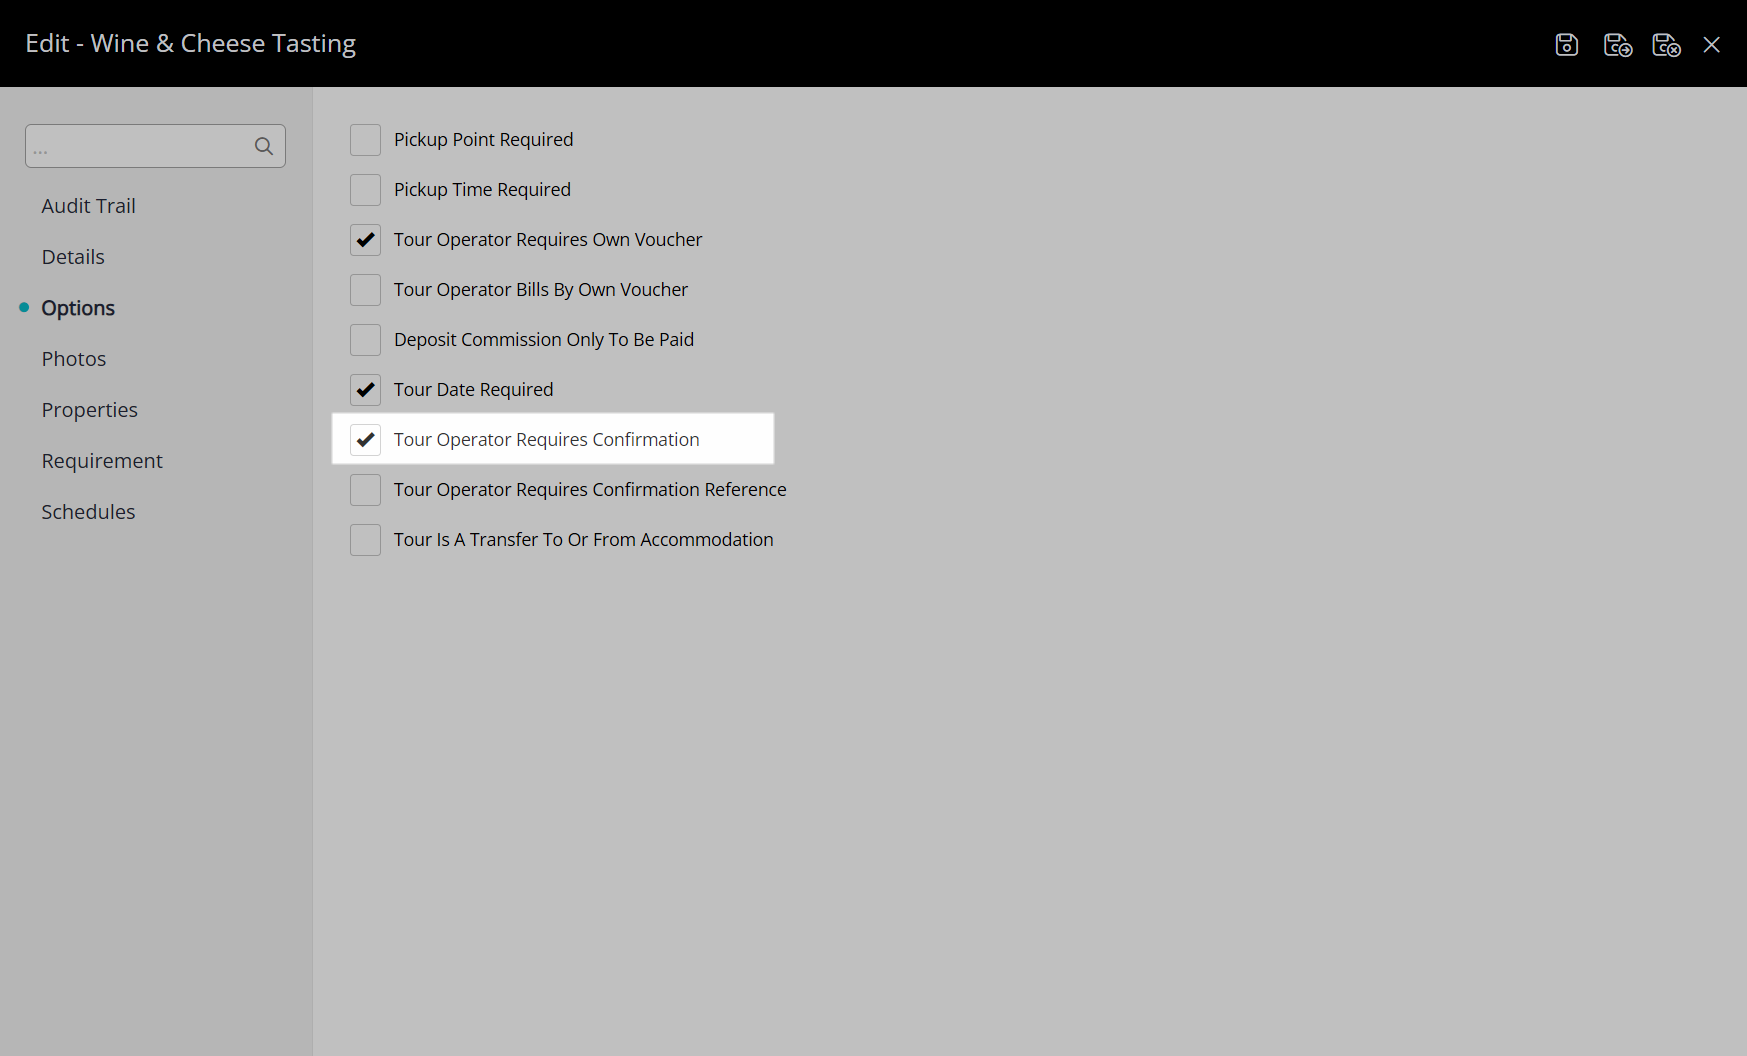
Optional: Select the checkbox 'Tour Operator Requires Confirmation Reference'.

Optional: Select the checkbox 'Tour is a Transfer To or From Accommodation'.

Select the  'Save' icon to store the changes made.

Tour Photos
Have your System Administrator complete the following.
- Go to Setup > Tour Desk > Tours in the side menu of RMS.
- Select the
 'Edit' icon on an existing Tour.
 - Navigate to the 'Photos' tab.
- Select the
 'Add' icon.
 - Select the image files and choose 'Open'.
- Save.
Go to Setup > Tour Desk > Tours in the side menu of RMS.

Select the ![]() 'Edit' icon on an existing Tour.
'Edit' icon on an existing Tour.

Navigate to the 'Photos' tab.
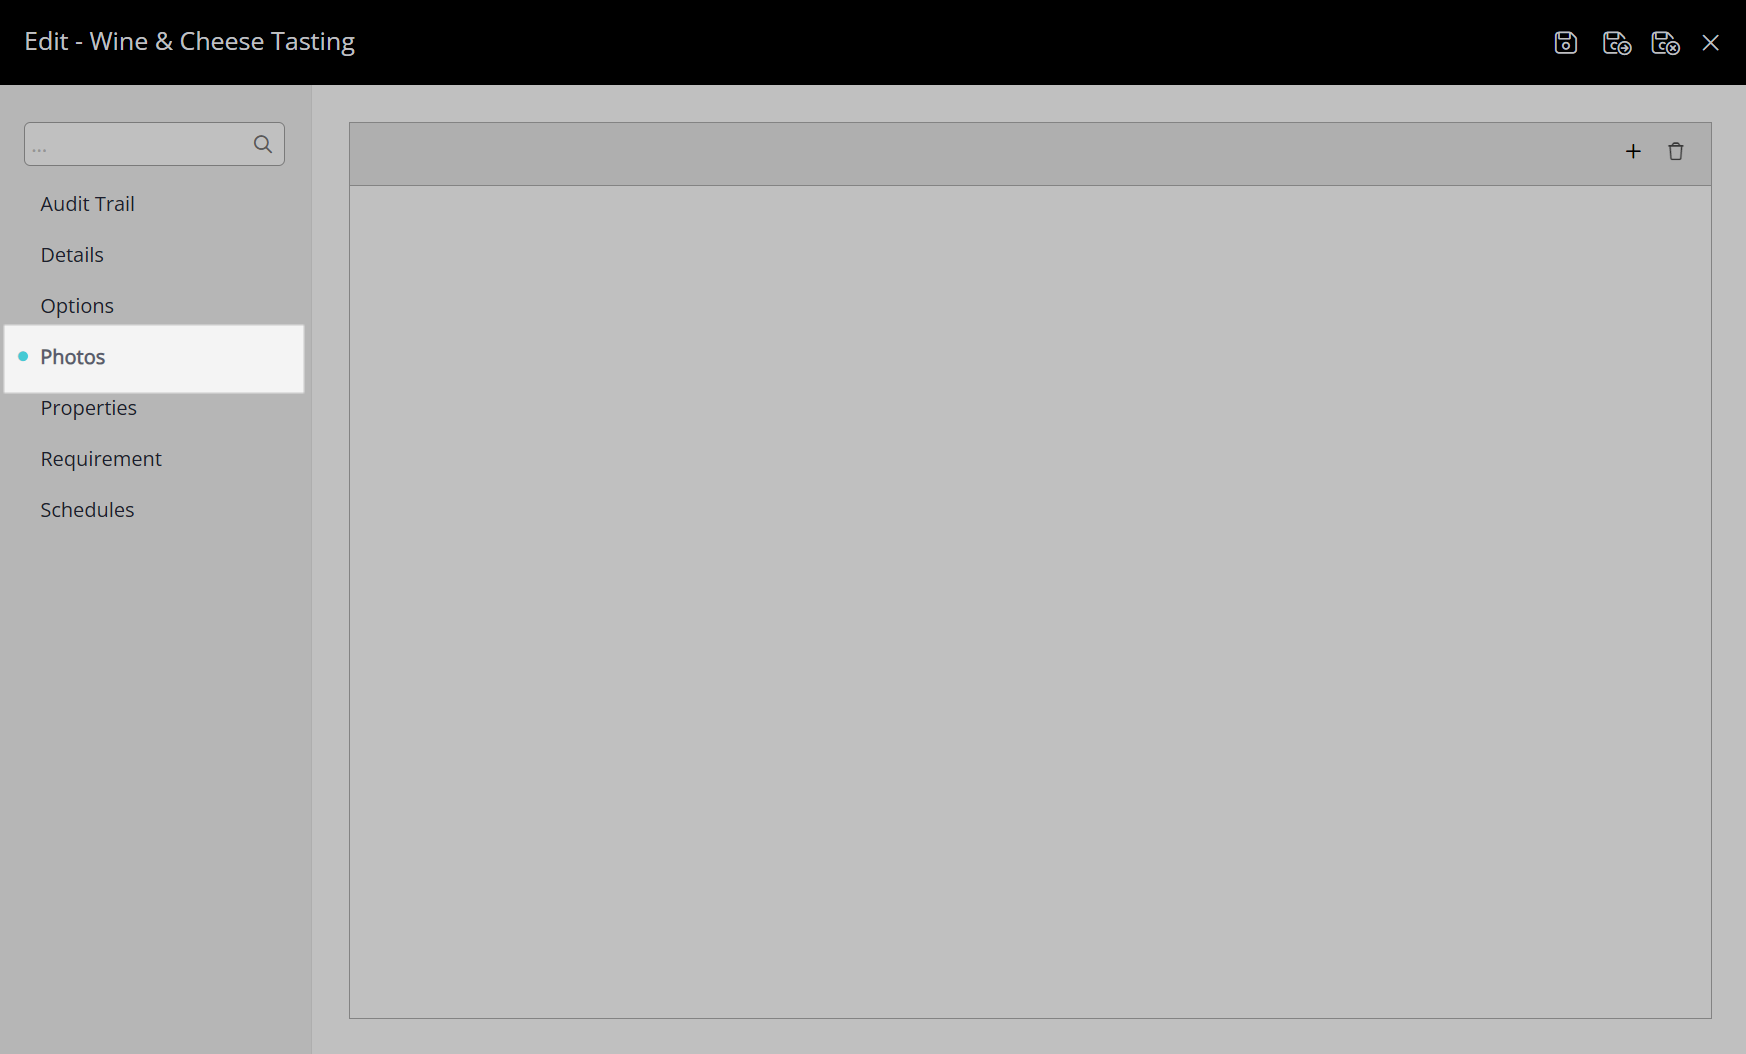
Select the  'Add' icon.
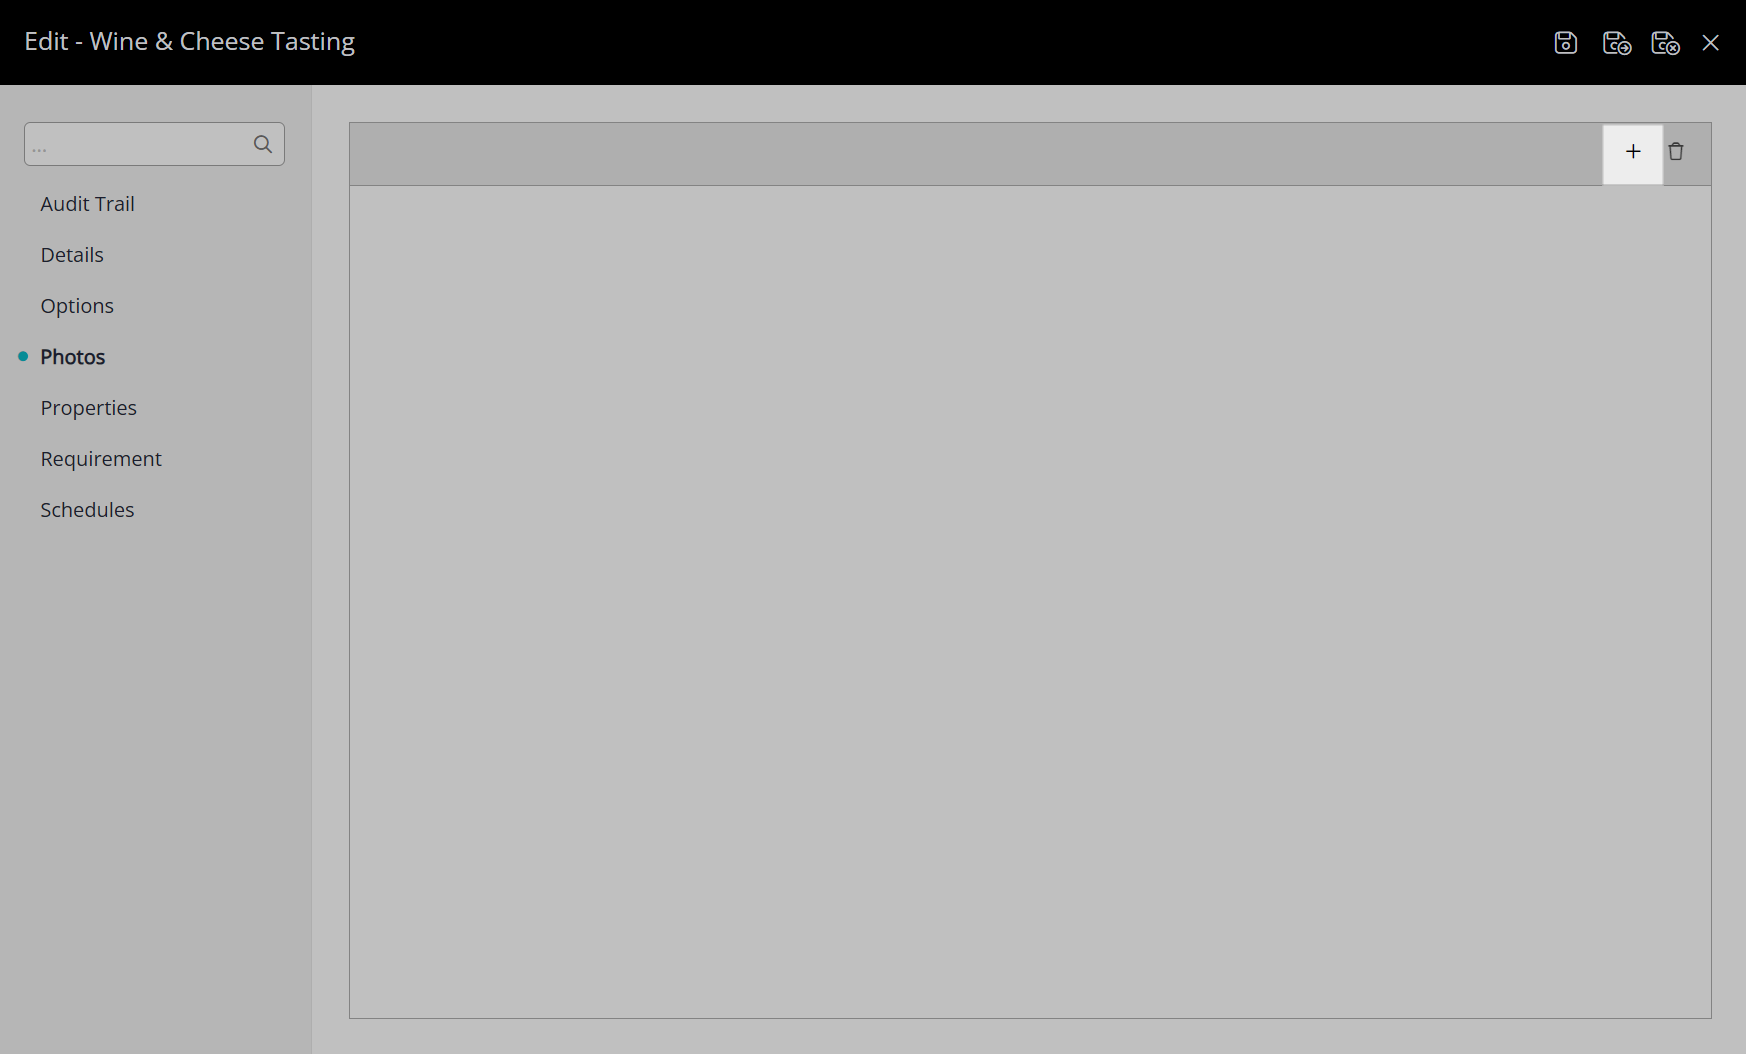
Select the image files and choose 'Open'.
Select the  'Save' icon to store the changes made.
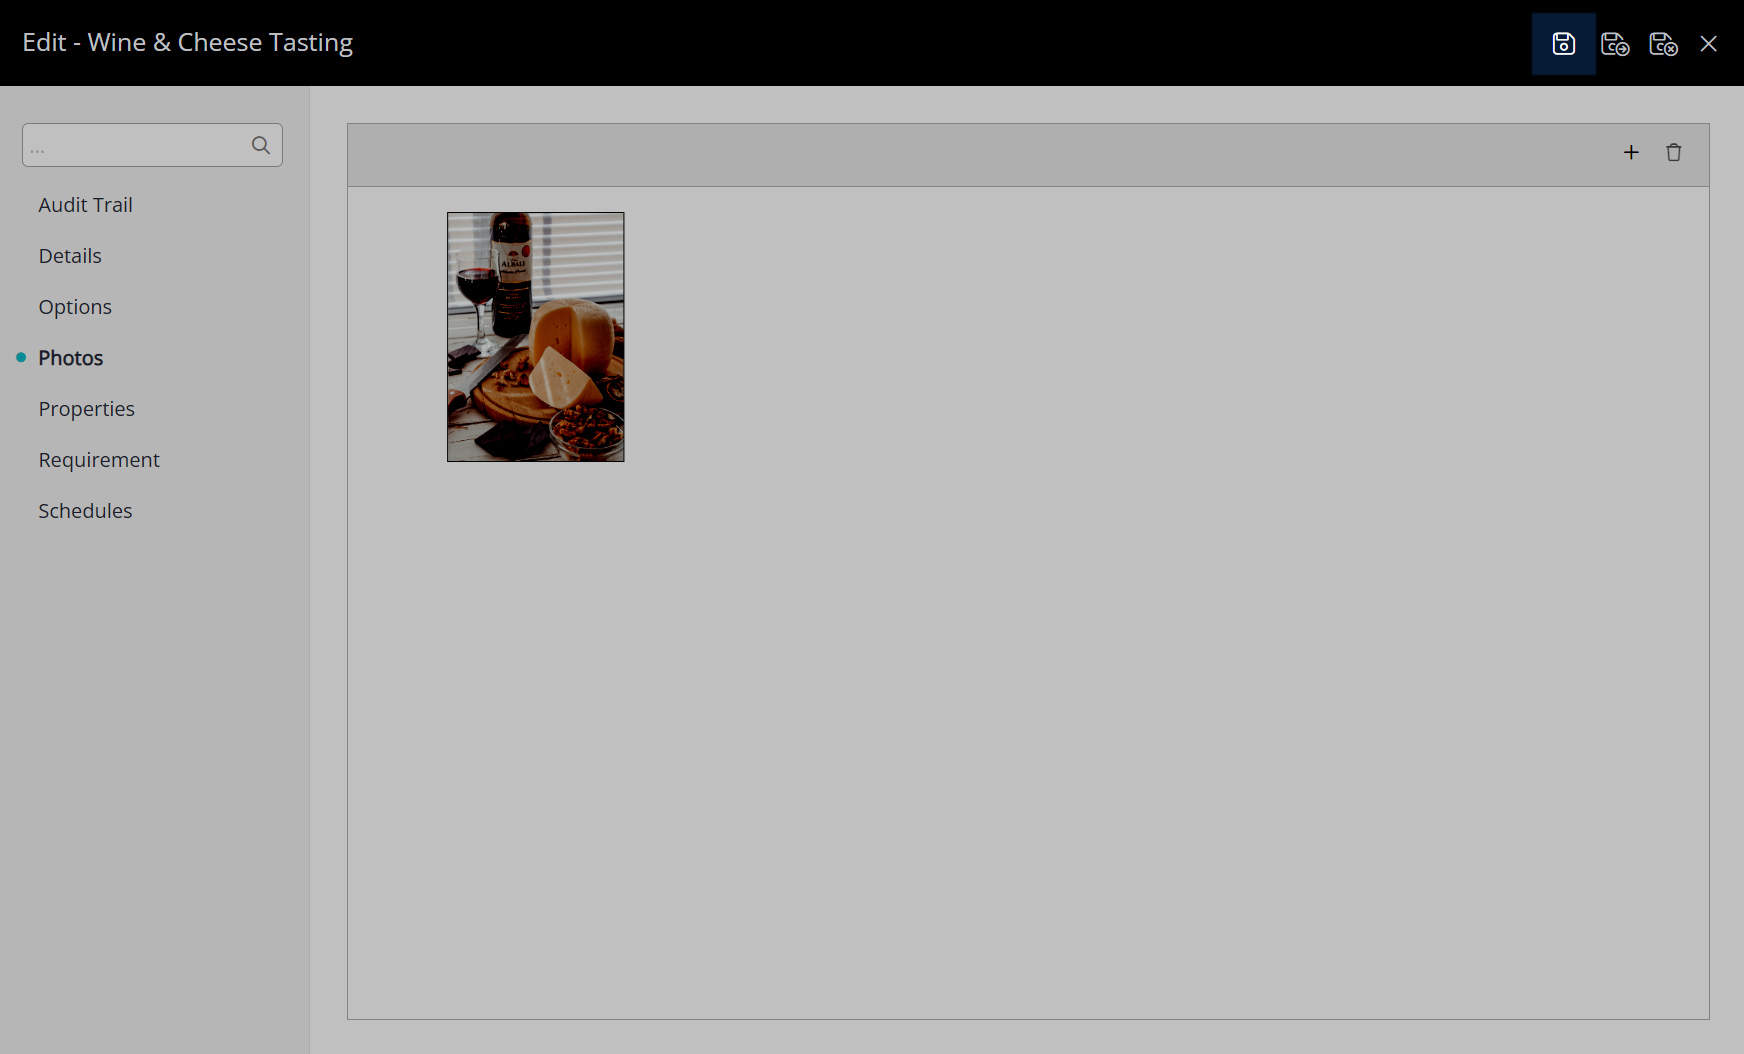
The selected images will be used with the tour details when shown on the RMS Internet Booking Engine.
Tour Requirements
Have your System Administrator complete the following.
- Go to Setup > Tour Desk > Tours in the side menu of RMS.
- Select the
 'Edit' icon on an existing Tour.
 - Navigate to the 'Requirements' tab.
- Select the
 'Add' icon.
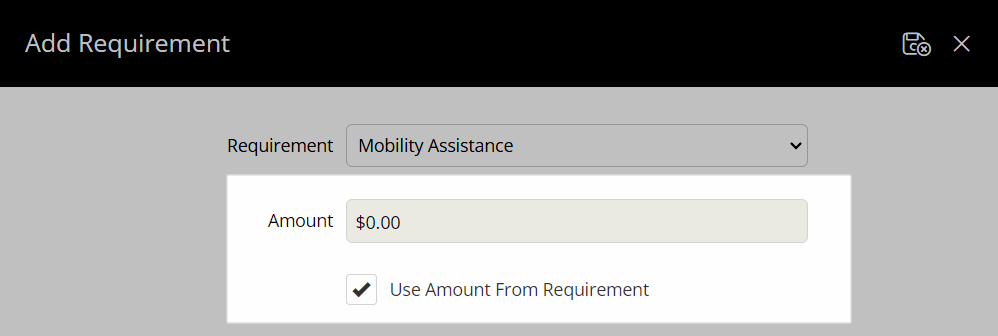
 - Select a Requirement.
- Optional: Enter an Amount or select the checkbox 'Use Amount from Requirement'.
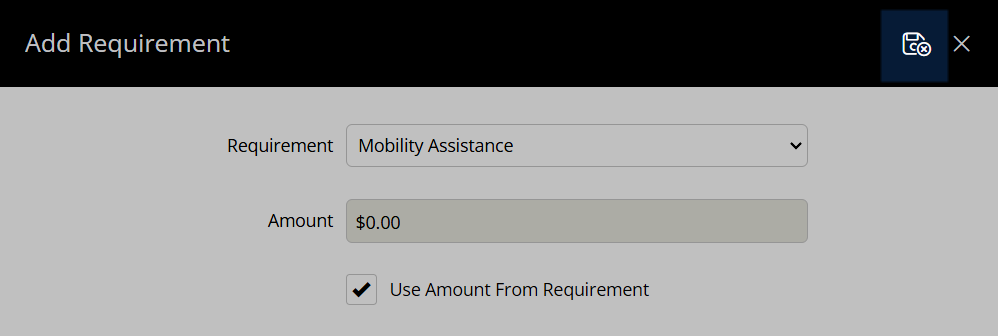
- Save/Exit.
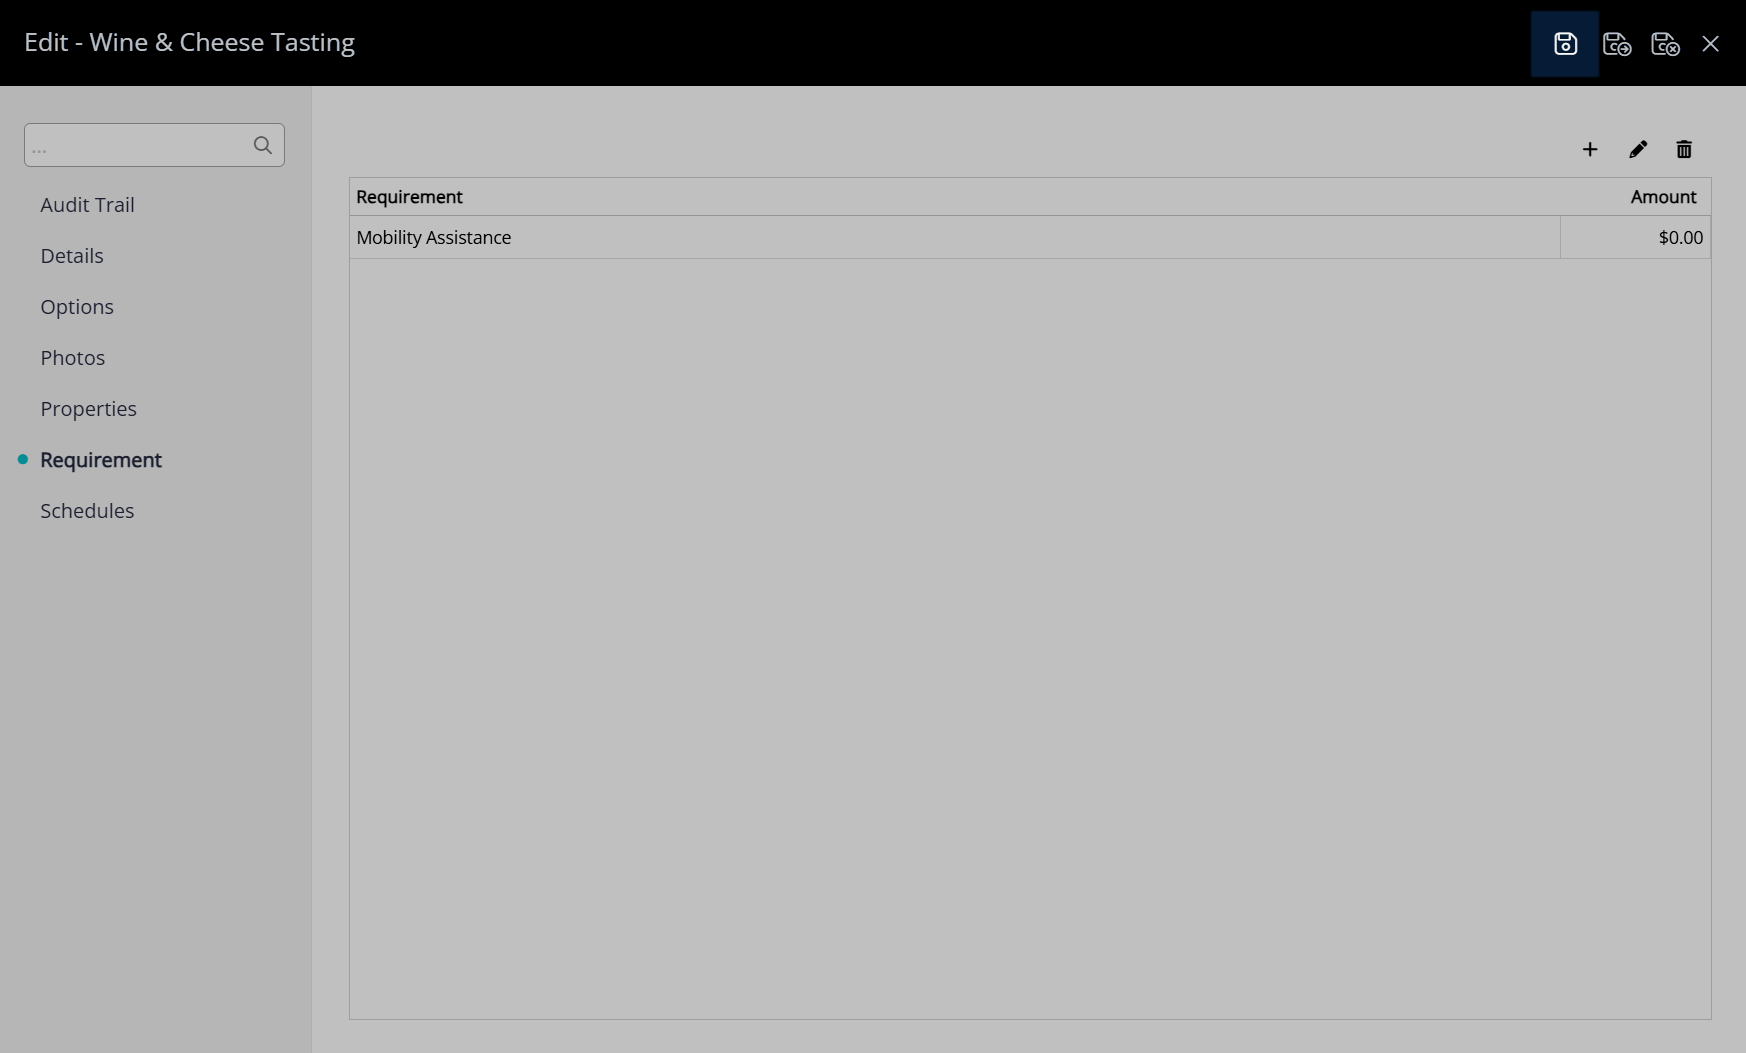
- Save.
Go to Setup > Tour Desk > Tours in the side menu of RMS.

Select the  'Edit' icon on an existing Tour.

Navigate to the 'Requirements' tab.
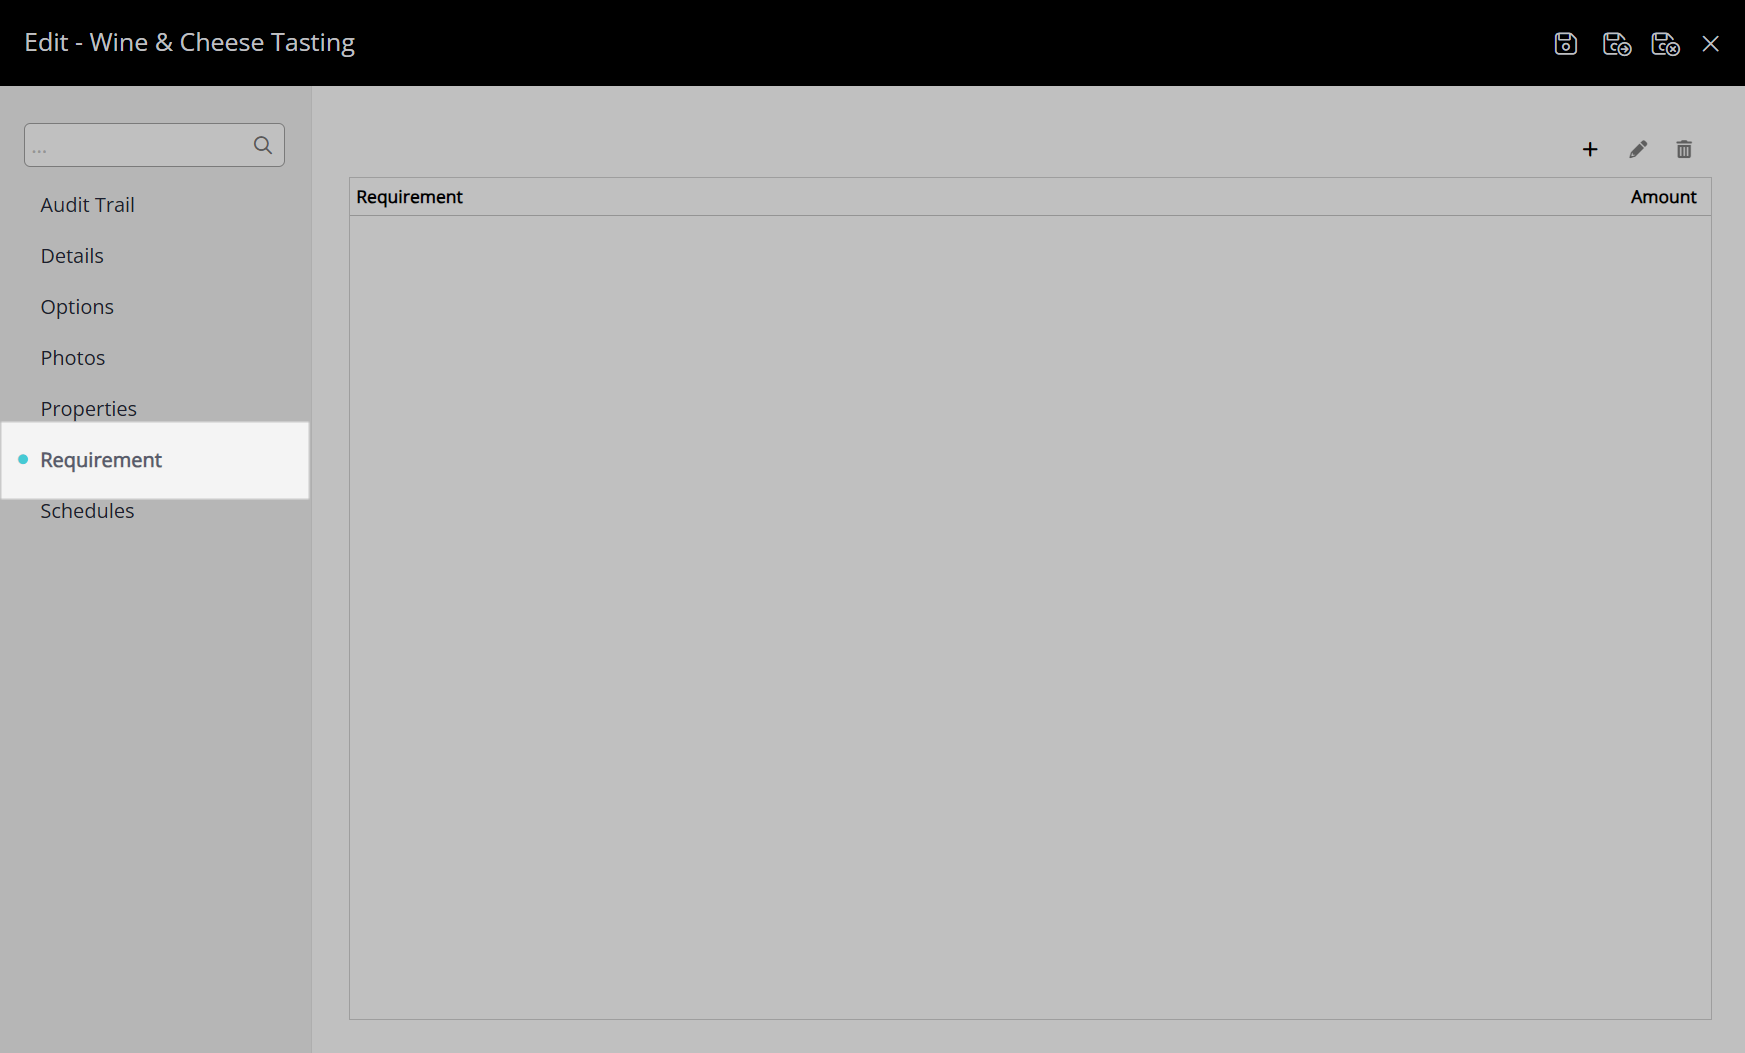
Select the  'Add' icon.
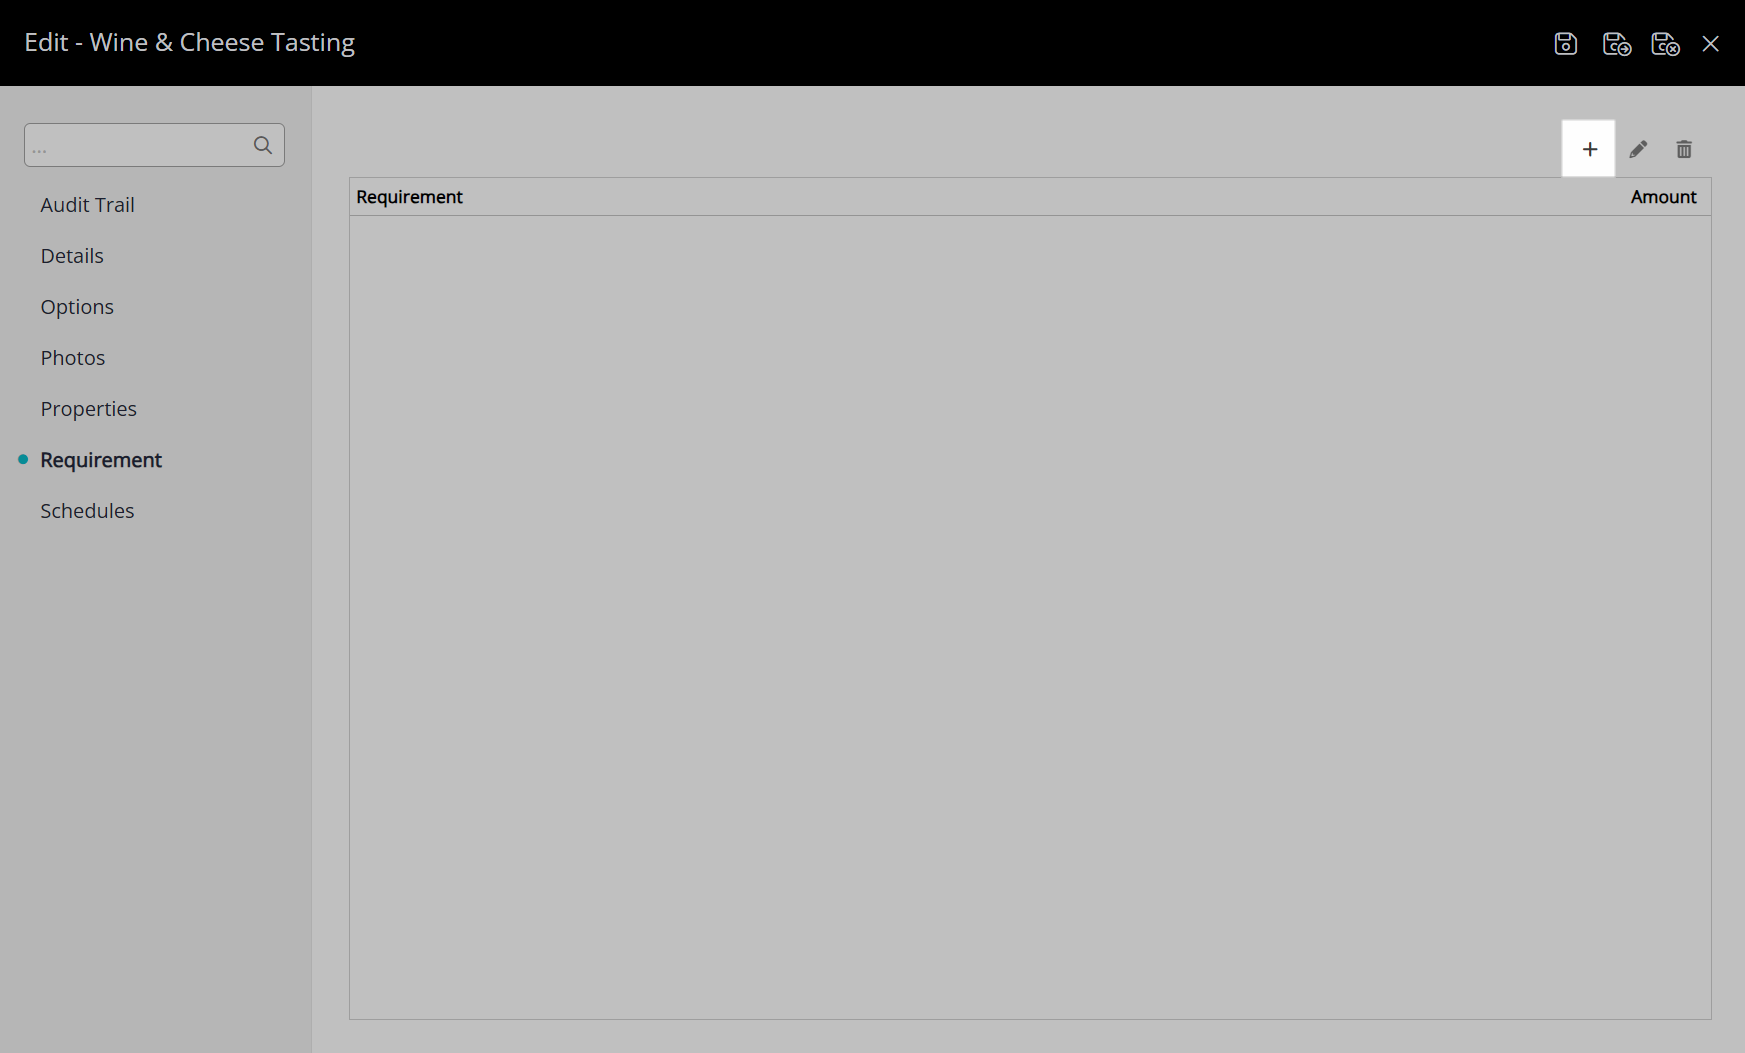
Select a Requirement.
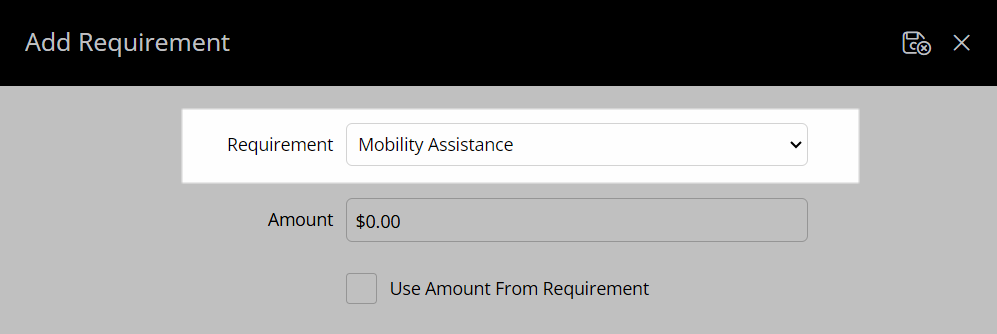
Optional: Enter an Amount or select the checkbox 'Use Amount from Requirement'.
Select the  'Save/Exit' icon to store the changes made and return to the Tour setup.
Select the  'Save' icon to store the changes made to the Tour setup.
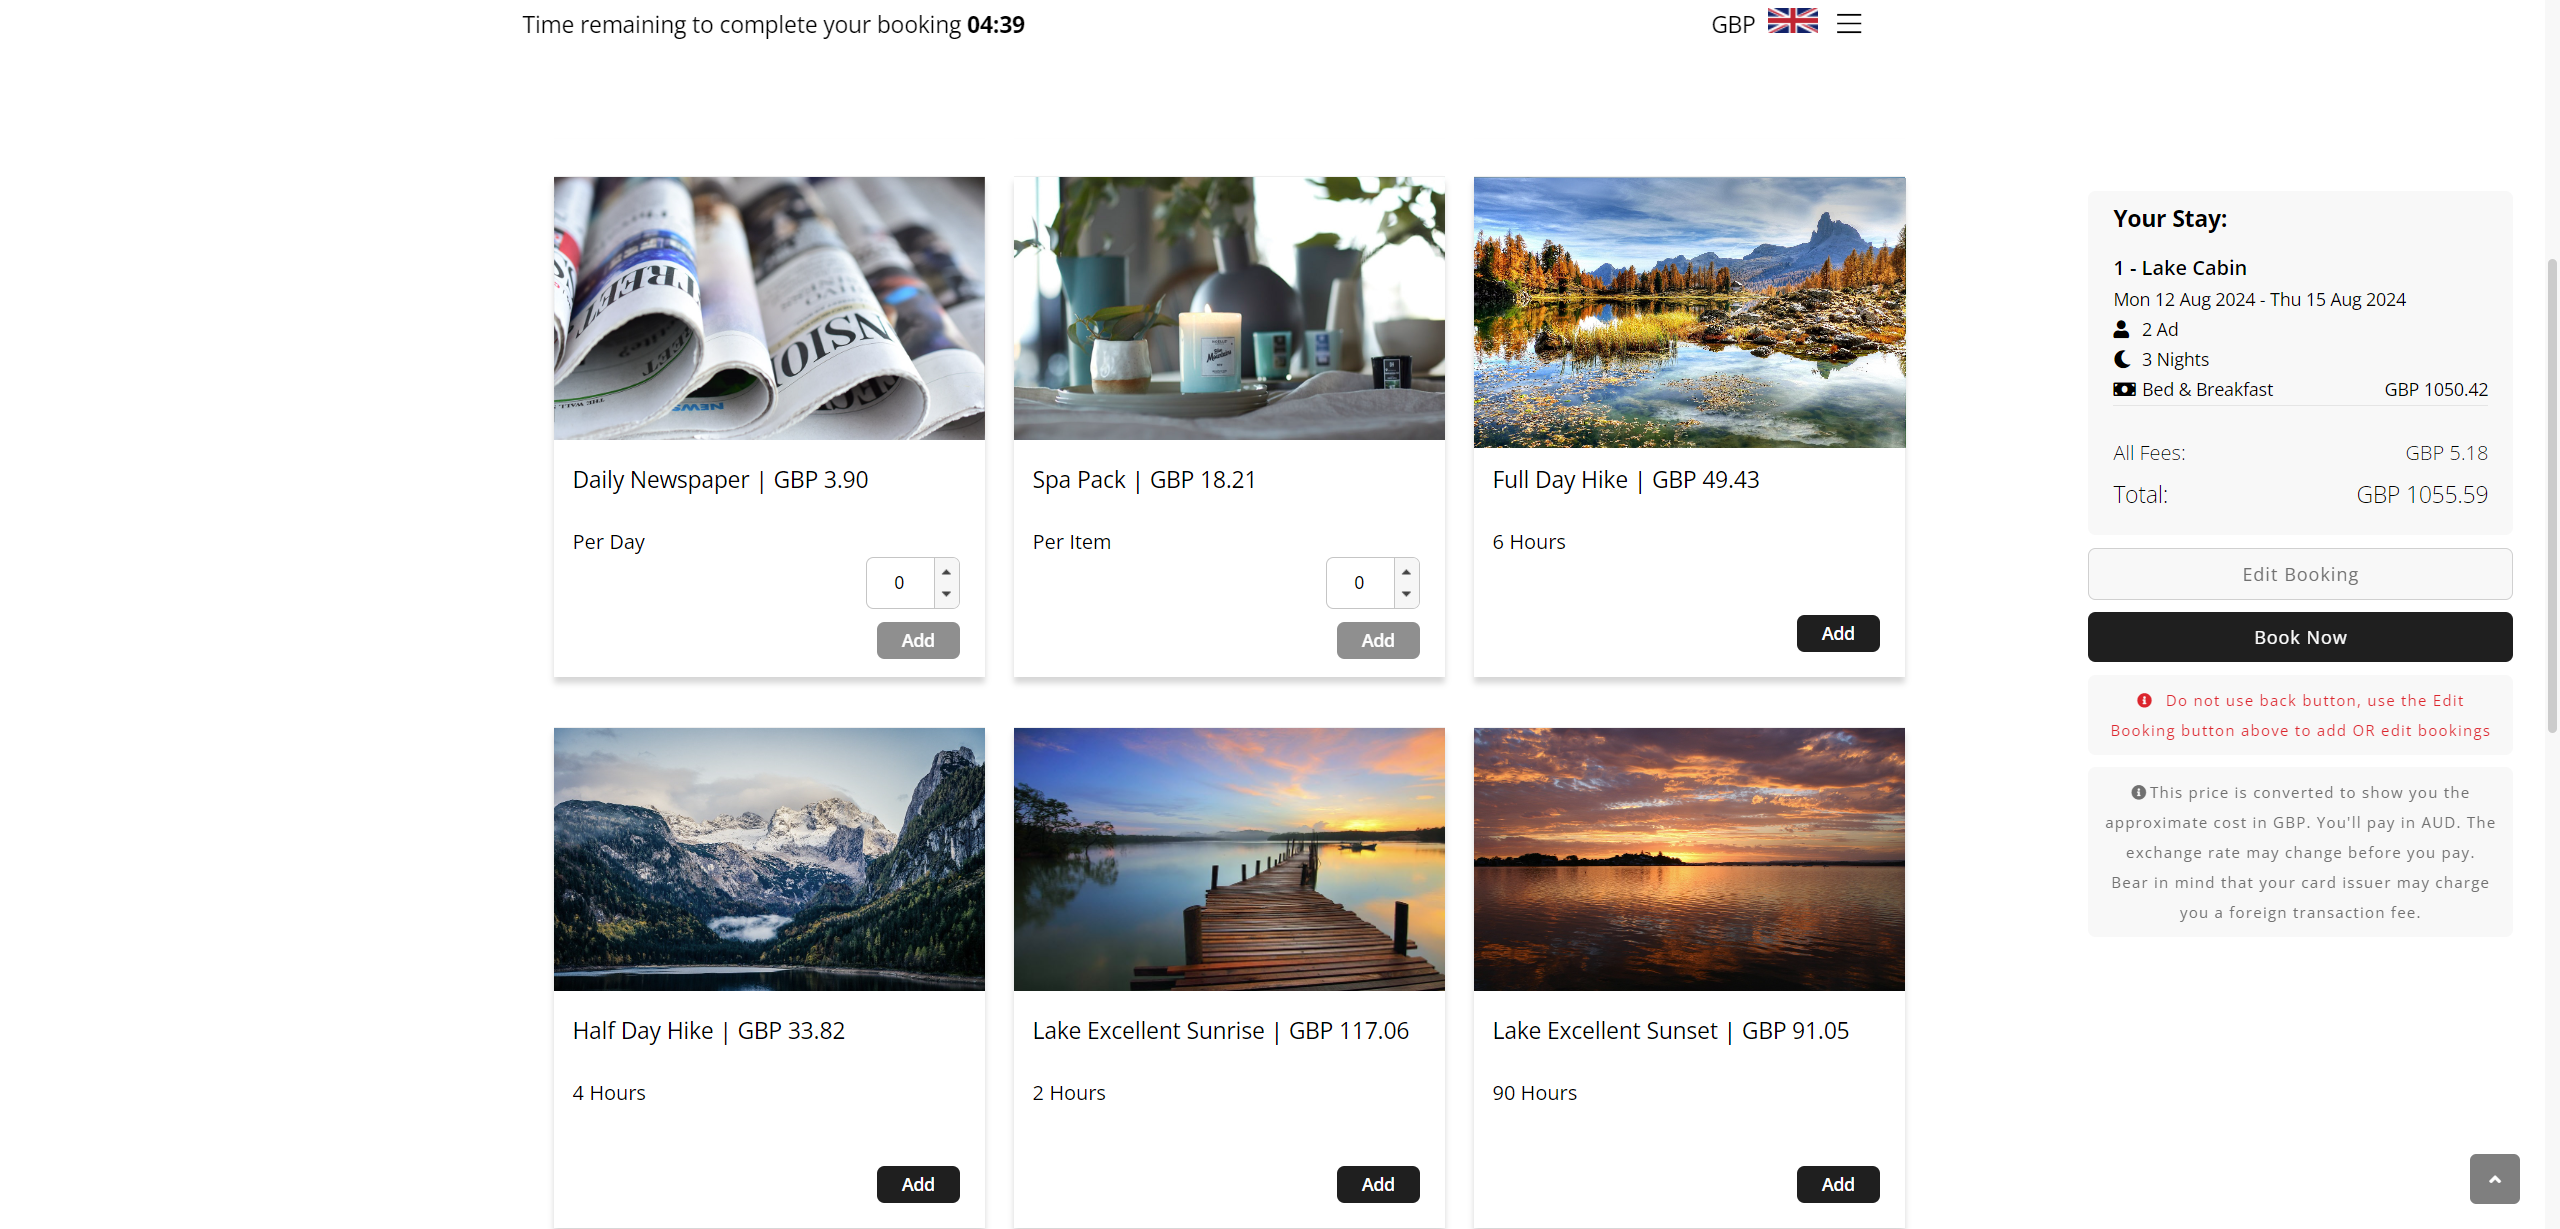
This tour will now be available for adding to an existing reservation or to book on the RMS Internet Booking Engine if made available to online.
| Previous: Pickup Points |