Tour Inventory
Setup tour inventory to manage availability and allocation of tickets when using the Tour Desk module in RMS.
Tour inventory management is an optional feature available with the Tour Desk module to enable tour availability and ticket allocation for tours in RMS.
Viewing and managing tour availability, and allocating tickets for specific seats or up to a capacity limit requires tour inventory to be created and assigned to a tour for the space, venue, vehicle, or vessel used for the tour, event, activity, or experience.
The category class 'Ticketing/Tours' is used to manage inventory of this type and can be setup for use with events, tours, activities, experiences, venue hire, or vehicle hire where individual tickets contribute to a maximum allowable capacity within the overall space.
This inventory management enables selling tickets to multiple parties for the same tour, activity, event, or experience whilst managing the overall availability in RMS and differs from the 'Facility' category class which can be used for events, room hire, or space hire where the entire space is booked as a whole for a single entity at a time.
Setup Tour Inventory
Have your System Administrator complete the following.
- Go to Setup > Category/Area in the side menu of RMS.
- Select the
 'Add' icon.
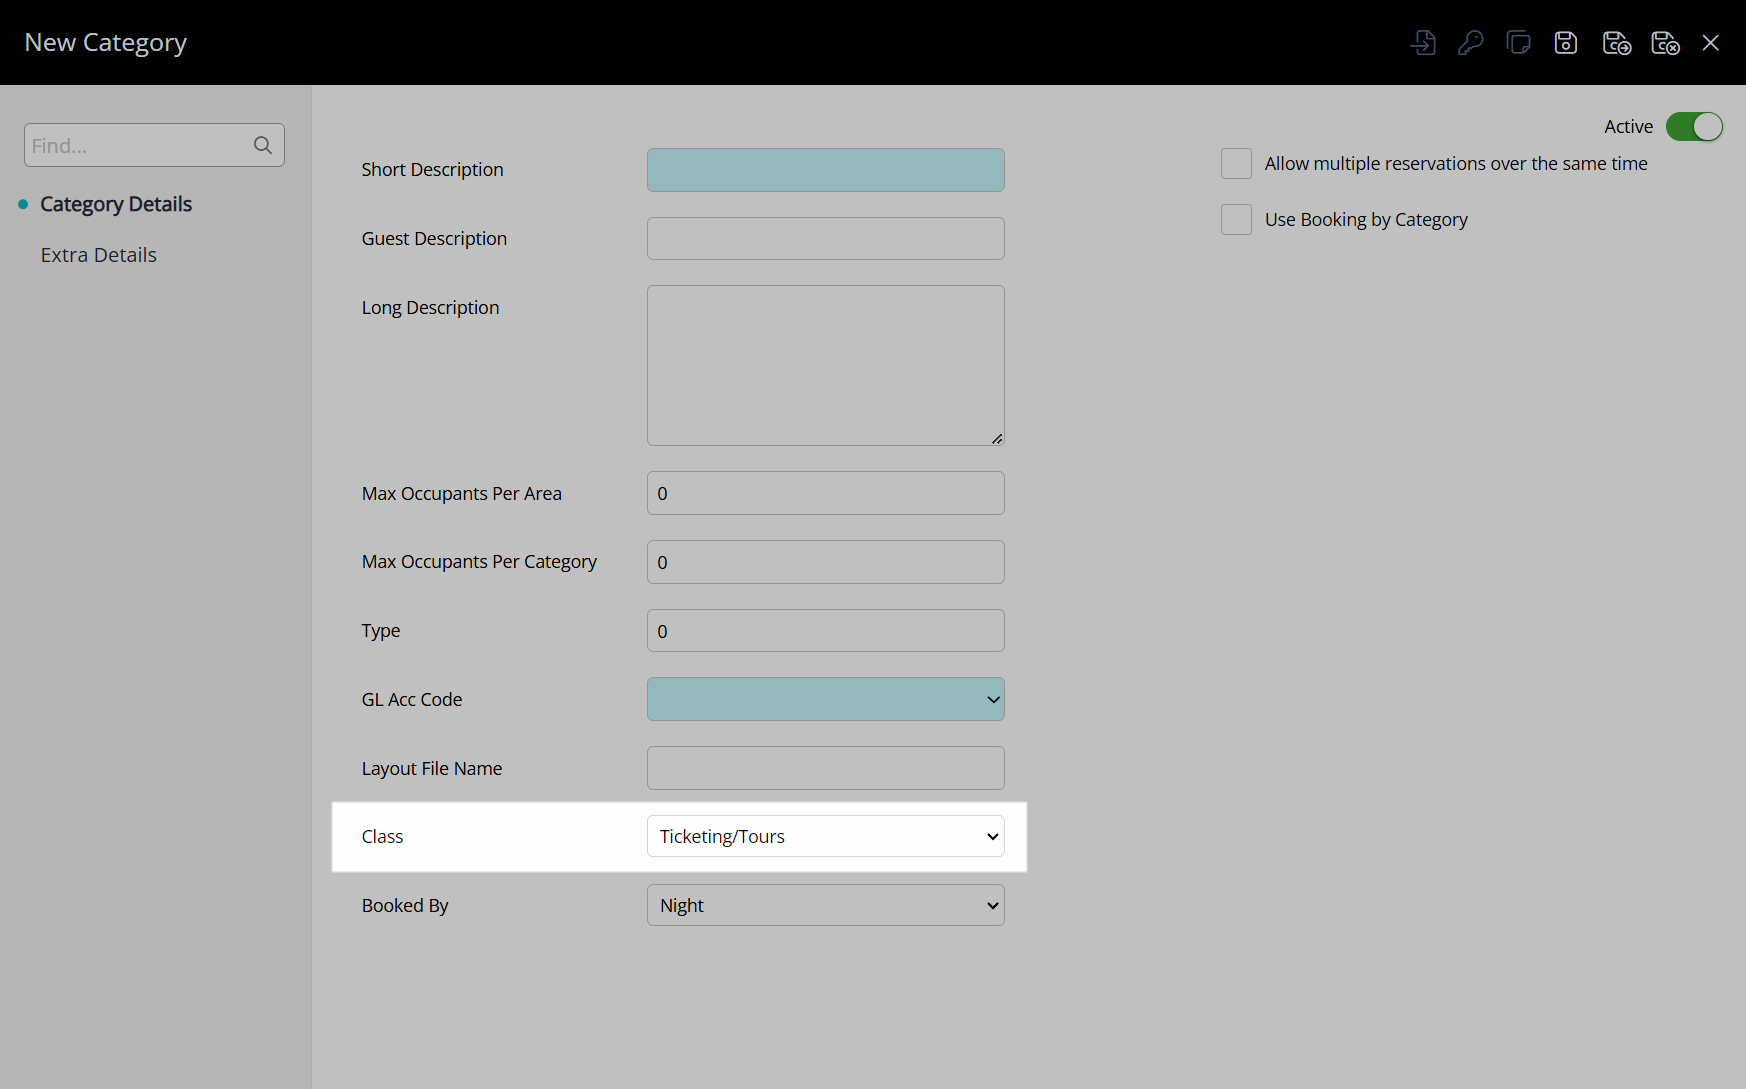
 - Select the Category Class as 'Ticketing/Tours'.
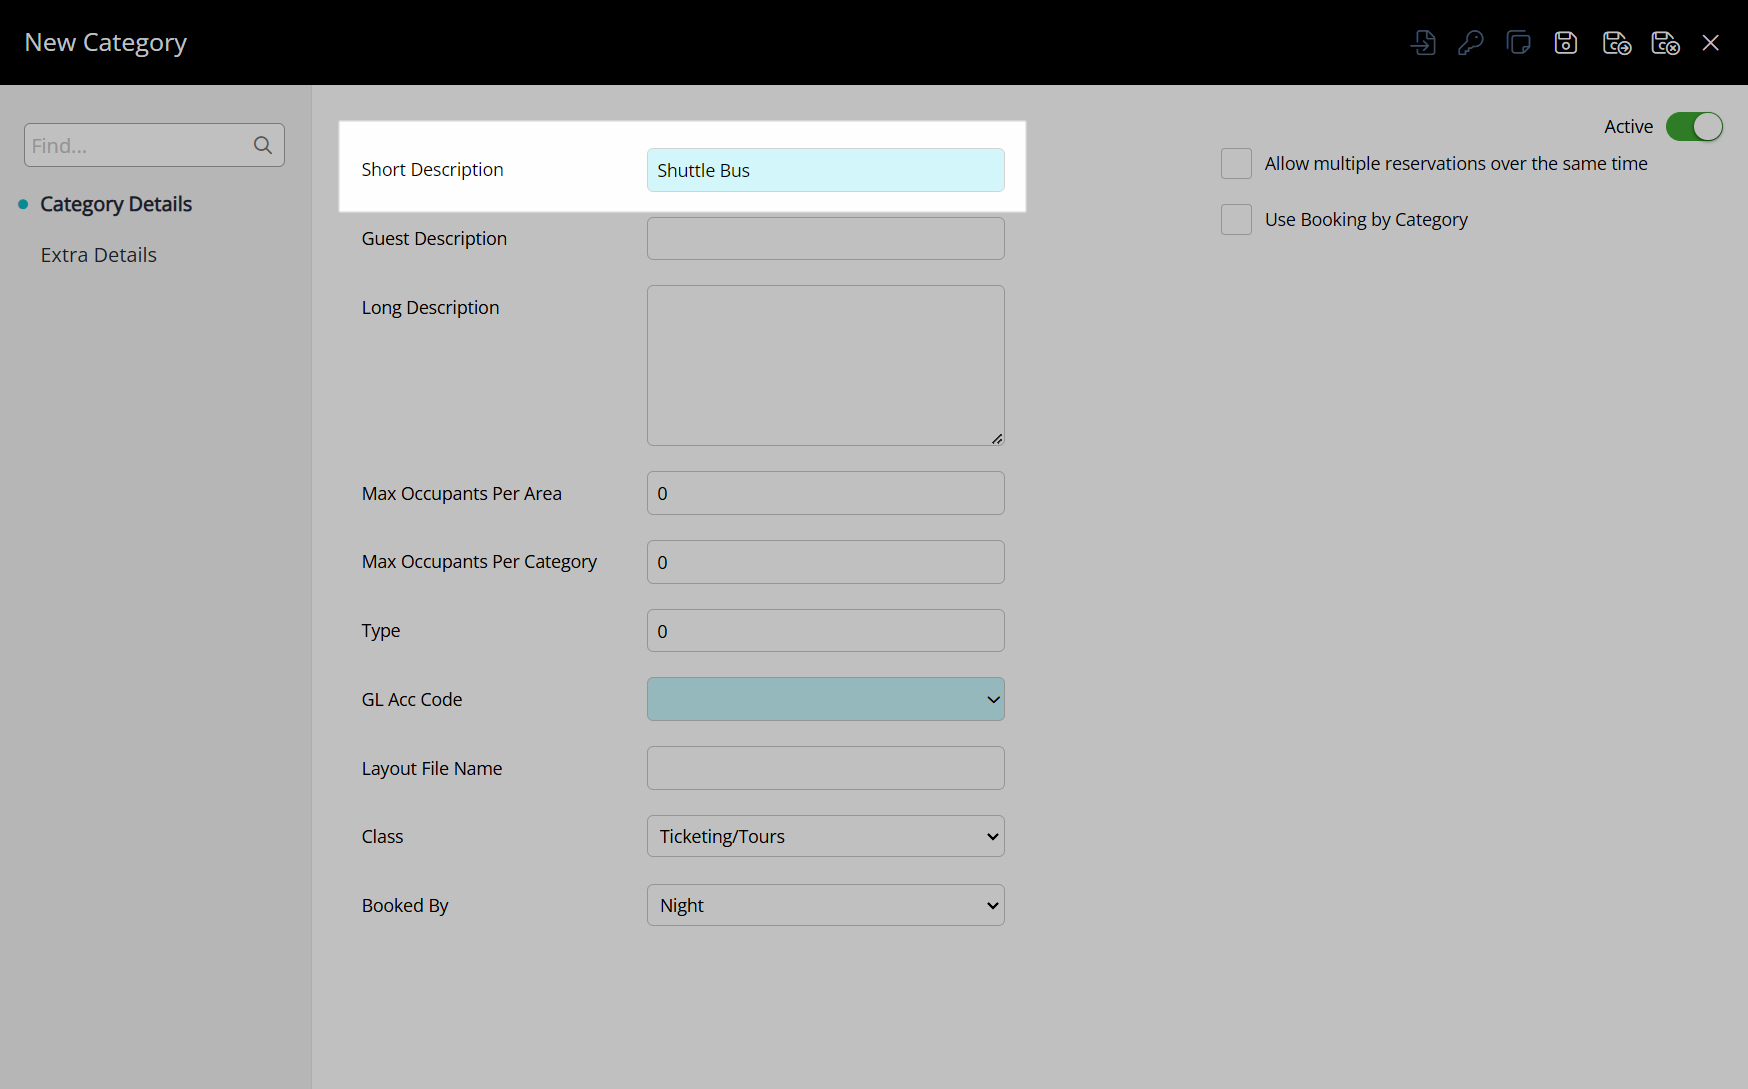
- Enter the Tour Inventory Description as the Category Short Description.
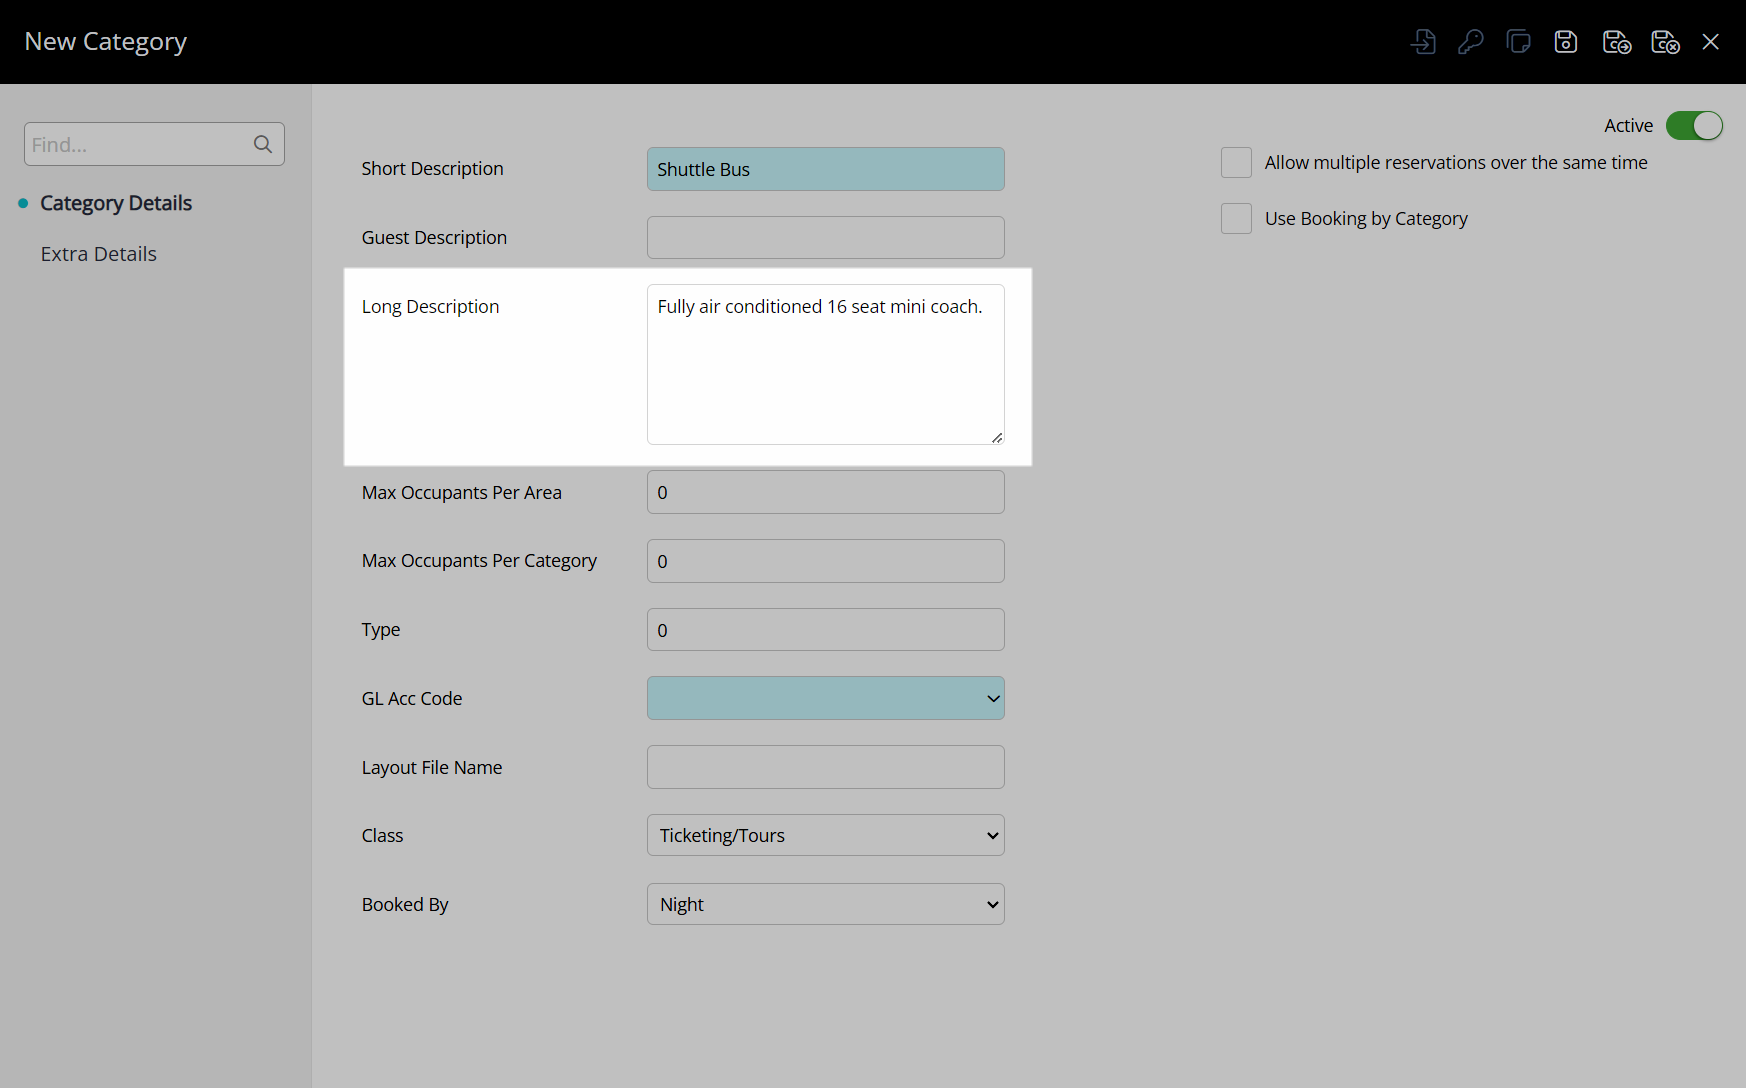
- Optional: Enter the Tour Inventory Long Description as the Category Long Description.
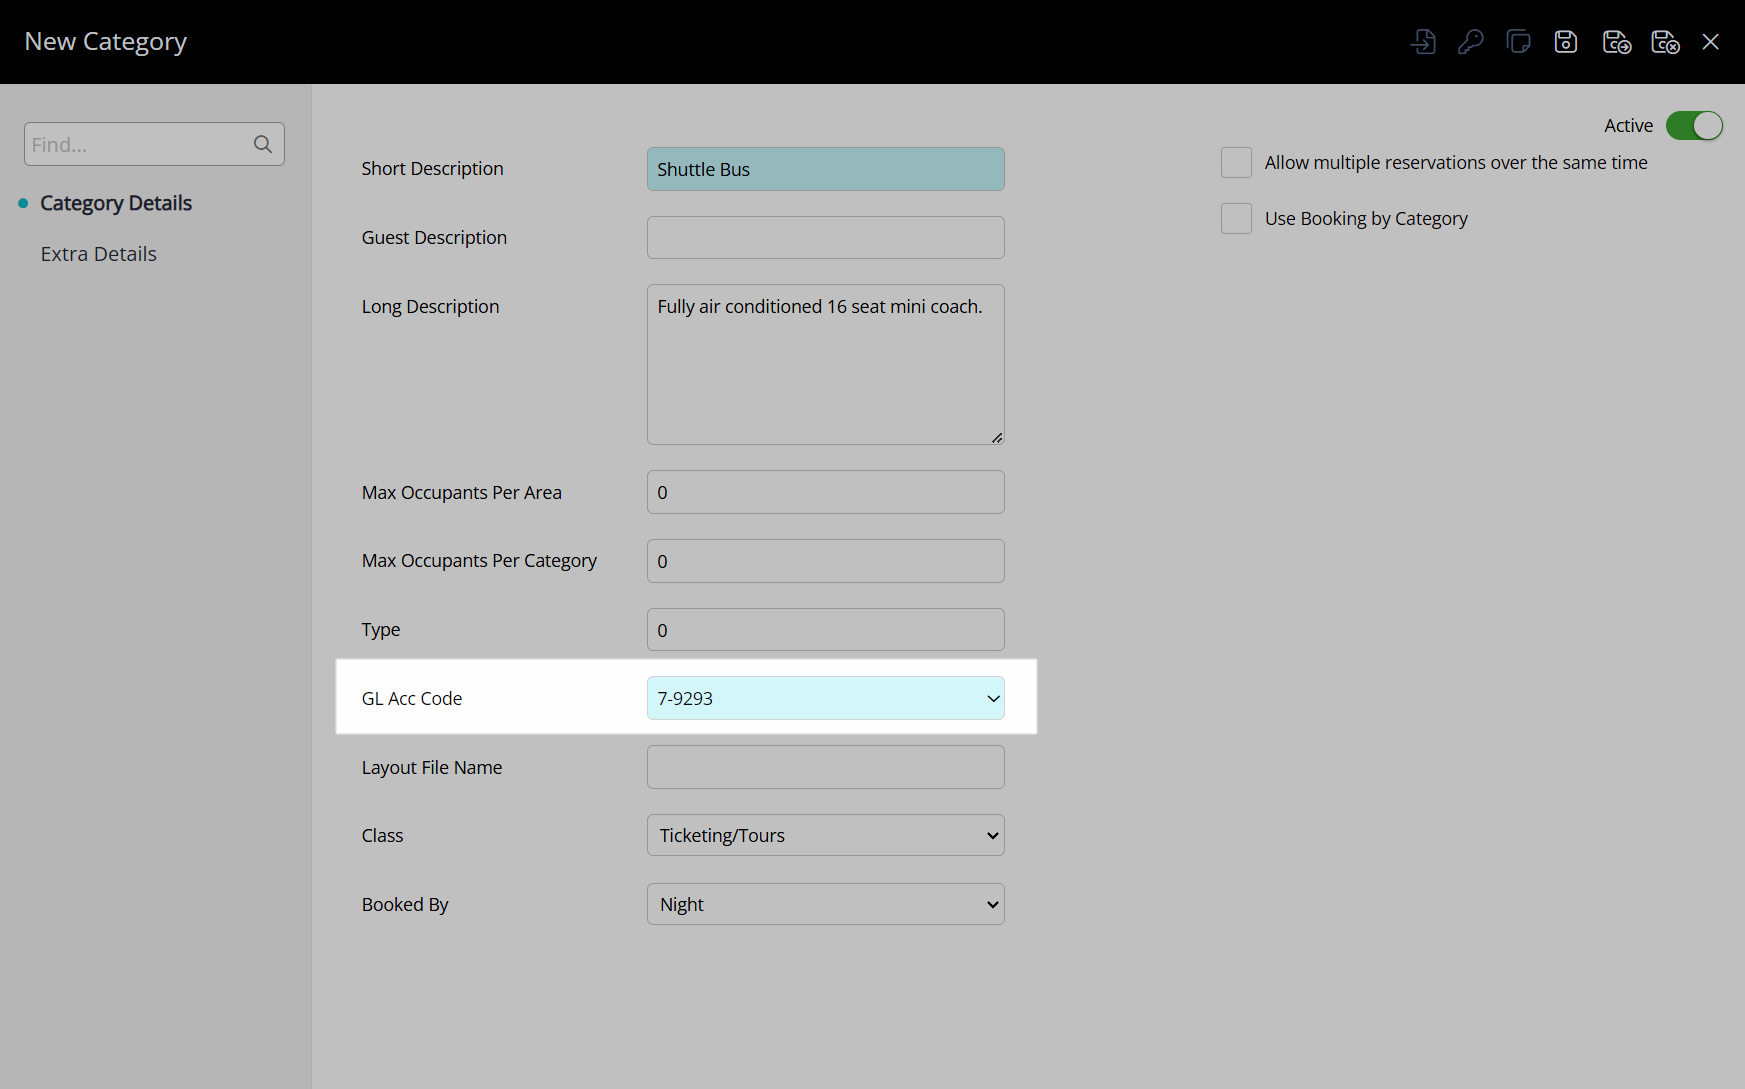
- Select a General Ledger Account Code.
- Select a Booked By option.
- Optional: Select the checkbox 'Allow multiple reservations over the same time'.
- Optional: Select the checkbox 'Book by Category'.
- Save.
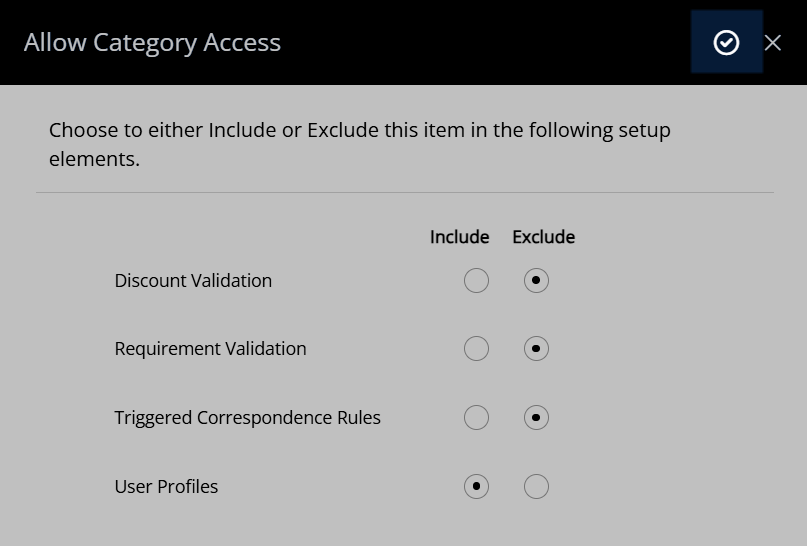
- Select the Category Access and choose the
 'Apply/Exit' icon.
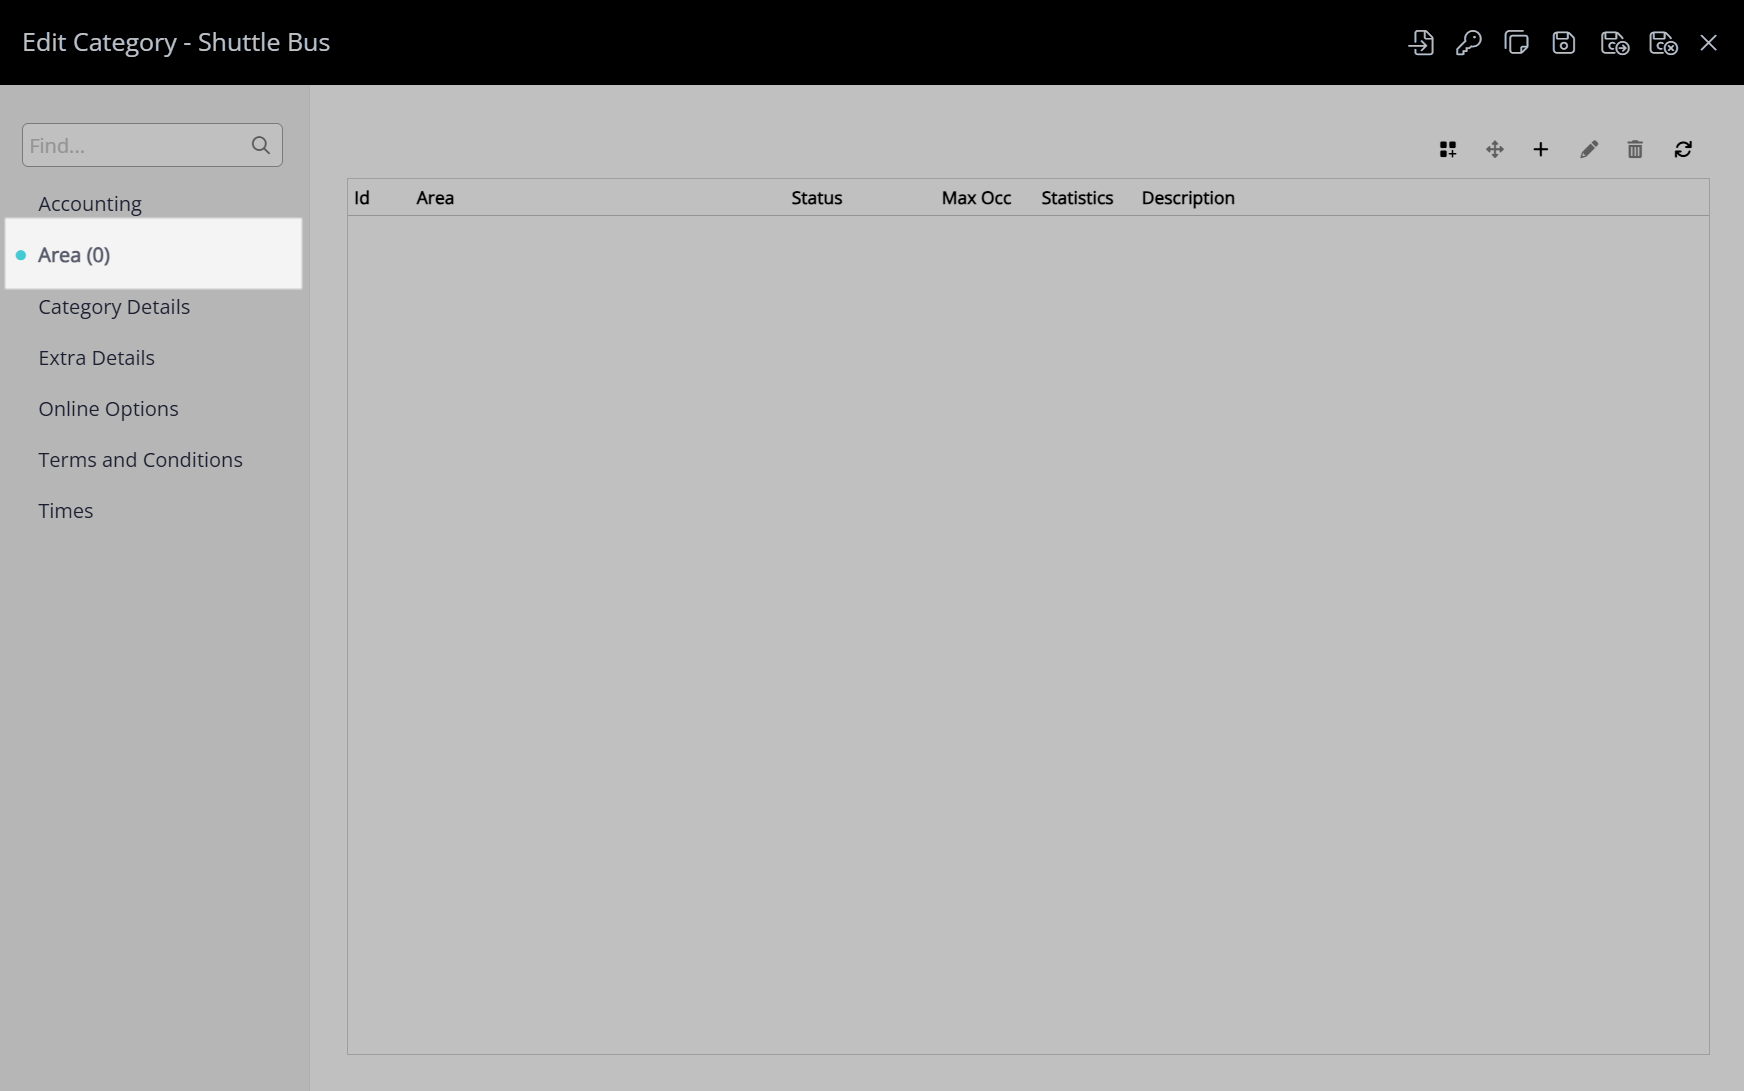
 - Navigate to the 'Areas' tab.
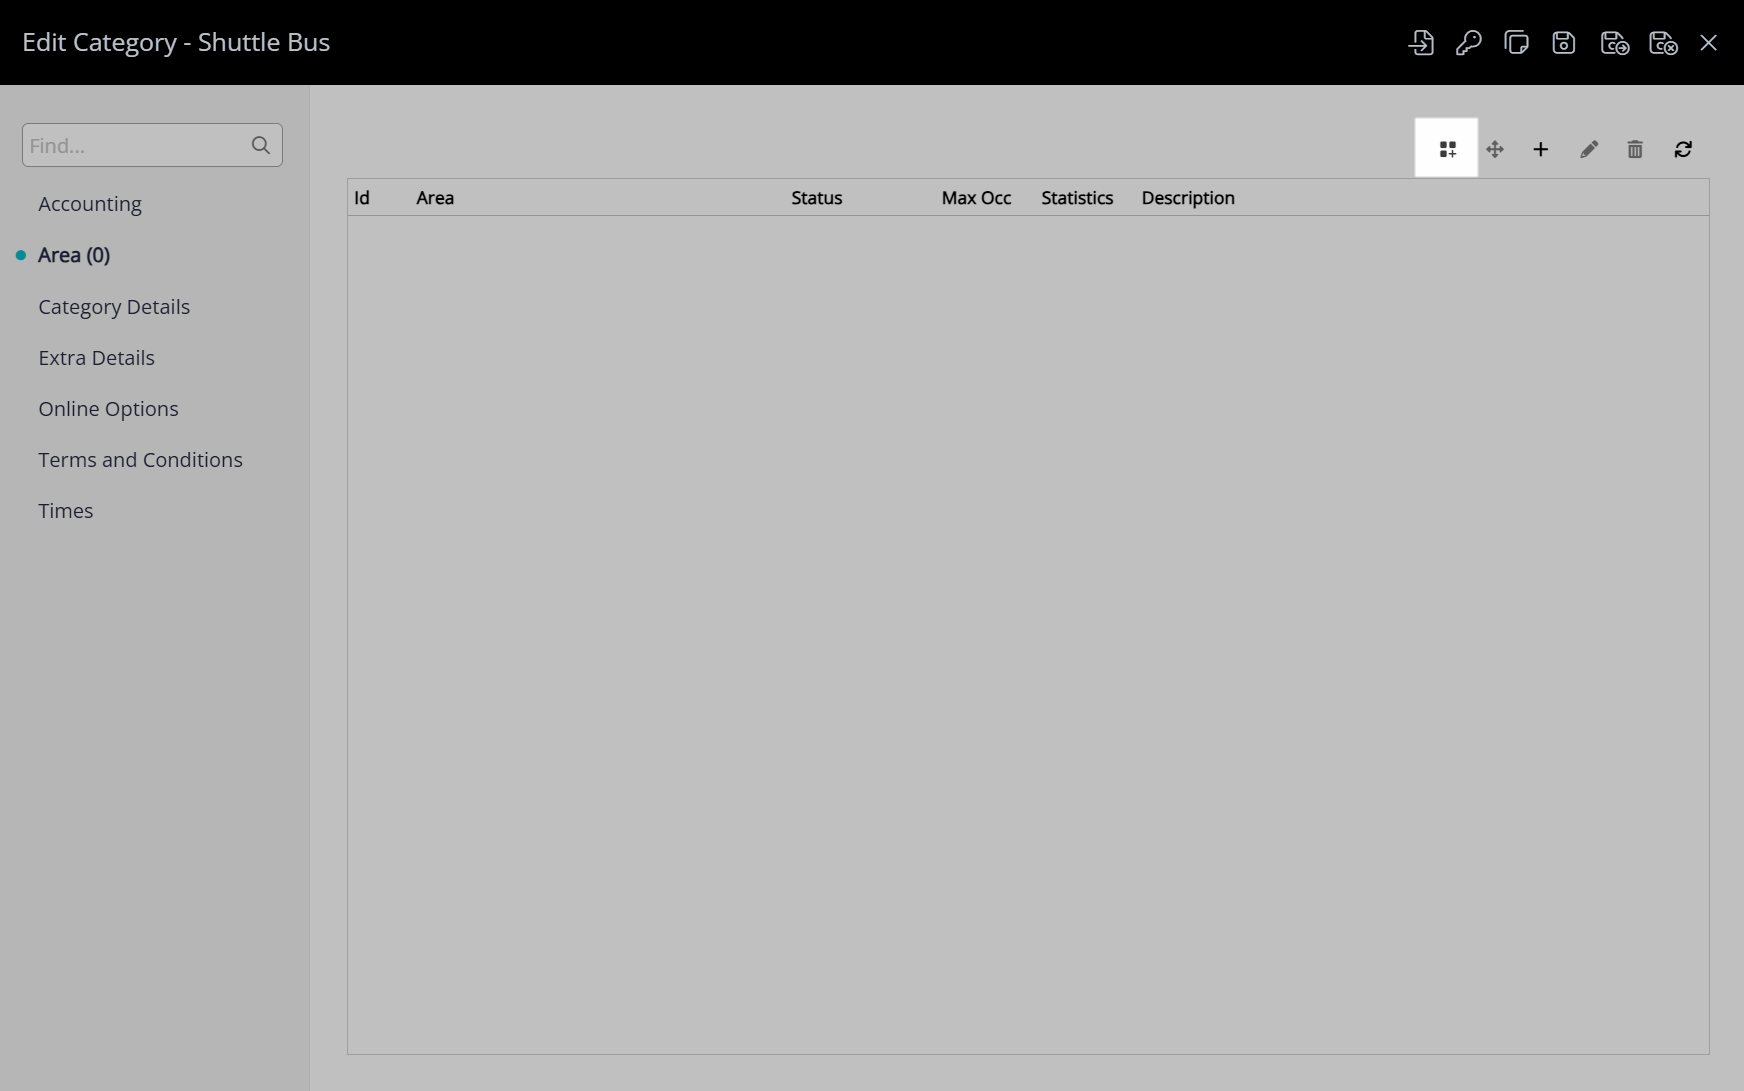
- Select the
 'Quick Add' icon.
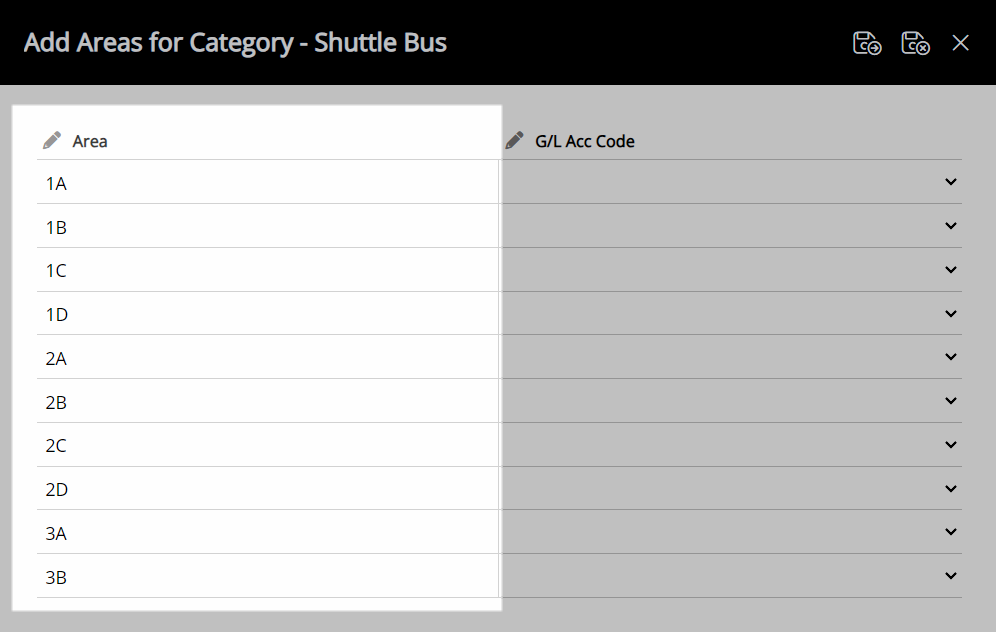
 - Enter the Seat Name or Tour Capacity Slot Name as the Area Description.
- Save/Exit.
Go to Setup > Category/Area in the side menu of RMS.

Select the ![]() 'Add' icon.
'Add' icon.

Select the Category Class as 'Ticketing/Tours'.
Enter the Tour Inventory Description as the Category Short Description.
Optional: Enter the Tour Inventory Long Description as the Category Long Description.
Select a General Ledger Account Code.
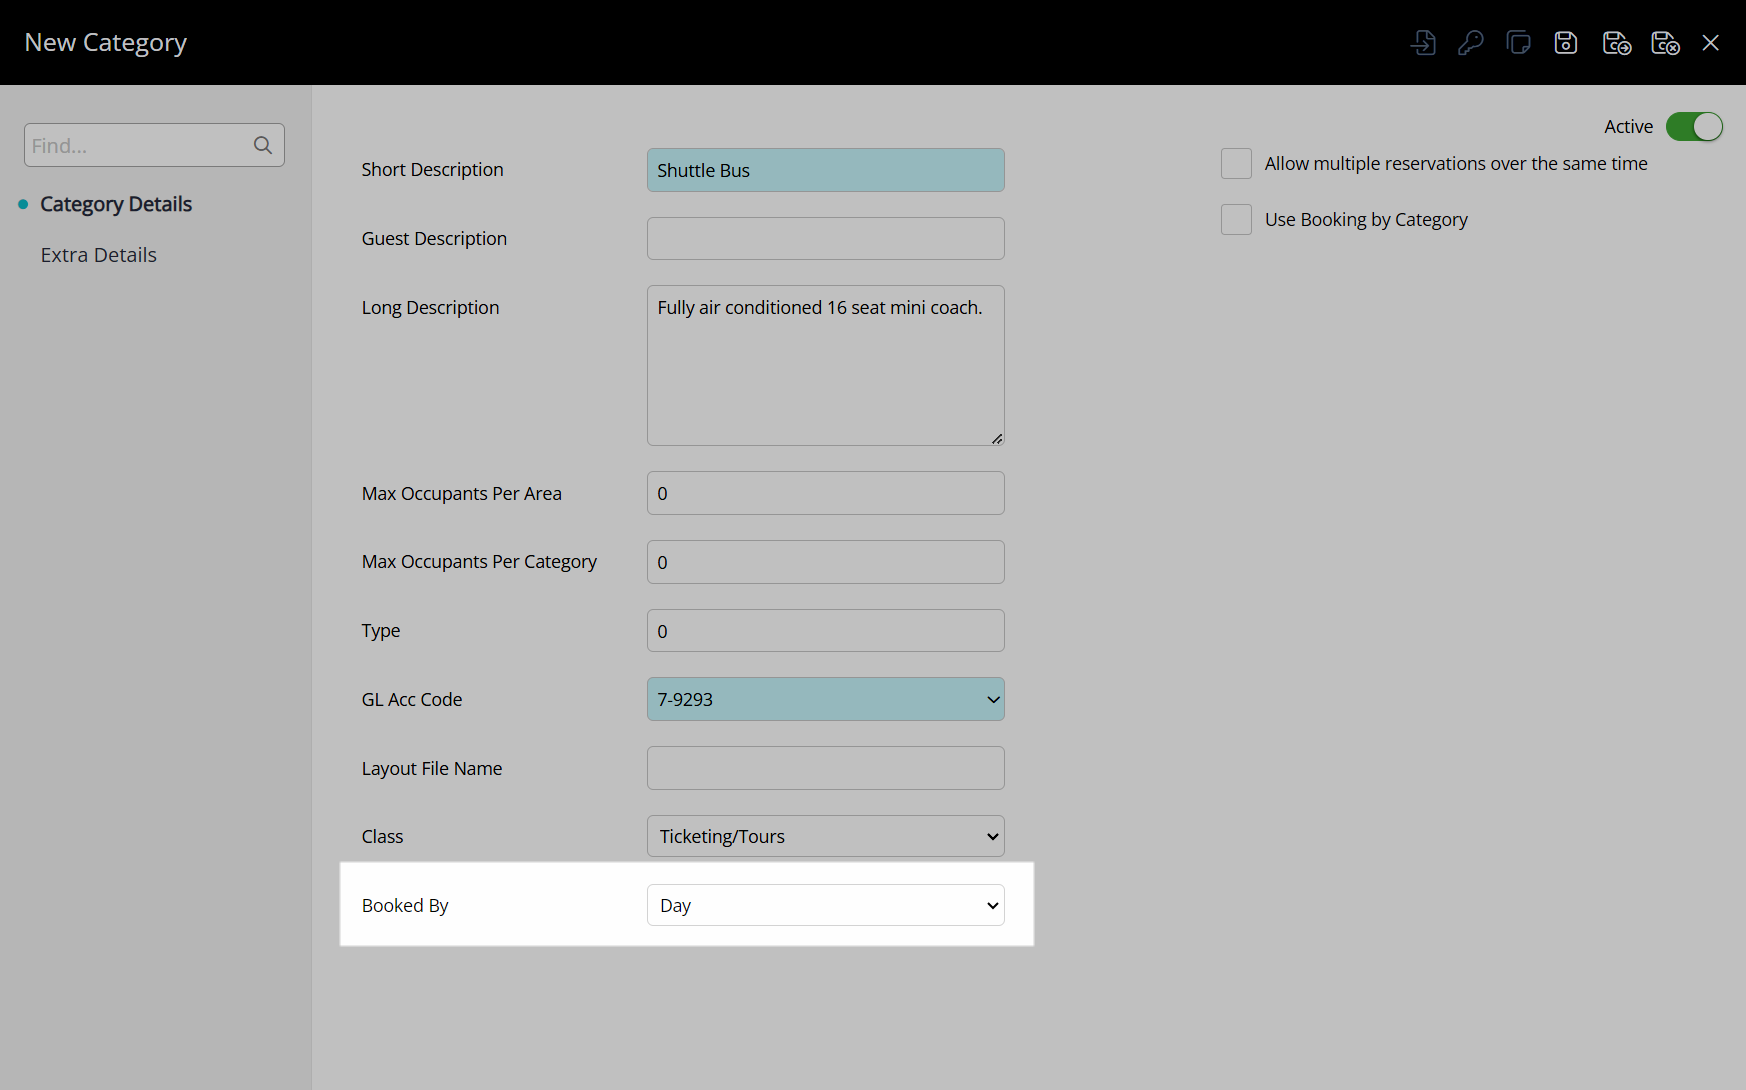
Select a Booked By option.
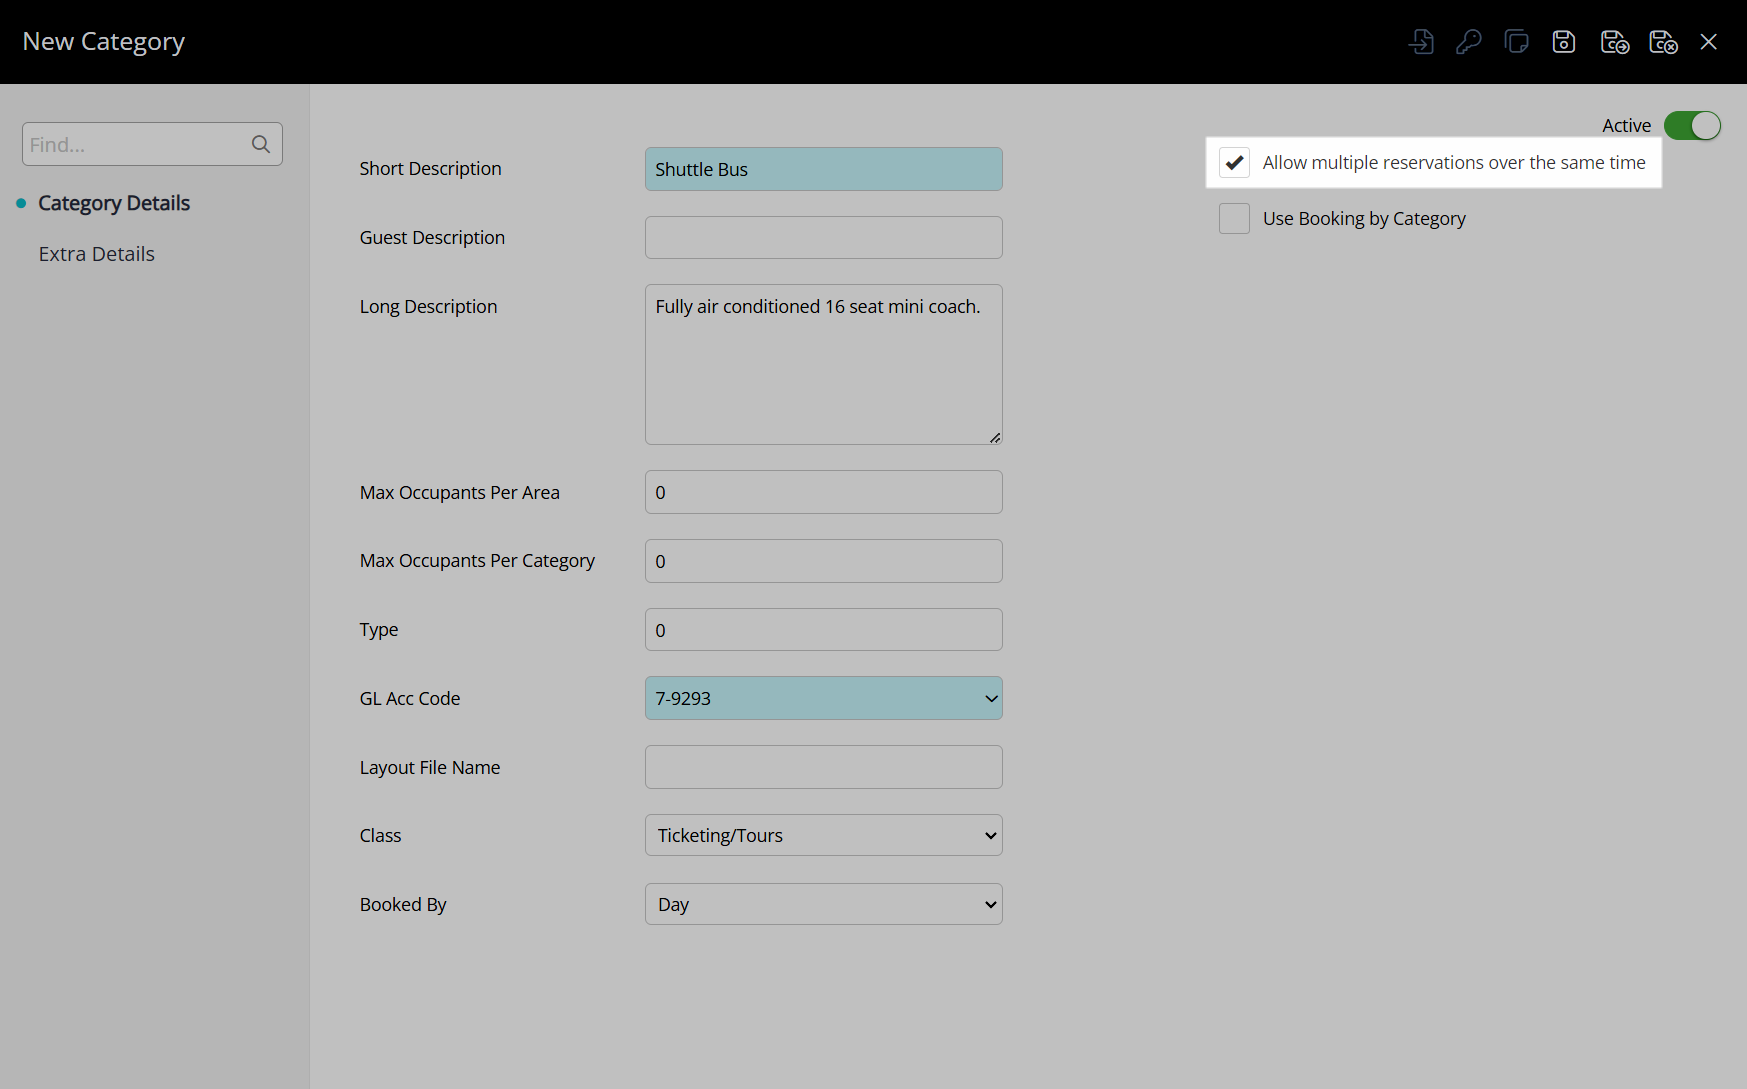
Optional: Select the checkbox 'Allow multiple reservations over the same time'.
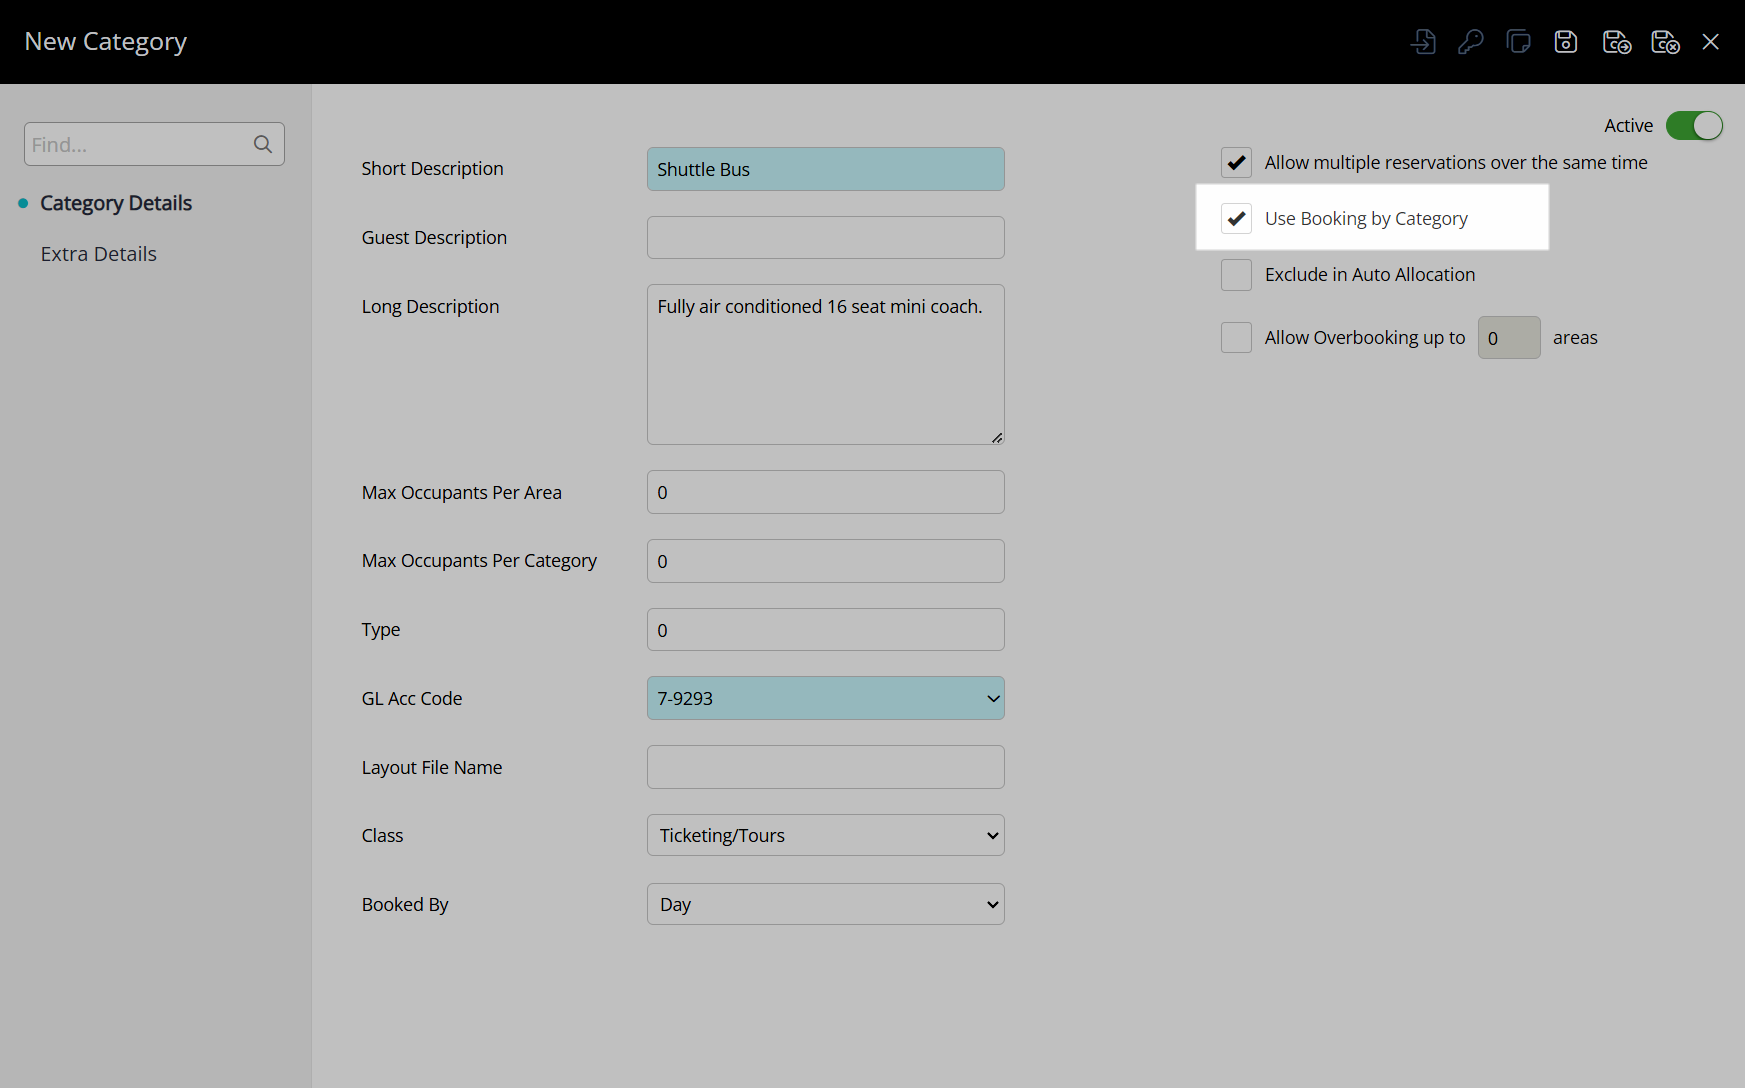
Optional: Select the checkbox 'Book by Category'.
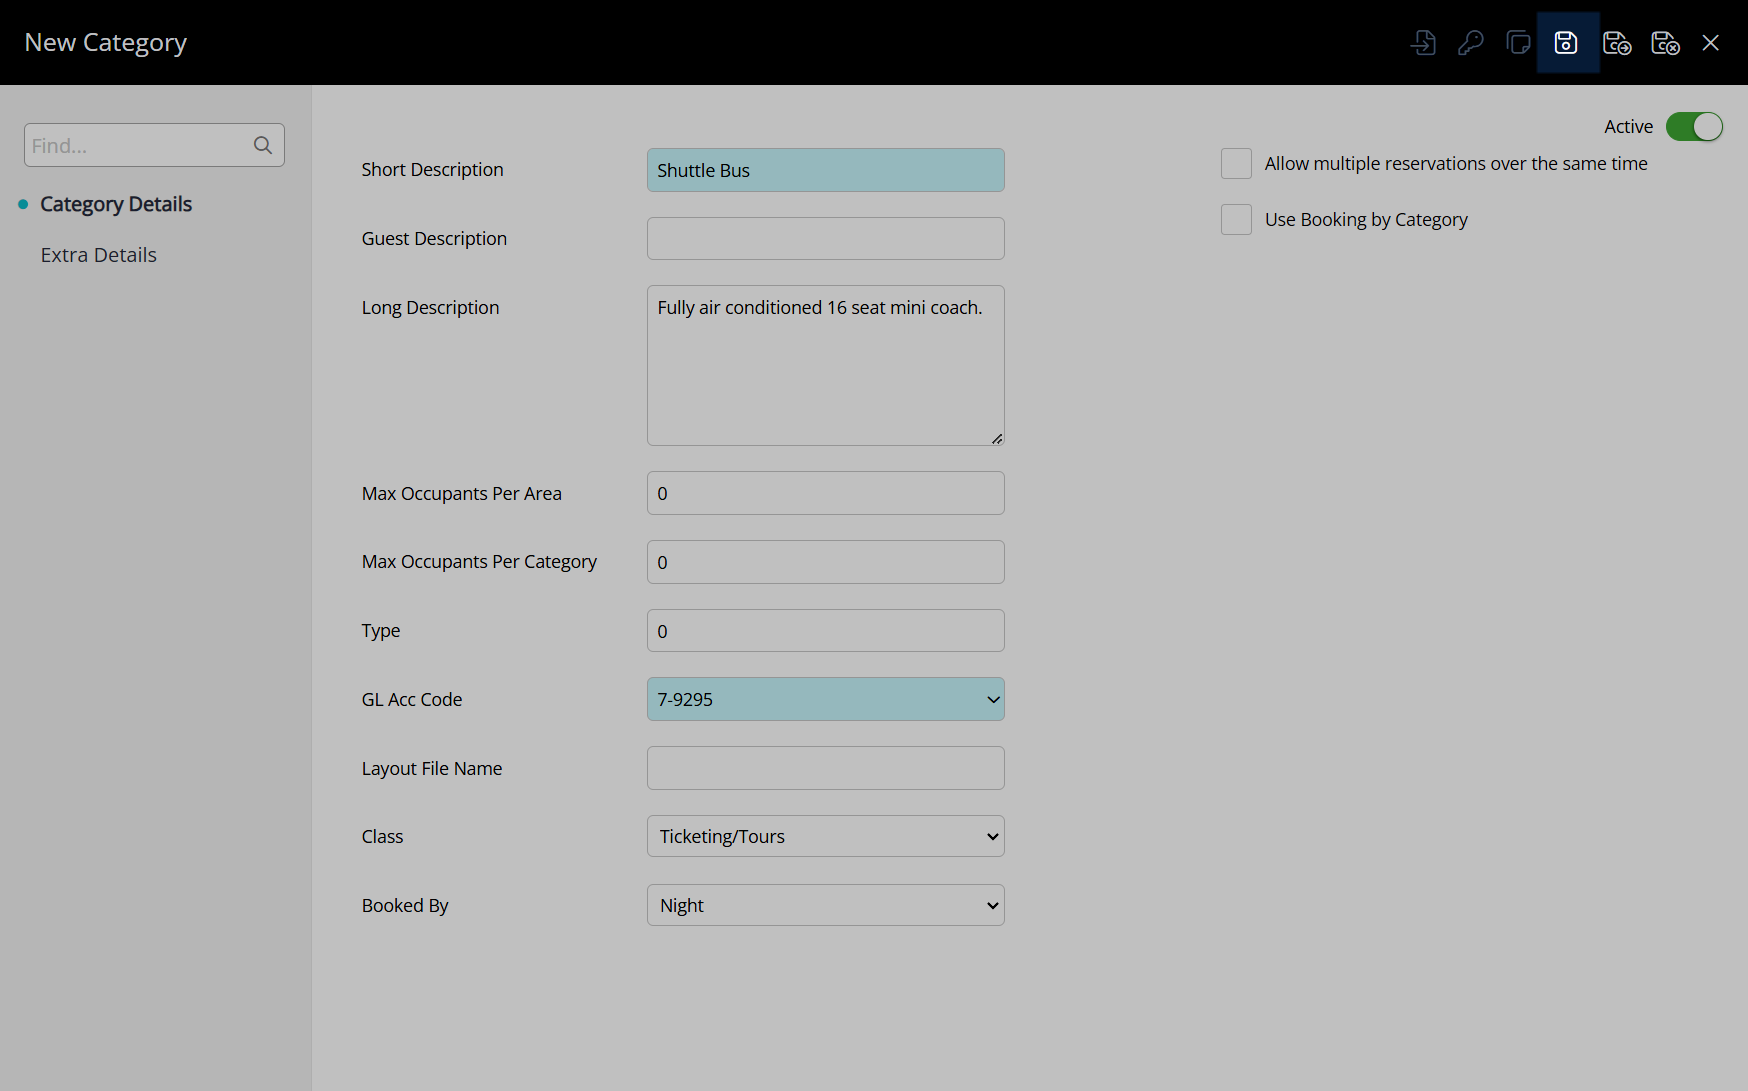
Select the  'Save' icon to store the changes made and create the Tour Inventory Category using the details entered.
Select the Category Access and choose the  'Apply/Exit' icon.
Navigate to the 'Areas' tab.
Select the ![]() 'Quick Add' icon.
'Quick Add' icon.
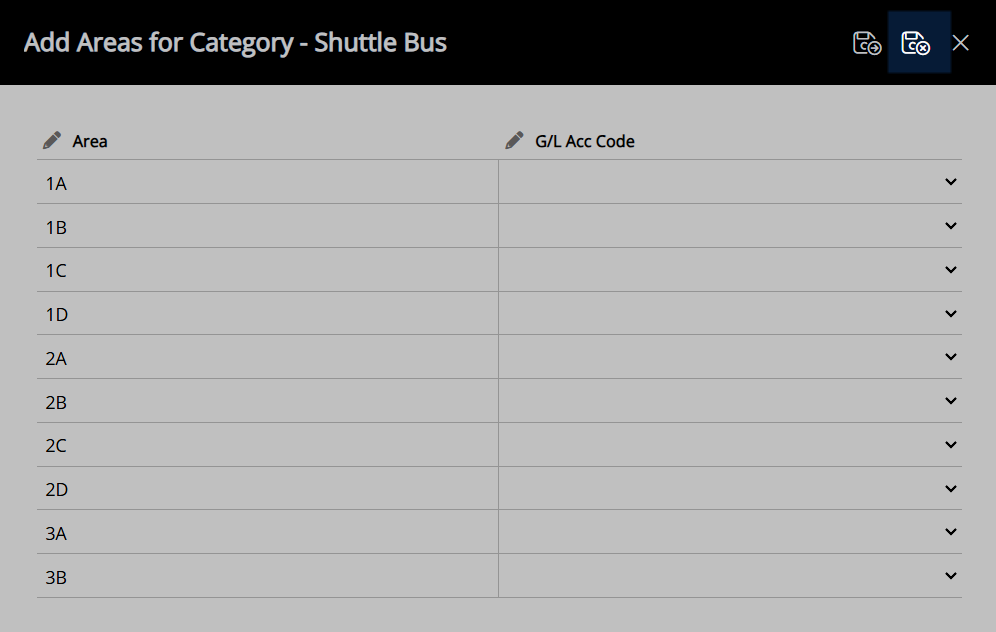
Enter the Seat Name or Tour Capacity Slot Name as the Area Description.
Select the  'Save/Exit' icon to store the changes made and return to the Tour Inventory Category.
Select the  'Save/Exit' icon to store the changes made and leave the Tour Inventory Category.
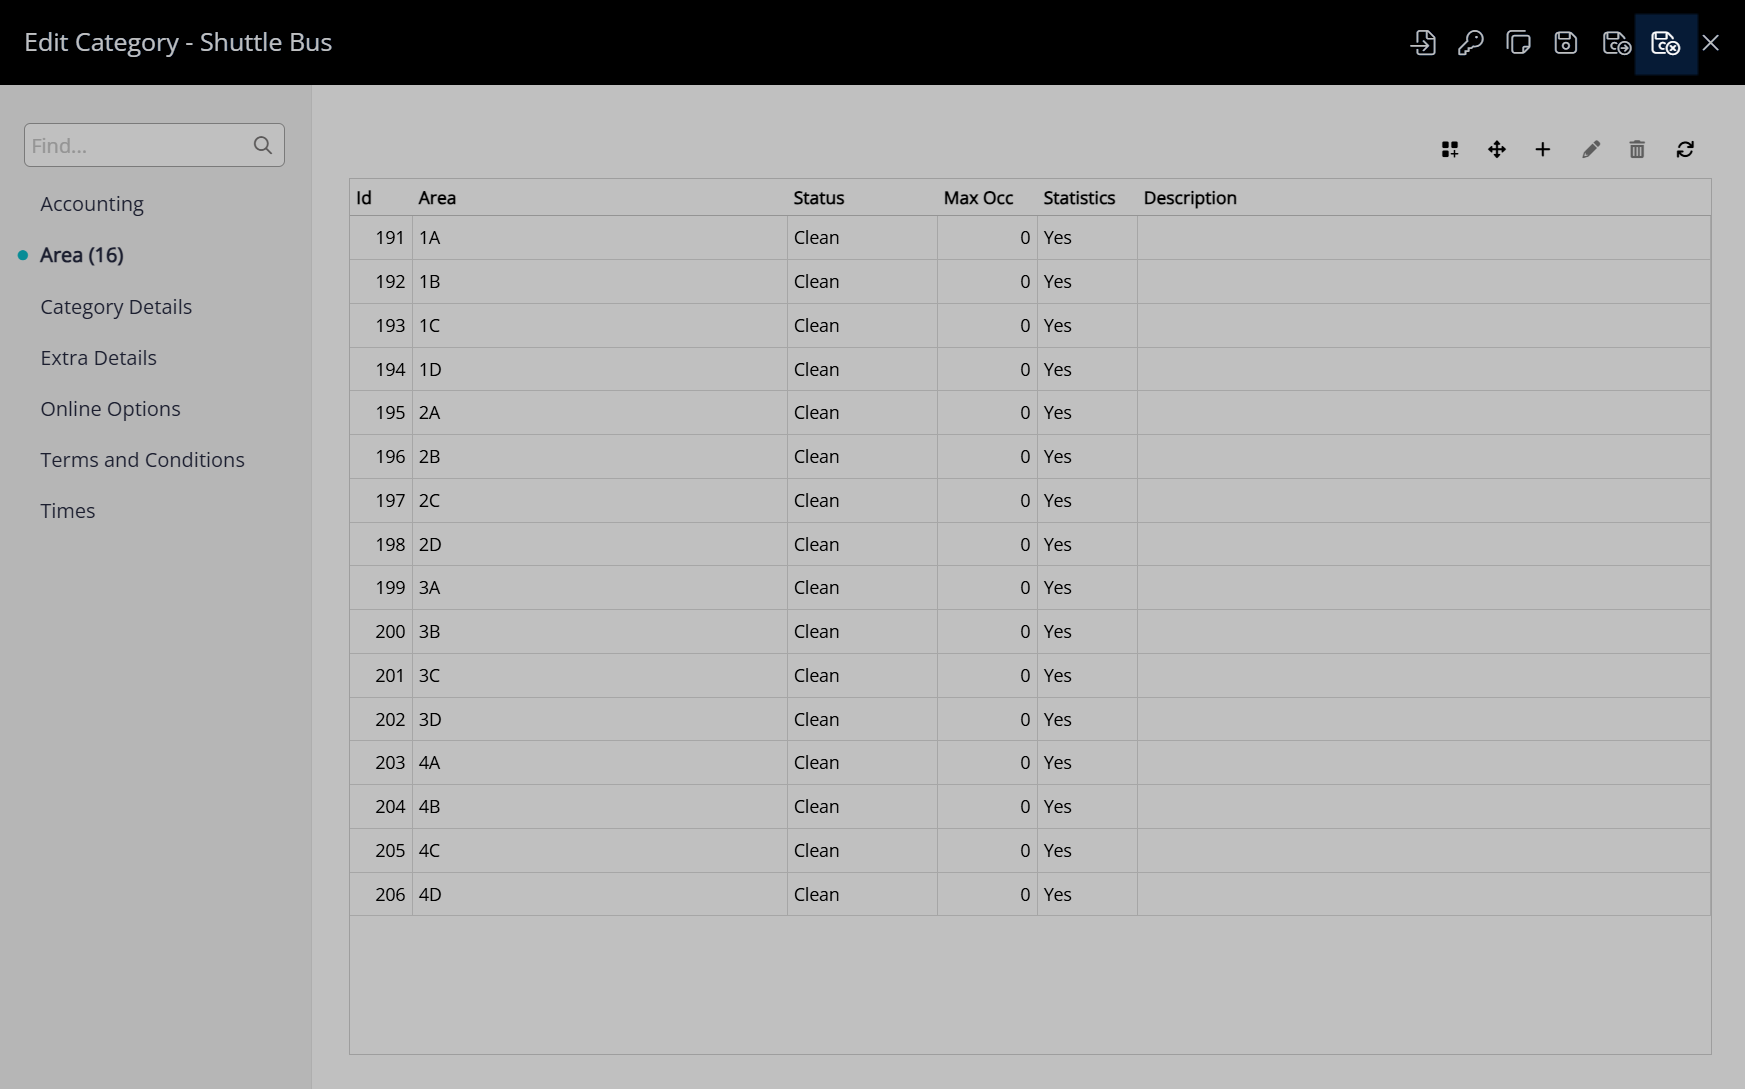
Repeat these steps for all required Tour Inventory.

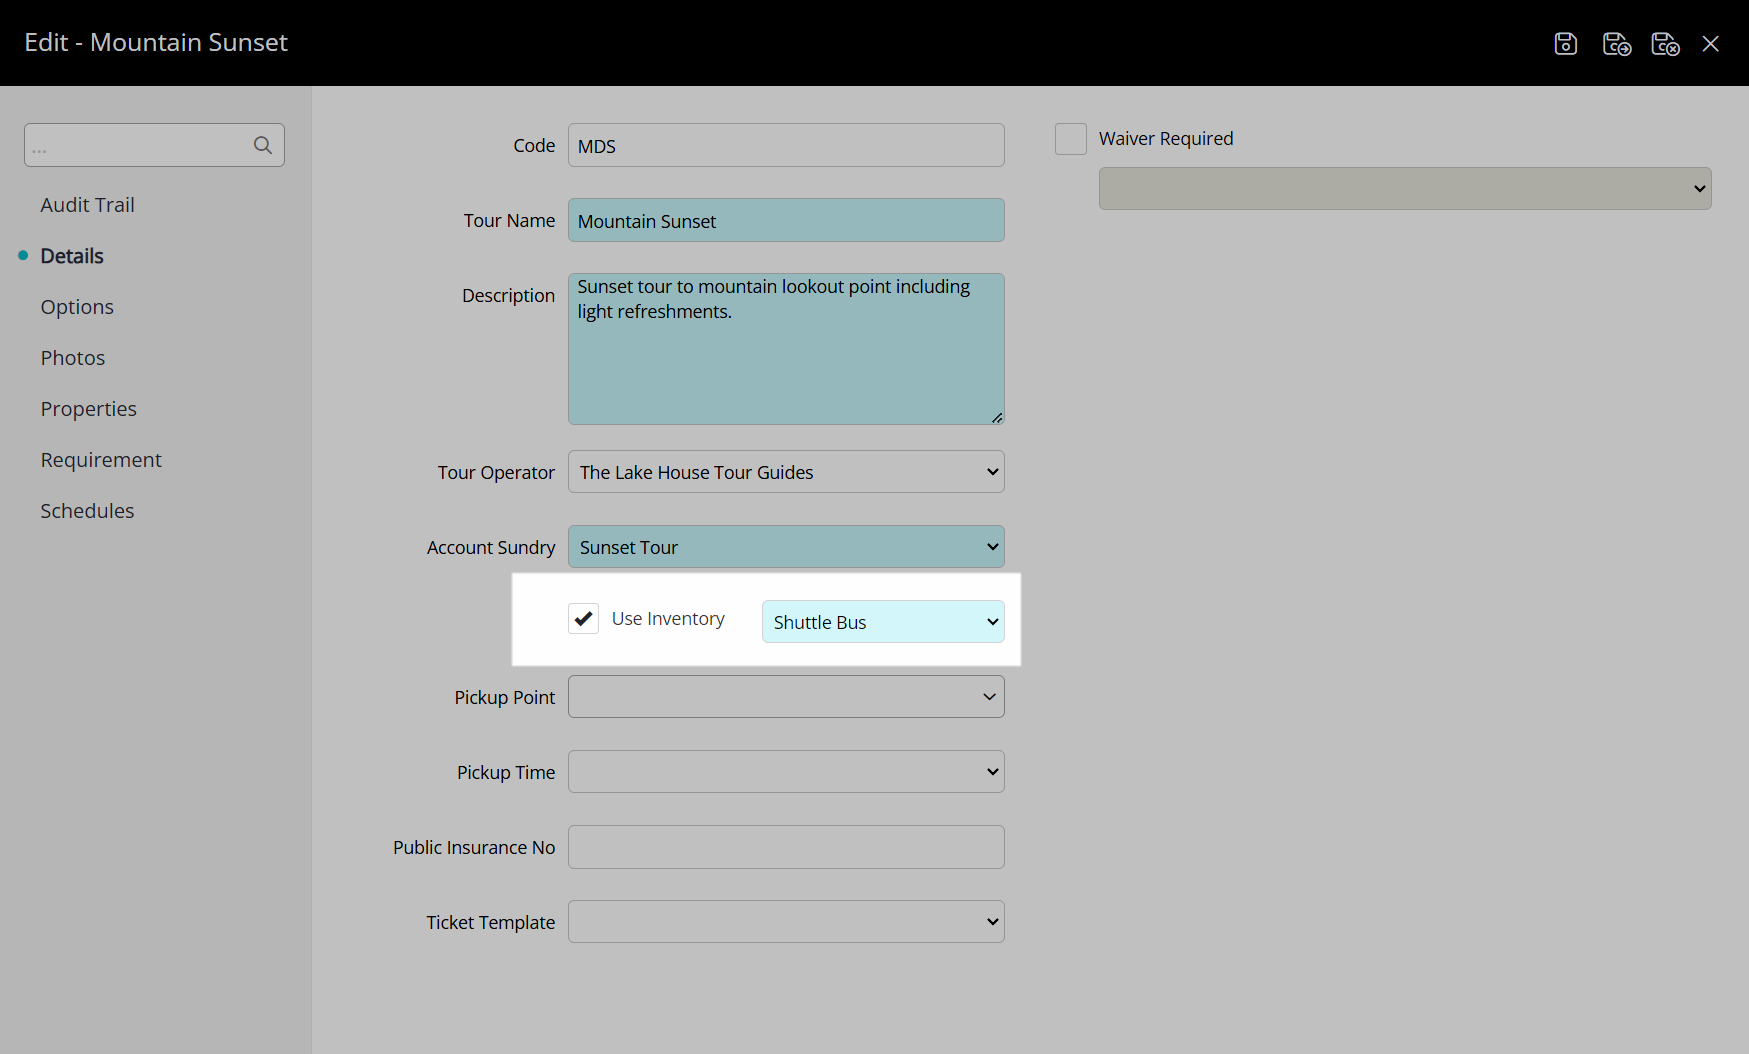
The Tour Inventory Category will now be available for allocation to a Tour in RMS.
|
Previous: Tour Desk Module Activation |
Next: Tour Operator Setup |
 'Save/Next' icon to continue creating inventory for this Tour Inventory Category.