Reservation Attributes
Filter the available Category or Area list by Attributes on the Reservation Screen in RMS.
Category and Area Attributes can be used to filter the list of available Areas or Categories on the Reservation Screen.
-
Information
-
Use
- Add Button
Information
Category and Area Attributes can be used to filter the list of available Areas or Categories on the Reservation Screen.
Attributes are features that can be used to filter searches for a Property, Category or Area in RMS and on the RMS Internet Booking Engine.
The Reservation Screen Category and Area fields will display an  'Attributes' icon that can be used to filter the displayed list of available Categories or Areas based on the selected Attributes.
Attributes must be applied to a Category or Area before being available as a search filter.

Category, Area and Reservation are default System Labels that can be customised.

Users will require Security Profile access to use this feature.
-
Use
- Add Button
Use
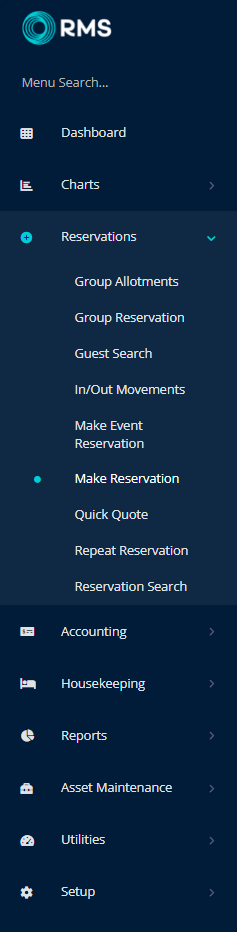
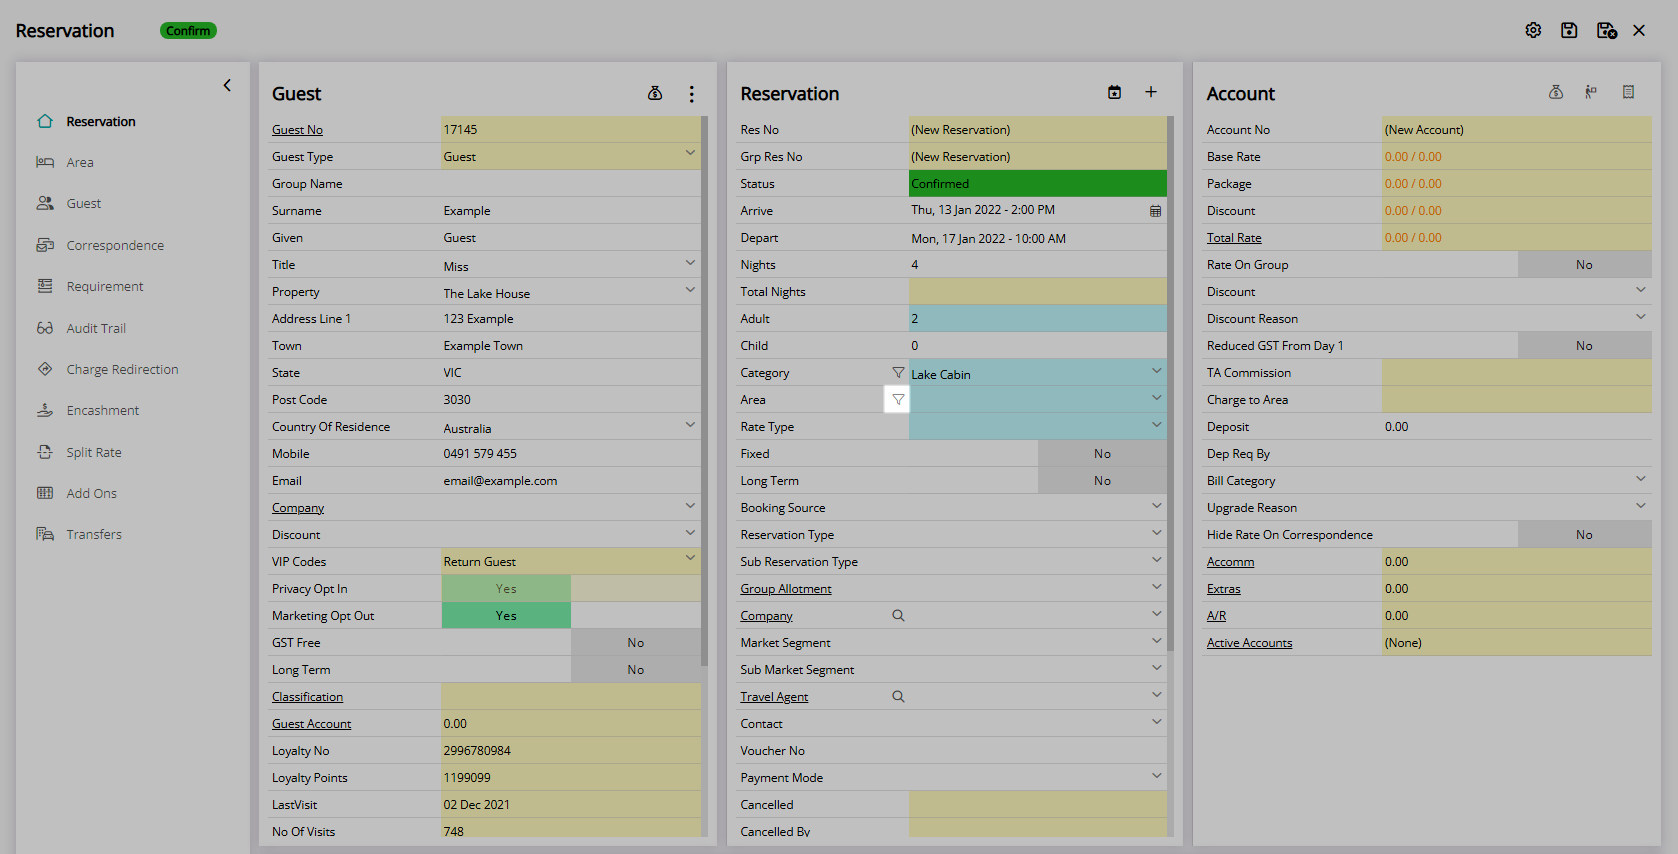
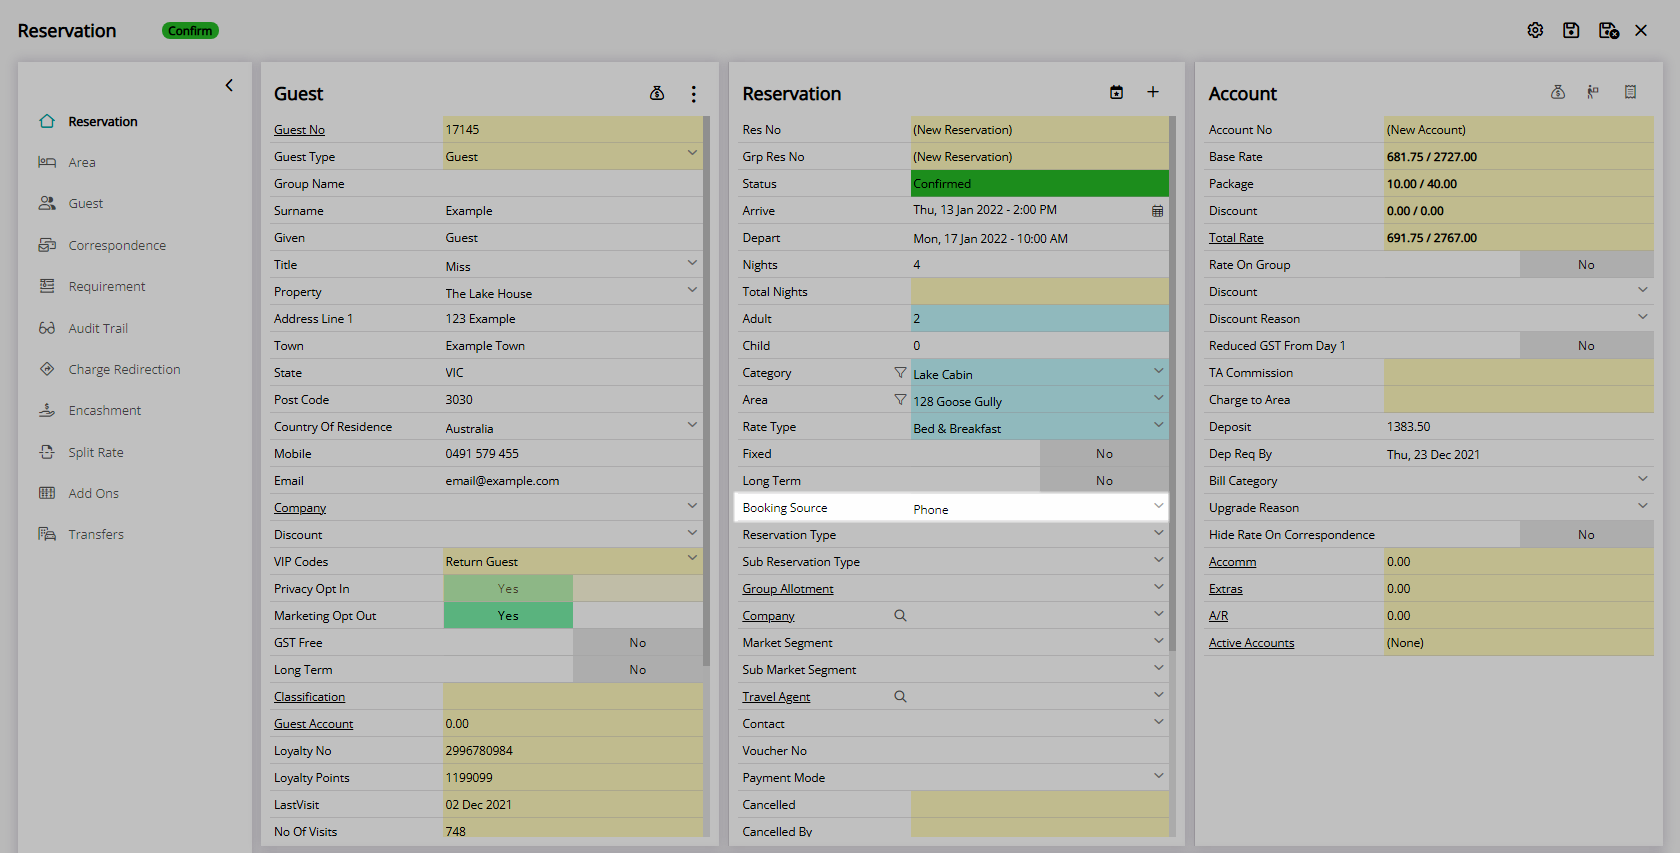
- Go to Reservations > Make Reservation in RMS.
- Enter the Guest Details.
- Select the Arrive & Depart Dates.
- Enter the Number of Guests.
- Select the
 'Attributes' icon on the Category field.
 - Select the checkbox for the Category Attributes.
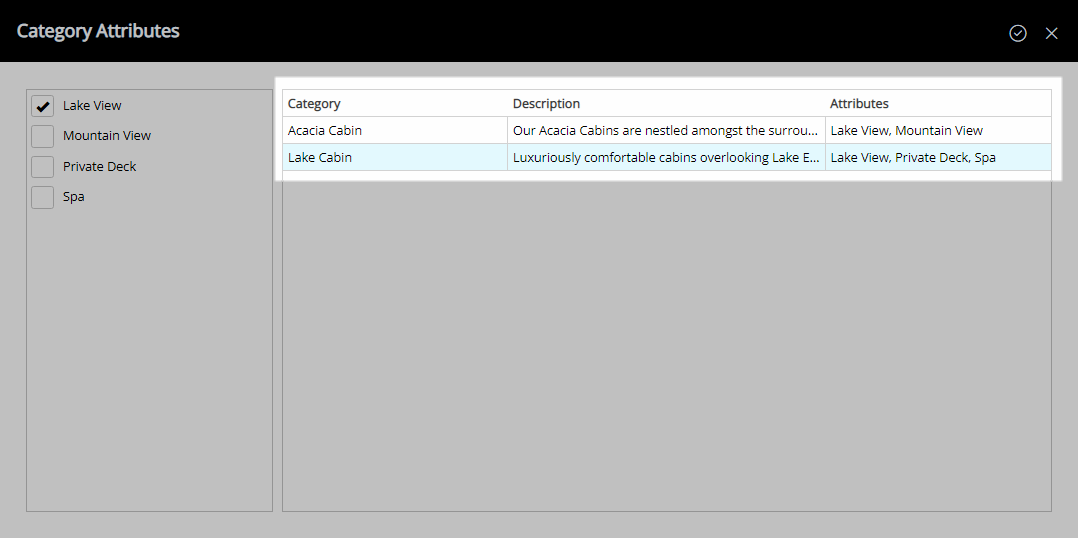
- Select a Category.
- Select the
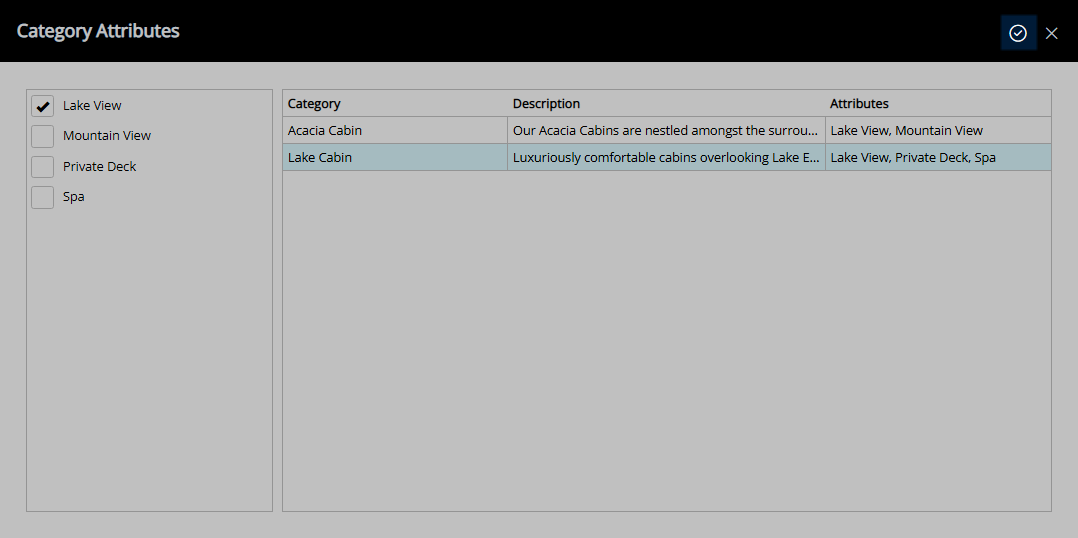
 'Confirm' icon.
 - Select the
 'Attributes' icon on the Area field.
 - Select the checkbox for the Area Attributes.
- Select an Area.
- Select the
 'Confirm' icon.
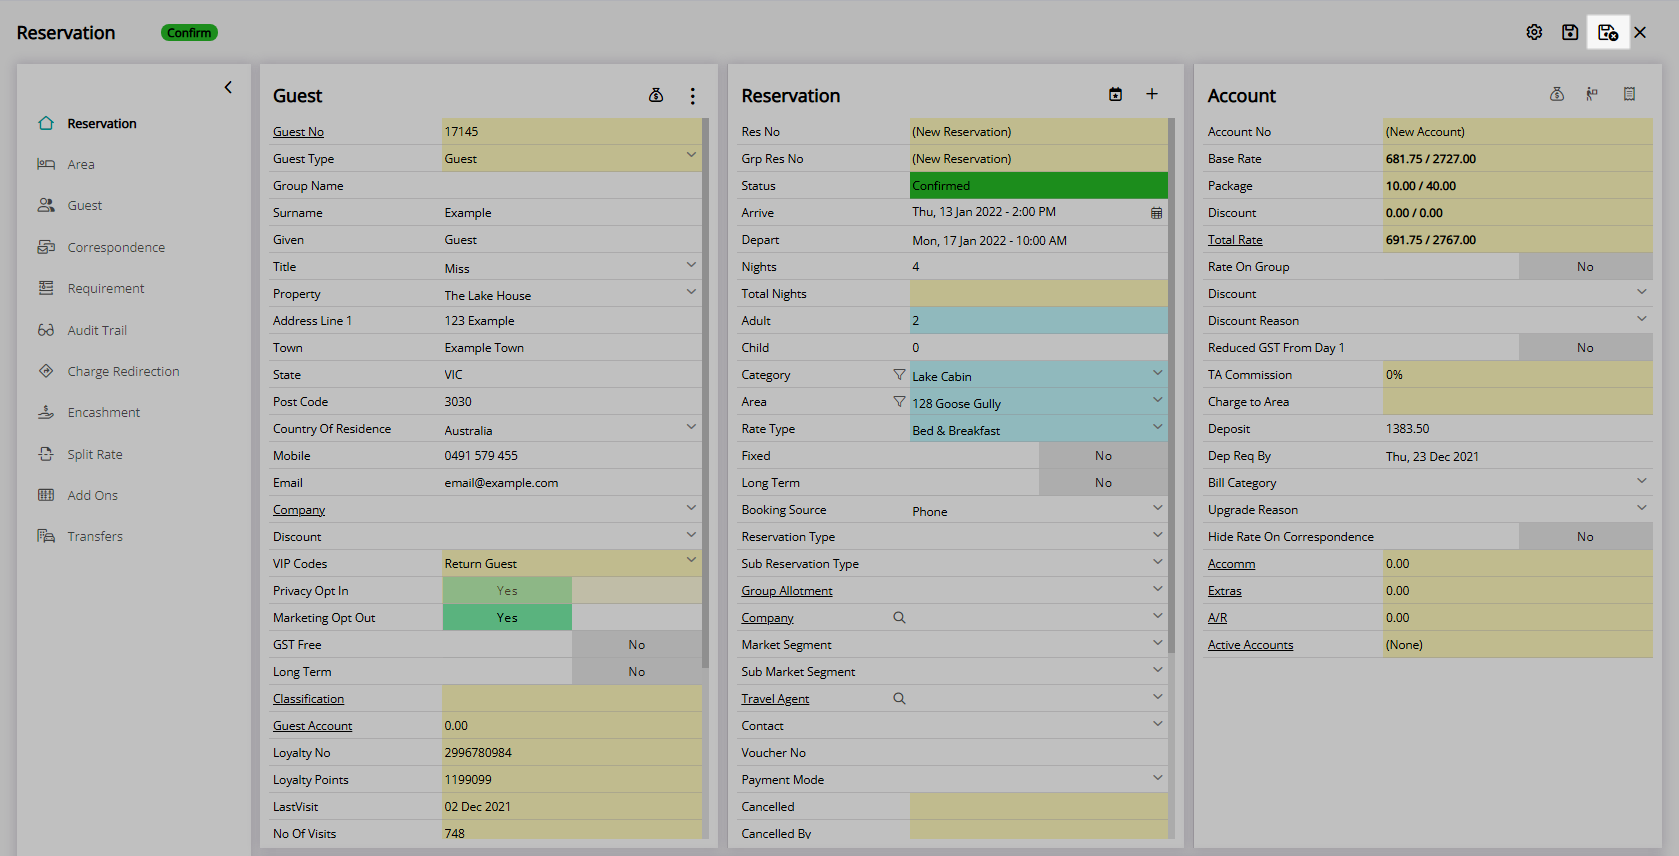
 - Select a Rate Type.
- Optional: Select a Booking Source.
- Save/Exit.

Select the  'Add Reservation' icon in the Toolbar Menu to quickly open the Reservation Screen.
Fields displayed in blue will require data entry before saving the reservation.
Attributes must be applied to a Category or Area before being available as a search filter.
A Category must be selected on the reservation before a list of Areas can be displayed.
-
Guide
- Add Button
Guide
Go to Reservations > Make Reservation in RMS.
Enter the Guest Details.
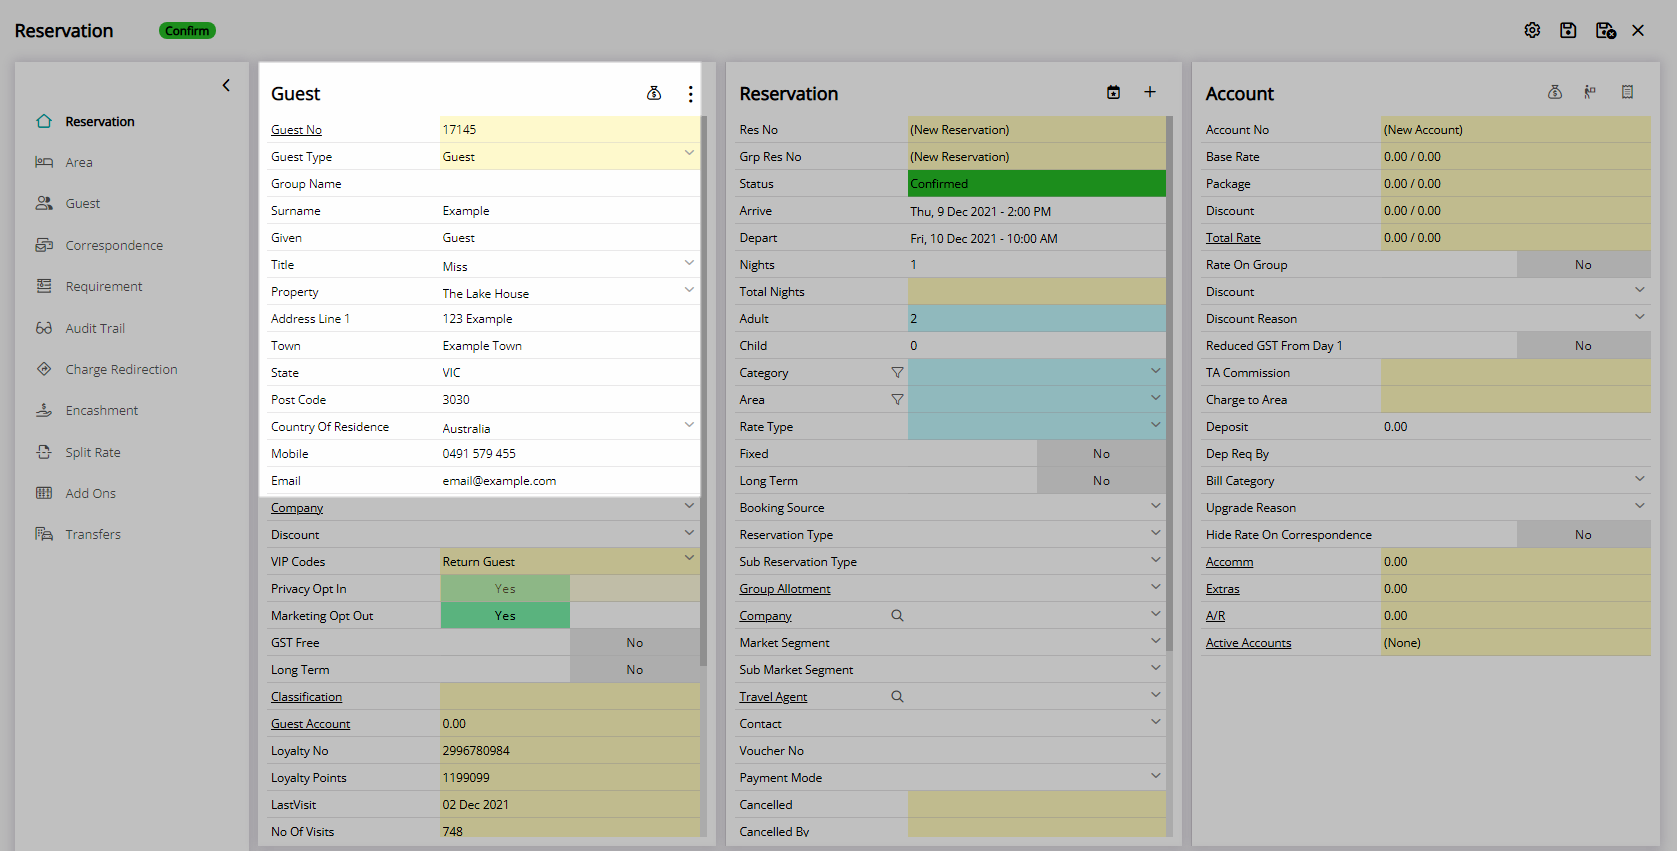
Select the Arrive & Depart Dates.
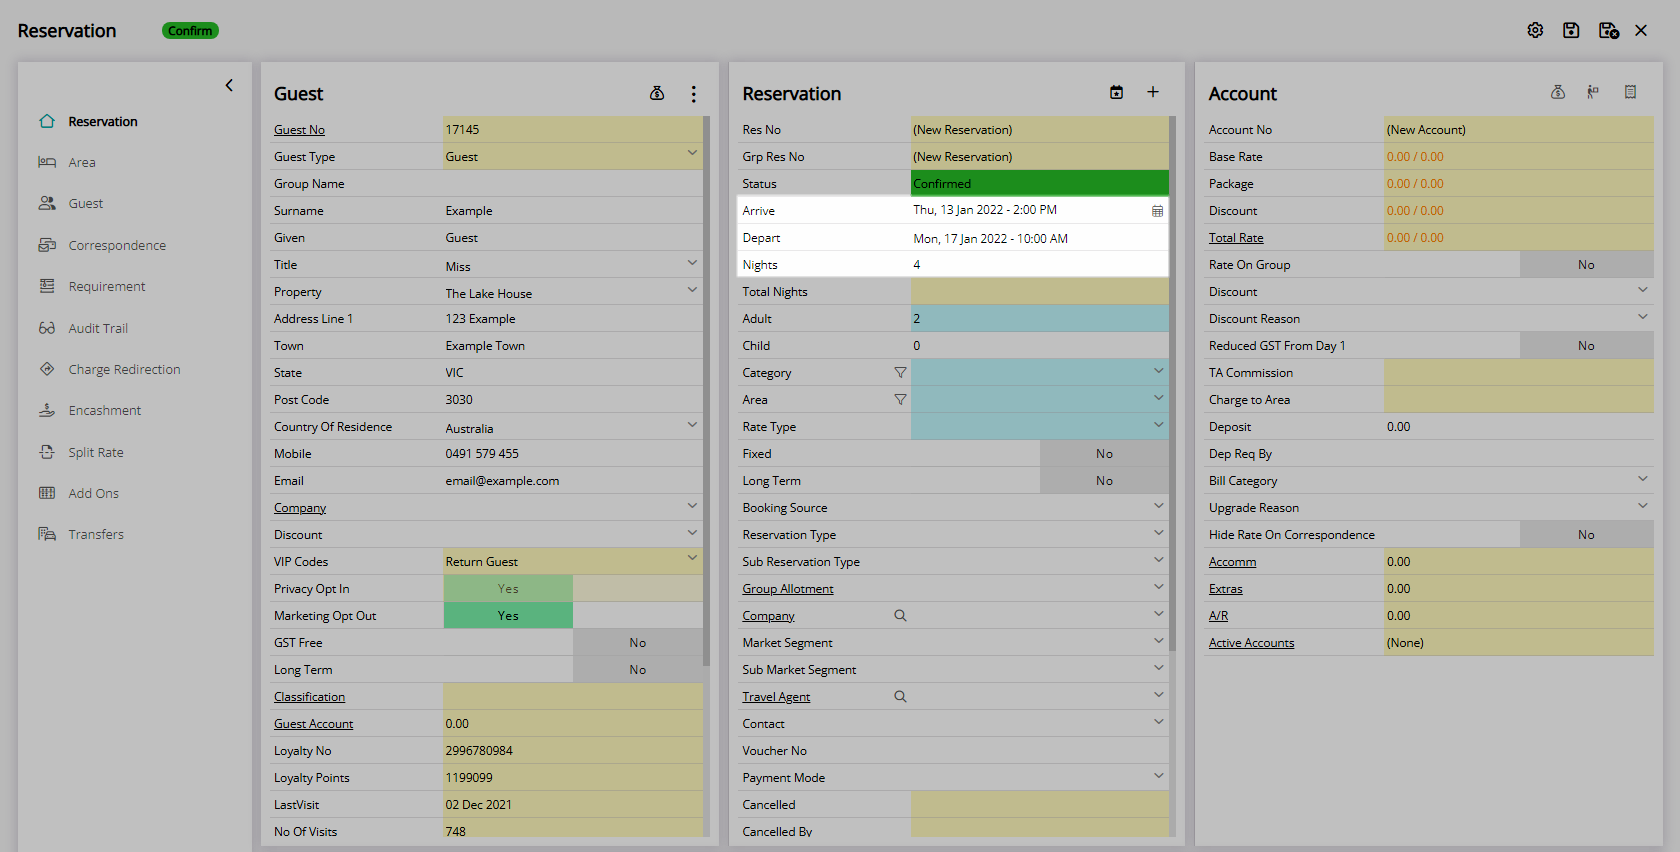
Enter the Number of Guests.
Select the ![]() 'Attributes' icon on the Category field.
'Attributes' icon on the Category field.

Select the checkbox for the Category Attributes.
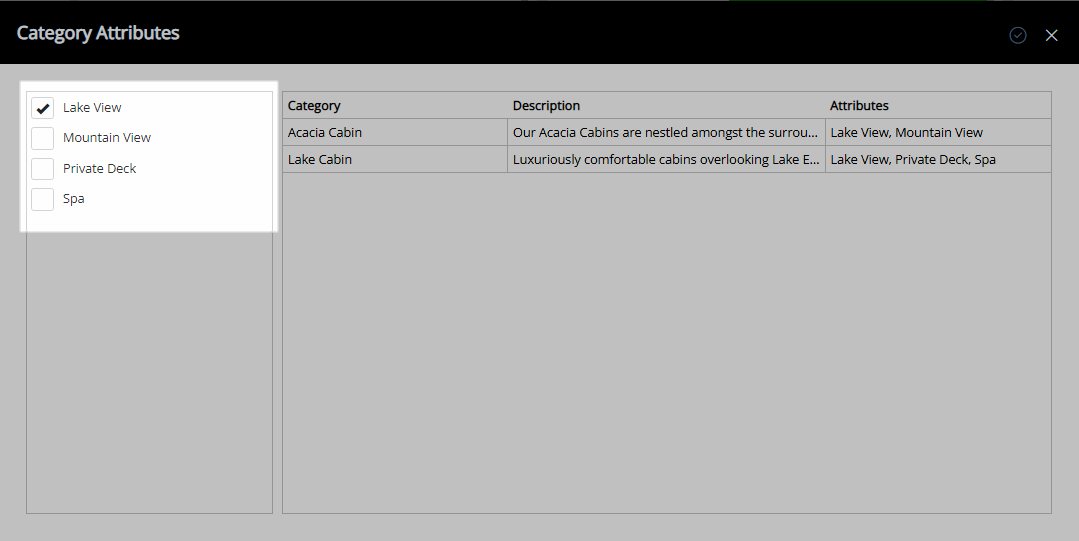
Select a Category.
Select the  'Confirm' icon.
Select the  'Attributes' icon on the Area field.
Select the checkbox for the Area Attributes.
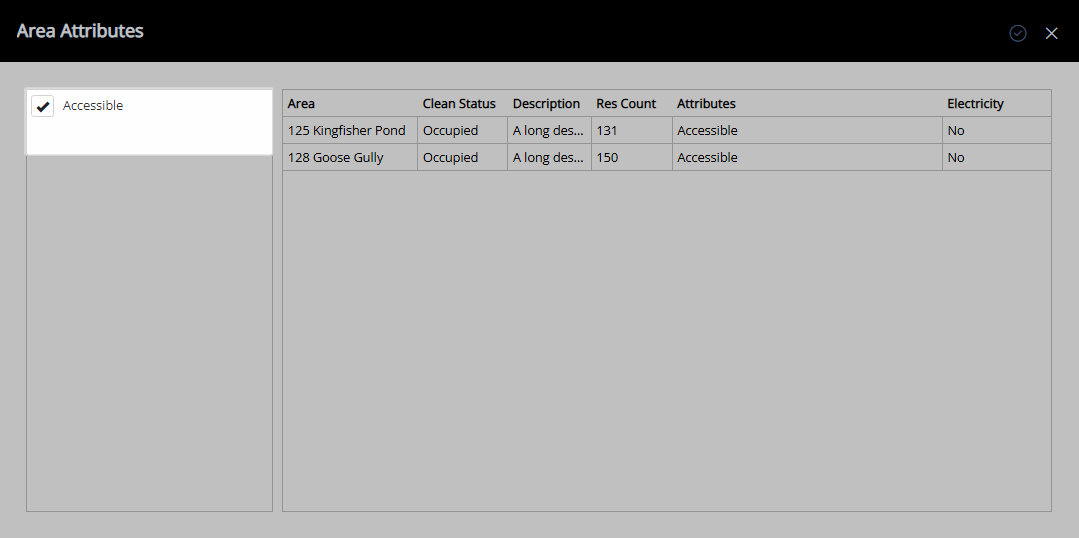
Select an Area.
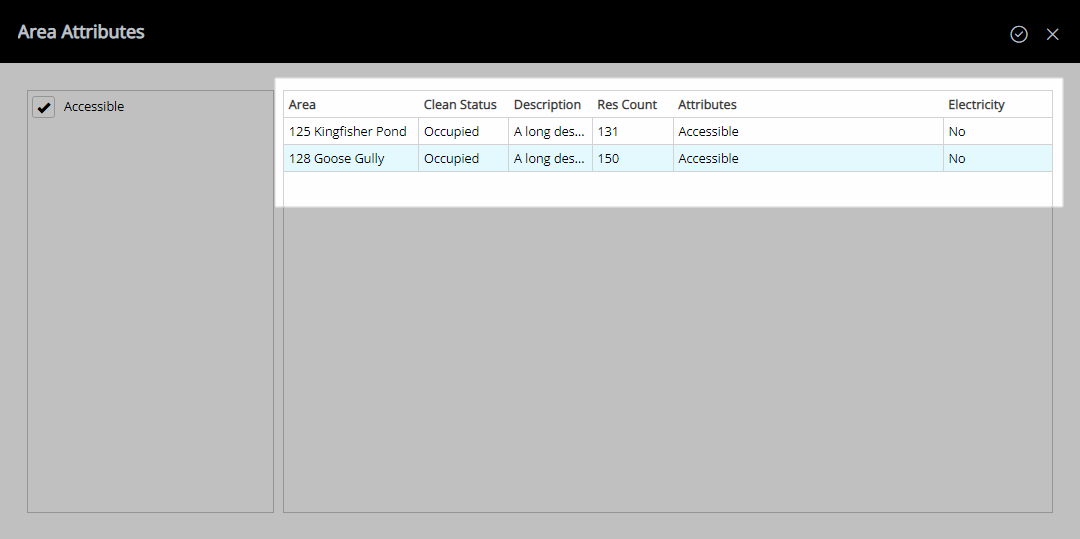
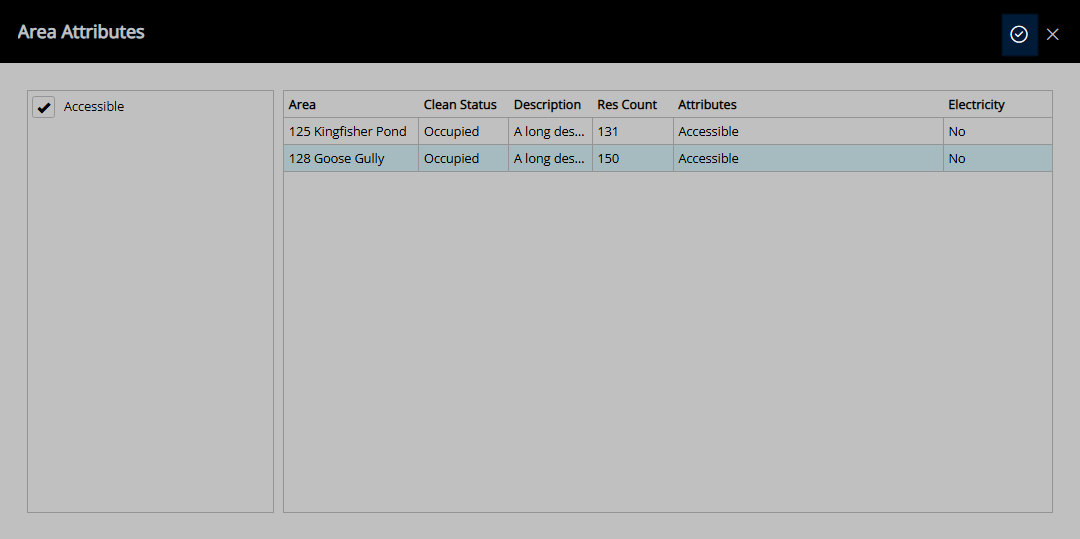
Select the  'Confirm' icon.
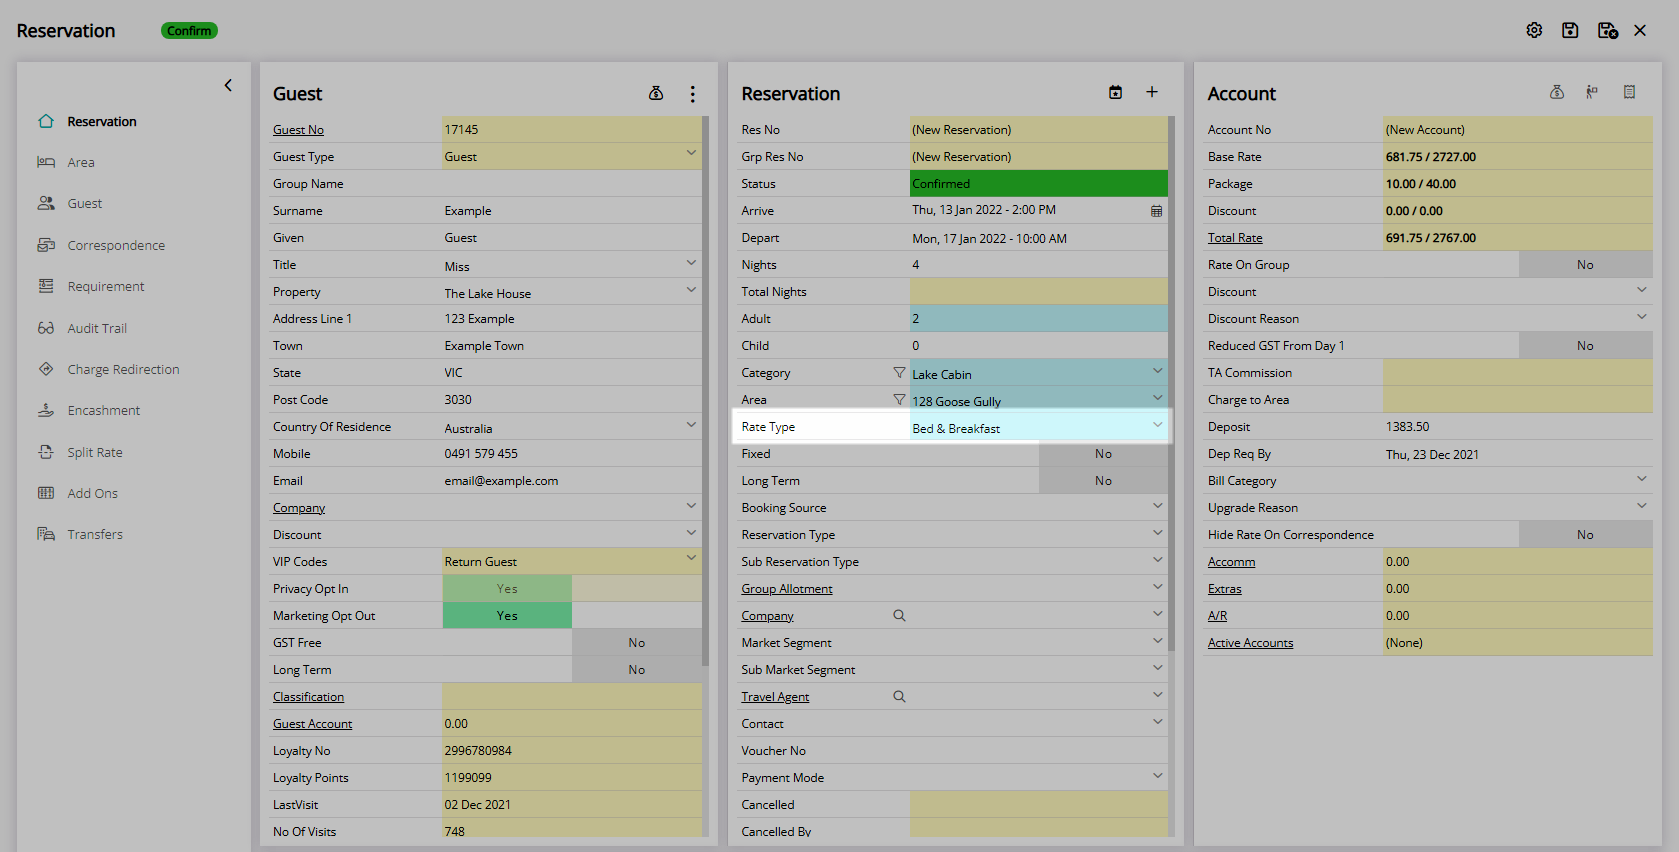
Select a Rate Type.
Optional: Select a Booking Source.
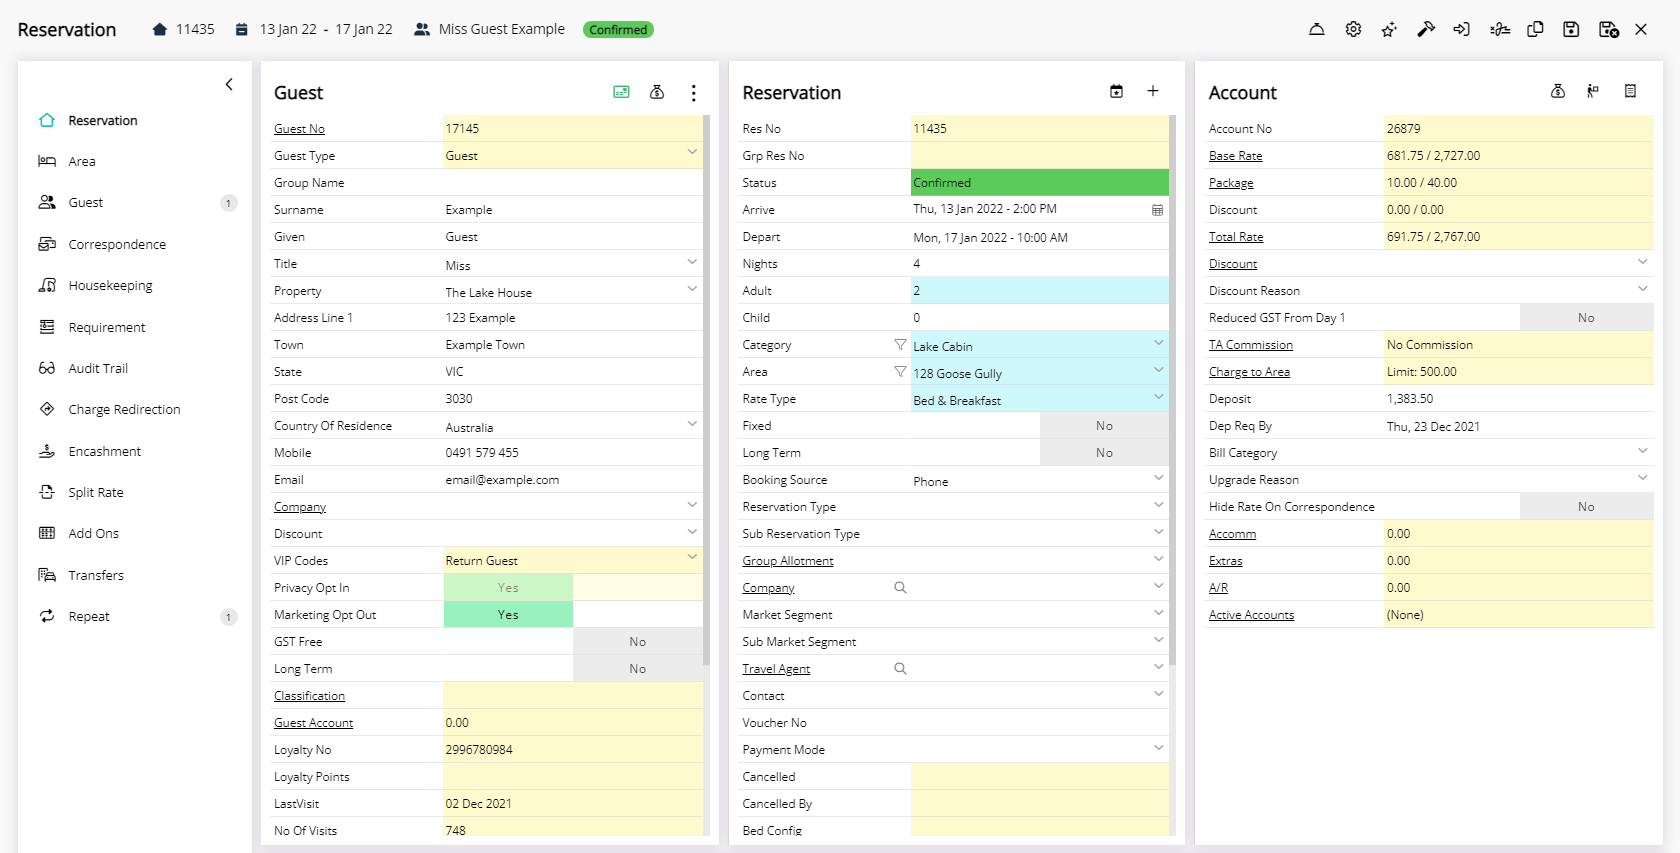
Select  'Save/Exit' to store the changes made and leave the Reservation Screen.
The reservation will be created using the selected Category and Area on the Attributes filter.
Use
- Go to Reservations > Make Reservation in RMS.
- Enter the Guest Details.
- Select the Arrive & Depart Dates.
- Enter the Number of Guests.
- Select the
 'Attributes' icon on the Category field.
 - Select the checkbox for the Category Attributes.
- Select a Category.
- Select the
 'Confirm' icon.
 - Select the
 'Attributes' icon on the Area field.
 - Select the checkbox for the Area Attributes.
- Select an Area.
- Select the
 'Confirm' icon.
 - Select a Rate Type.
- Optional: Select a Booking Source.
- Optional: Select a Company.
- Optional: Select a Travel Agent.
- Save/Exit.

Select the ![]() 'Add Reservation' icon in the Toolbar Menu to quickly open the Reservation Screen.
'Add Reservation' icon in the Toolbar Menu to quickly open the Reservation Screen.
Fields displayed in blue will require data entry before saving the reservation.
Attributes must be applied to a Category or Area before being available as a search filter.
A Category must be selected on the reservation before a list of Areas can be displayed.
-
Guide
- Add Button
Guide
Go to Reservations > Make Reservation in RMS.
Enter the Guest Details.
Select the Arrive & Depart Dates.
Enter the Number of Guests.
Select the ![]() 'Attributes' icon on the Category field.
'Attributes' icon on the Category field.
Select the checkbox for the Category Attributes.
Select a Category.
Select the 'Confirm' icon.
Select the 'Attributes' icon on the Area field.
Select the checkbox for the Area Attributes.
Select an Area.
Select the 'Confirm' icon.
Select a Rate Type.
Optional: Select a Booking Source.
Select 'Save/Exit' to store the changes made and leave the Reservation Screen.
The reservation will be created using the selected Category and Area on the Attributes filter.