Area Status
Defining the condition of an area when using Housekeeping in RMS.
Table of Contents
System Area StatusCustom Clean StatusesSetup Clean StatusesAllocate Clean StatusesThe Area Status is used with Housekeeping in RMS to indicate the condition or state of an area based on reservation movements and housekeeping activities.
Housekeeping includes the default System Area Statuses of 'Vacant Clean', 'Vacant Dirty', 'Occupied', 'Inspect', and 'Maintenance' to reflect the changes of an area based on reservations arriving and departing, and the creation and release of maintenance reservations in an area.
Custom Clean Statuses are an optional feature that can be created and allocated to Reservation Statuses to replace the System Area Statuses and further define the condition of an area or the housekeeping activities and requirements.
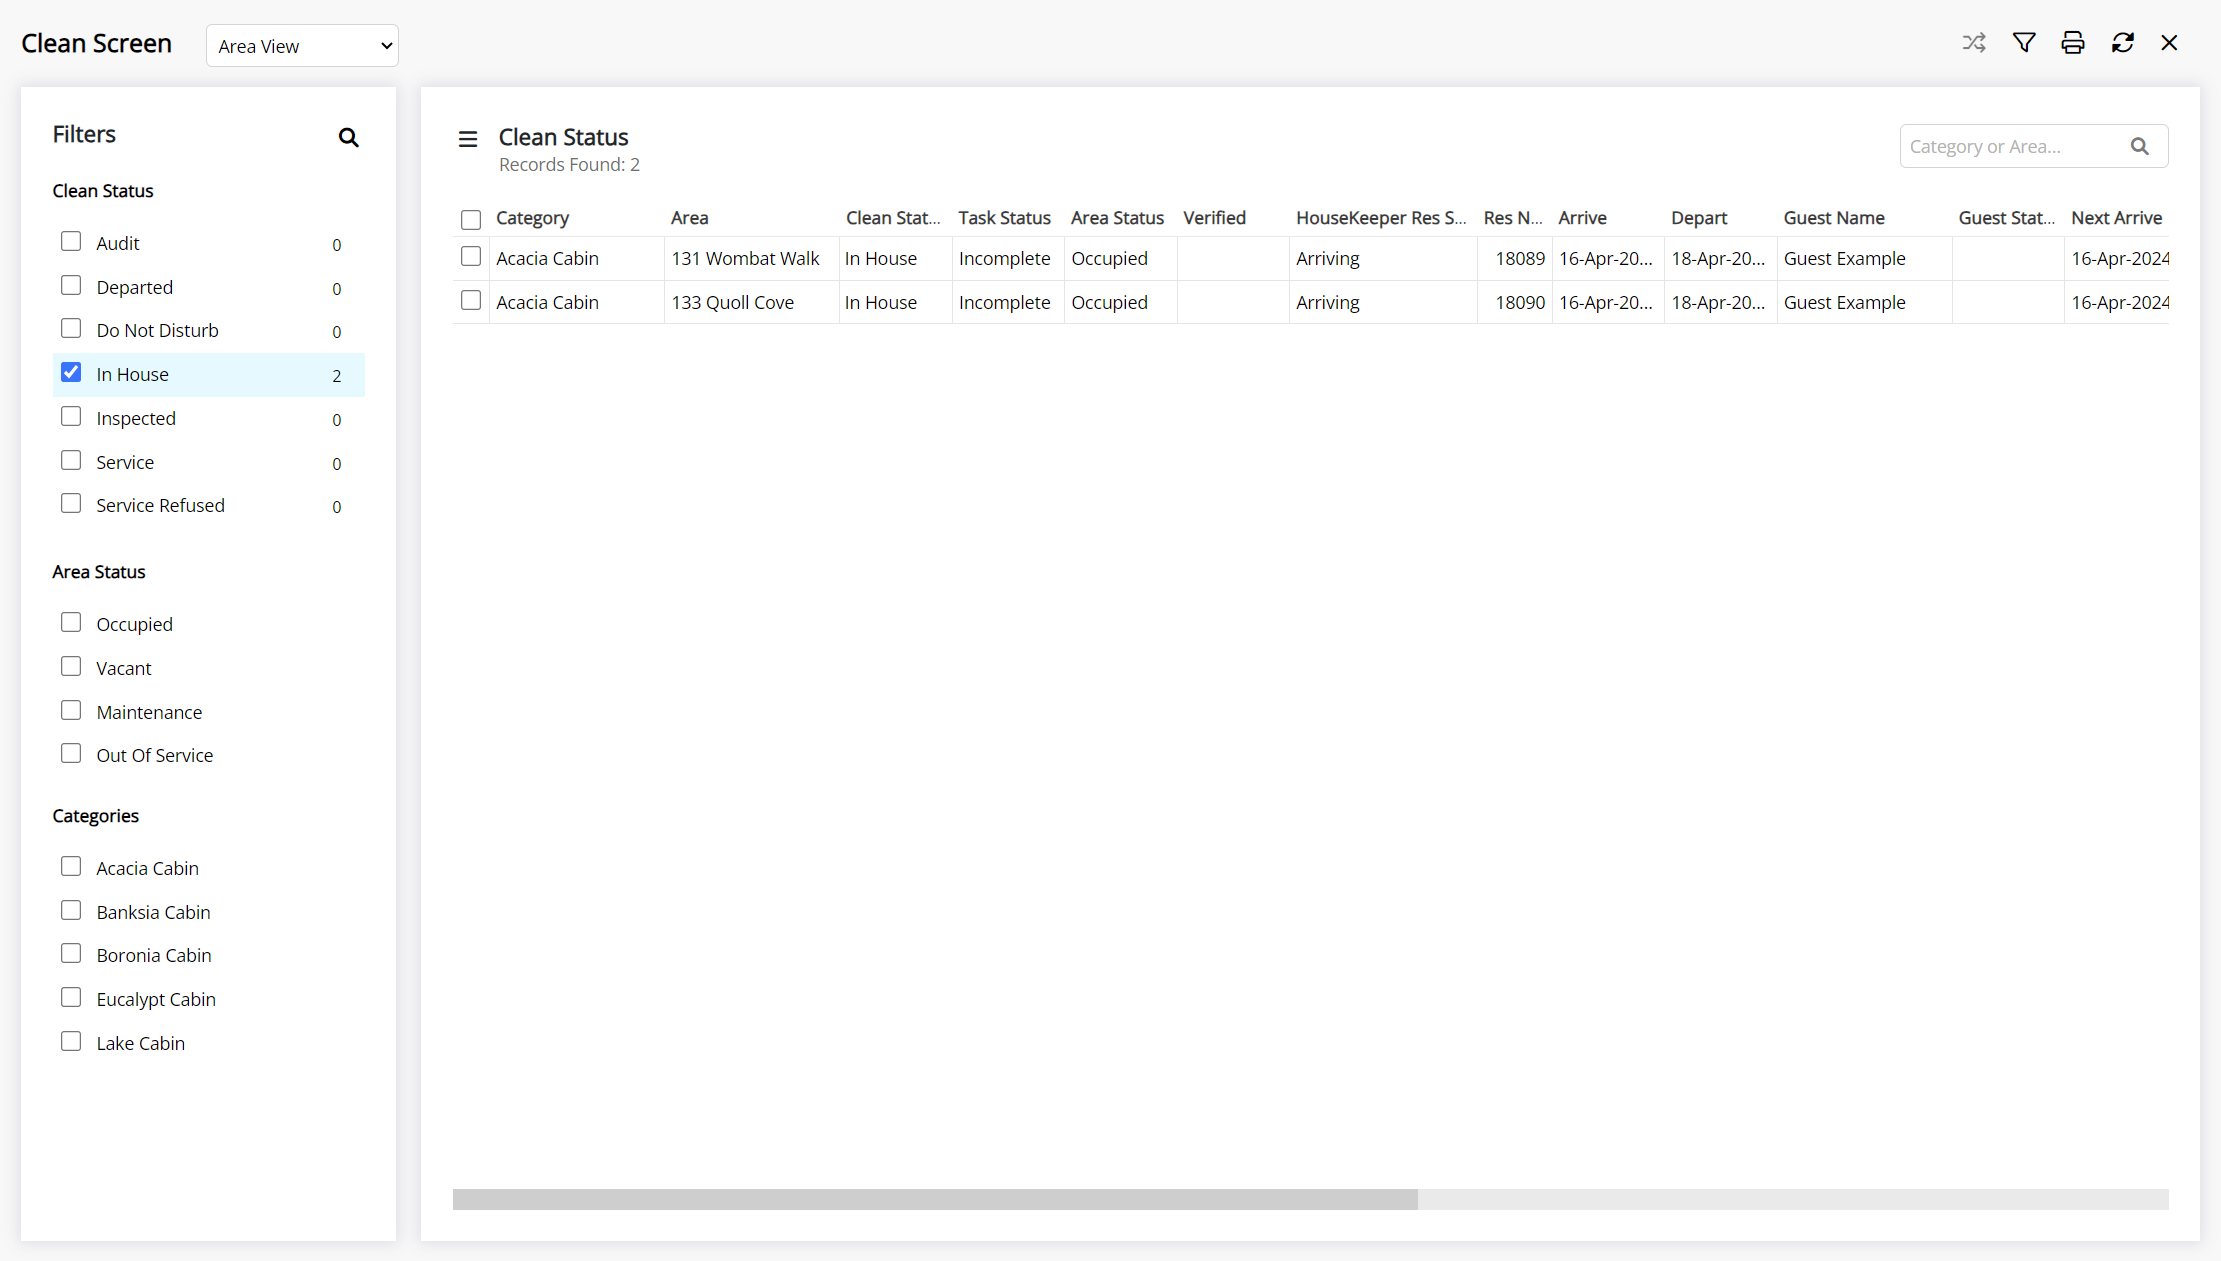
System Area Statuses are colour coded and can be viewed at a glance on the Housekeeping Clean Screen and Booking Chart with the Housekeeping setup determining the behaviour on reservation check-in when an area is in 'Vacant Dirty' status.
Accuracy of an area's condition or state is dependent on the timely updating of the Area Status in RMS using the Housekeeping Clean Screen, Booking Chart, or Staff Portal.
The Area Status Verification Report can be used to audit the current condition of an area and the next reservation arrival. This information can also be viewed on the Clean Screen.
System Area Status
The following area statuses are available by default in RMS:
| Area Status | Description |
|---|---|
| Vacant Dirty | Applies on reservation check-out to indicate the area has been used. |
| Vacant Clean | Must be manually set on the Clean Screen, Booking Chart, or via the Staff Portal to indicate the area is ready for the next reservation. |
| Occupied | Applies on reservation check-in and remains until reservation check-out unless manually changed to indicate there is a reservation currently in-house. |
| Maintenance | Applies when there is an active maintenance reservation in the area. |
| Inspect | Applies when a maintenance reservation is released. |
Custom Clean Statuses
Custom Clean Statuses are an optional feature that can be created and allocated to Reservation Statuses to replace the System Area Statuses and further define the condition of an area or the housekeeping activities and requirements.
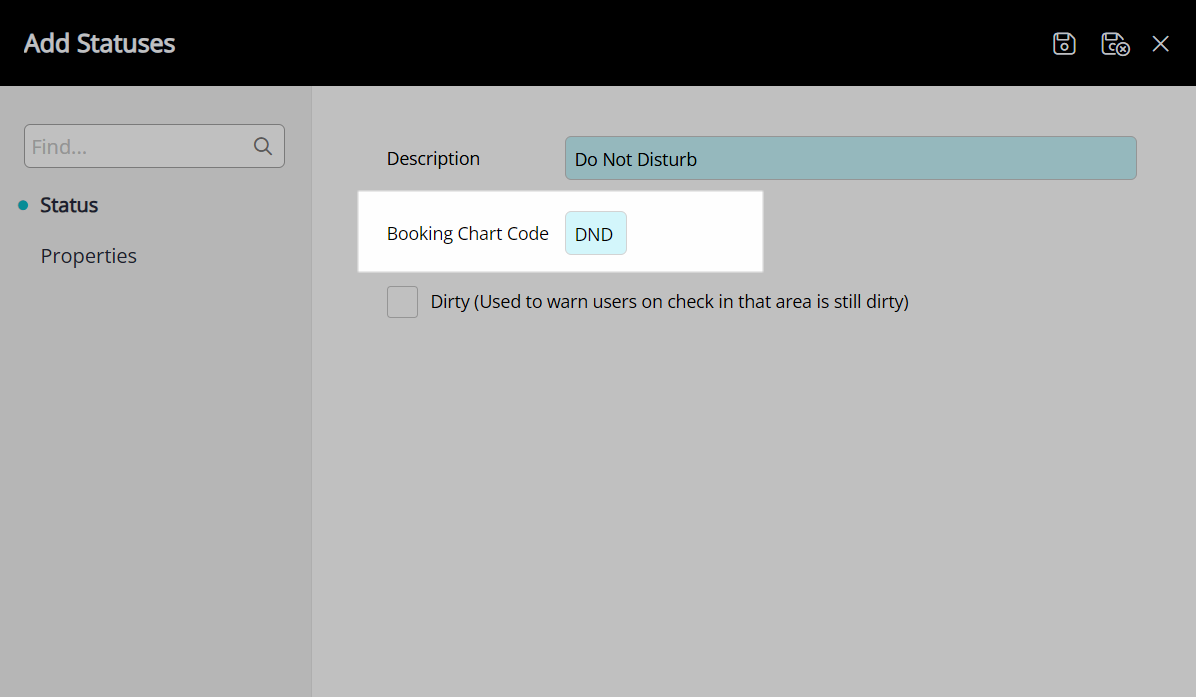
User created area statuses include a description, short code to display on the Booking Chart, and the ability to define the custom status as 'Dirty' to behave the same as the system 'Vacant Dirty' status on reservation check-in.
Custom Clean Statuses can be allocated to one or more properties to streamline setup and create uniformity between properties in the enterprise database.
The statuses created can be assigned to Reservation Statuses to automatically reflect the condition of an area based on pre-defined scenarios, and be manually set on the Clean Screen, Booking Chart, or by housekeepers with access to the Staff Portal.
Setup Clean Statuses
Have your System Administrator complete the following.
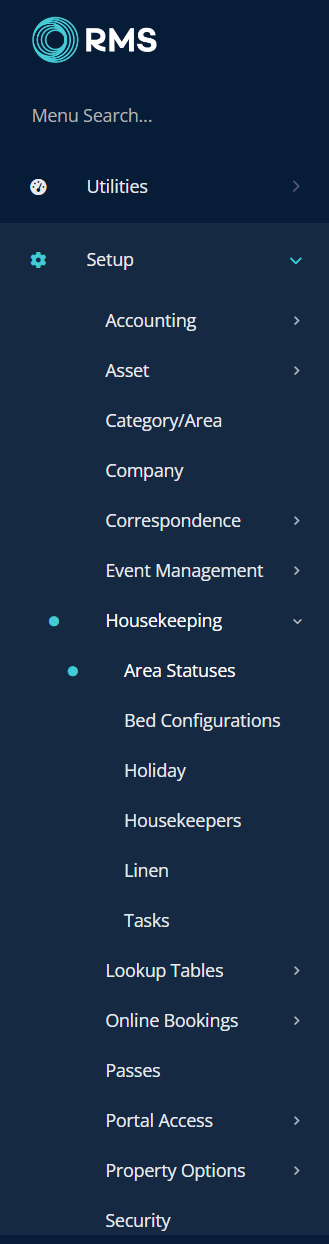
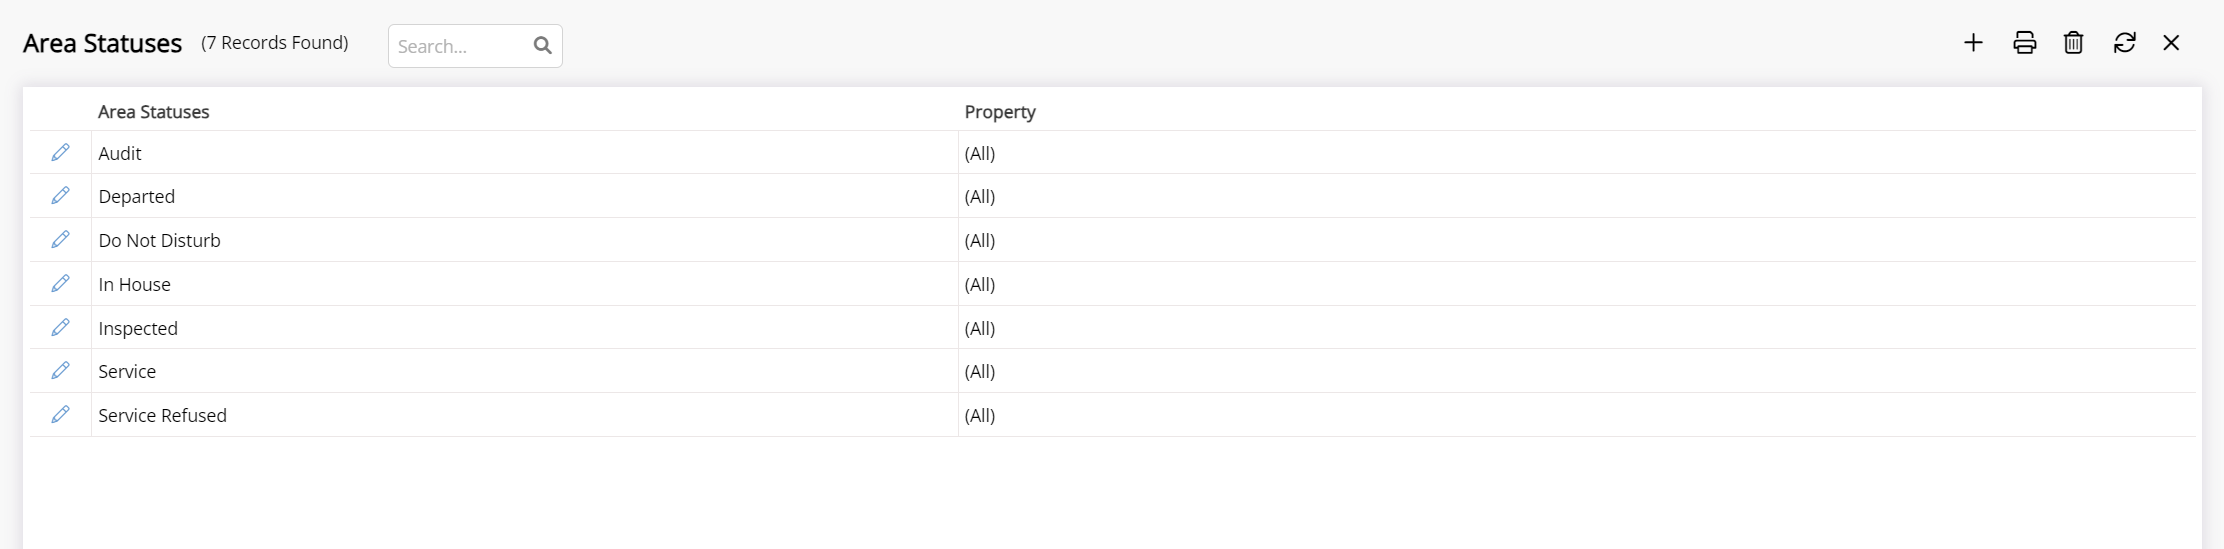
- Go to Setup > Housekeeping > Area Statuses in the side menu of RMS.
- Select the
 'Add' icon.
 - Enter a Status Description.
- Enter a Booking Chart Short Code.
- Optional: Select the checkbox 'Dirty'.
-
Optional: Select a Property.
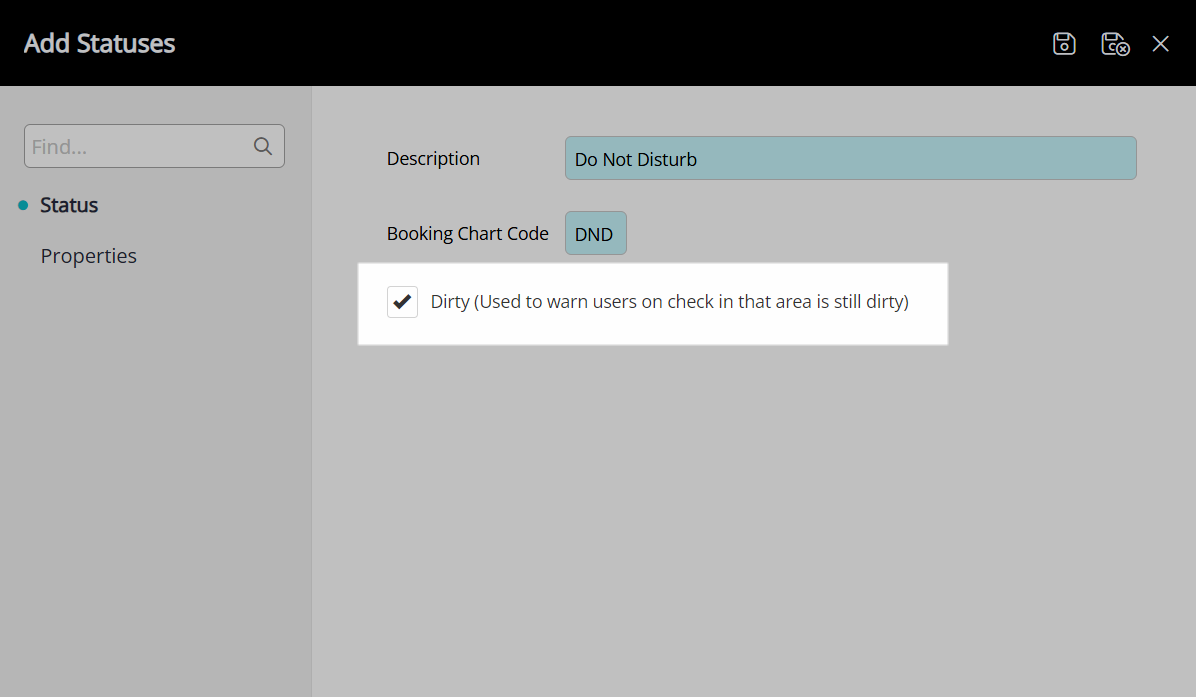
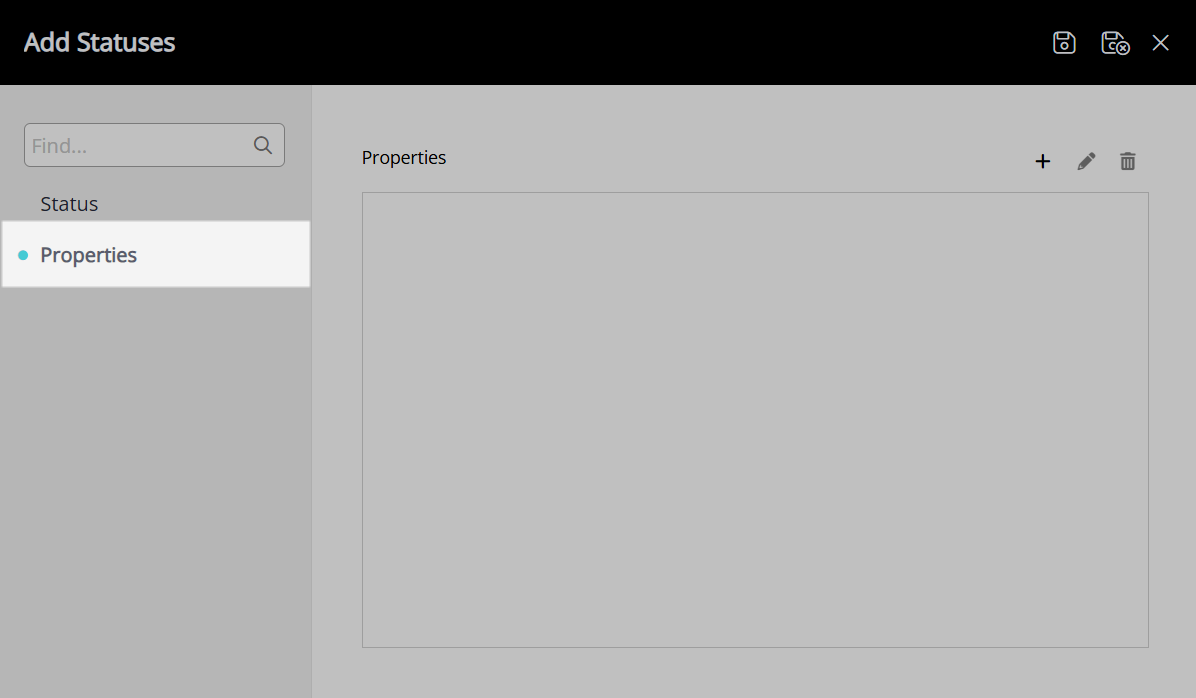
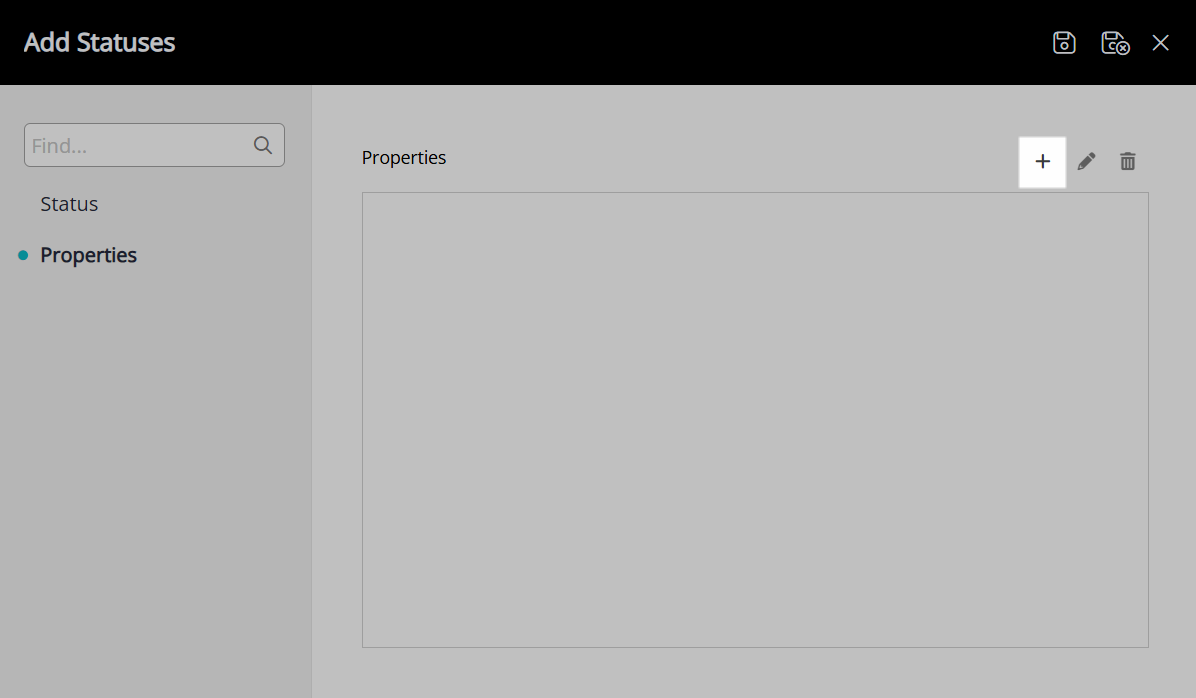
- Navigate to the 'Properties' tab.
- Select the
 'Add' icon.
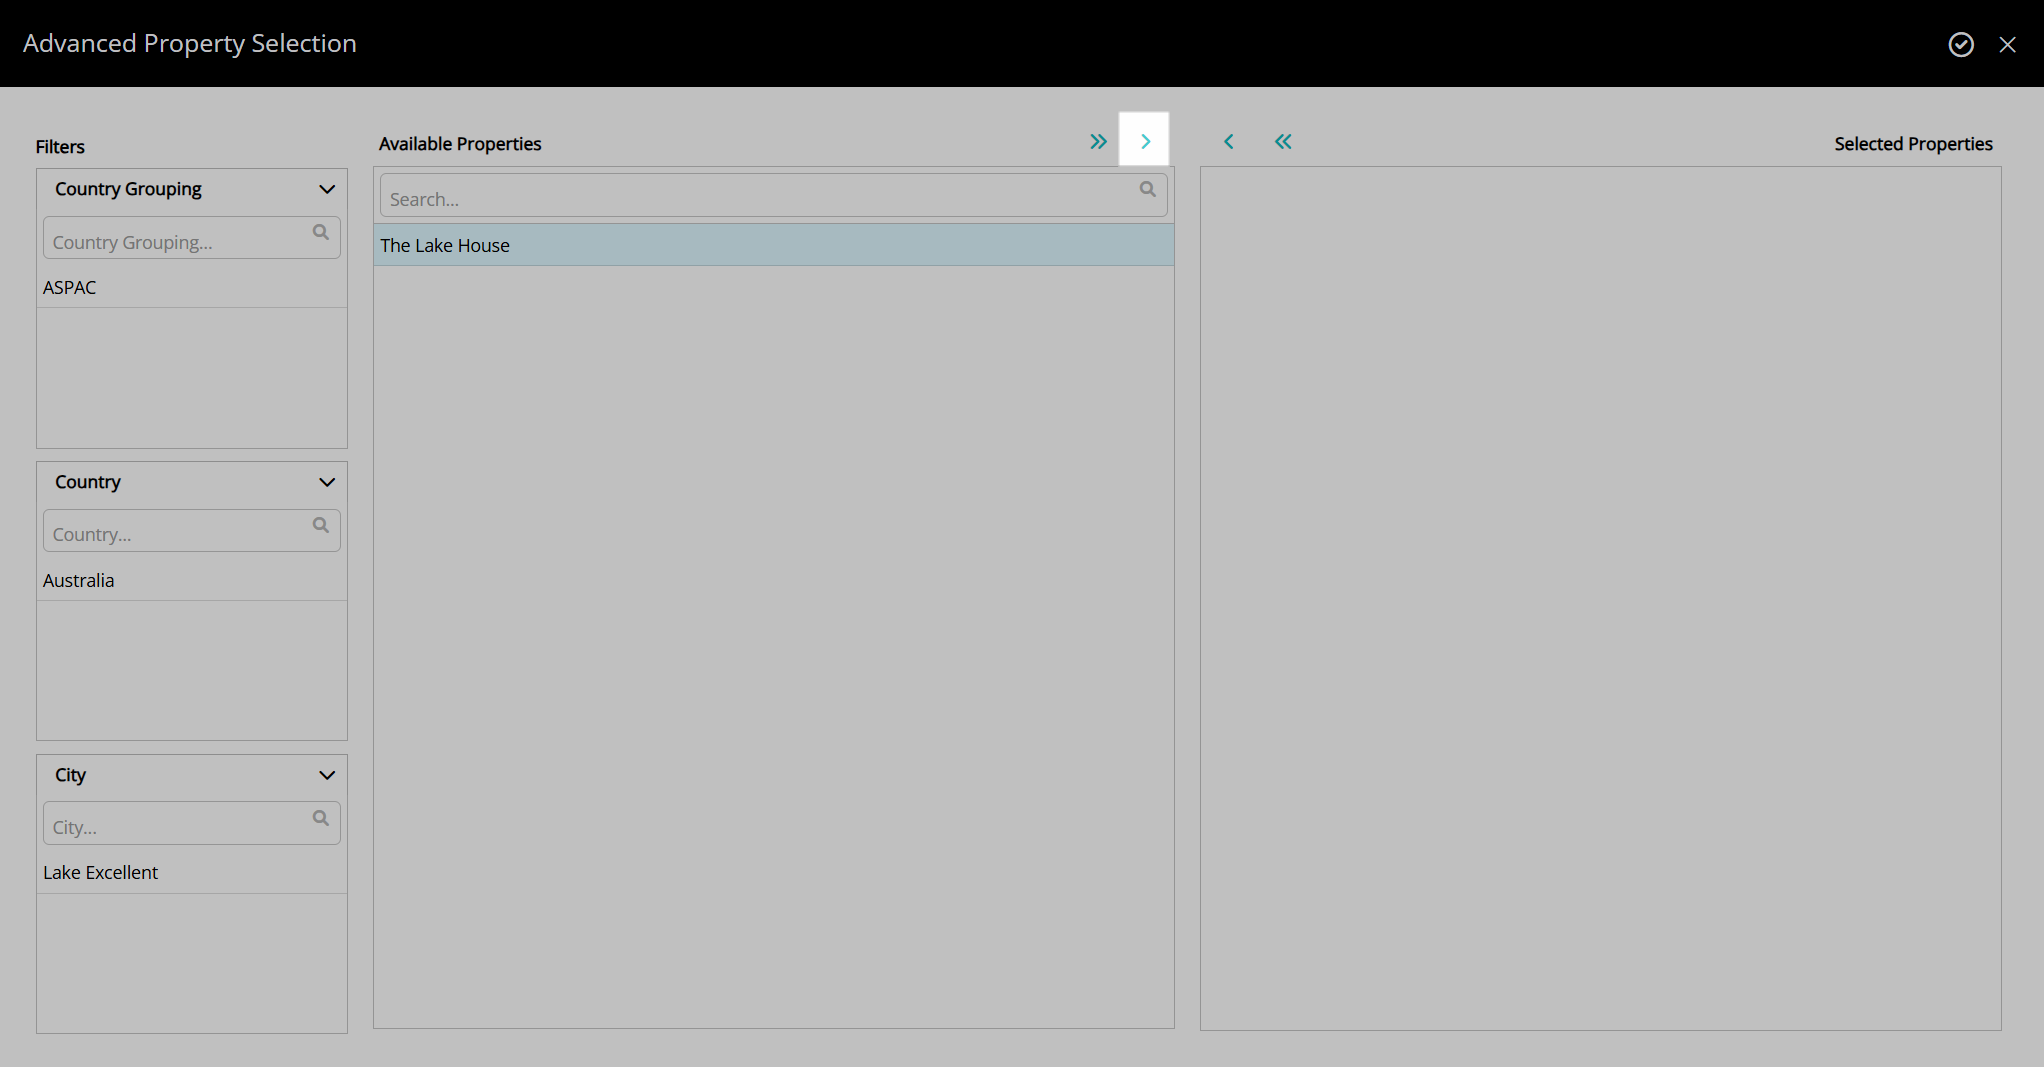
 - Select a Property and choose the
 icon.
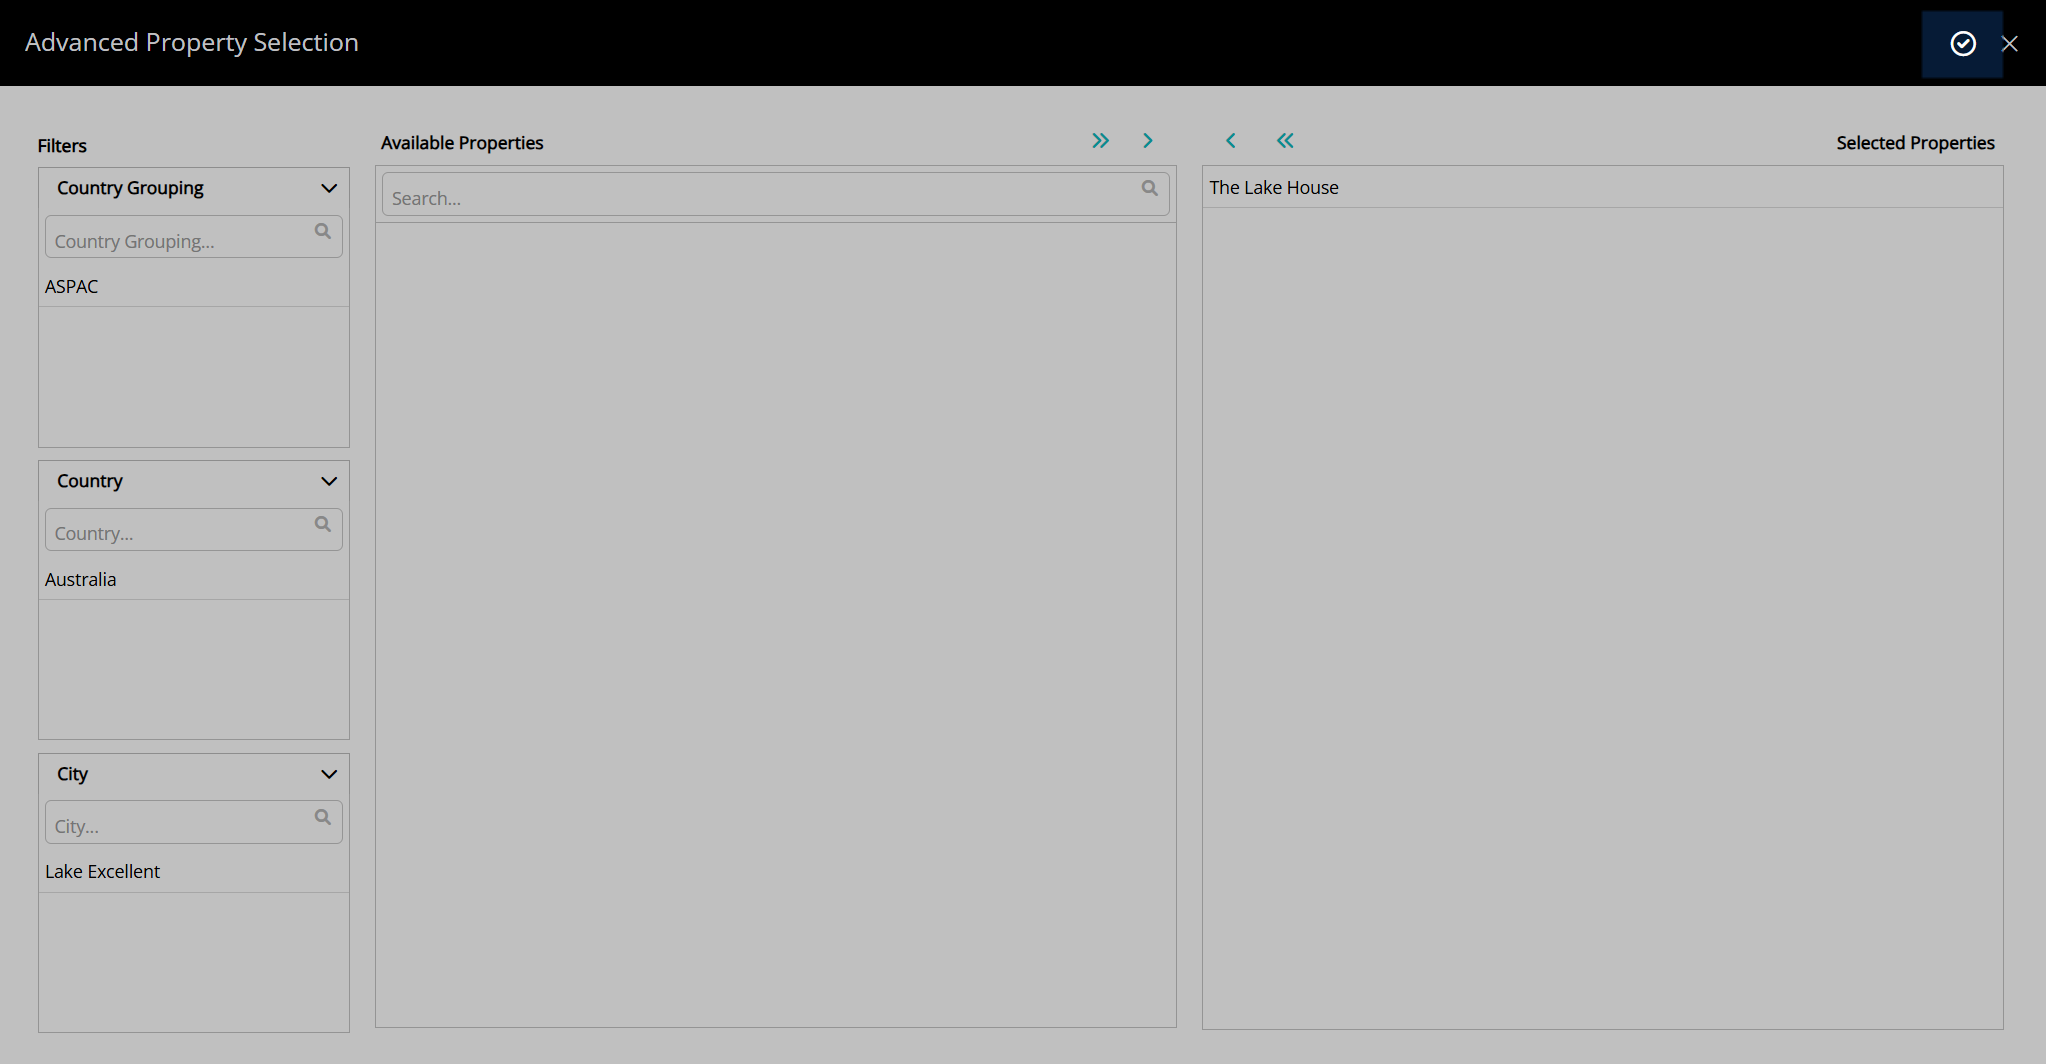
icon. - Apply/Exit.
- Save/Exit.
- Allocate Clean Statuses.
Go to Setup > Housekeeping > Area Statuses in the side menu of RMS.
Select the ![]() 'Add' icon.
'Add' icon.

Enter a Status Description.

Enter a Booking Chart Short Code.
Optional: Select the checkbox 'Dirty'.
Optional: Select a Property.
Navigate to the 'Properties' tab.
Select the ![]() 'Add' icon.
'Add' icon.
Select a Property and choose the ![]() icon.
icon.
Select the  'Apply/Exit' icon to store the changes made and return to the Area Status setup.
Select the  'Save/Exit' icon to store the changes made and leave the Area Status setup.

Repeat for all required custom area statuses.
Allocate Clean Statuses to a Property.
Allocate Clean Statuses
Have your System Administrator complete the following.
- Go to Setup > Property Options > Property Information in the side menu of RMS.
- Select the
 'Edit' icon on an existing Property.
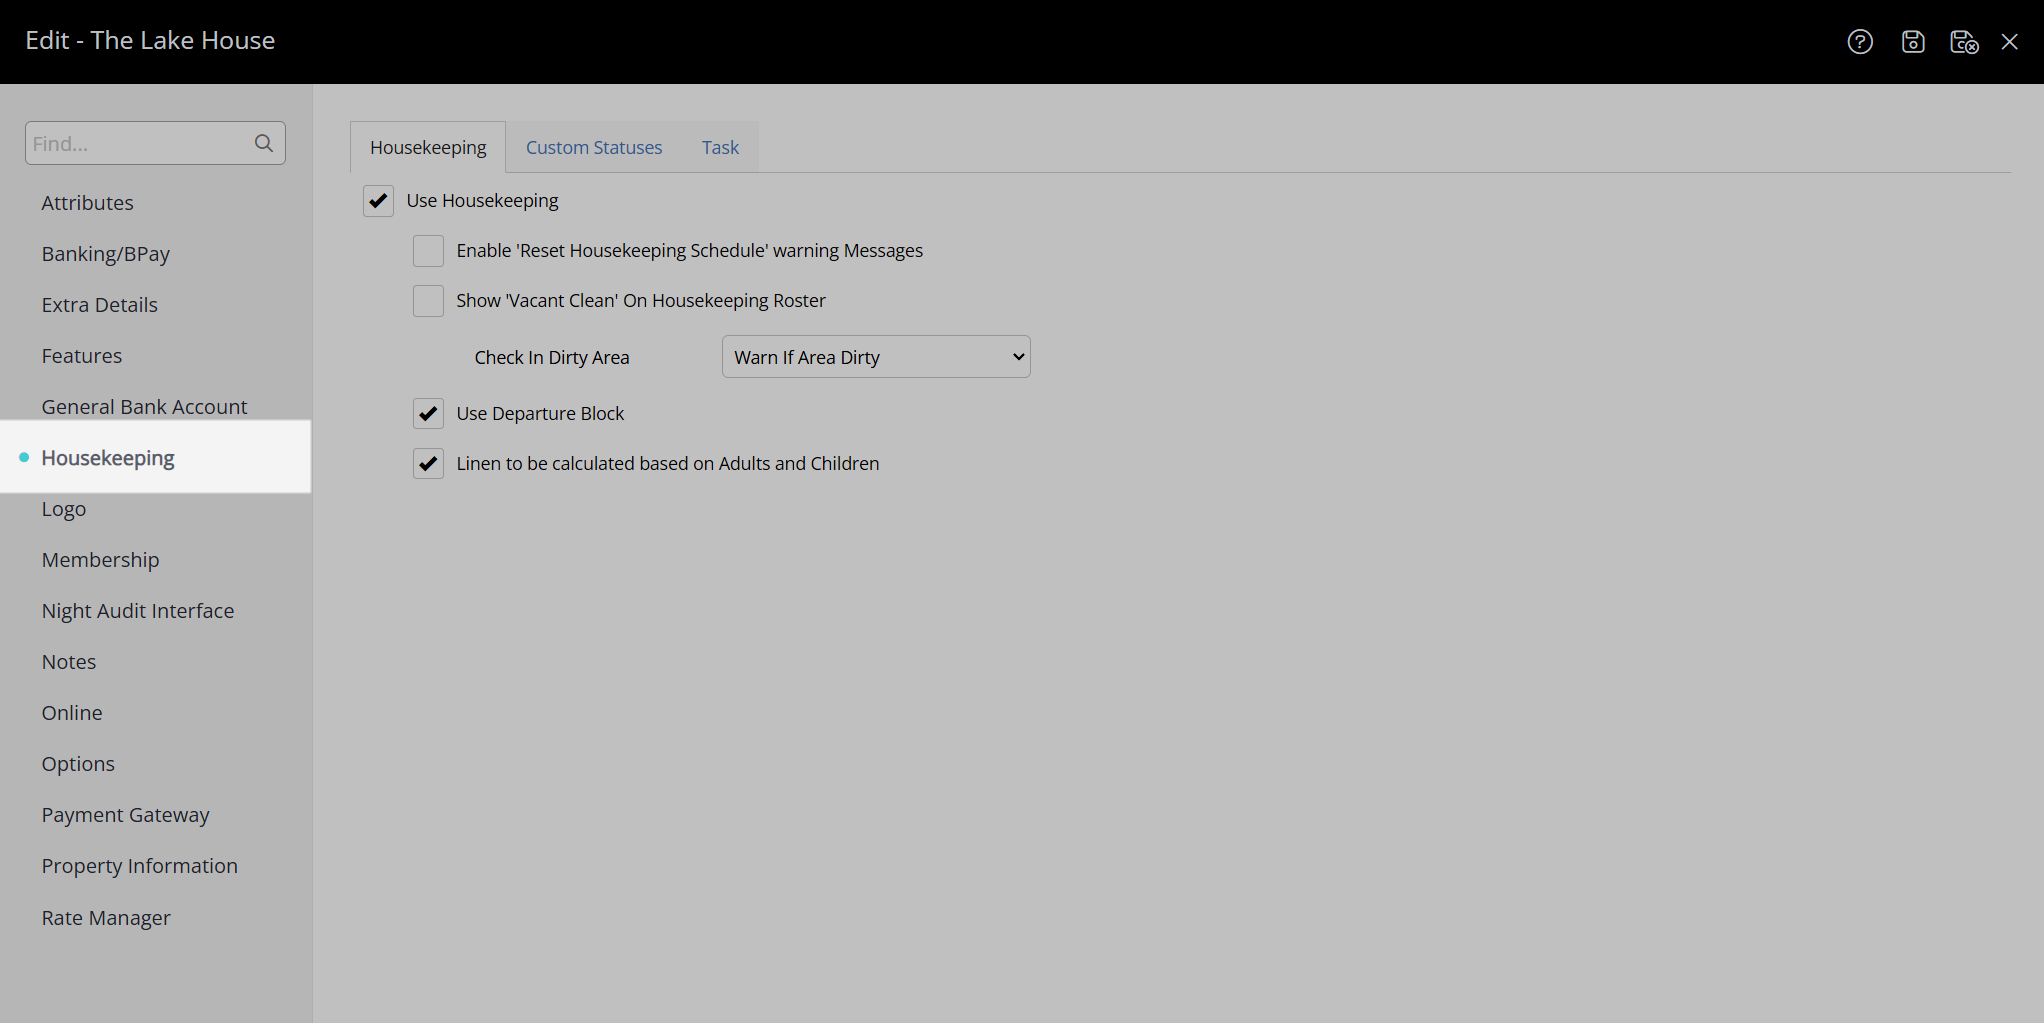
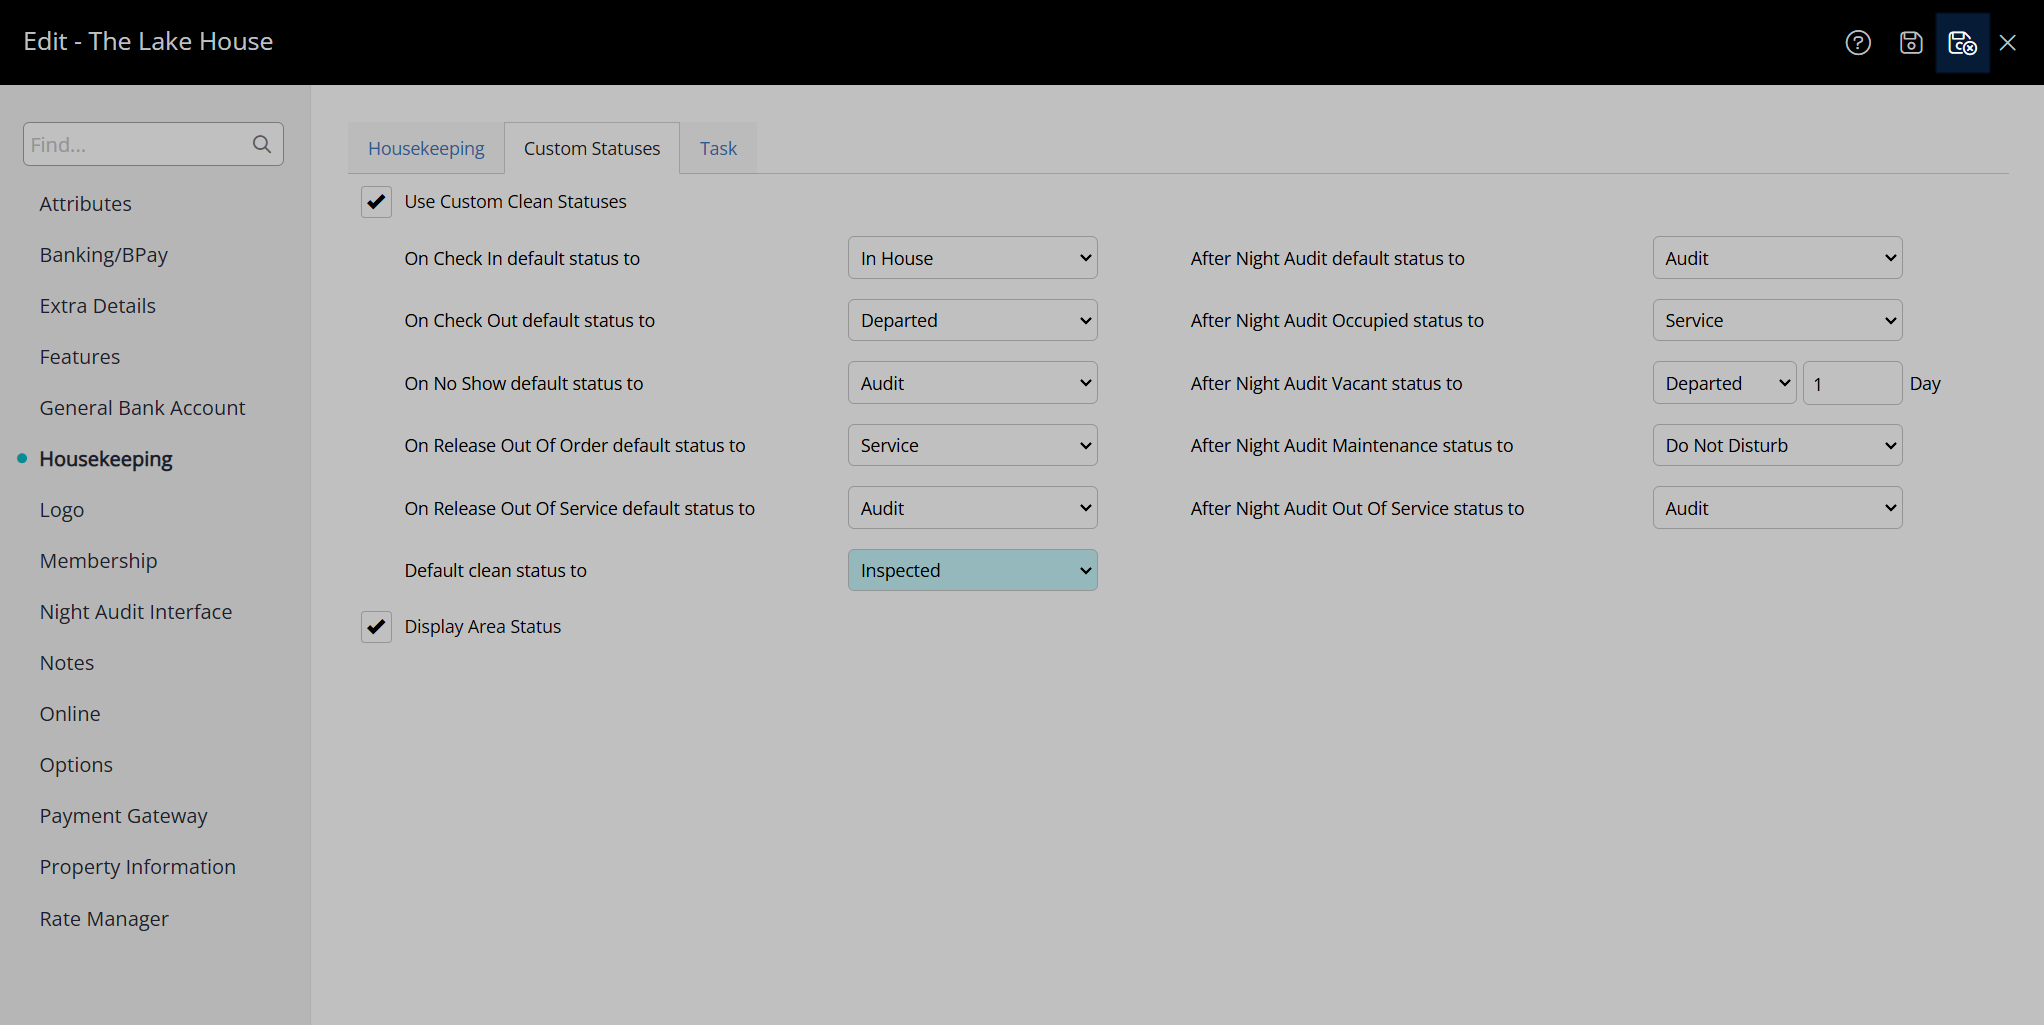
 - Navigate to the 'Housekeeping' tab.
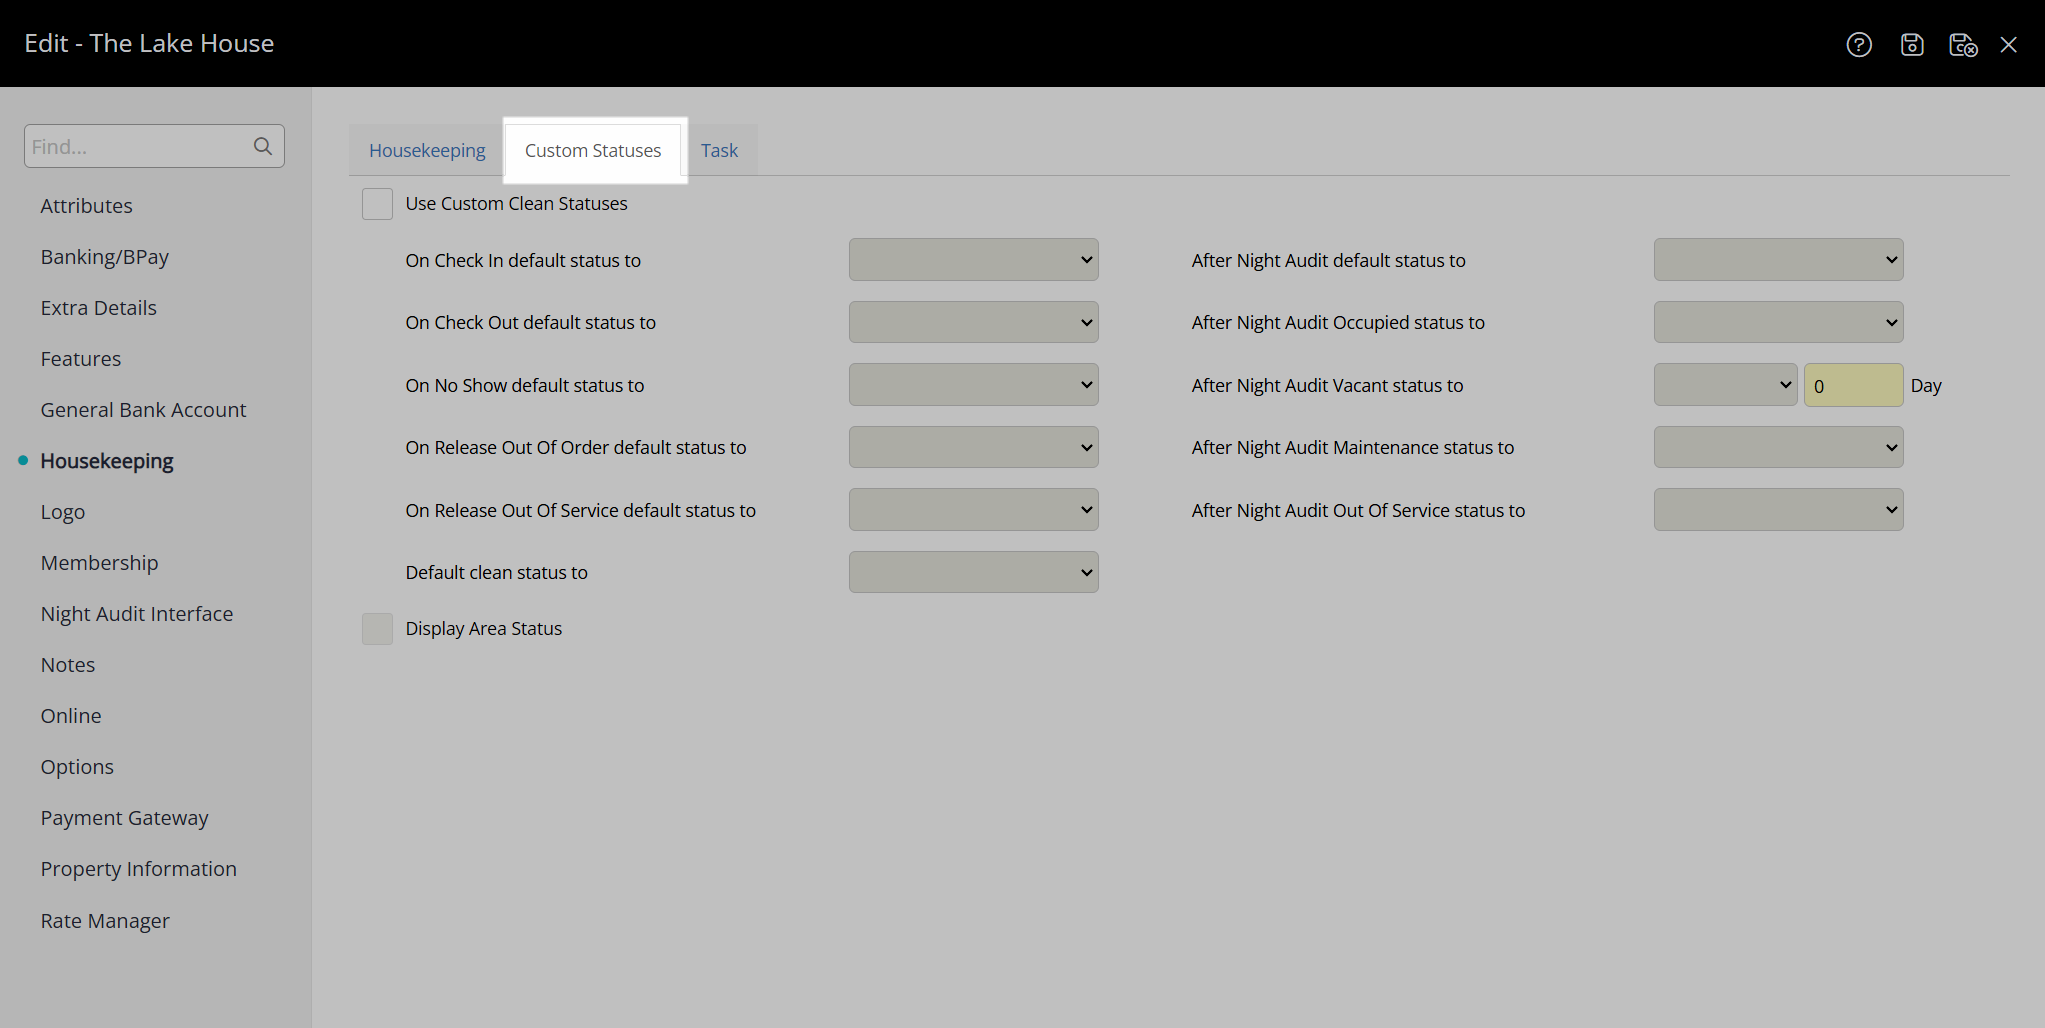
- Navigate to the 'Custom Statuses' tab.
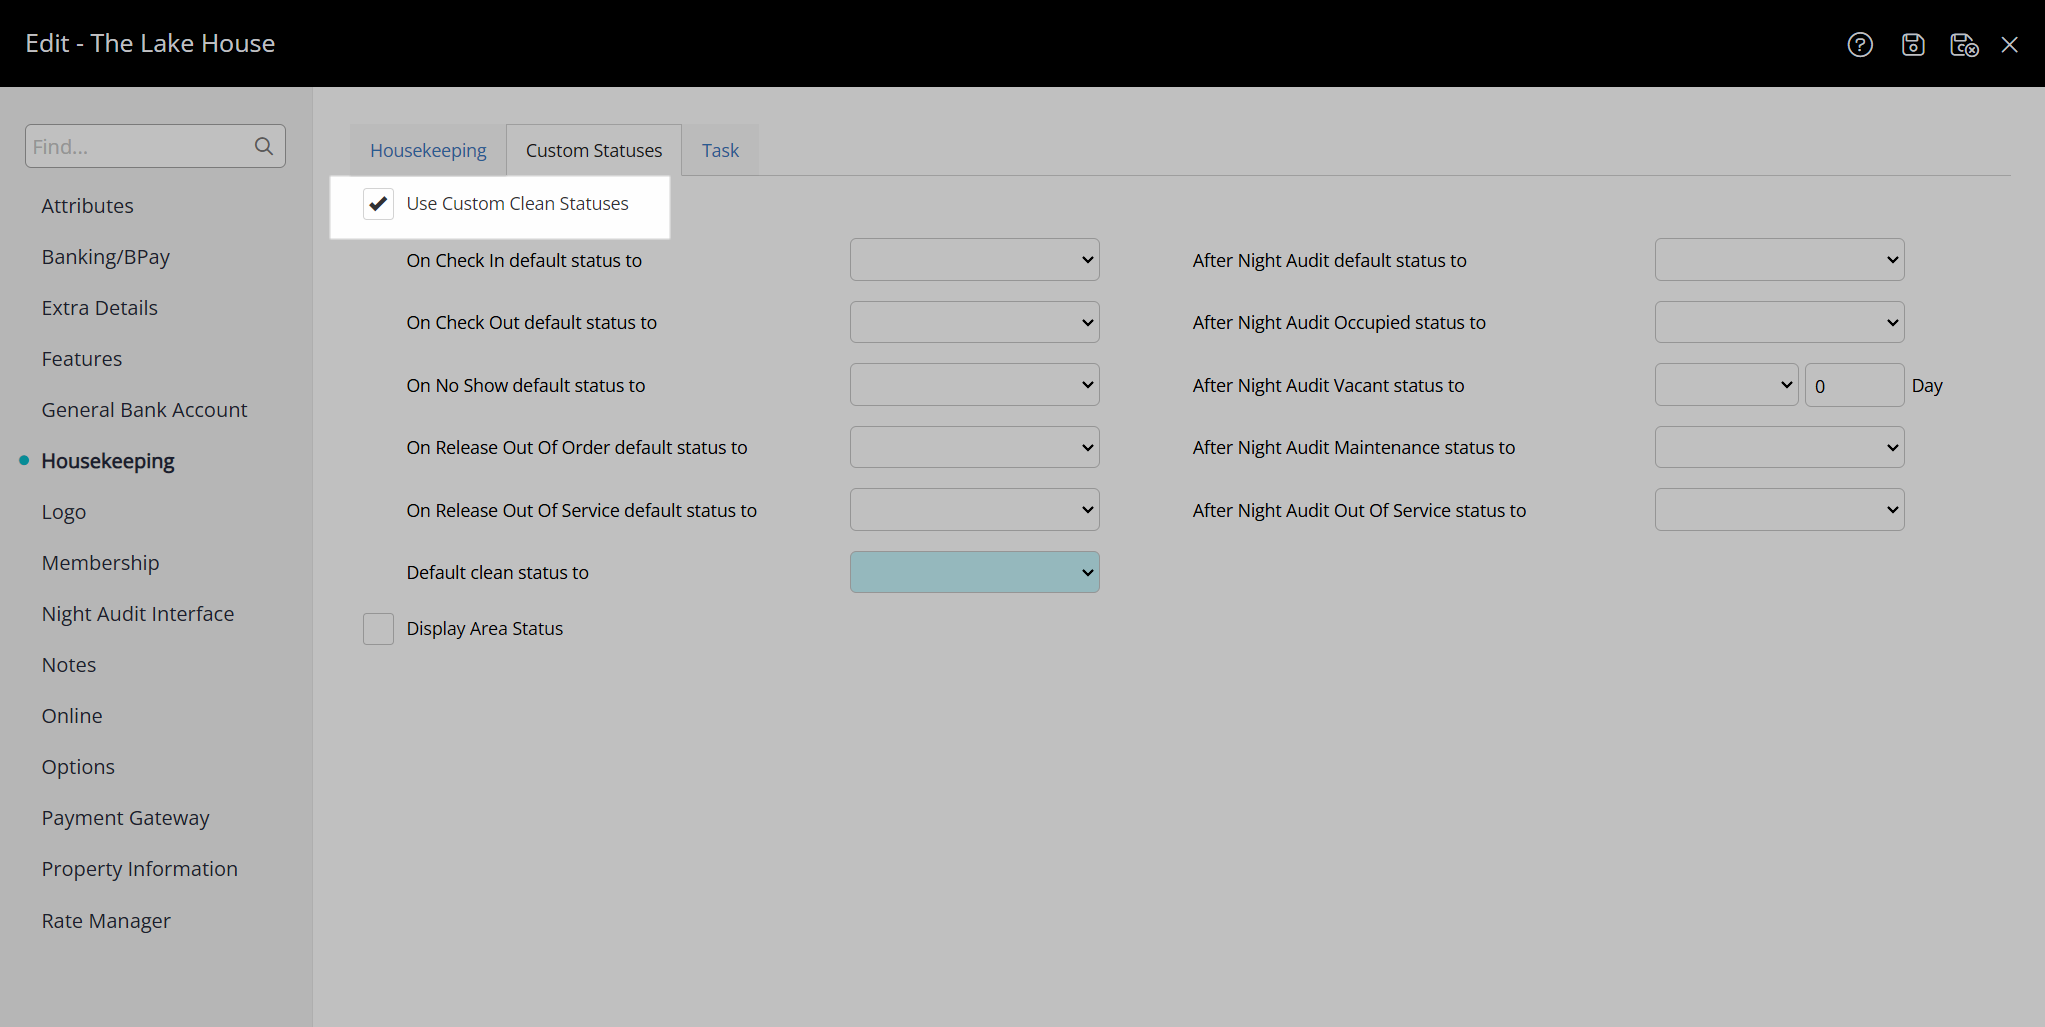
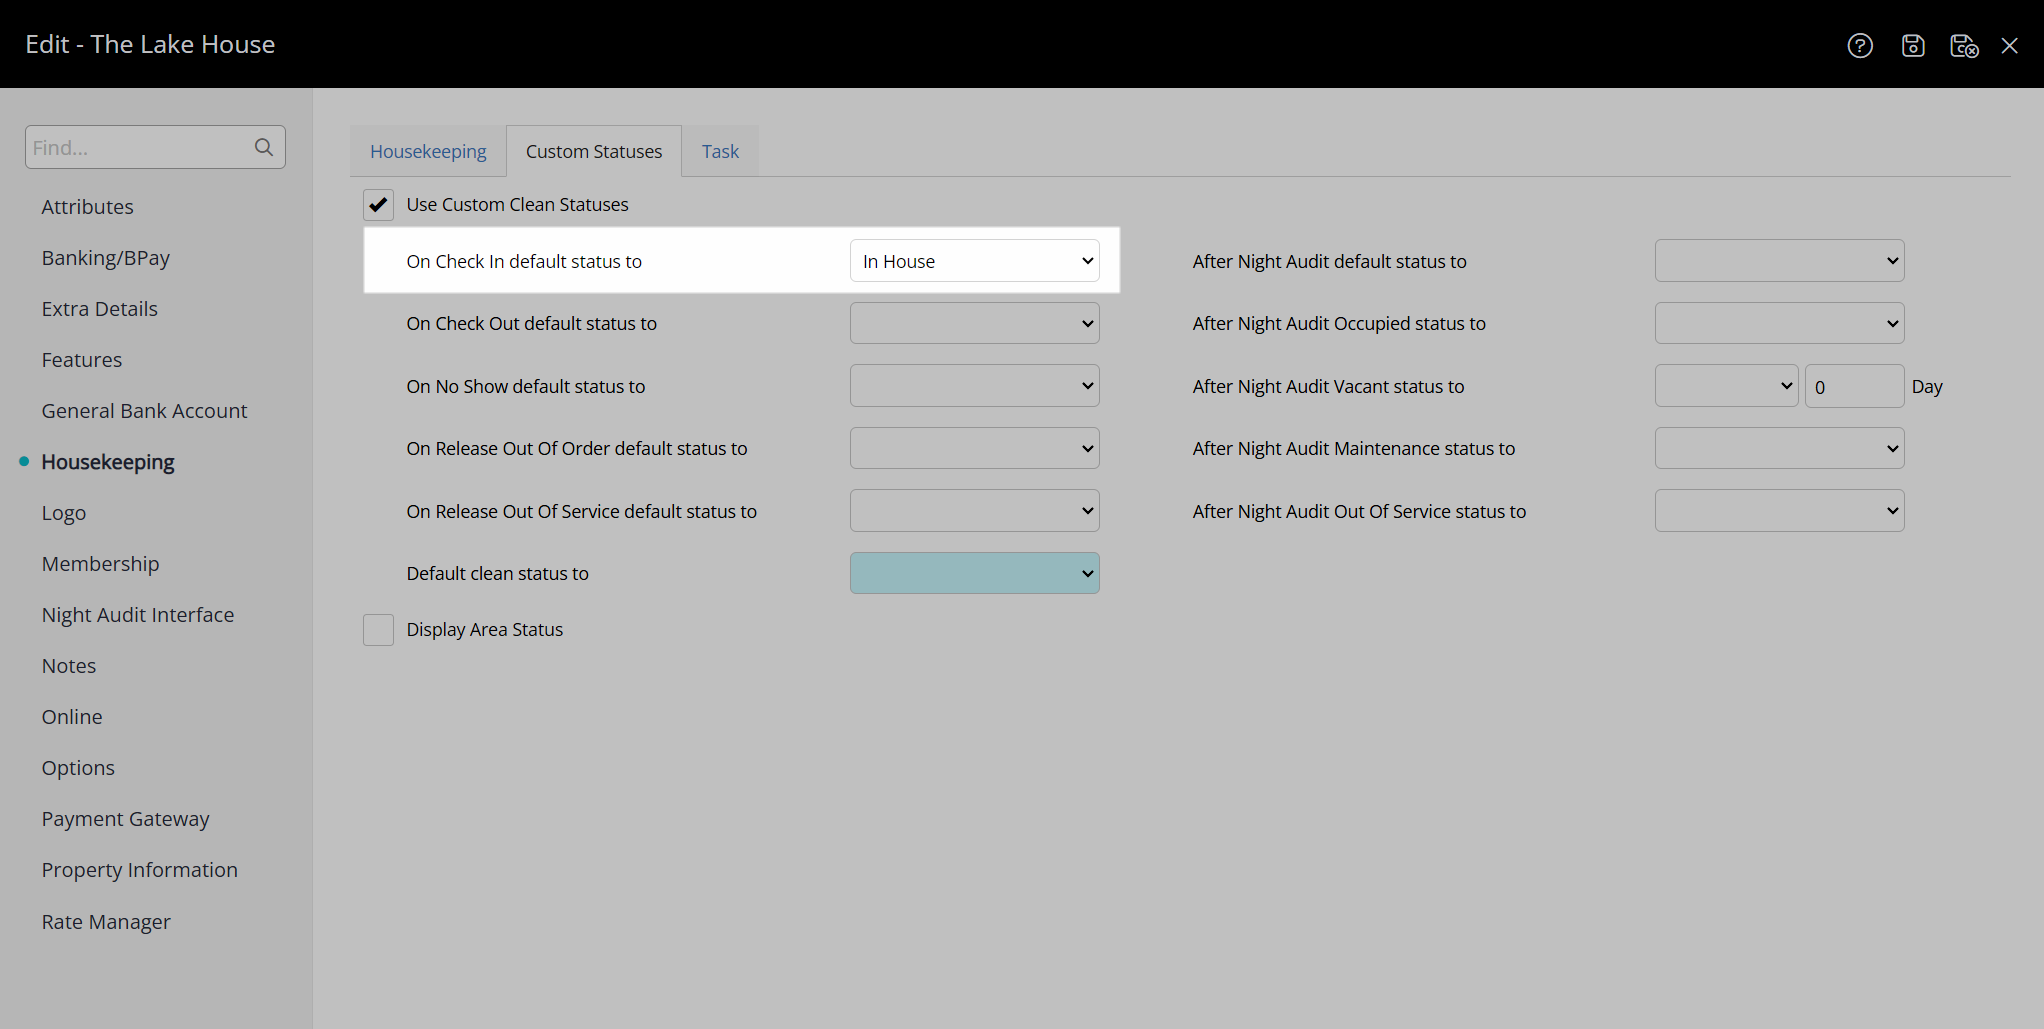
- Select the checkbox 'Use Custom Clean Statuses'.
- Optional: Select a Clean Status for Check-in.
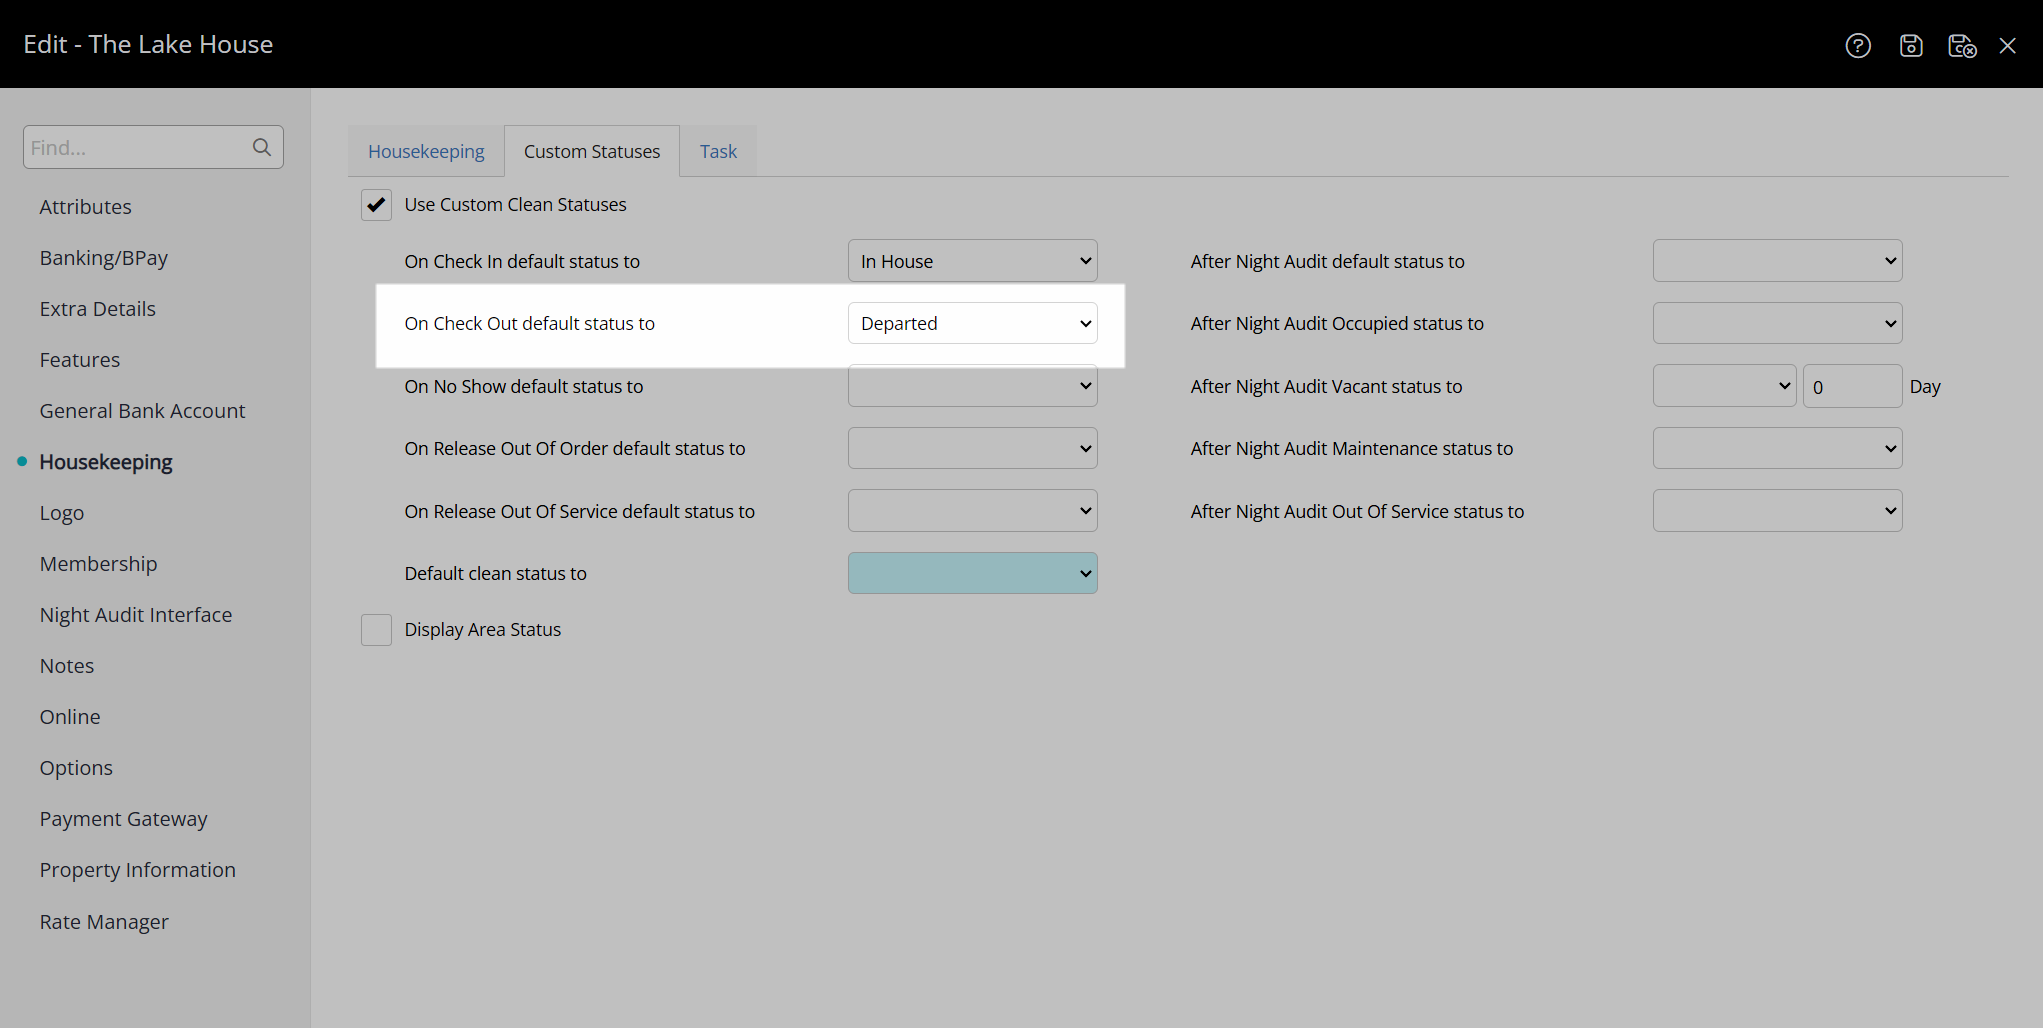
- Optional: Select a Clean Status for Check-out.
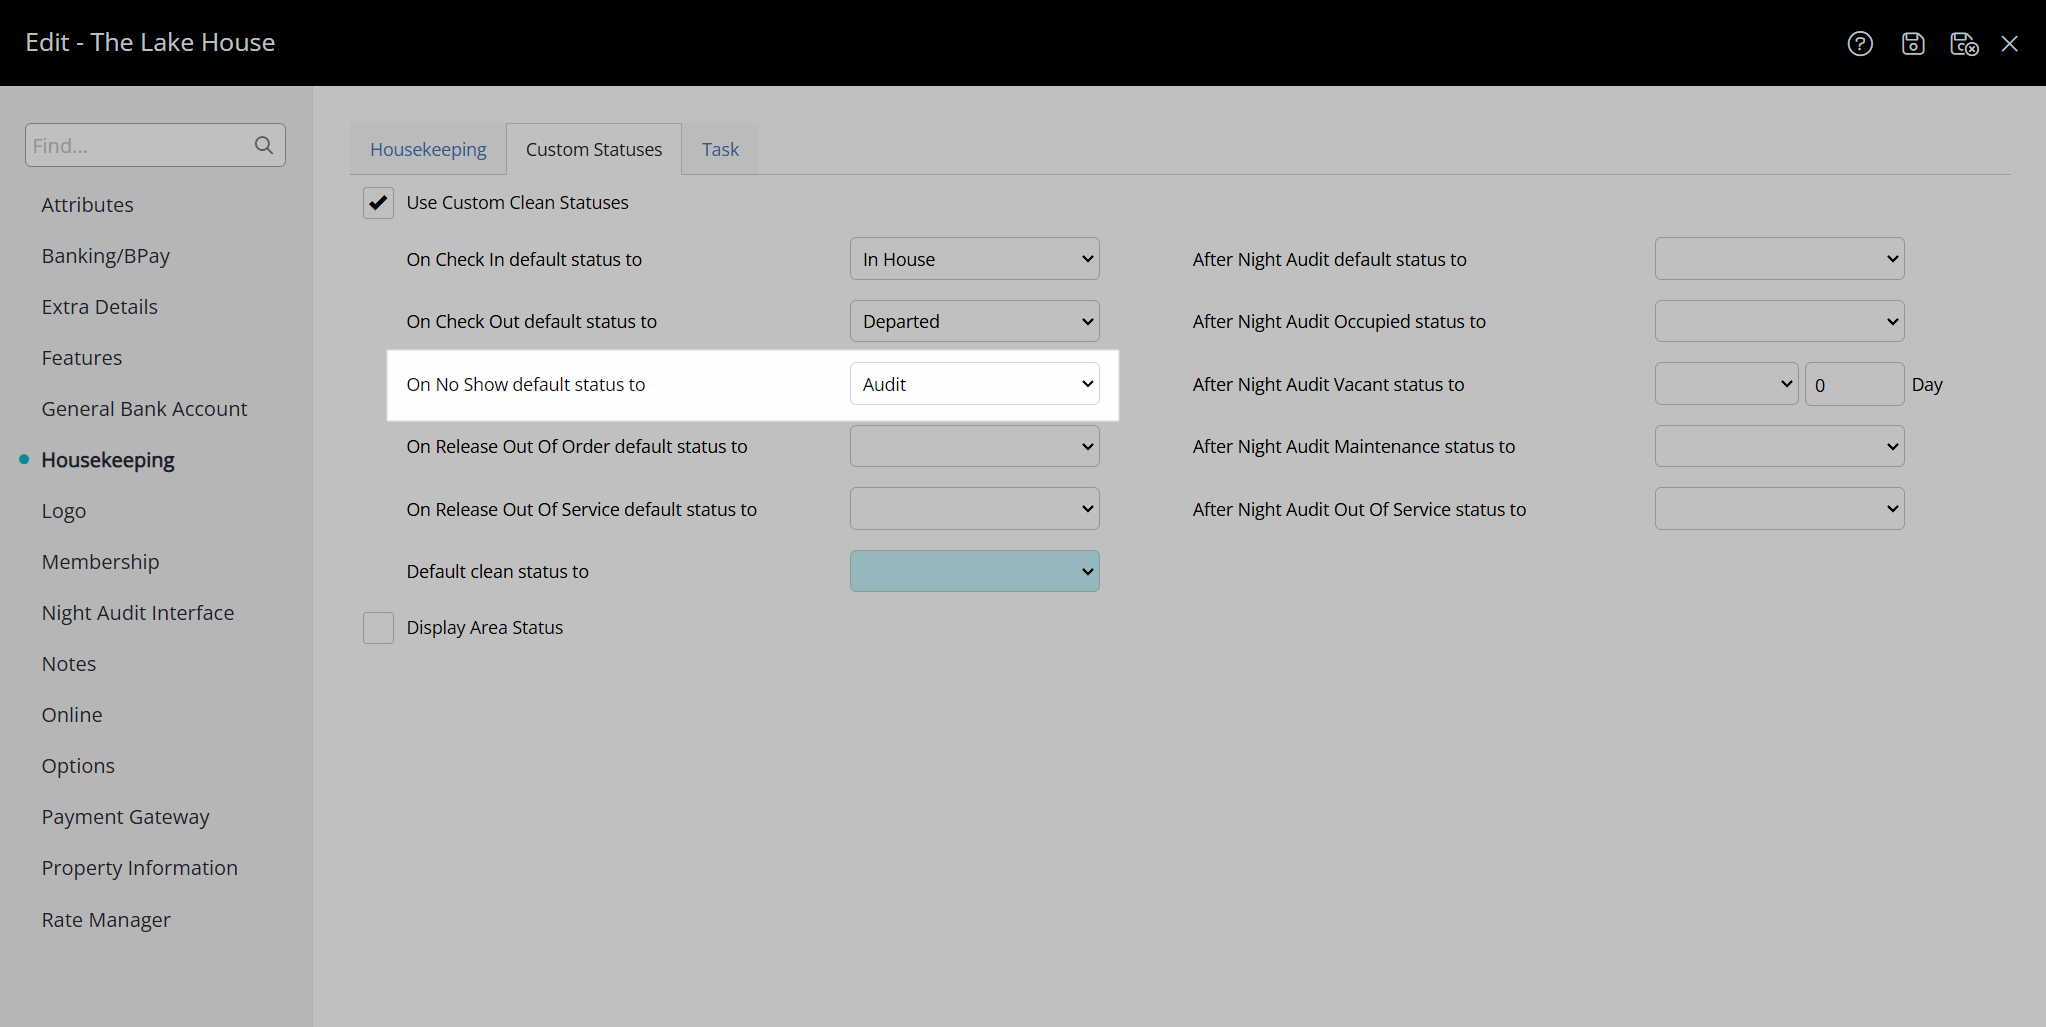
- Optional: Select a Clean Status for No Show.
- Optional: Select a Clean Status for Release Out of Order.
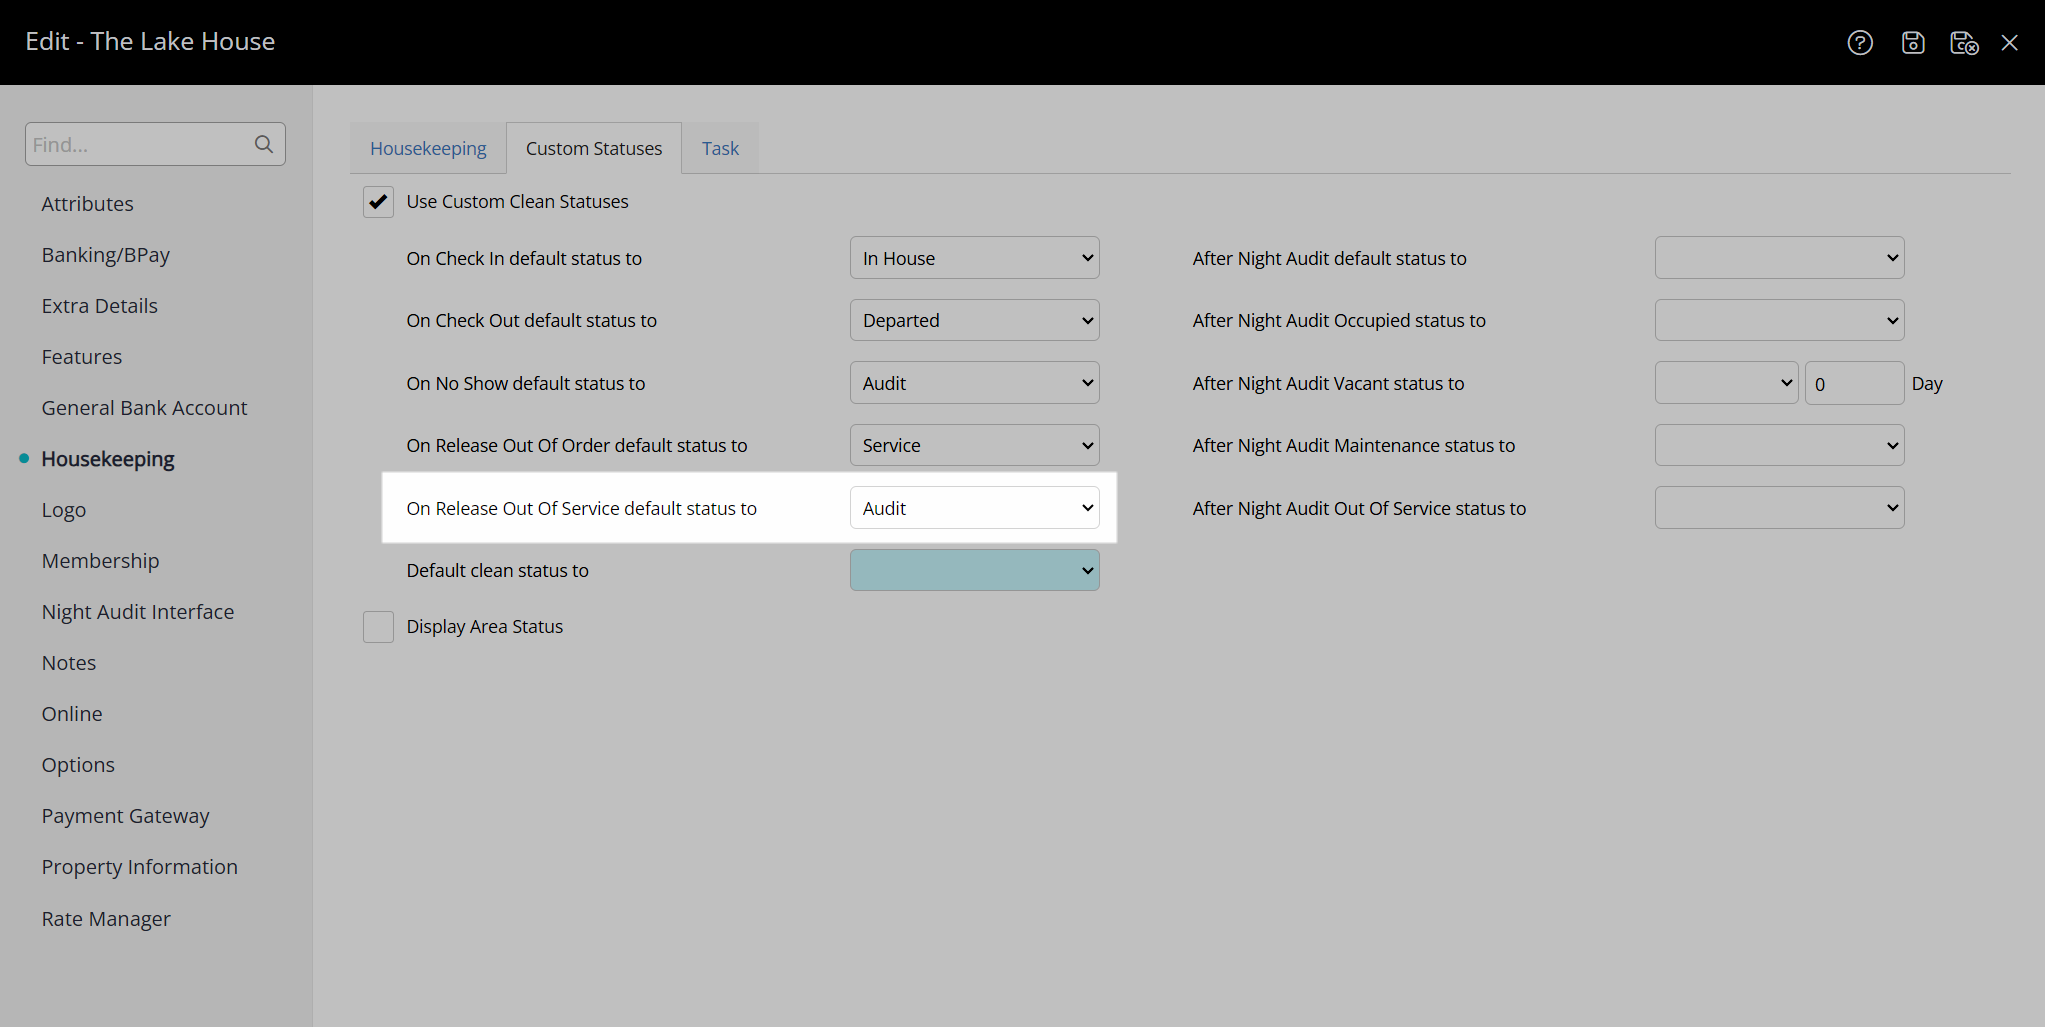
- Optional: Select a Clean Status for Release Out of Service.
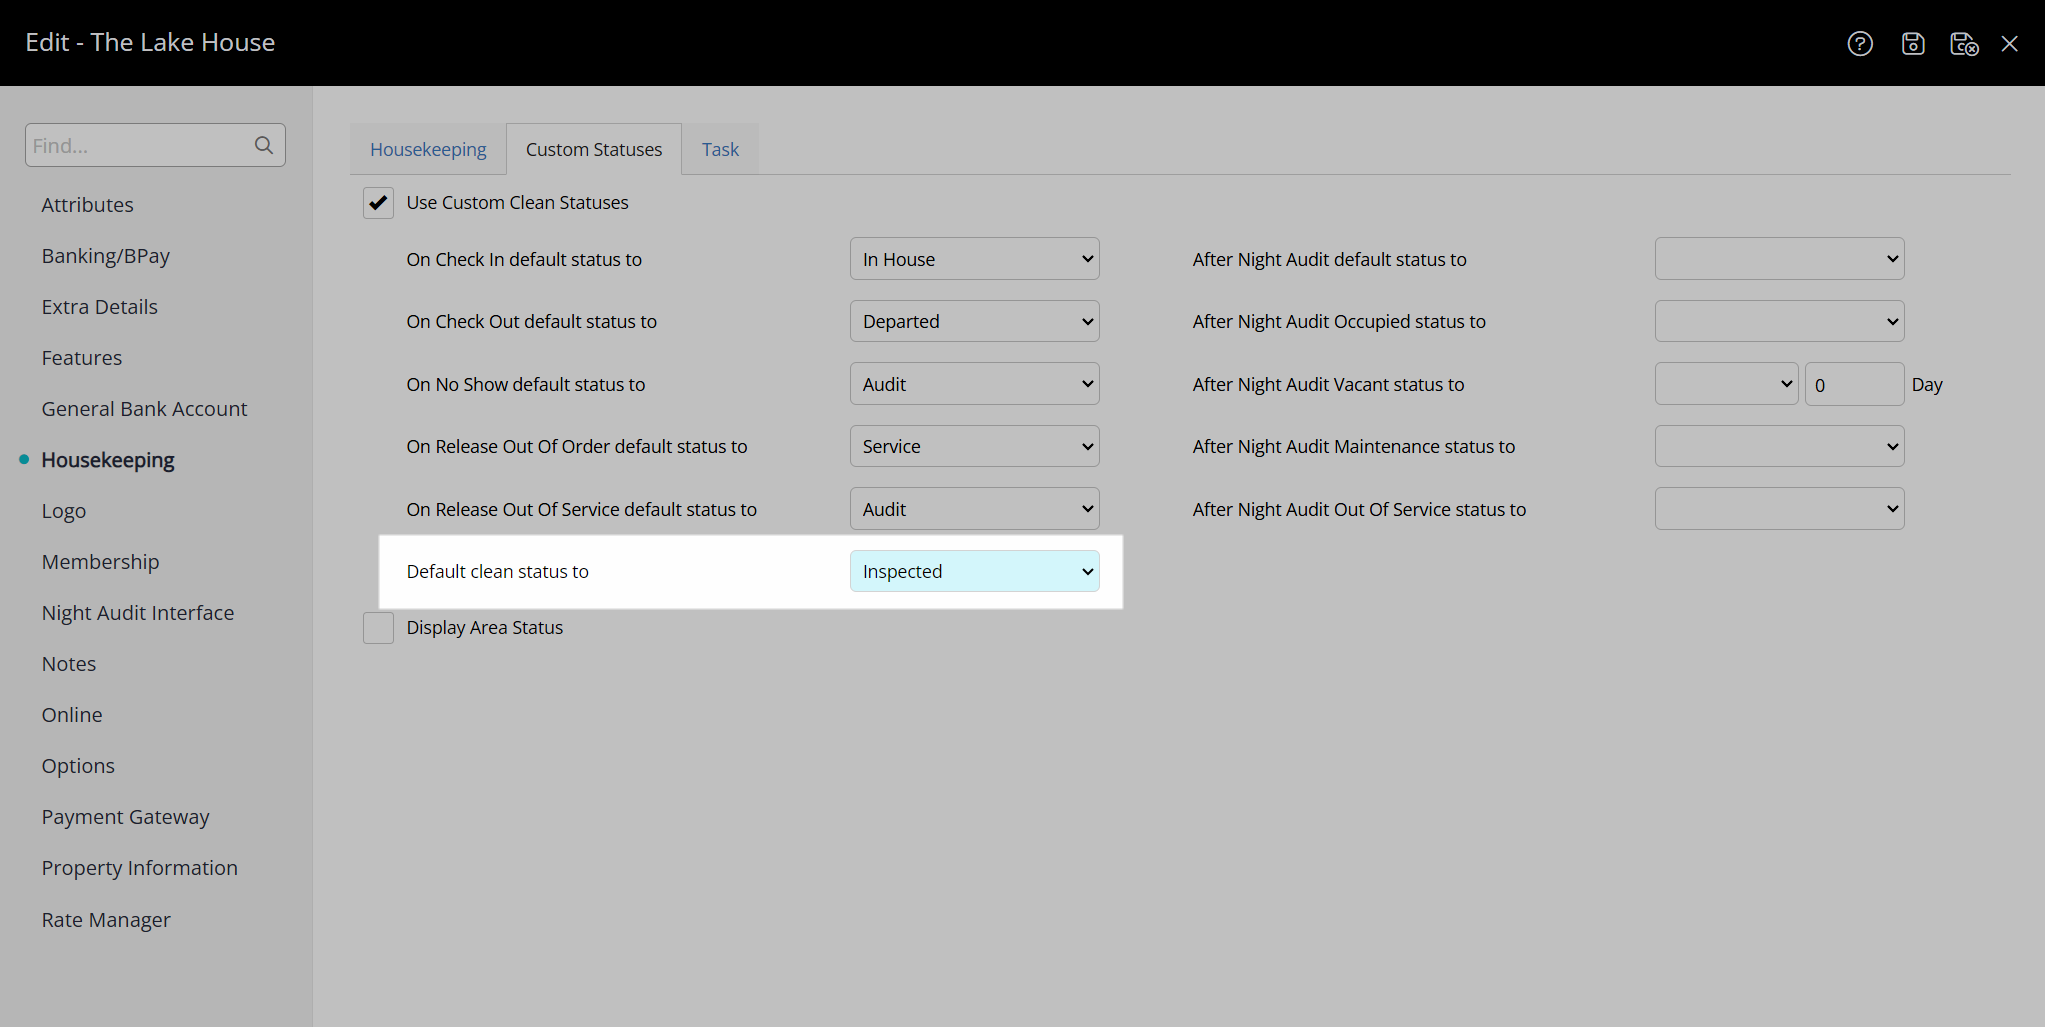
- Select the Default Clean Status.
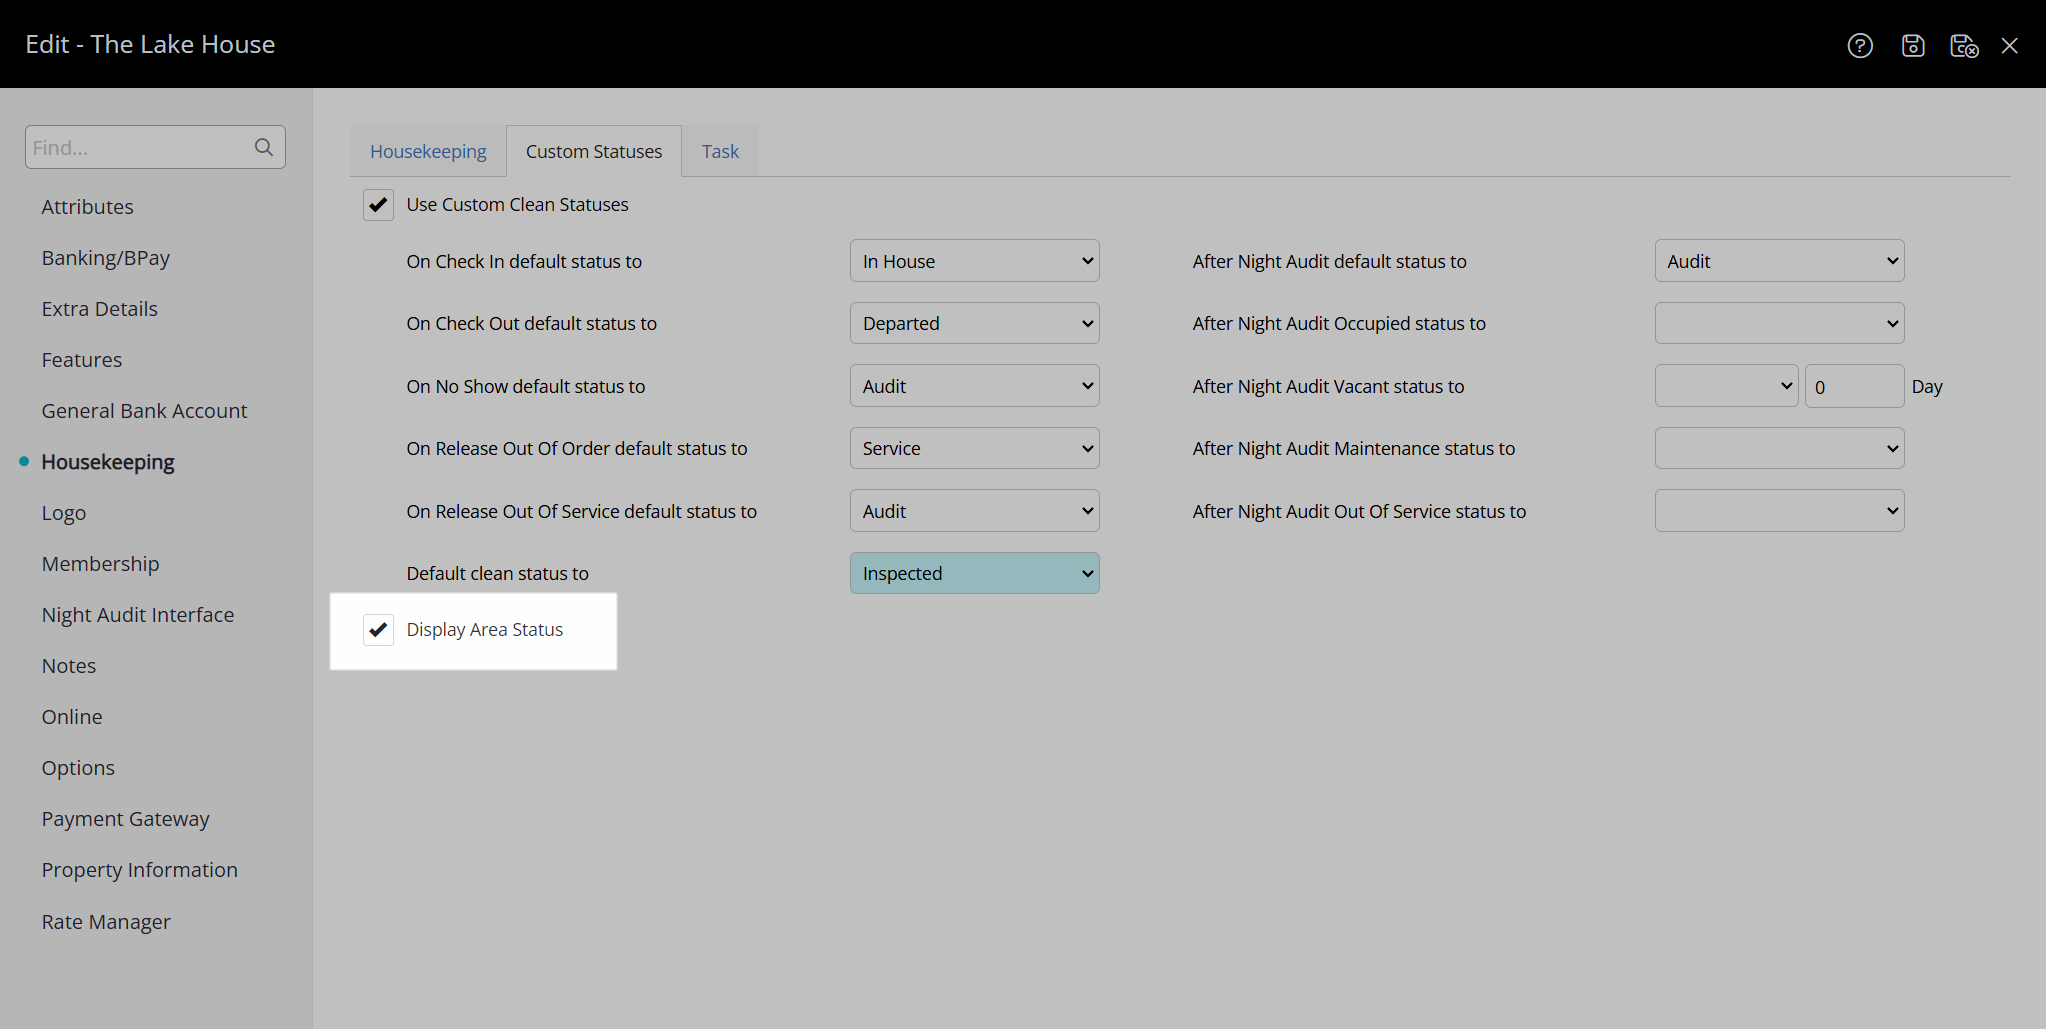
- Optional: Select the checkbox 'Display Area Status'.
- Select the Default Clean Status after Night Audit.
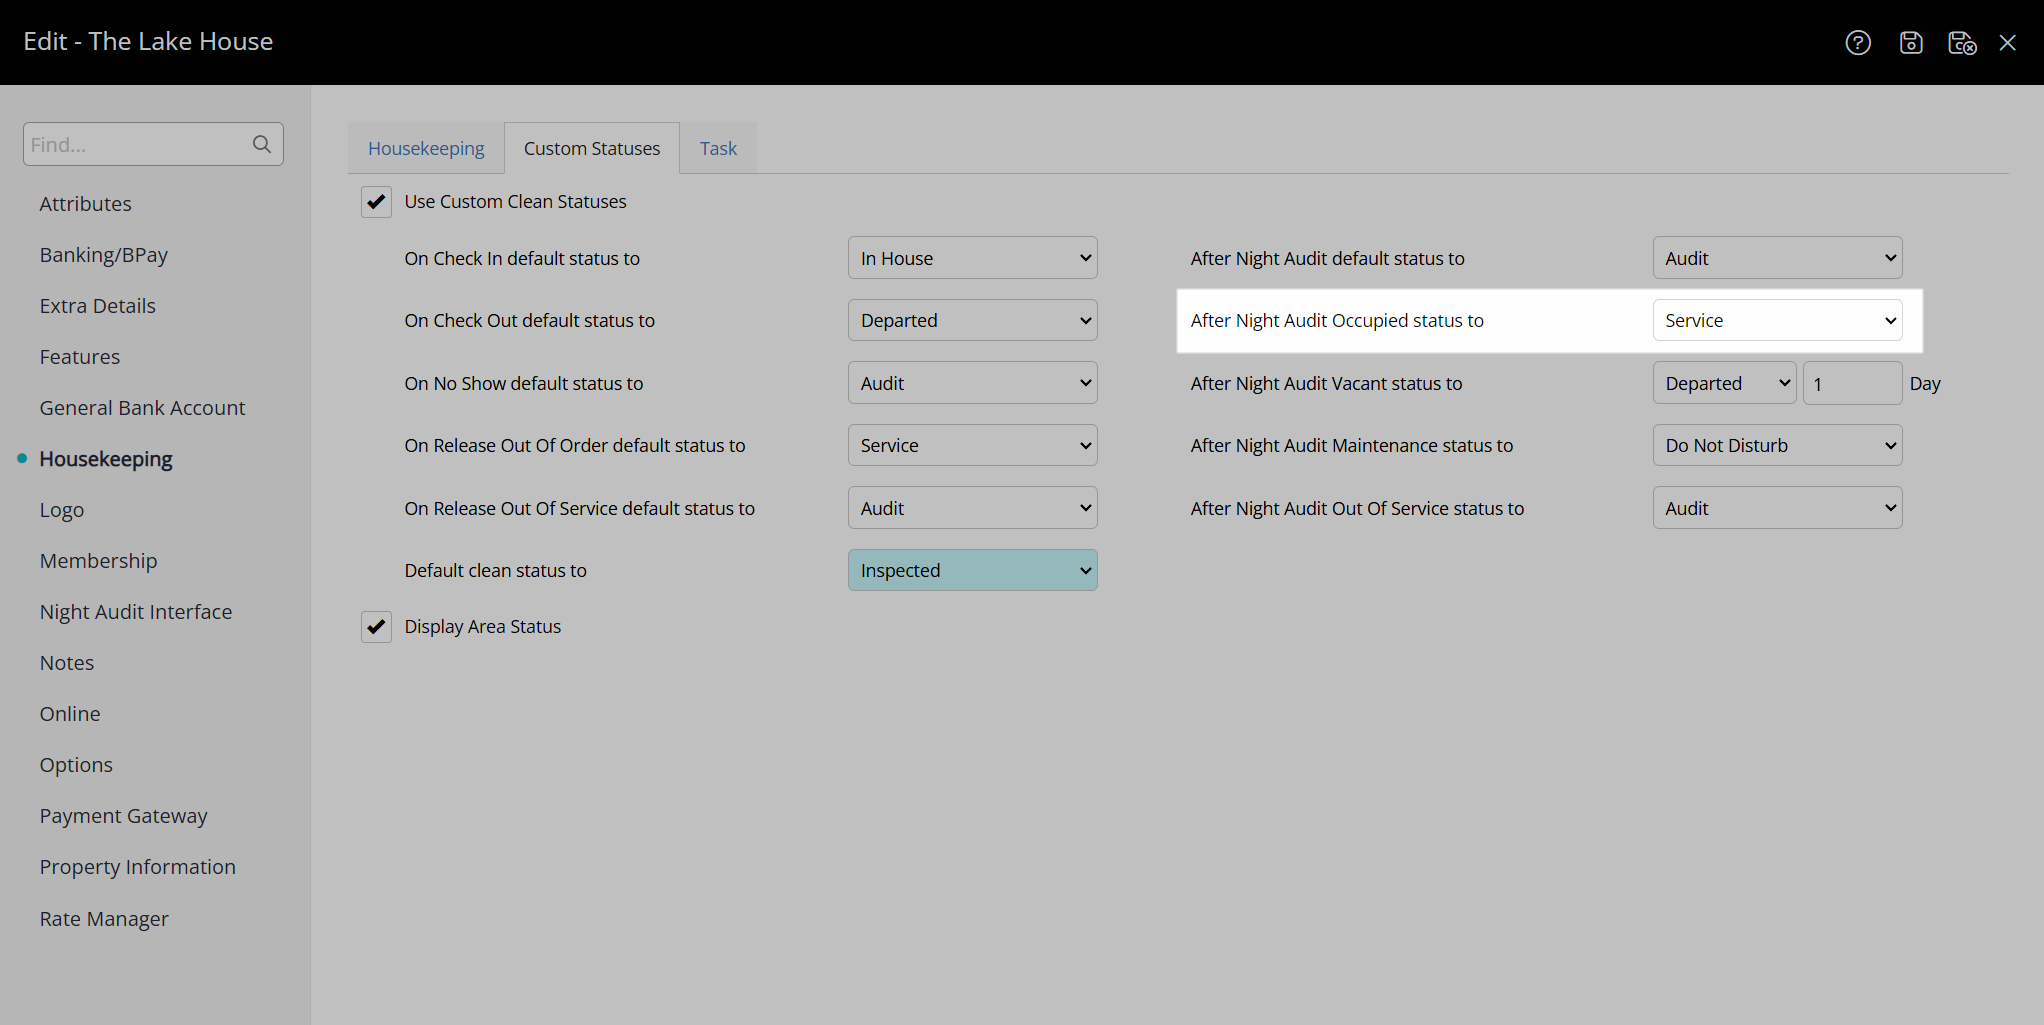
- Select the Clean Status for Occupied Areas after Night Audit.
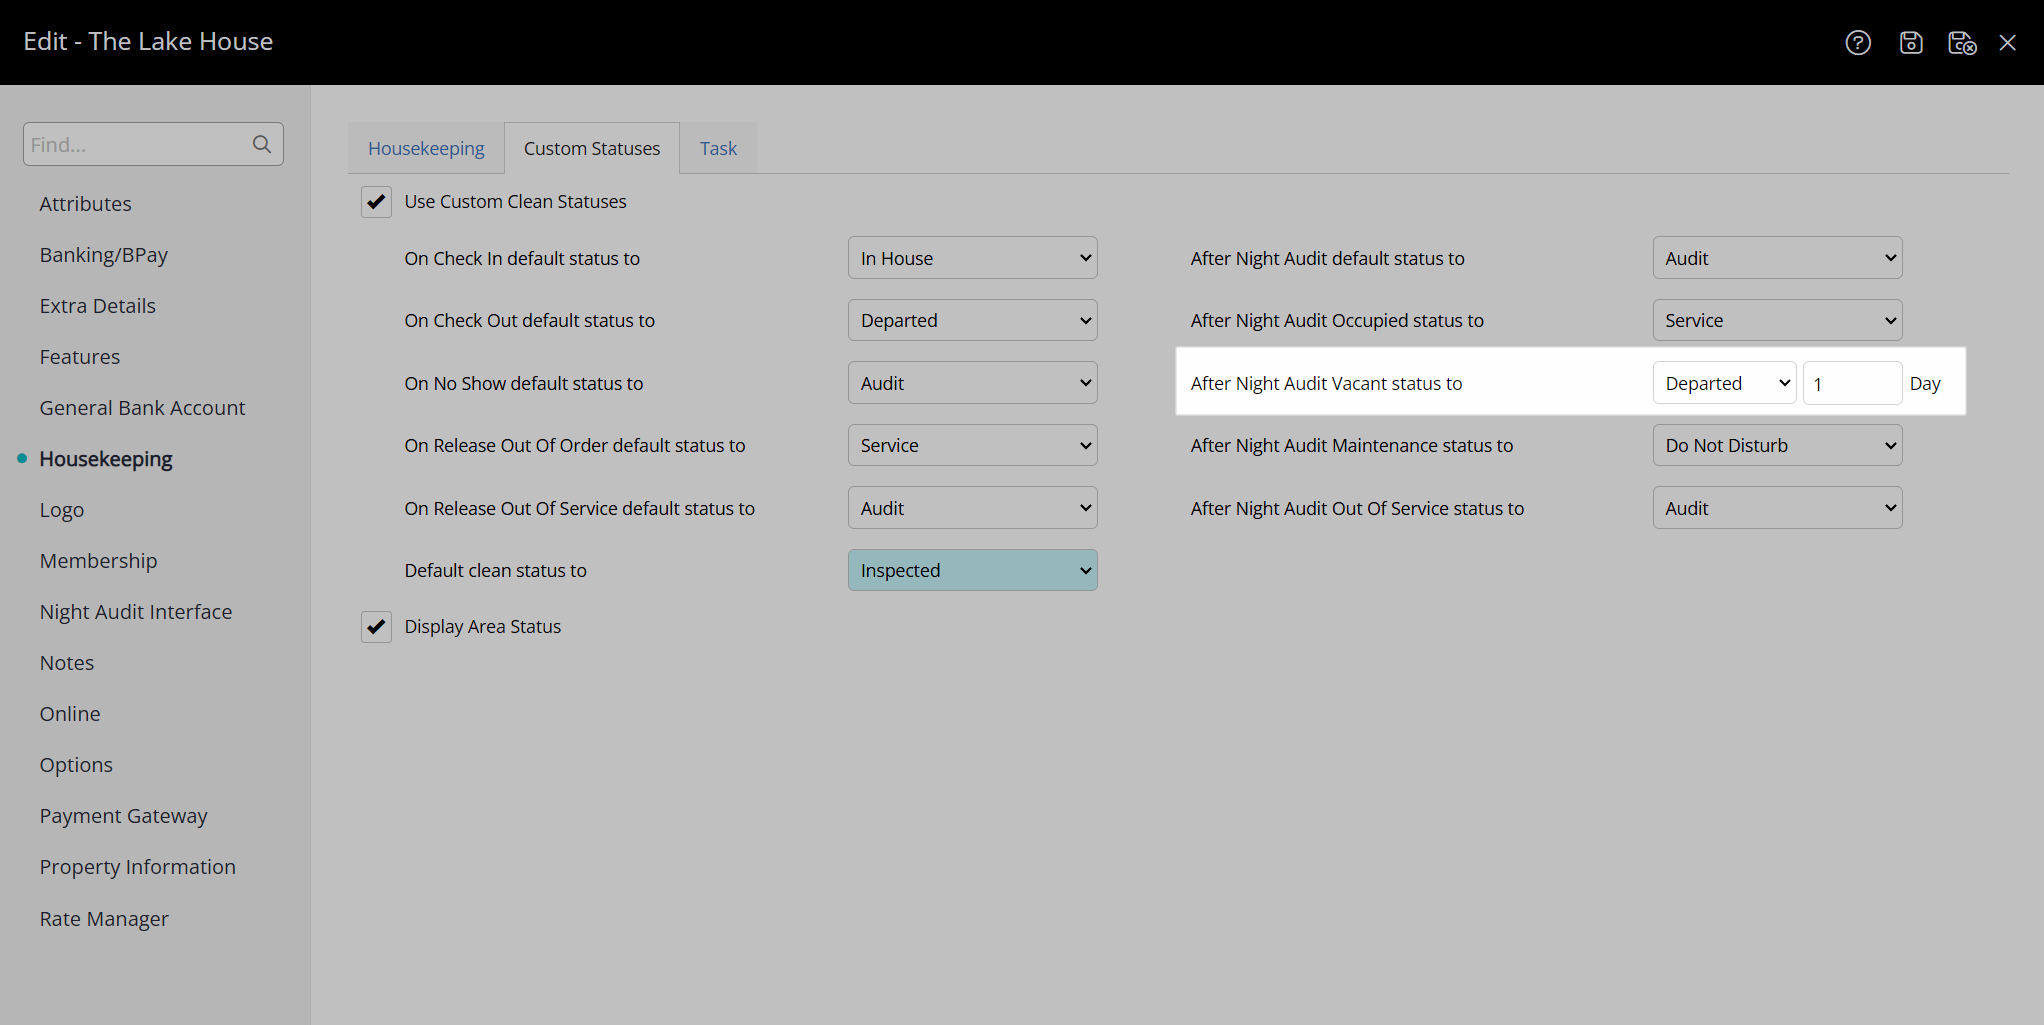
- Select the Clean Status for Vacant Areas after Night Audit and enter the number of days.
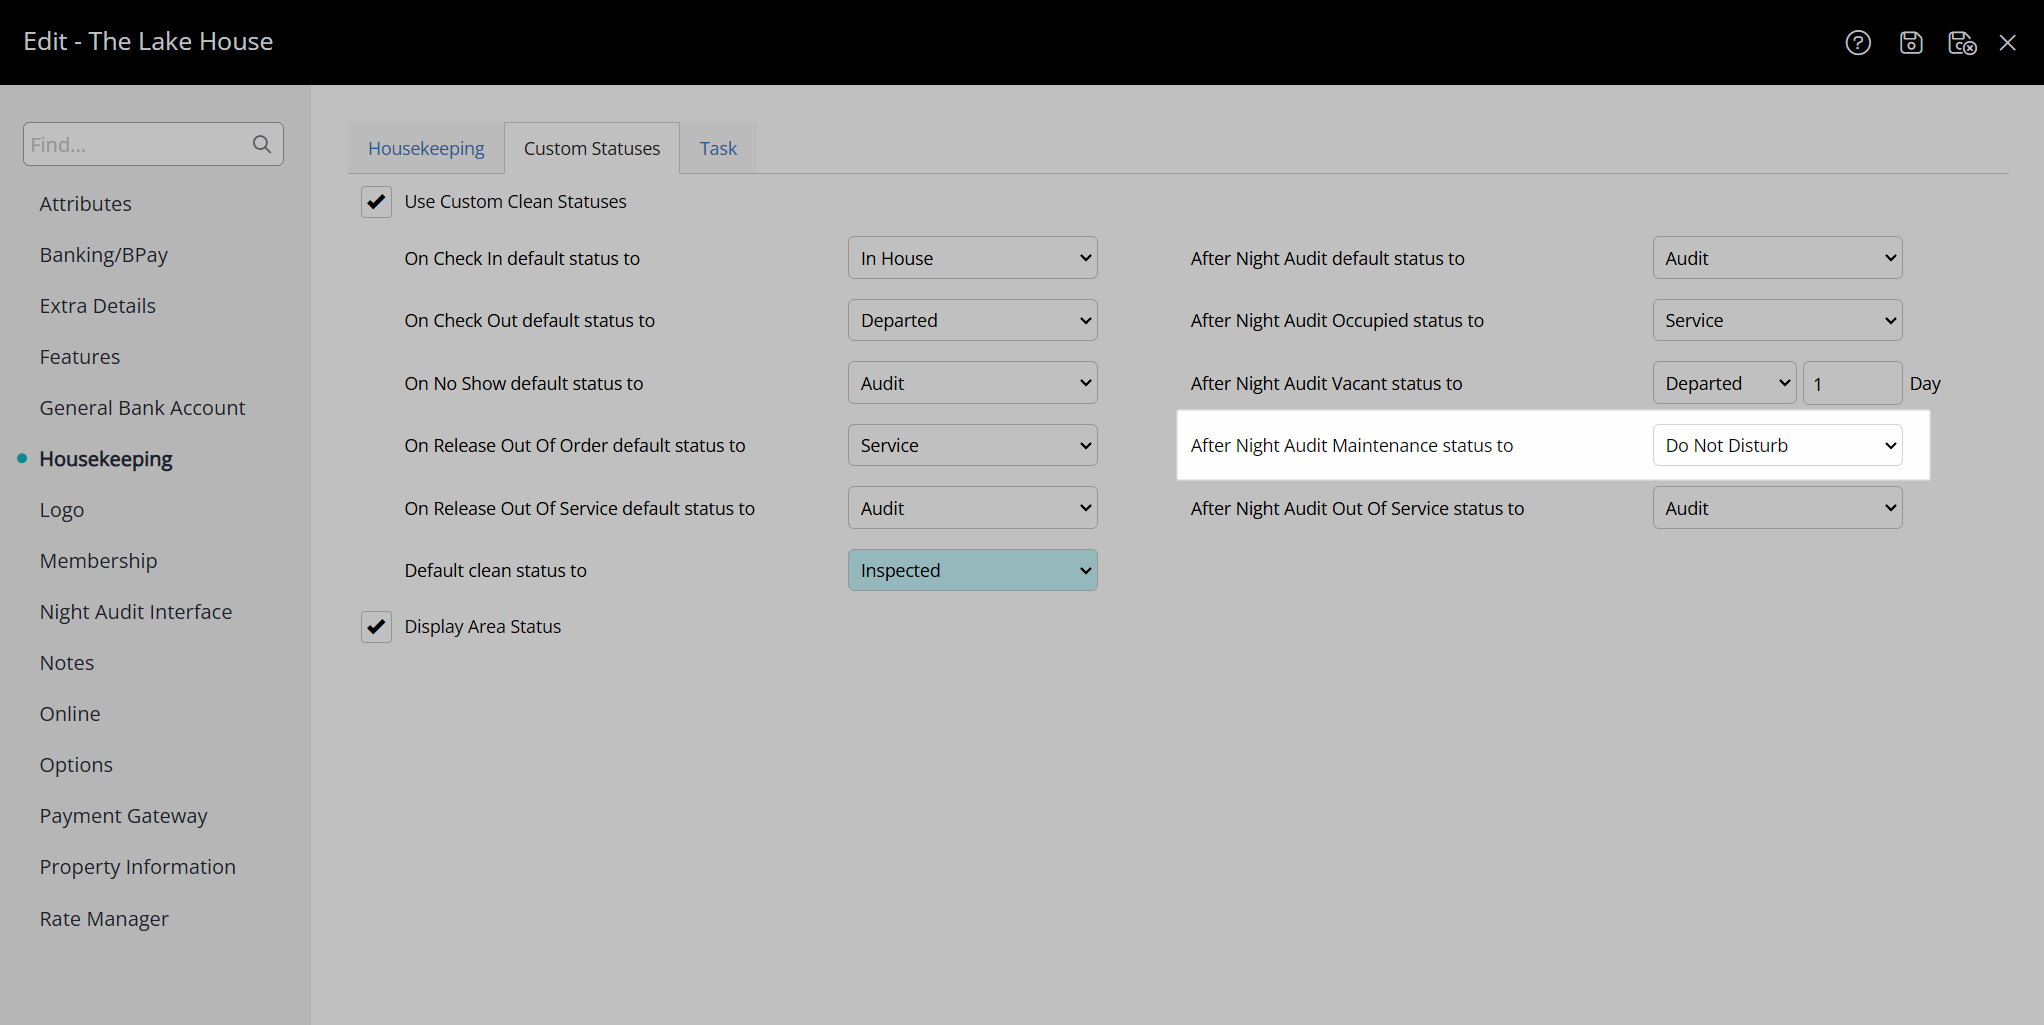
- Select the Clean Status for Maintenance Areas after Night Audit.
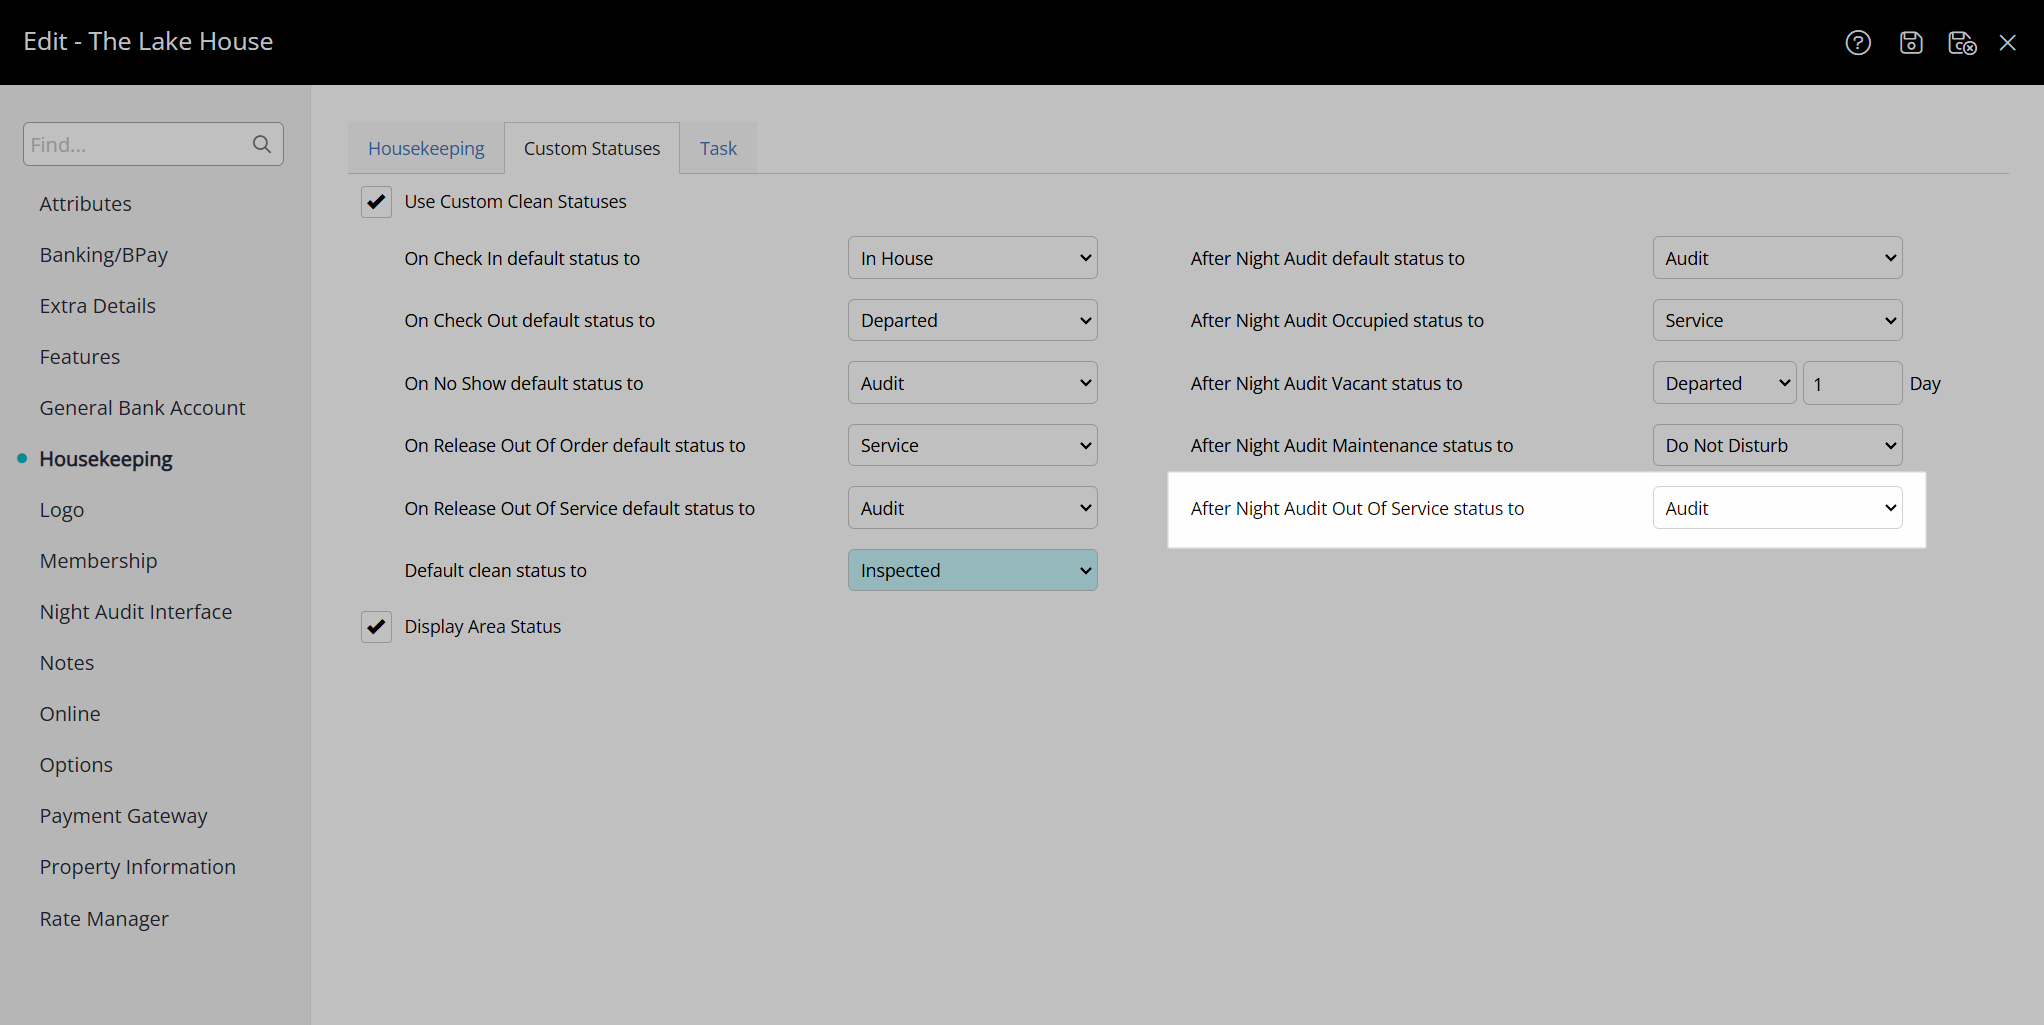
- Select the Clean Status for Out of Service Areas after Night Audit.
- Save/Exit.
Go to Setup > Property Options > Property Information in the side menu of RMS.
Select the  'Edit' icon on an existing Property.

Navigate to the 'Housekeeping' tab.
Navigate to the 'Custom Statuses' tab.
Select the checkbox 'Use Custom Clean Statuses'.
Optional: Select a Clean Status for Check-in.
Optional: Select a Clean Status for Check-out.
Optional: Select a Clean Status for No Show.
Optional: Select a Clean Status for Release Out of Order.
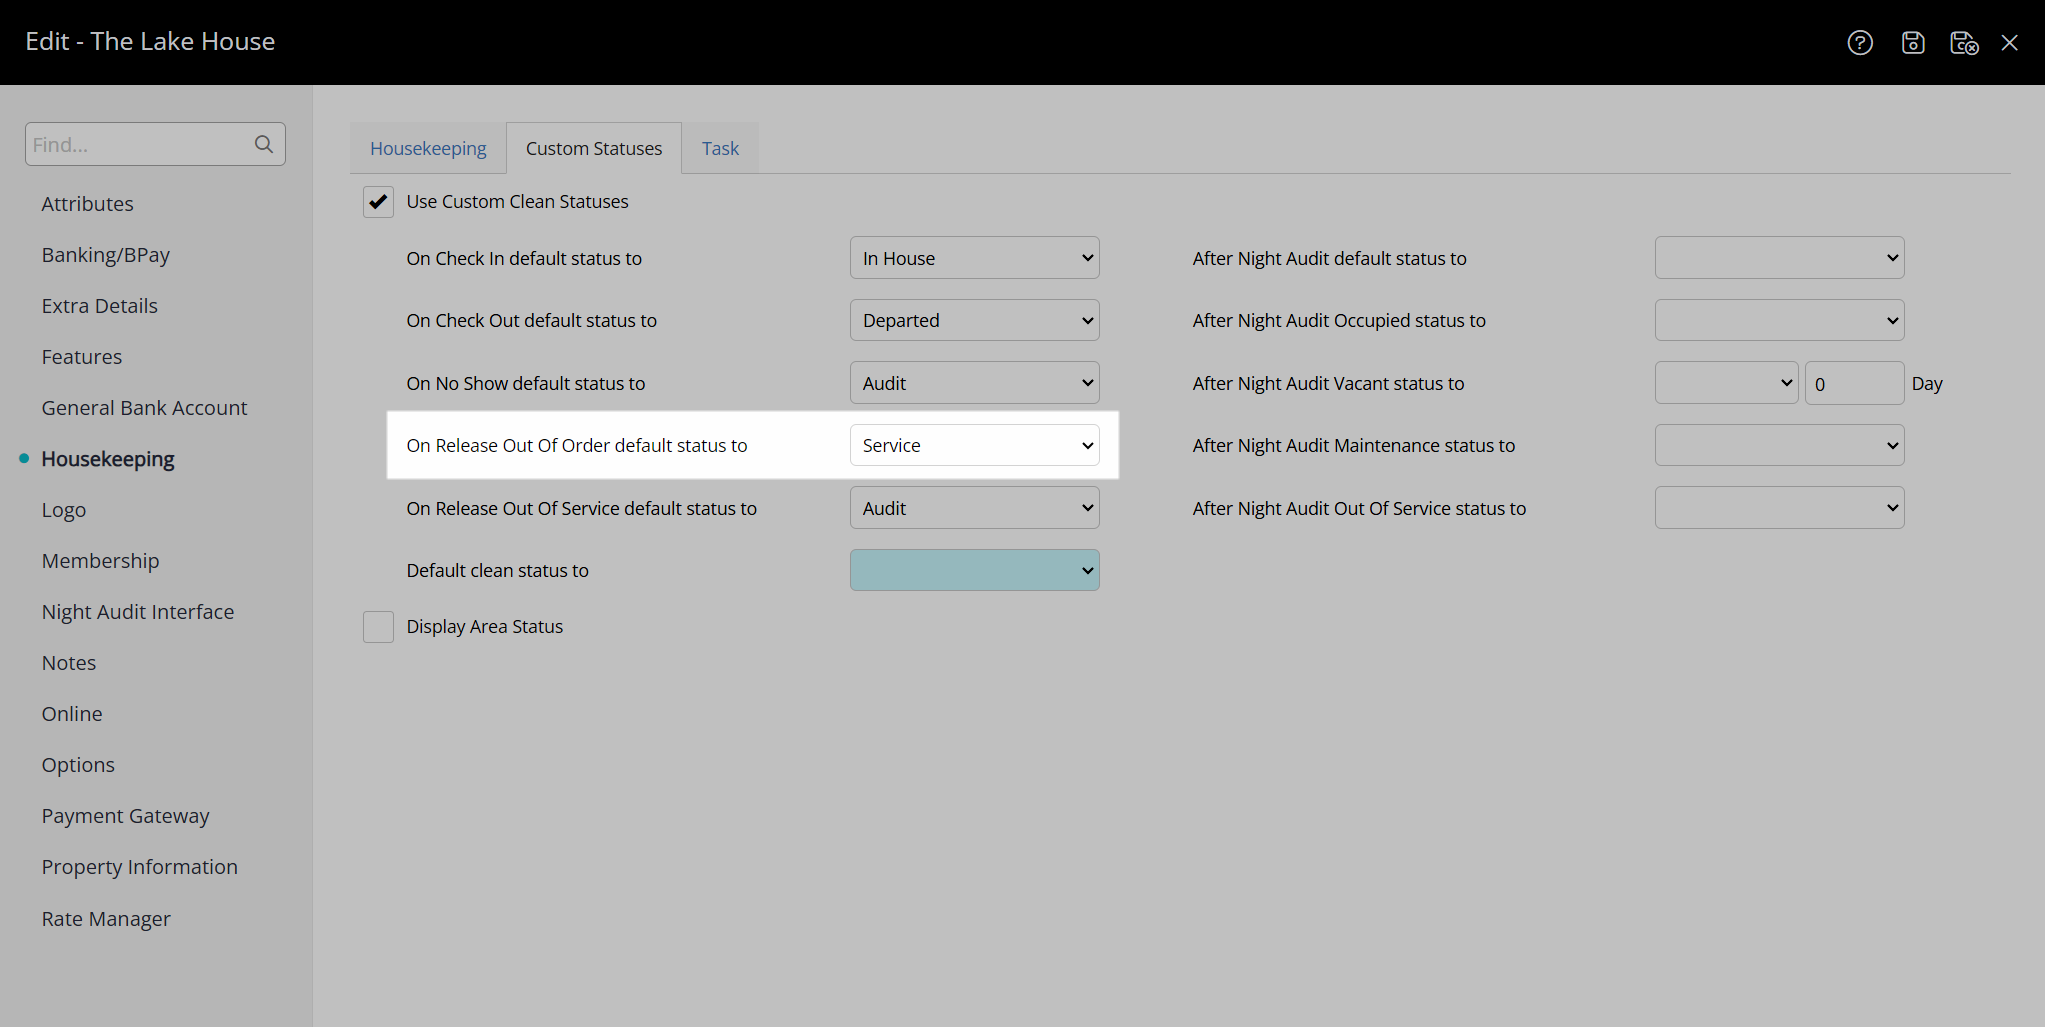
Optional: Select a Clean Status for Release Out of Service.
Select the Default Clean Status.
Optional: Select the checkbox 'Display Area Status'.
Select the Default Clean Status after Night Audit.
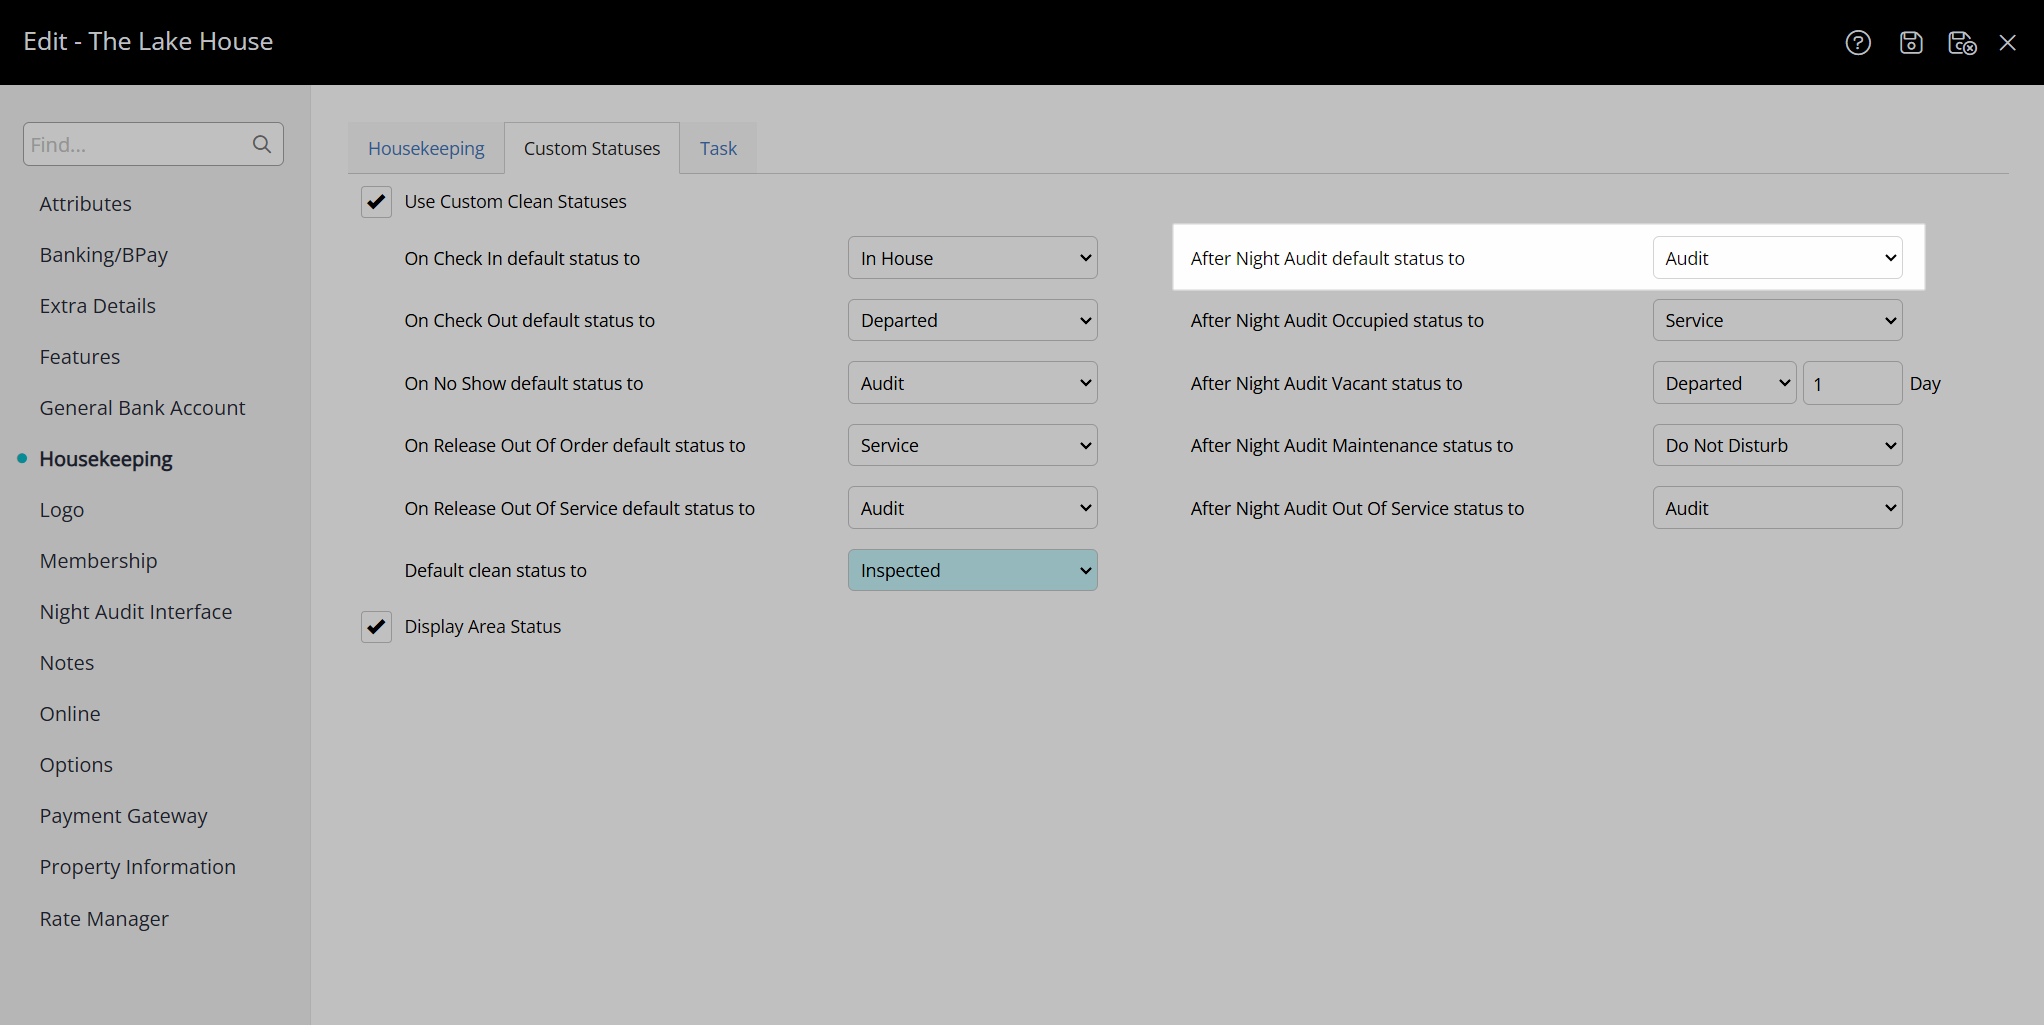
Select the Clean Status for Occupied Areas after Night Audit.
Select the Clean Status for Vacant Areas after Night Audit and enter the number of days.
Select the Clean Status for Areas on Maintenance after Night Audit.
Select the Clean Status for Areas Out of Service after Night Audit.
Select the  'Save/Exit' icon to store the changes made and leave the Property setup.
The Clean Statuses selected for 'After Night Audit' will automatically update the current Area Status for all areas after the accounting date is rolled forward.
|
Previous: Housekeeping Holiday Dates |
Next: Housekeepers |