Category
Setup a Category in RMS.
A Category is a type of Area that can be used for reservations.
-
Information
-
Setup
- Add Button
Information
A Category is a type of Area that can be used for reservations.
Areas are the spaces that can be booked by visitors and are grouped together within a Category.
Category Classifications determine the reservation type used for any Area within that Category and include the following options:
| Category Class | Description |
|---|---|
| Accommodation | Areas are used as a resting place or living space. |
| Add On | Areas are used for extra items that can only be booked in conjunction with an Area from another Category Class including Car Parks, Roll Away Beds and Cots. |
| Dock | Areas are used to berth water vessels. |
| Facility | Areas are used as event spaces that can be booked hourly or daily including community halls, conference rooms, wedding venues and function rooms. or Areas are used for adventure, hobby or sporting including tennis courts, quad bikes, jet skis or paddle boats. |
| Site | Areas are land allocations used for portable habitats including powered and unpowered campsites. |
| Ticketing | Areas are seats at a venue for an event including concerts, operas and plays. |
The Category 'Booked by' will determine the rollover of reservations across reservation dates and the calculation of rates.
An Interconnecting Category indicates Areas that can be booked individually or joined as a larger Area with different pricing structures. Interconnecting Categories cannot be setup as 'Book by Category' because each Interconnecting Area is dependent on the availability of a specific configuration of individual Areas.
Dorm style accommodation where multiple beds can be booked by separate parties can use the 'Allow multiple reservations over the same time' to manage reservations for each bed individually within an Area. This option works in conjunction with the setup option 'Use Beds'.
Available to Kiosk enables reservations for the Category to be checked-in or out when connected with a Kiosk provider.
A Category will not be allocated Housekeeping Tasks, appear on the Housekeepers Report or in the Staff Portal 'Housekeeping' section if not set to 'Include on Housekeepers Report'. This option works in conjunction with the setup option 'Use Housekeeping' and Housekeeping Tasks.
Book by Category enables creating a reservation without assigning an Area.
Properties who wish to take advantage of the business intelligence tools provided by STR Global at no additional cost to RMS customers can determine which Categories are included in the export.
Enterprise customers can use the Property Code as a prefix on the Category Description and use the Guest Description to determine how the Category Description will be displayed on Guest views as all Category Descriptions in an RMS database must be unique.

Category, Area, Reservation, Guest, Account Types, Sundry, Rate & Tax are default System Labels that can be customised.

System Administrators will require Security Profile access to use this feature.
-
Setup
- Add Button
Setup
Have your System Administrator complete the following.
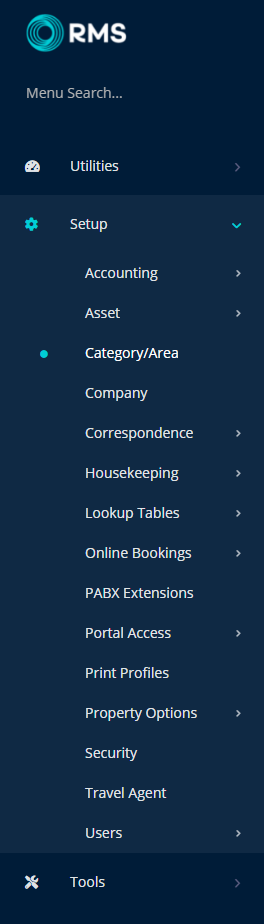
- Go to Setup > Category/Area in RMS.
- Select a Property.
- Select the
 'Add' icon.
 - Enter a Category Description.
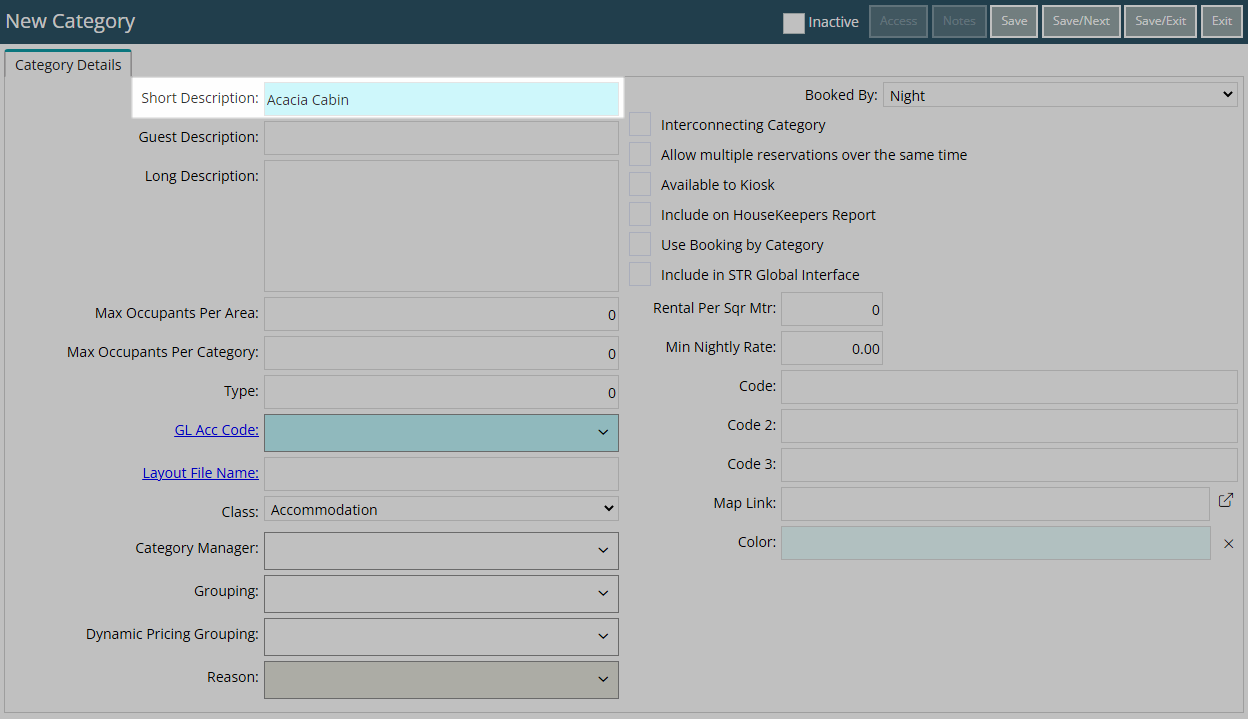
- Optional: Enter a Guest Description.
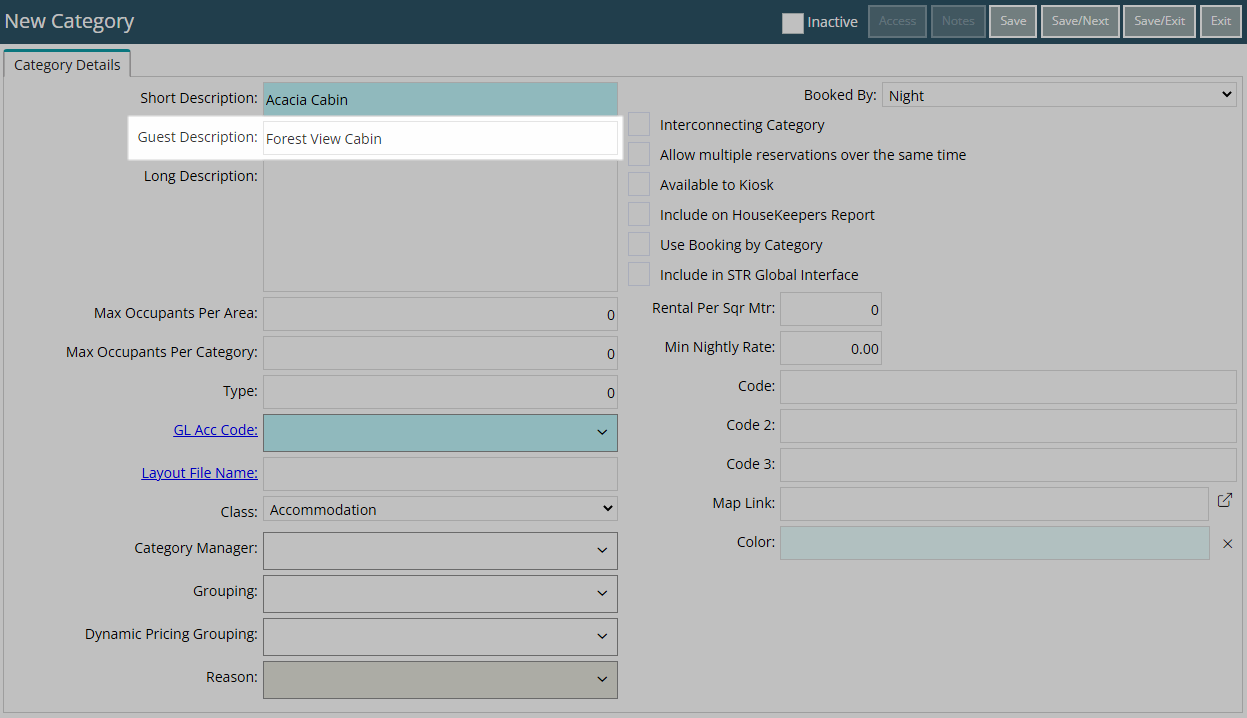
- Optional: Enter a Long Description.
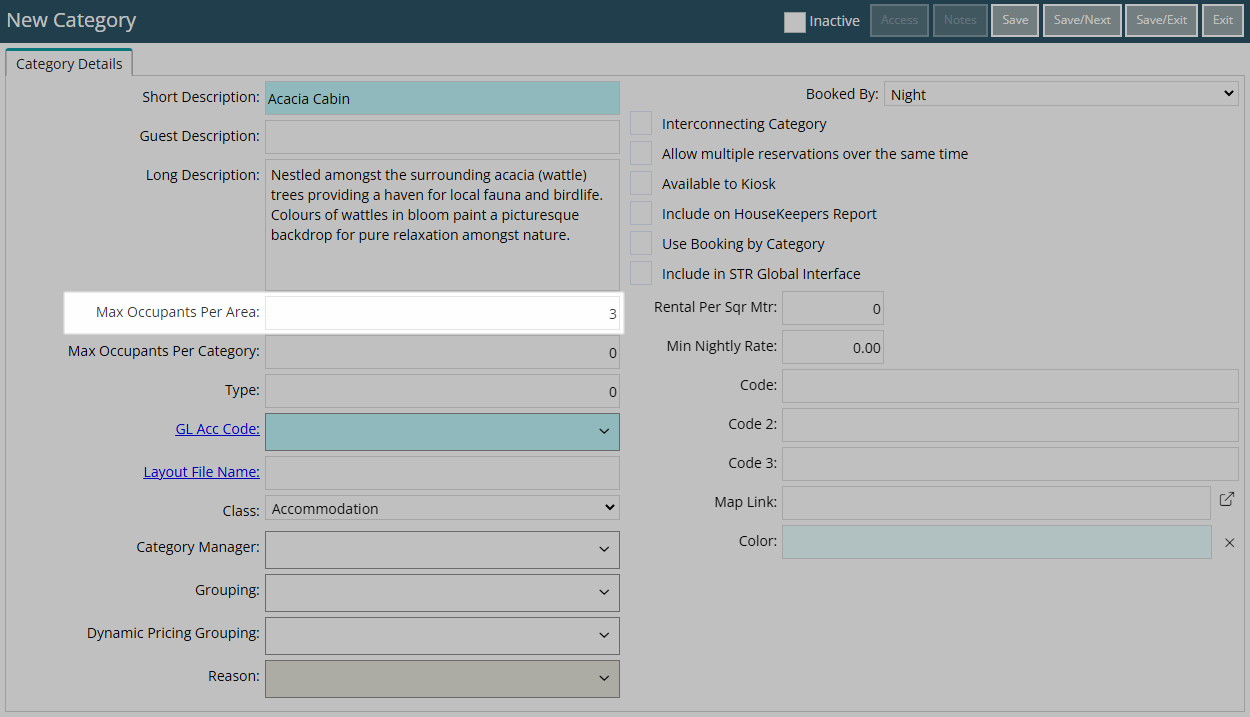
- Enter the Maximum Occupants Per Area.
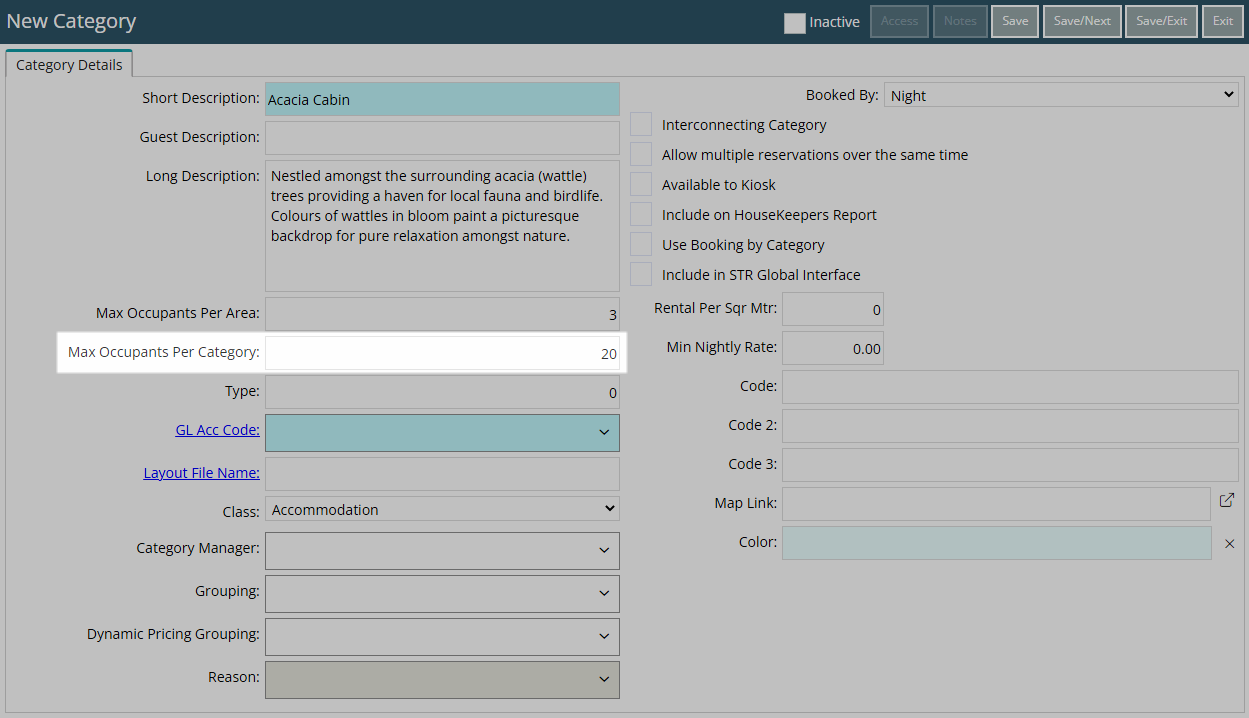
- Optional: Enter the Maximum Occupants Per Category.
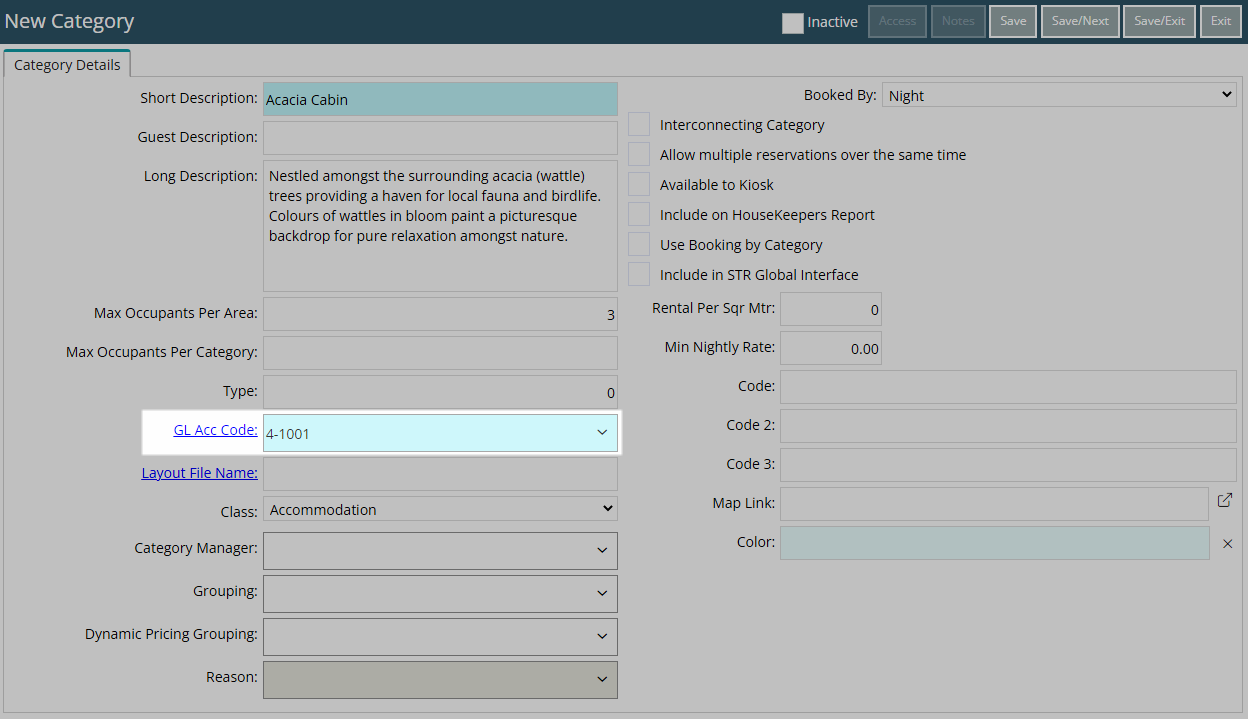
- Select a General Ledger Account Code.
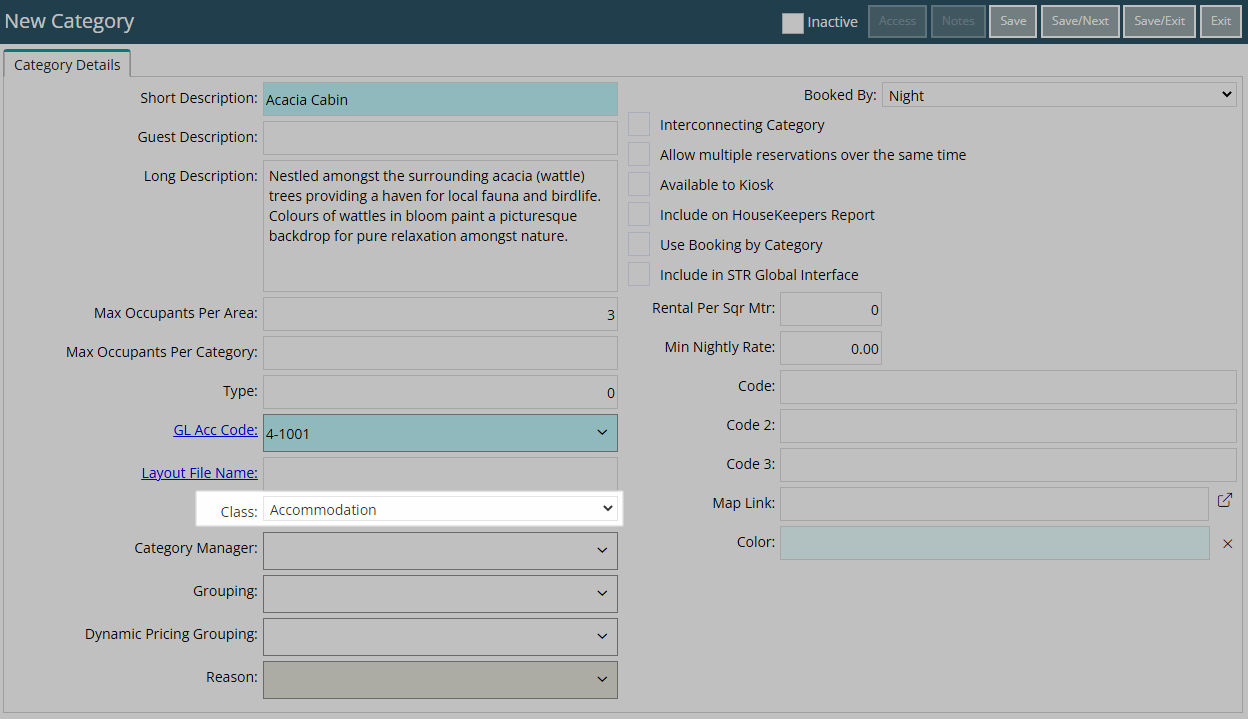
- Select a Class.
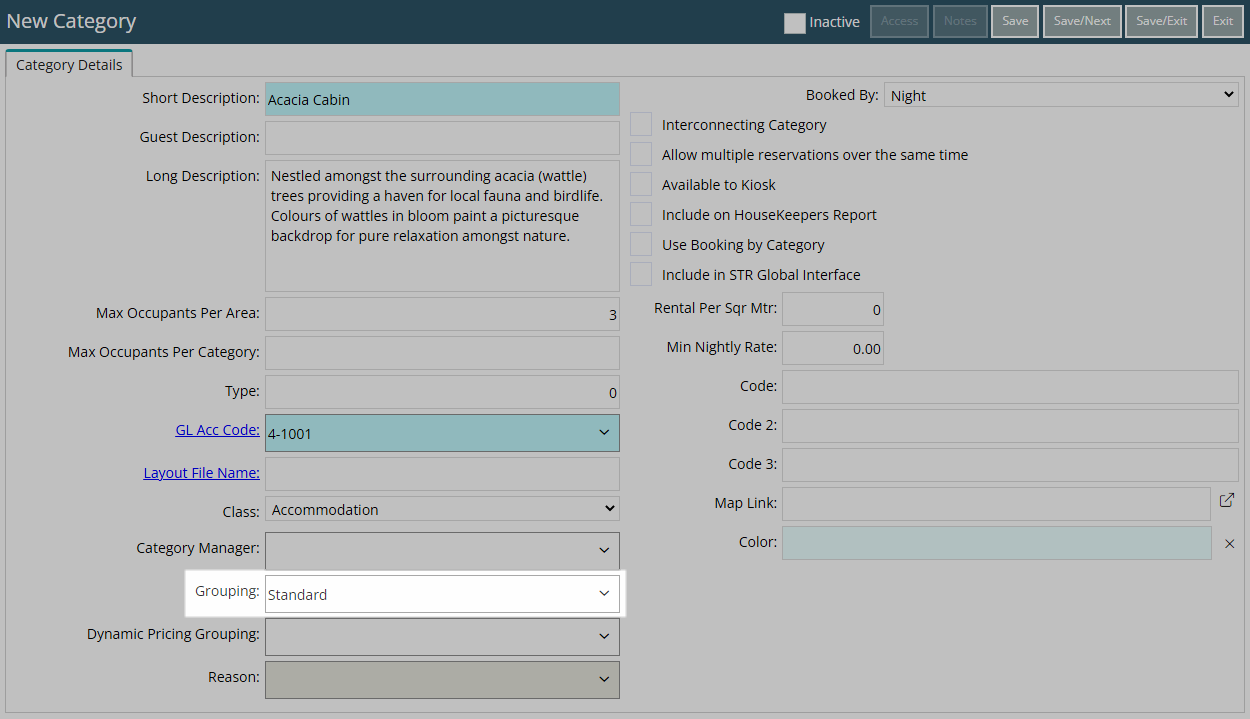
- Optional: Select a Grouping.
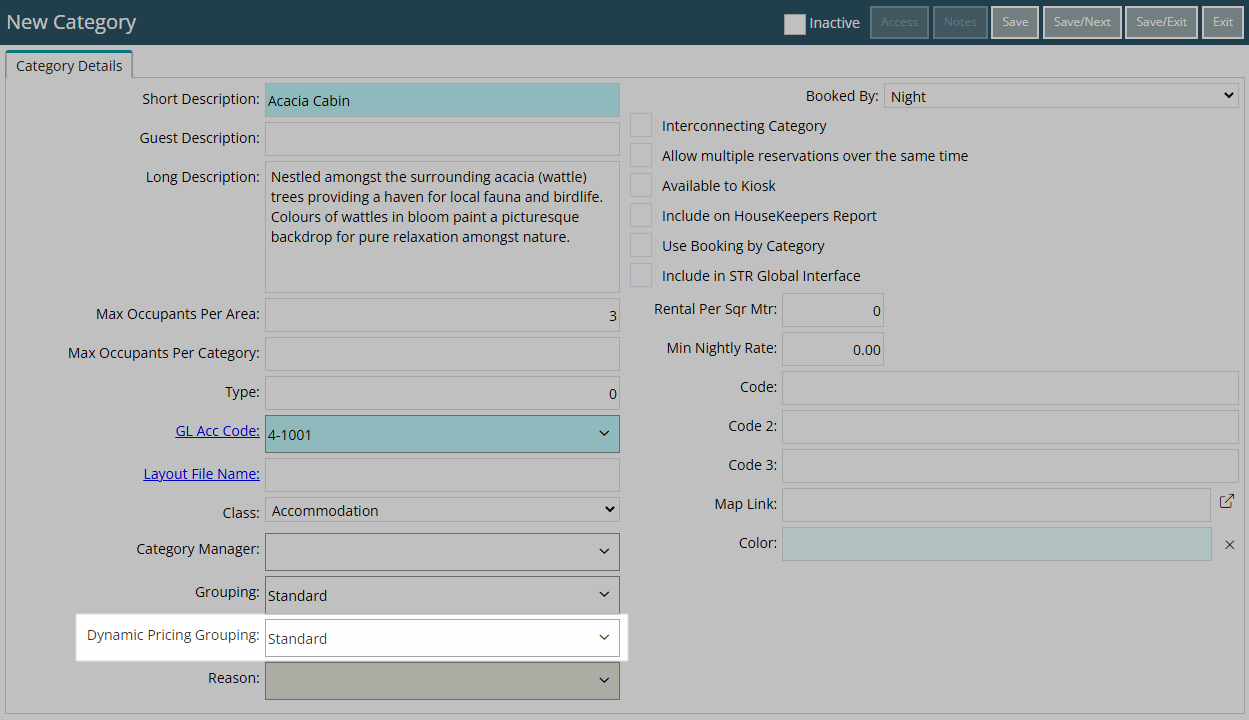
- Optional: Select a Dynamic Pricing Grouping.
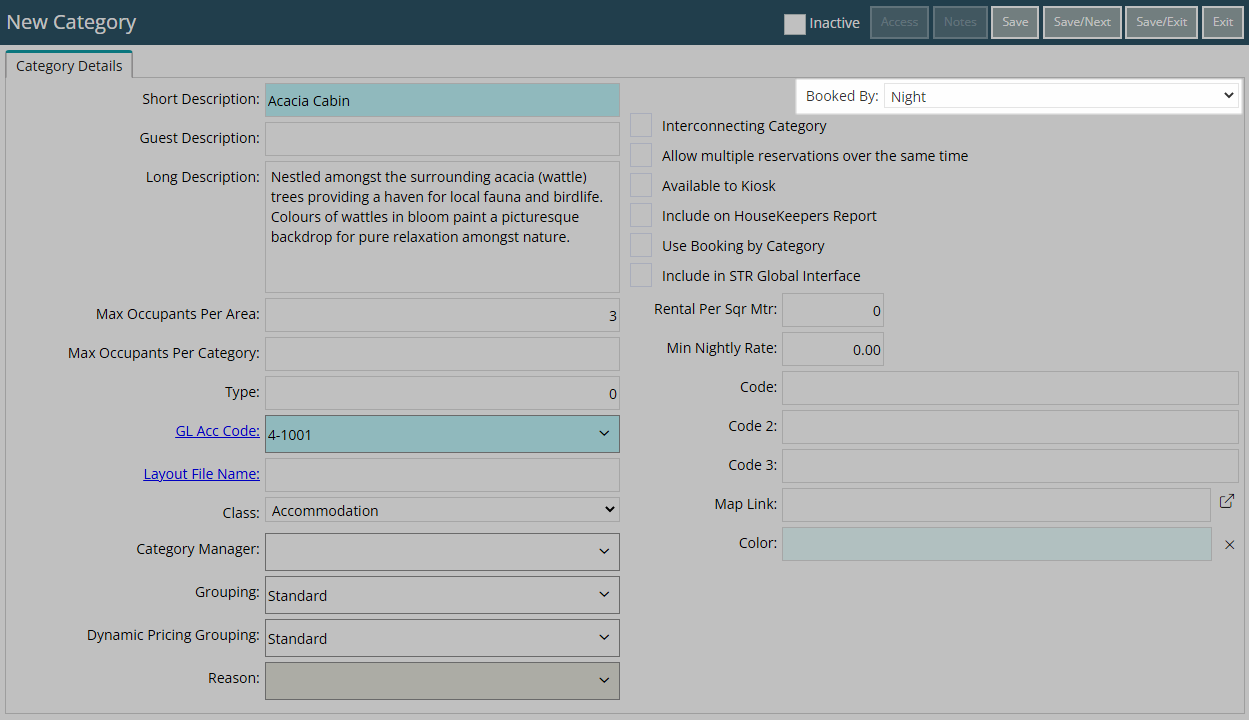
- Select the Booked By option.
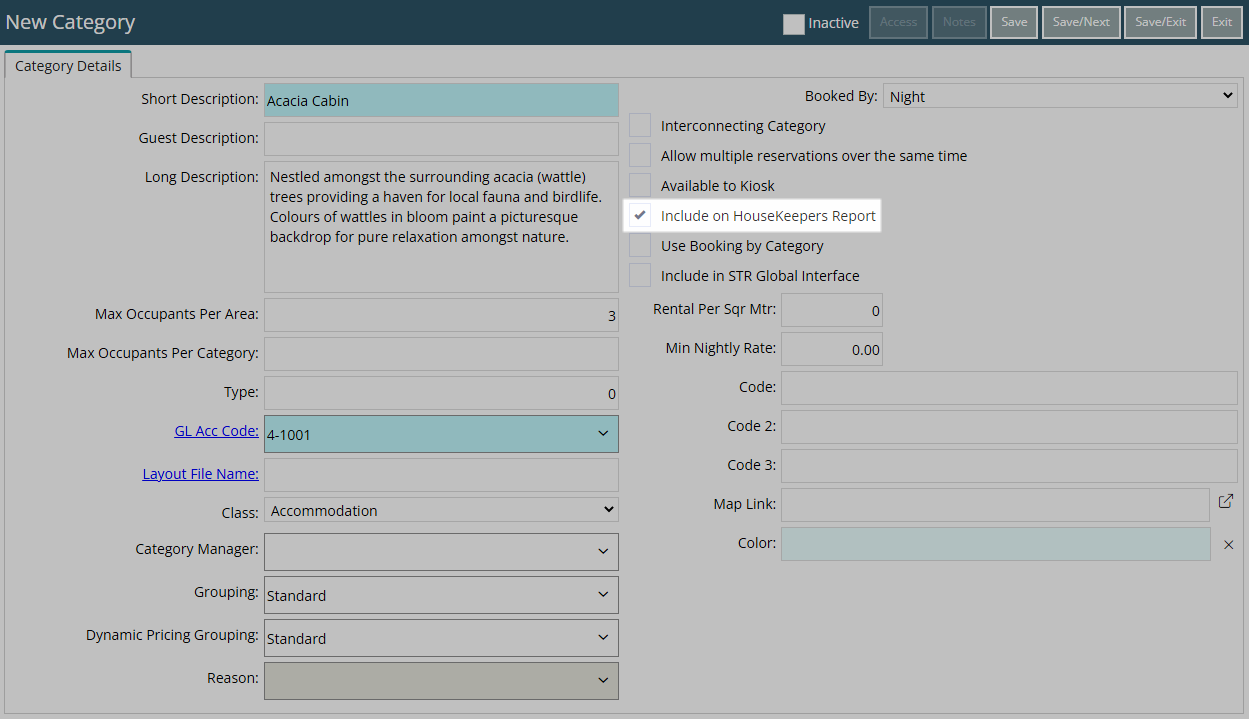
- Optional: Select the checkbox 'Include on the Housekeepers Report'.
- Optional: Select the checkbox 'Use Booking by Category'.
- Optional: Enter the Map Link.
- Optional: Select a Colour.
- Save/Exit.
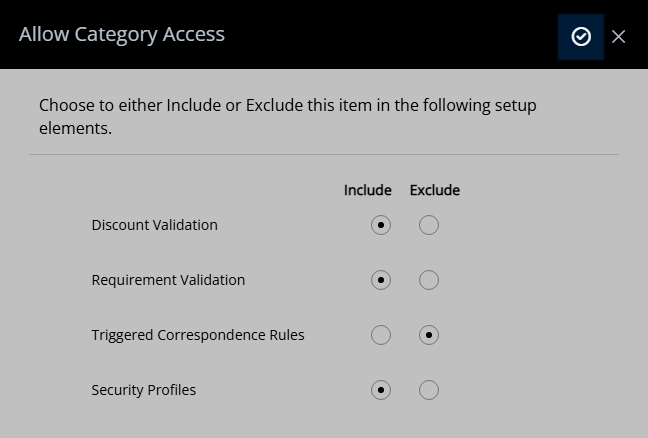
- Select the Category Access and choose 'Apply/Exit'.
- Log out of RMS.
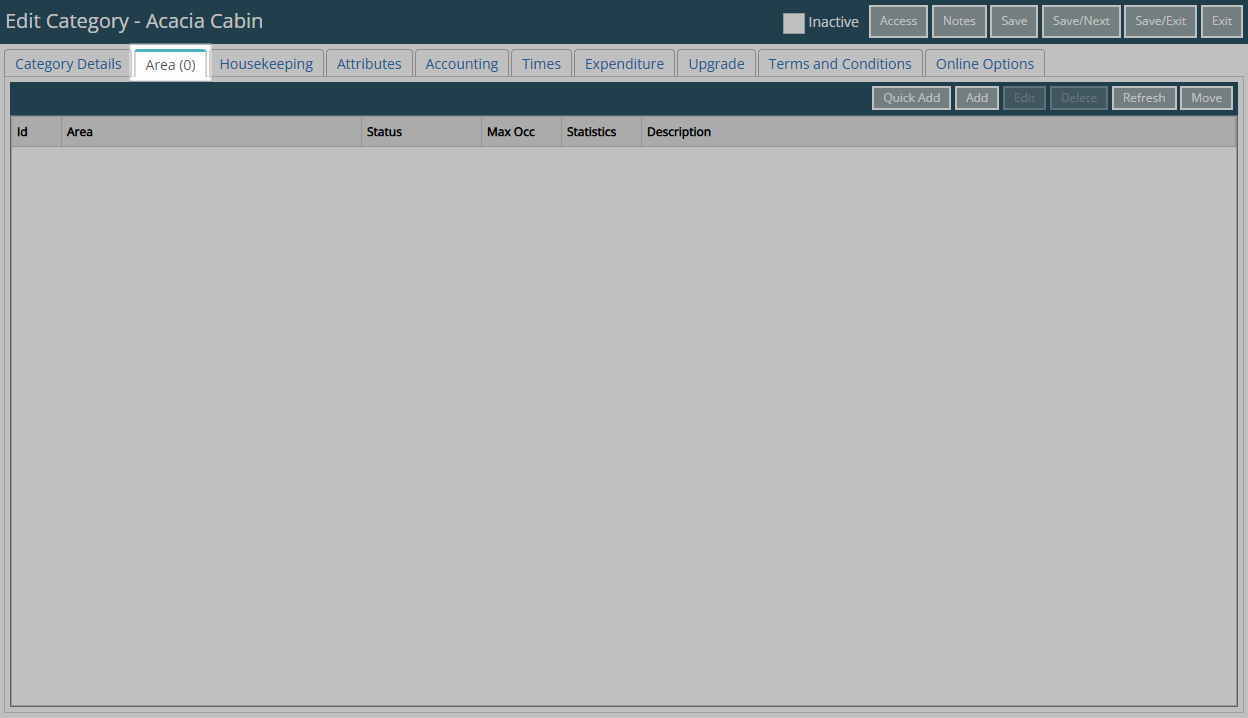
- Setup Areas.

The Guest Description will be used in place of the Category Short Description on the RMS Internet Booking Engine and Portals.
Maximum Occupants Per Category will override the Maximum Occupants Per Area and prevent reservations being created in available Areas if the maximum Category Occupancy has been reached on the existing reservations for that date.
Refer to the 'Information' section of this article for more details on available Category Classes and additional options for alternate Category Types.
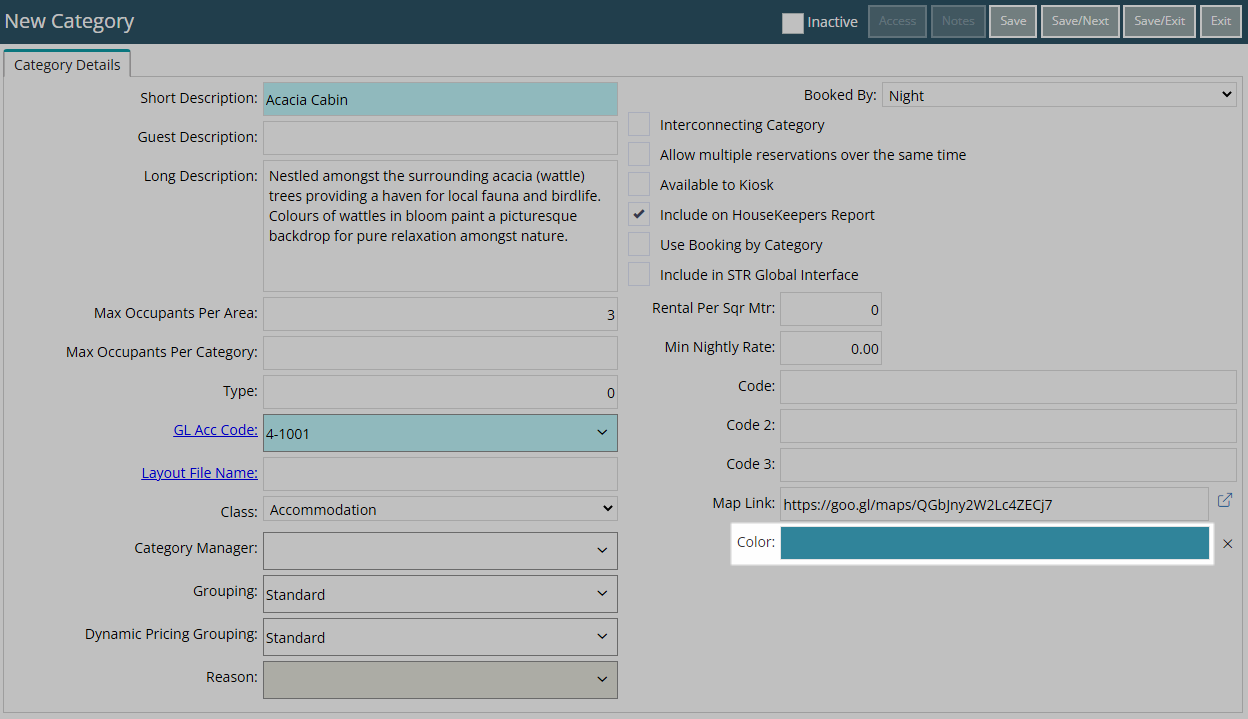
The Category Colour will be used on the Booking Chart 'Collapsible Category' View By option.
-
Guide
- Add Button
Guide
Go to Setup > Category/Area in RMS.
Select a Property.

Select the ![]() 'Add' icon.
'Add' icon.

Enter a Category Description.
Optional: Enter a Guest Description.
Optional: Enter a Long Description.
Enter the Maximum Occupants Per Area.
Optional: Enter the Maximum Occupants Per Category.
Select a General Ledger Account Code.
Select a Class.
Optional: Select a Grouping.
Optional: Select a Dynamic Pricing Grouping.
Select the Booked By option.
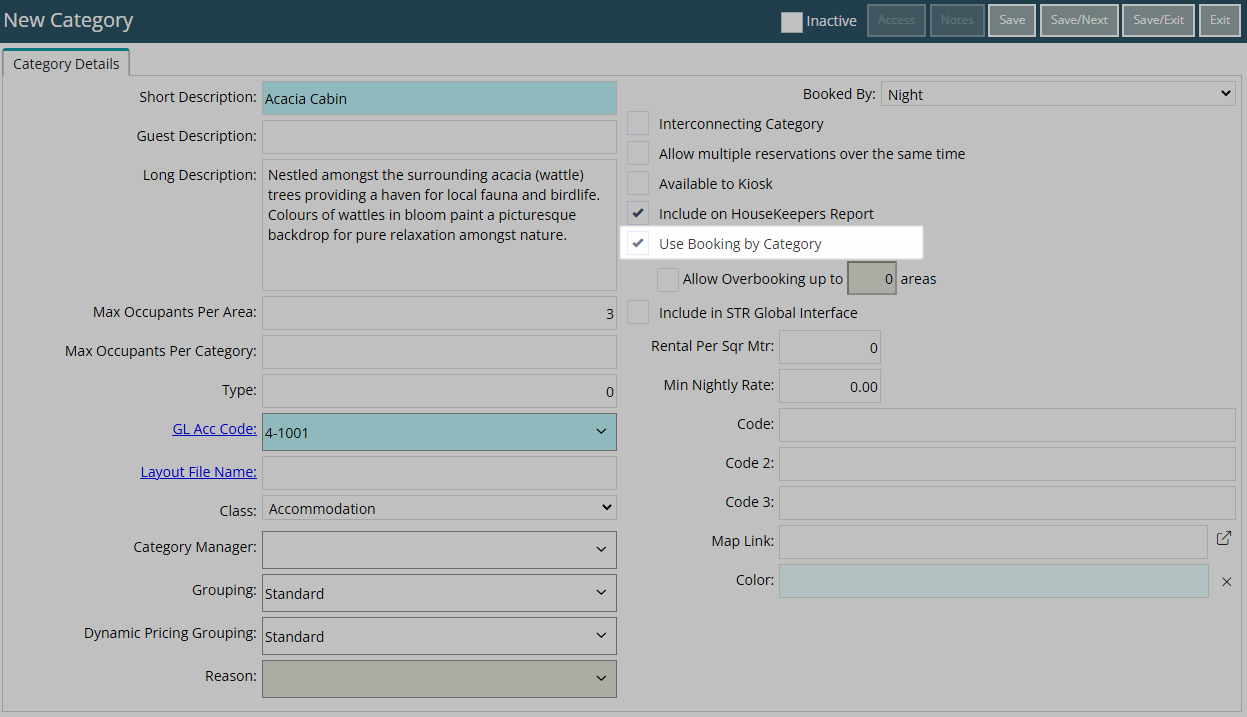
Optional: Select the checkbox 'Include on the Housekeepers Report'.
Optional: Select the checkbox 'Use Booking by Category'.
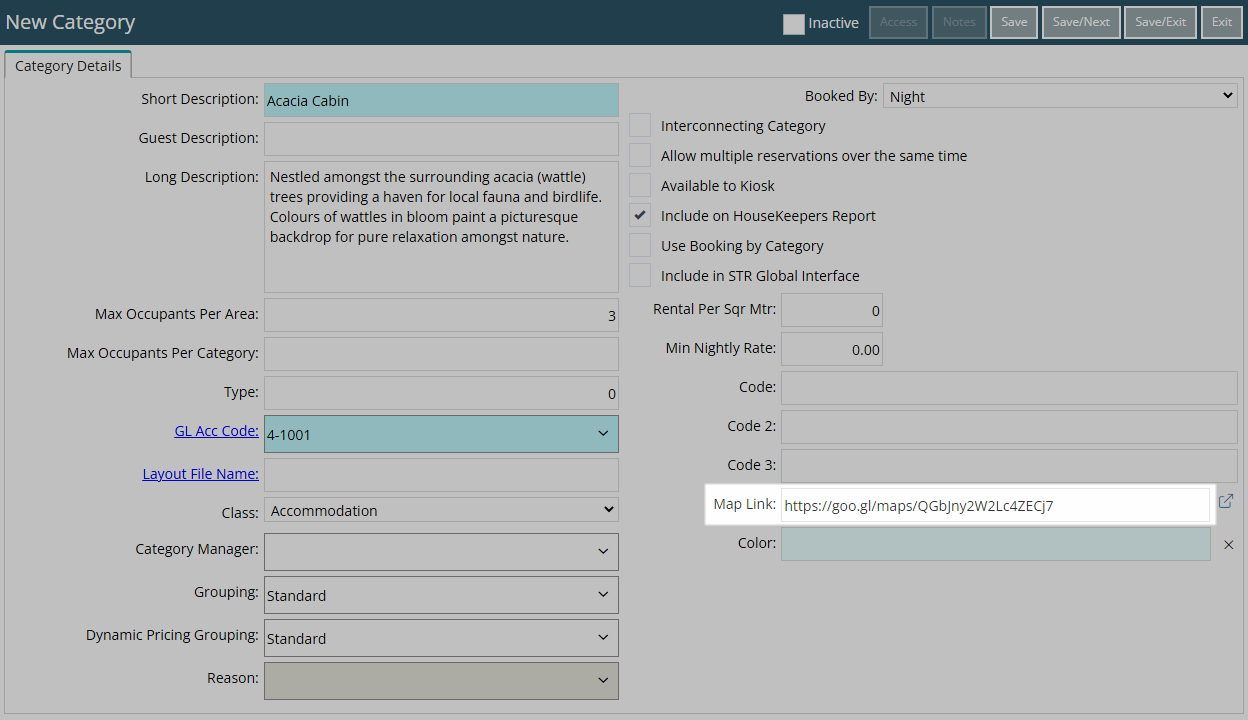
Optional: Enter the Map Link for directions to this Category.
Optional: Select a Colour.
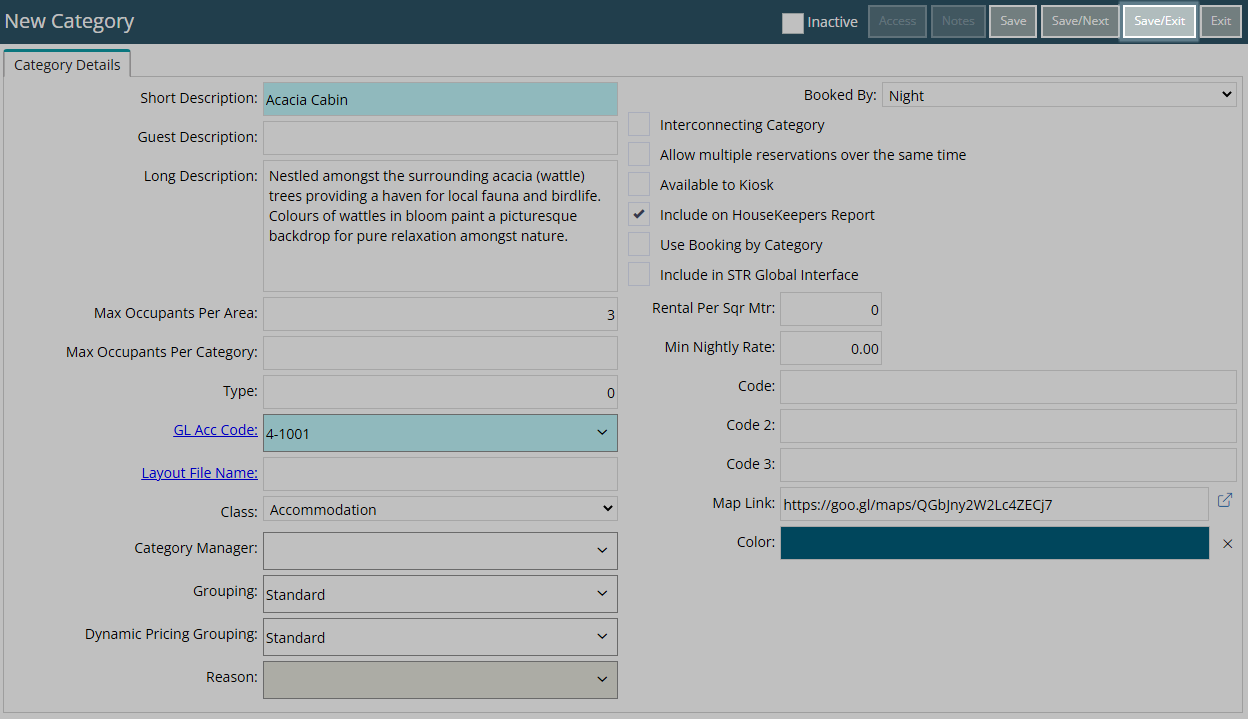
Select 'Save/Exit' to store the changes made and leave the setup.
Select the Category Access and choose 'Apply/Exit'.
Log out of RMS to allow the database to update with the changes made.

Continue to setup Areas to make spaces available for reservations.
Setup
Have your System Administrator complete the following.
- Go to Setup > Category/Area in RMS.
- Select a Property.
- Select the 'Add' icon.
- Enter a Category Description.
- Optional: Enter a Guest Description.
- Optional: Enter a Long Description.
- Enter the Maximum Occupants Per Area.
- Optional: Enter the Maximum Occupants Per Category.
- Select a General Ledger Account Code.
- Select a Class.
- Optional: Select a Grouping.
- Optional: Select a Dynamic Pricing Grouping.
- Select the Booked By option.
- Optional: Select the checkbox 'Include on the Housekeepers Report'.
- Optional: Select the checkbox 'Use Booking by Category'.
- Optional: Enter the Map Link.
- Optional: Select a Colour.
- Save/Exit.
- Select the Category Access and choose 'Apply/Exit'.
- Log out of RMS.
- Setup Areas.
The Guest Description will be used in place of the Category Short Description on the RMS Internet Booking Engine and Portals.
Maximum Occupants Per Category will override the Maximum Occupants Per Area and prevent reservations being created in available Areas if the maximum Category Occupancy has been reached on the existing reservations for that date.
Refer to the 'Information' section of this article for more details on available Category Classes and additional options for alternate Category Types.
The Category Colour will be used on the Booking Chart 'Collapsible Category' View By option.
-
Guide
- Add Button
Guide
Go to Setup > Category/Area in RMS.
Select a Property.
Select the ![]() 'Add' icon.
'Add' icon.
Enter a Category Description.
Optional: Enter a Guest Description.
Optional: Enter a Long Description.
Enter the Maximum Occupants Per Area.
Optional: Enter the Maximum Occupants Per Category.
Select a General Ledger Account Code.
Select a Class.
Optional: Select a Grouping.
Optional: Select a Dynamic Pricing Grouping.
Select the Booked By option.
Optional: Select the checkbox 'Include on the Housekeepers Report'.
Optional: Select the checkbox 'Use Booking by Category'.
Optional: Enter the Map Link for directions to this Category.
Optional: Select a Colour.
Select 'Save/Exit' to store the changes made and leave the setup.
Select the Category Access and choose 'Apply/Exit'.
Log out of RMS to allow the database to update with the changes made.
Continue to setup Areas to make spaces available for reservations.