Interconnecting Area
Setup an Interconnecting Area in RMS.
Steps Required
Have your System Administrator complete the following.
- Go to Setup > Category/Area in RMS.
- Select an Interconnecting Category and choose 'Edit'.
- Navigate to the 'Area' tab.
- Select 'Add'.
- Enter the Area Name.
- Navigate to the 'Interconnecting' tab.
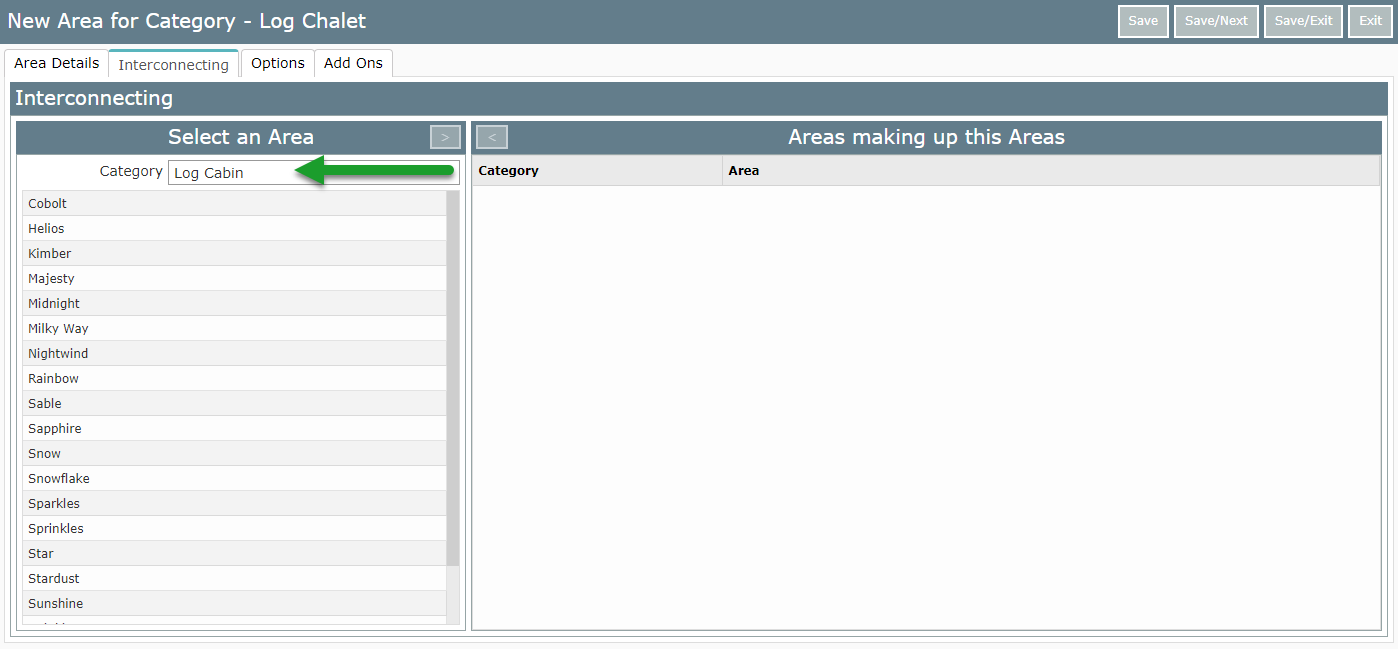
- Choose a Category to view.
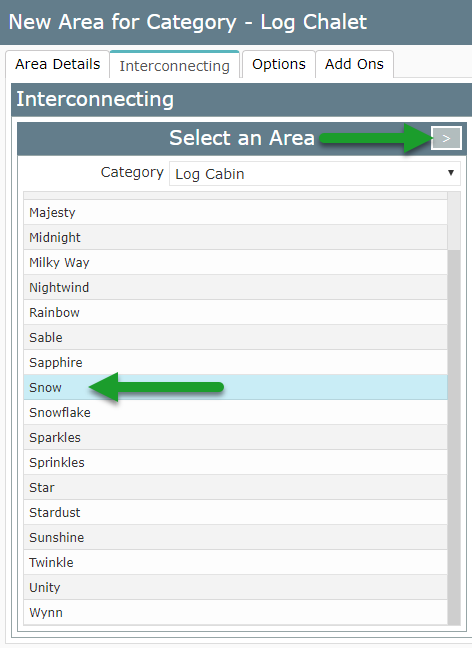
- Select a component Area.
- Use the '>' button to allocate.
- Allocate all component Areas.
- Save/Exit.
Visual Guide
Go to Setup > Category/Area in RMS.

Select an Interconnecting Category and choose 'Edit'.

Navigate to the 'Area' tab.

Select 'Add' to create a new Interconnecting Area.

Enter the Area Name.

Navigate to the 'Interconnecting' tab.

Select a Category to view a list of Areas.

Select an Area that makes up a component of the new Interconnecting Area and choose the '>' button to allocate.

Repeat until all component Areas are added.

Select 'Save/Exit' to complete creating this Interconnecting Area.

This Interconnecting Area will now be available for booking.
