Interconnecting Category
Setup an Interconnecting Category in RMS.
An Interconnecting Category is used for Areas that can be booked individually or combined to create a larger Area with different pricing structures.
-
Information
-
Setup
- Add Button
Information
An Interconnecting Category is used for Areas that can be booked individually or combined to create a larger Area with different pricing structures.
A Category is a type of Area that can be used for reservations.
Areas are the spaces that can be booked by visitors and are grouped together within a Category.
Interconnecting Areas can be configured in multiple combinations consisting of the same Areas.
Allotments can only be made for an Interconnecting Area when using the 'Area' Allotment Type.
Performing a Room Move for a Reservation in an Interconnecting Area will not create a Split Reservation. The Reservation will be updated to the new Interconnecting Area and the previous Area shown in the Audit Trail of the Reservation.
Interconnecting Areas can only be moved to an inactive Category and not another active Category.
Owner Accounting Properties only need to add the Owner Contract to the Interconnecting Master Area and not the individual Areas that are used in combination for the Interconnecting Area.

Category, Area, Reservation, Guest and Rate are default System Labels that can be customised.

System Administrators will require Security Profile access to setup this feature.
-
Setup
- Add Button
Setup
Have your System Administrator complete the following.
- Go to Setup > Category/Area in RMS.
- Select the
 'Add' icon.
 - Enter a Category Description.
- Optional: Enter a Guest Description.
- Optional: Enter a Long Description.
- Enter the Maximum Occupants Per Area.
- Optional: Enter the Maximum Occupants Per Category.
- Select a General Ledger Account Code.
- Select a Class.
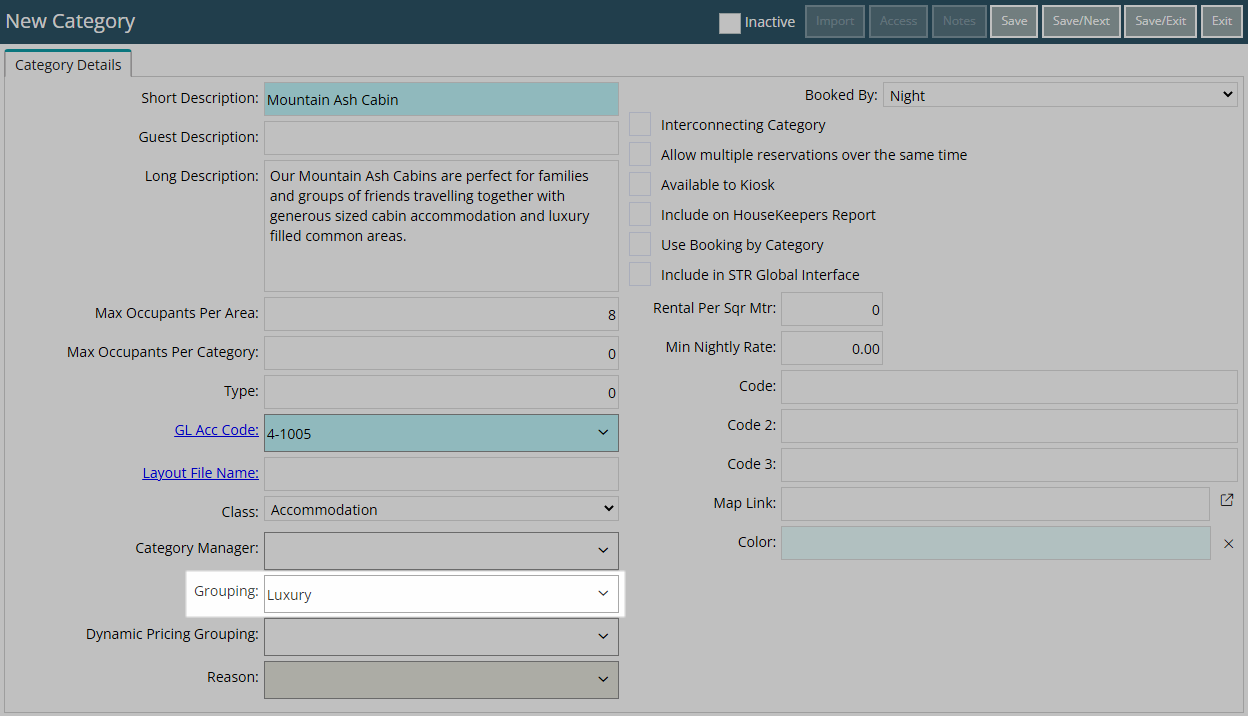
- Optional: Select a Grouping.
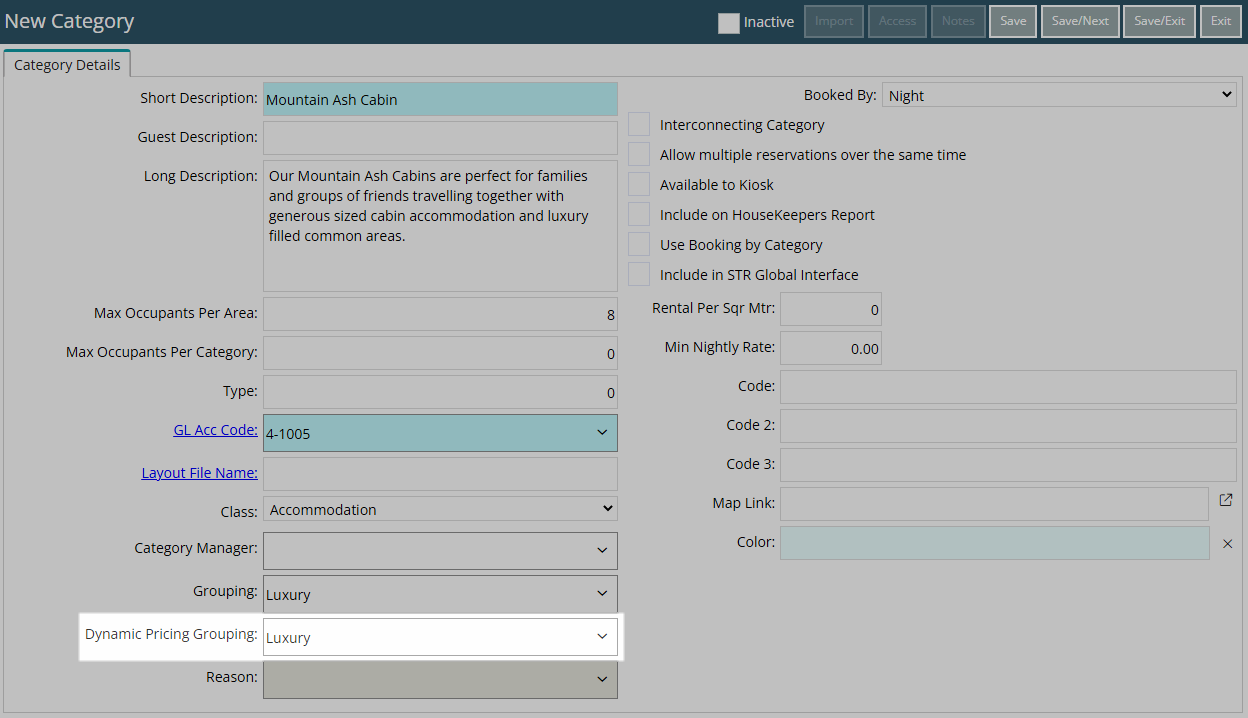
- Optional: Select a Dynamic Pricing Grouping.
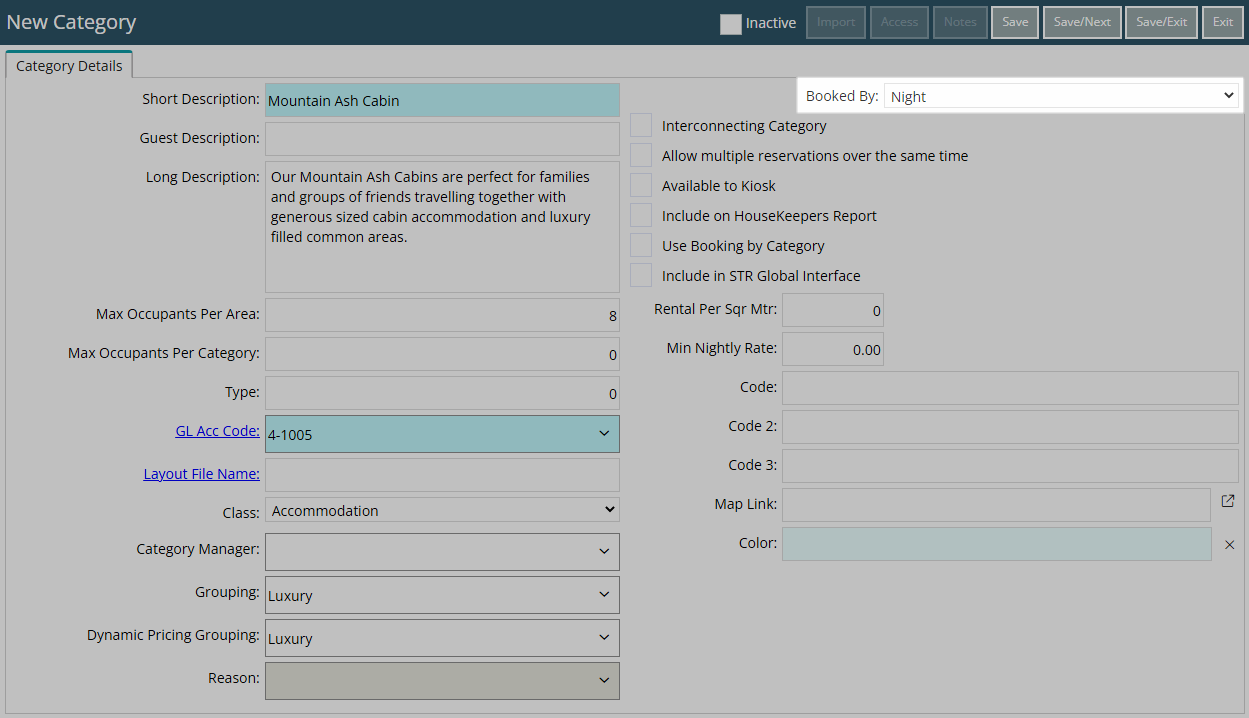
- Select the Booked By option.
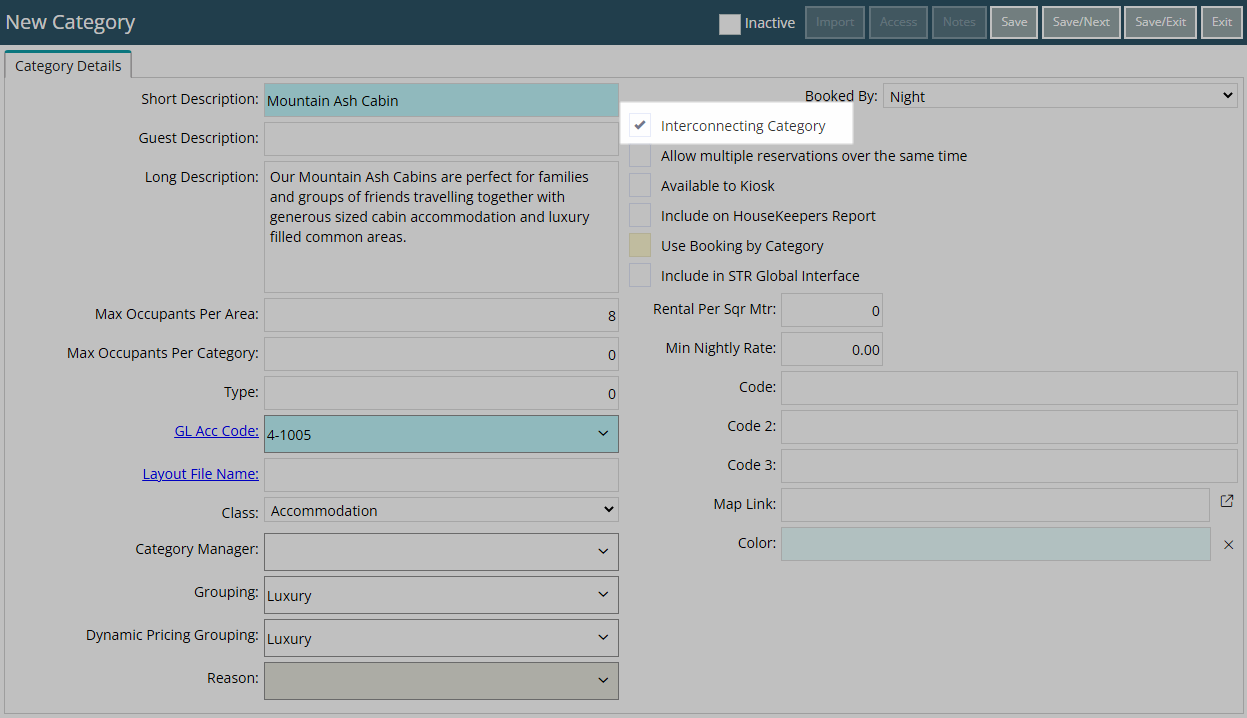
- Select the checkbox 'Interconnecting Category'.
- Optional: Select the checkbox 'Include on the Housekeepers Report'.
- Optional: Enter the Map Link.
- Optional: Select a Colour.
- Save/Exit.
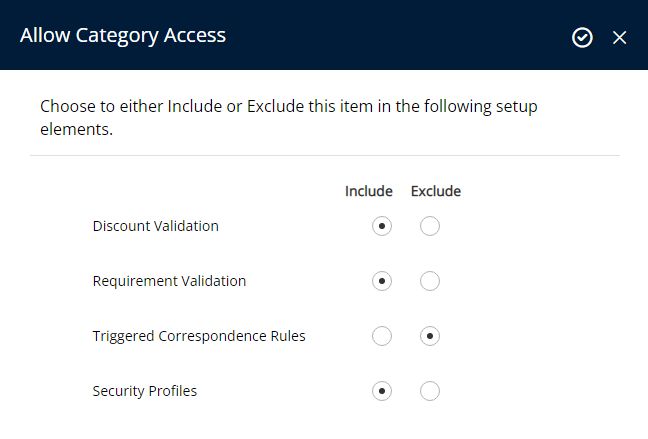
- Select the Category Access and choose 'Apply/Exit'.
- Log out of RMS.
- Setup the Interconnecting Areas.

An Interconnecting Category cannot be setup as Book by Category as specific Areas are used to create the Interconnecting Area.
-
Guide
- Add Button
Guide
Go to Setup > Category/Area in RMS.
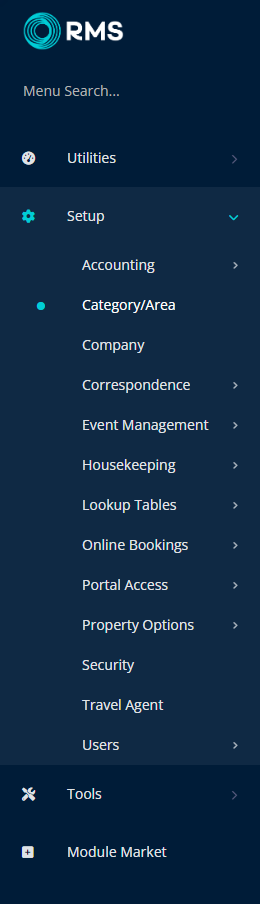
Select the ![]() 'Add' icon.
'Add' icon.

Enter a Category Description.
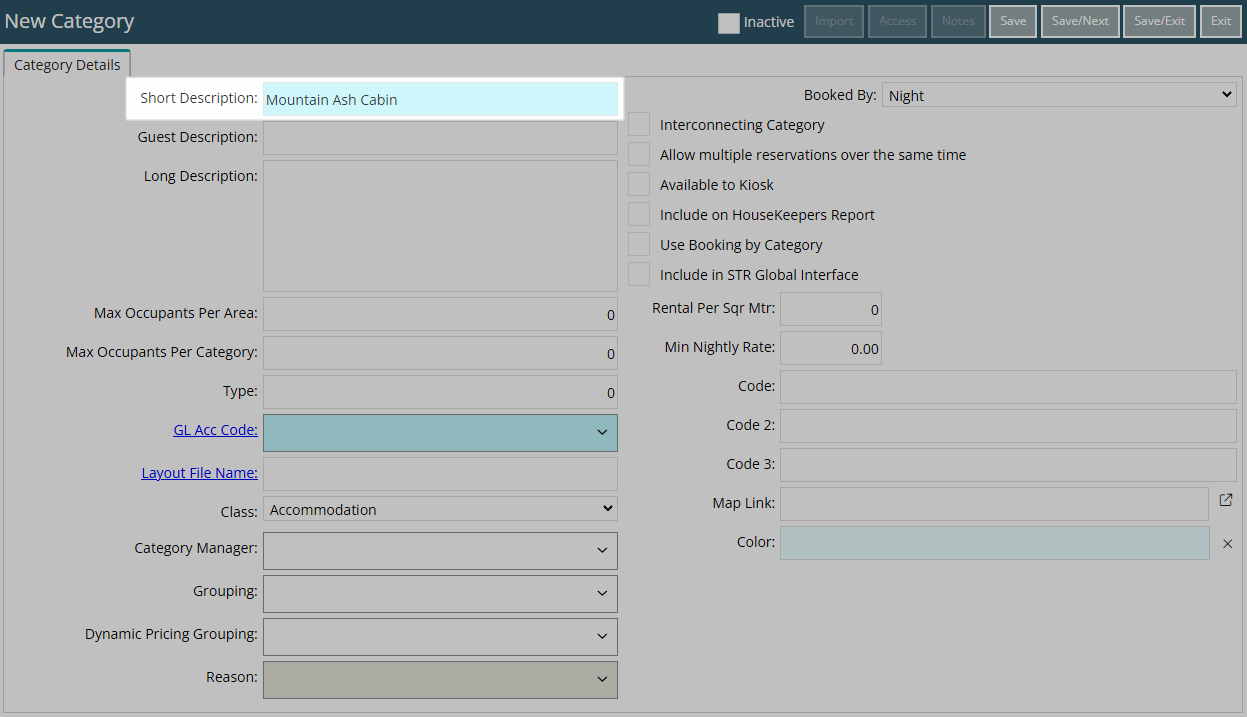
Optional: Enter a Guest Description.
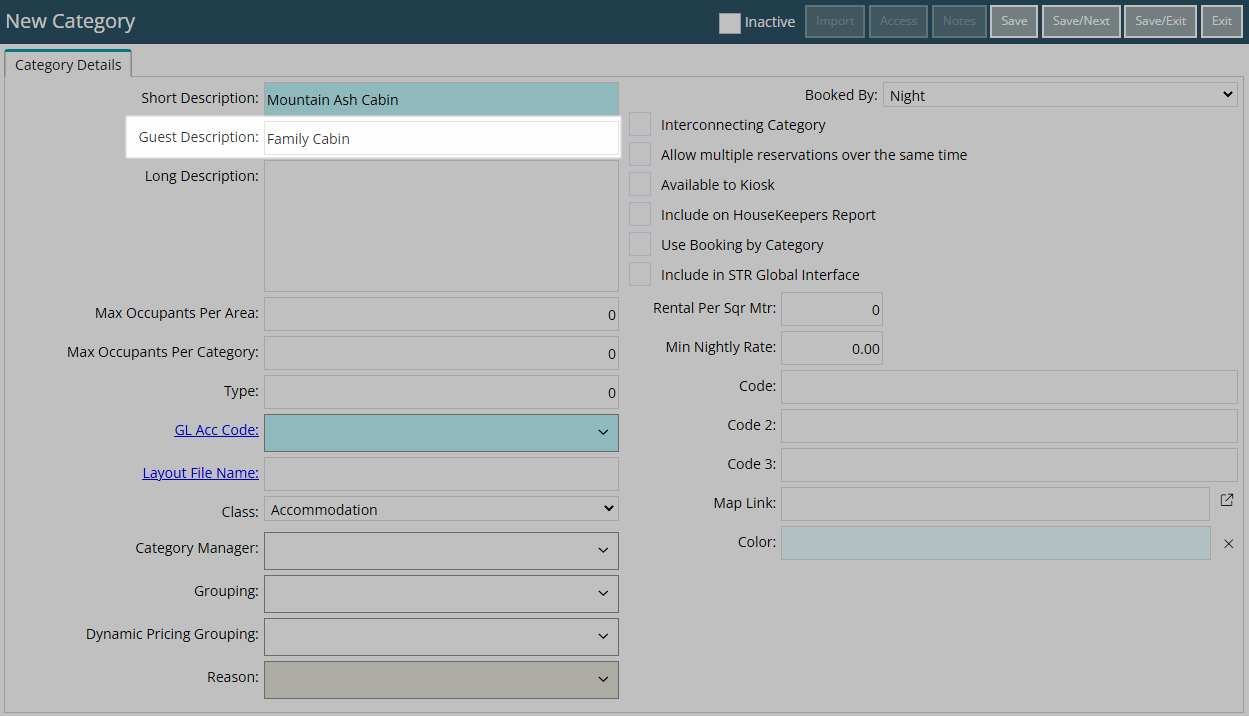
Optional: Enter a Long Description.
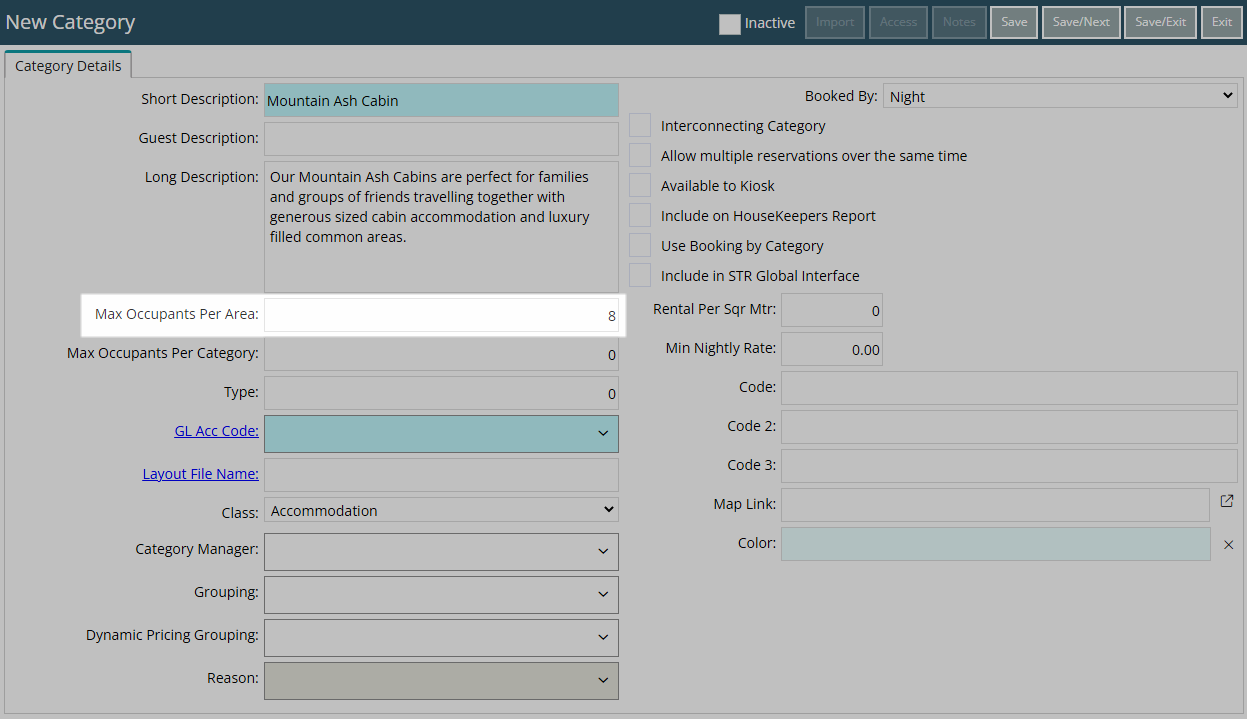
Enter the Maximum Occupants Per Area.
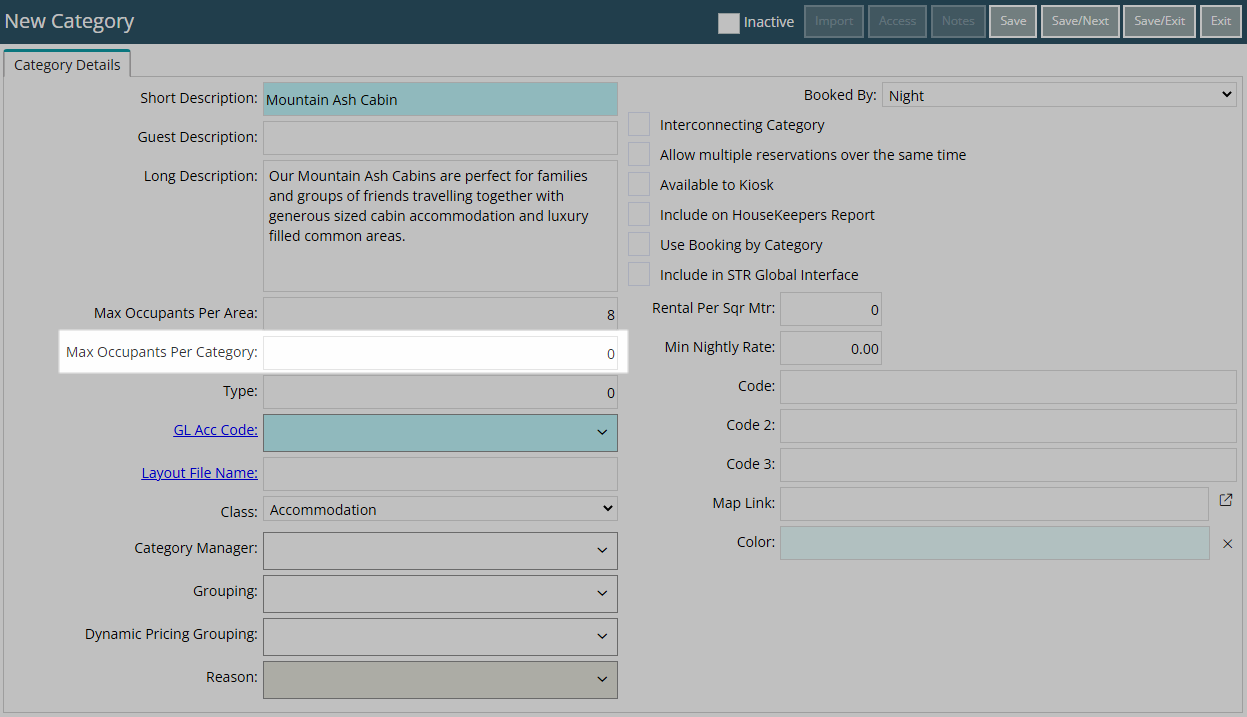
Optional: Enter the Maximum Occupants Per Category.
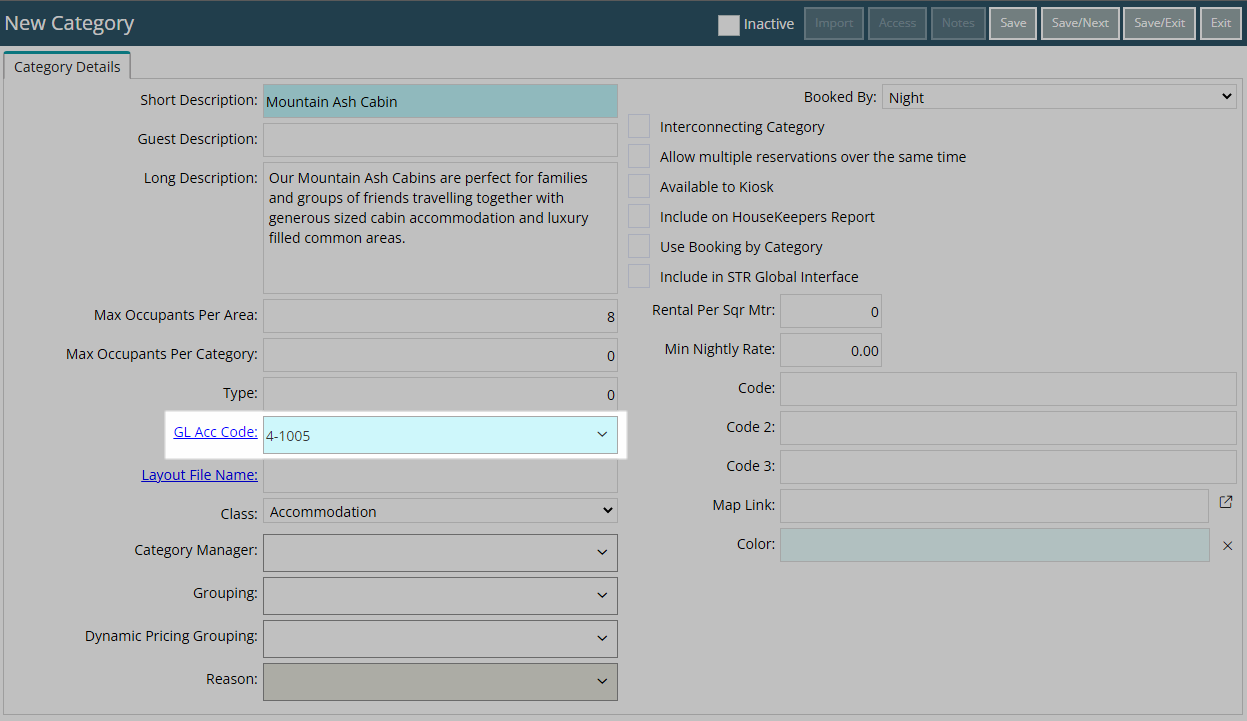
Select a General Ledger Account Code.
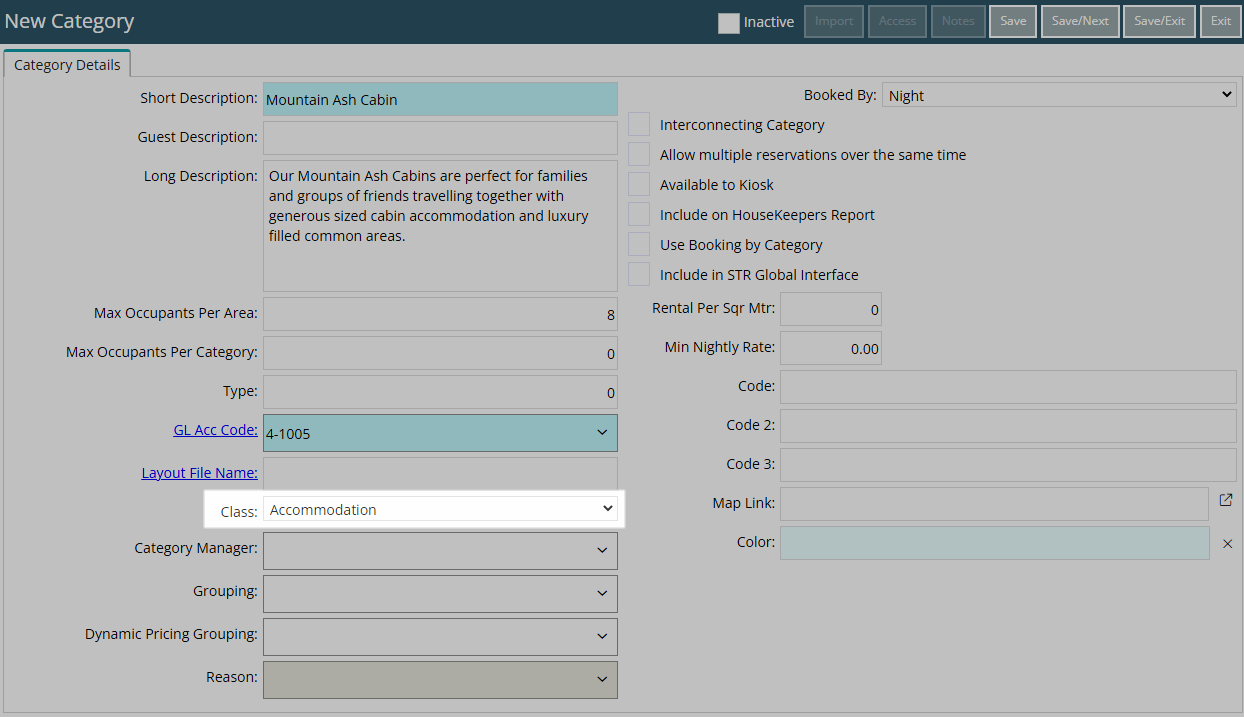
Select a Class.
Optional: Select a Grouping.
Optional: Select a Dynamic Pricing Grouping.
Select the Booked By option.
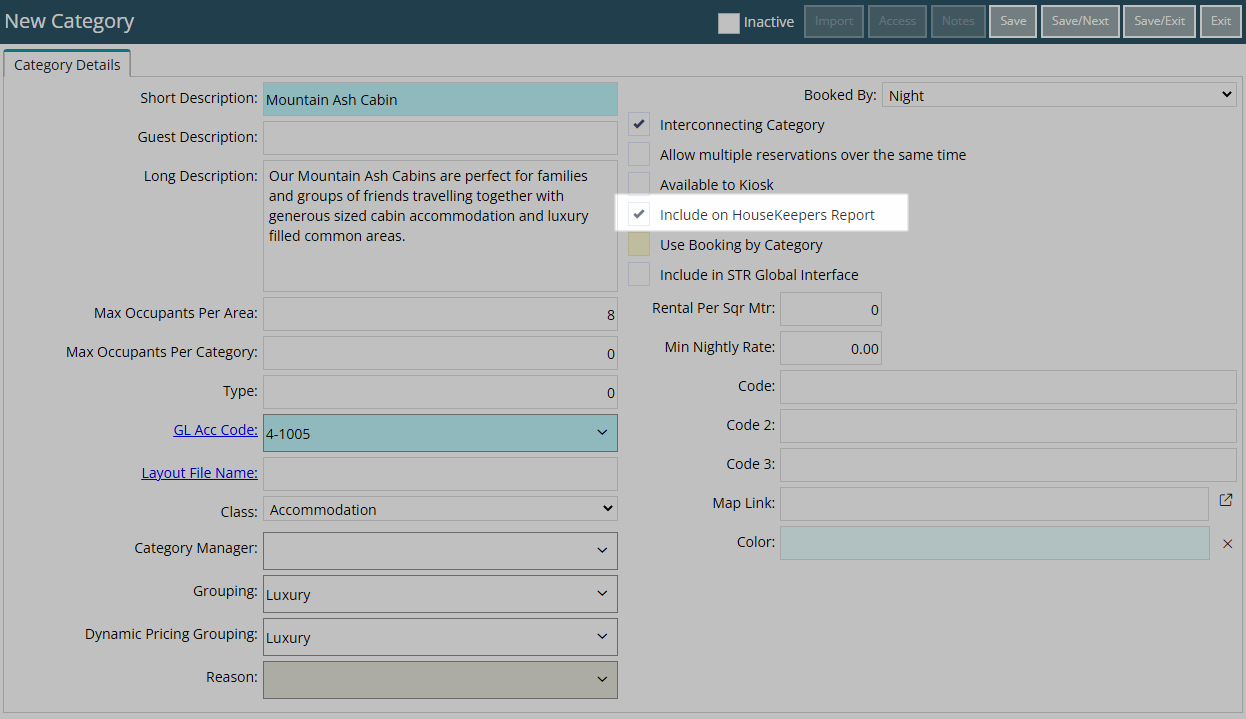
Select the checkbox 'Interconnecting Category'.
Optional: Select the checkbox 'Include on the Housekeepers Report'.
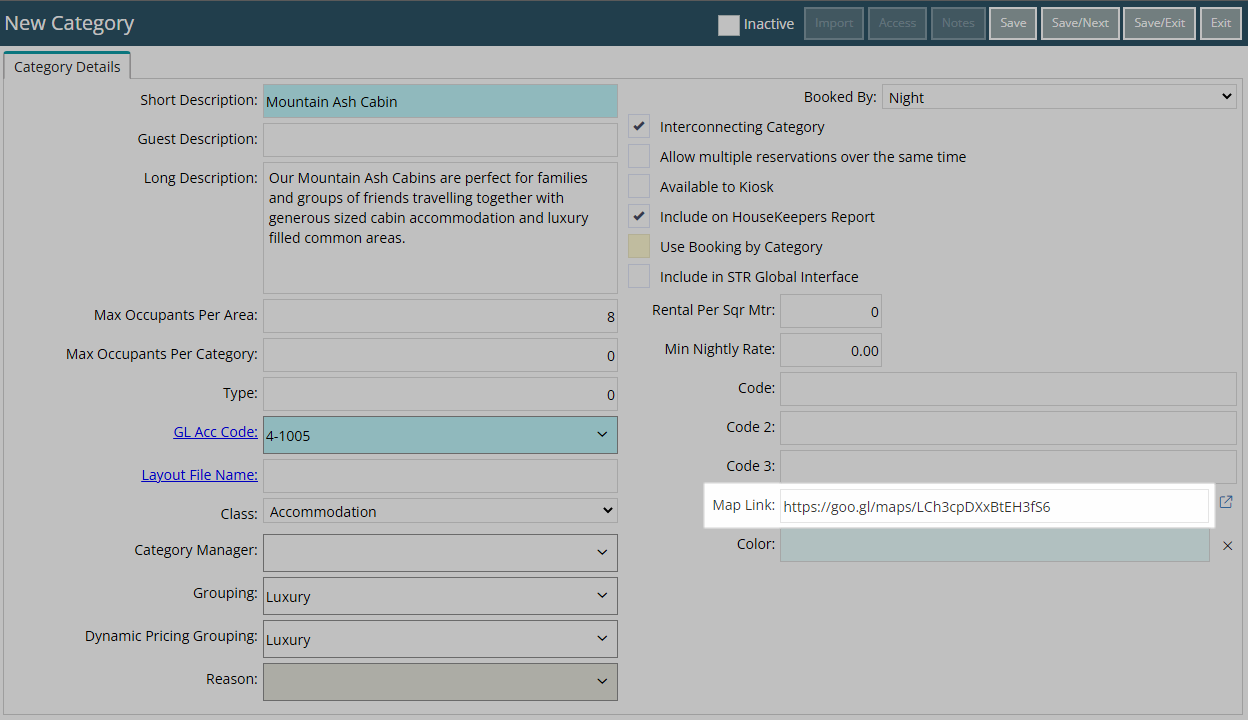
Optional: Enter the Map Link.
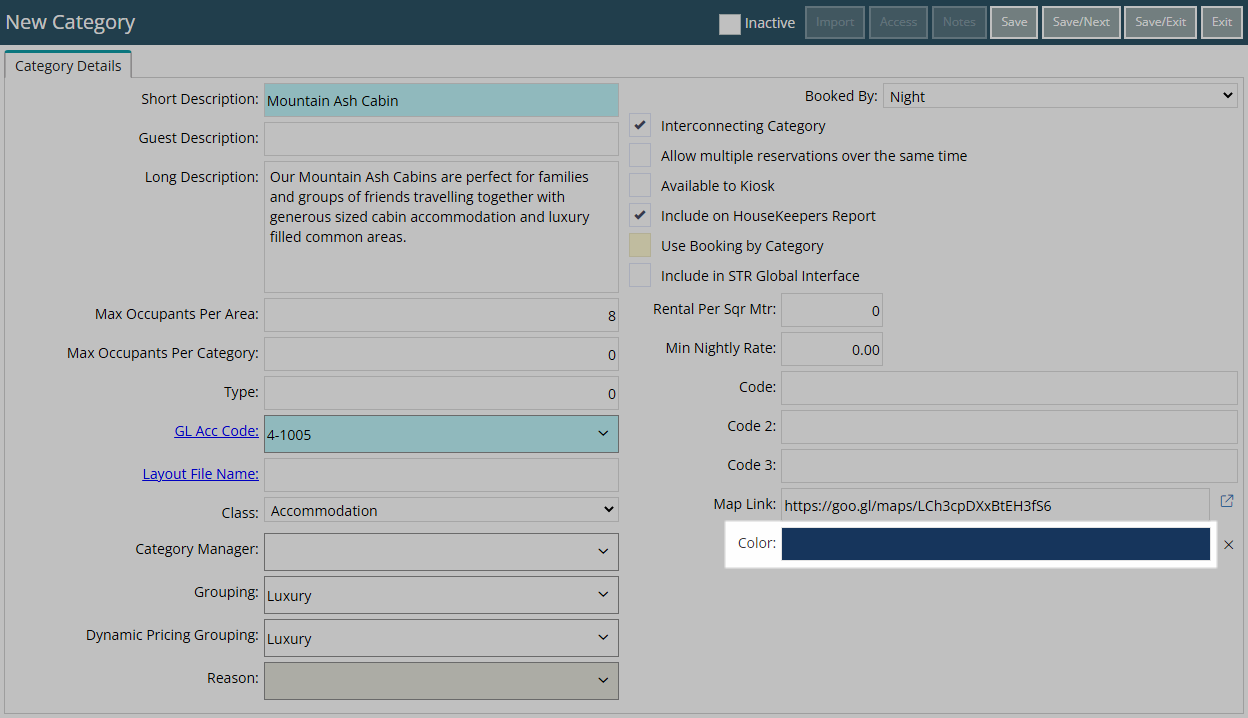
Optional: Select a Colour.
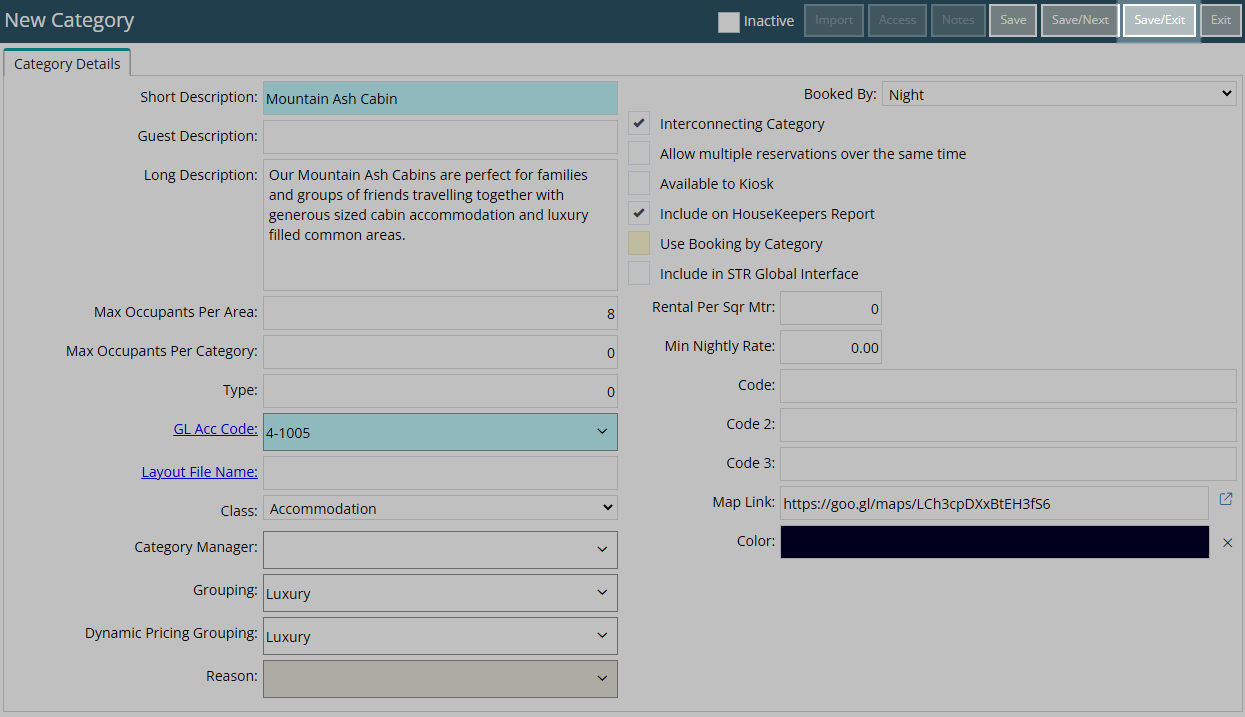
Select 'Save/Exit' to store the changes made and leave the setup.
Select the Category Access and choose 'Apply/Exit'.
Log out of RMS to allow the database to update with the changes made.

Setup the Interconnecting Areas.
Setup
Have your System Administrator complete the following.
- Go to Setup > Category/Area in RMS.
- Select the
 'Add' icon.
 - Enter a Category Description.
- Optional: Enter a Guest Description.
- Optional: Enter a Long Description.
- Enter the Maximum Occupants Per Area.
- Optional: Enter the Maximum Occupants Per Category.
- Select a General Ledger Account Code.
- Select a Class.
- Optional: Select a Grouping.
- Optional: Select a Dynamic Pricing Grouping.
- Select the Booked By option.
- Select the checkbox 'Interconnecting Category'.
- Optional: Select the checkbox 'Include on the Housekeepers Report'.
- Optional: Enter the Map Link.
- Optional: Select a Colour.
- Save/Exit.
- Select the Category Access and choose 'Apply/Exit'.
- Log out of RMS.
- Setup the Interconnecting Areas.

An Interconnecting Category cannot be setup as Book by Category as specific Areas are used to create the Interconnecting Area.
-
Guide
- Add Button
Guide
Go to Setup > Category/Area in RMS.
Select the ![]() 'Add' icon.
'Add' icon.
Enter a Category Description.
Optional: Enter a Guest Description.
Optional: Enter a Long Description.
Enter the Maximum Occupants Per Area.
Optional: Enter the Maximum Occupants Per Category.
Select a General Ledger Account Code.
Select a Class.
Optional: Select a Grouping.
Optional: Select a Dynamic Pricing Grouping.
Select the Booked By option.
Select the checkbox 'Interconnecting Category'.
Optional: Select the checkbox 'Include on the Housekeepers Report'.
Optional: Enter the Map Link.
Optional: Select a Colour.
Select 'Save/Exit' to store the changes made and leave the setup.
Select the Category Access and choose 'Apply/Exit'.
Log out of RMS to allow the database to update with the changes made.
Setup the Interconnecting Areas.