Two Factor Administrator
Setup Two Factor Administrators in RMS.
Two Factor Administrators are users with Security Profile access to generate backup verification codes for other users when using Two Factor Authentication in RMS.
-
Information
-
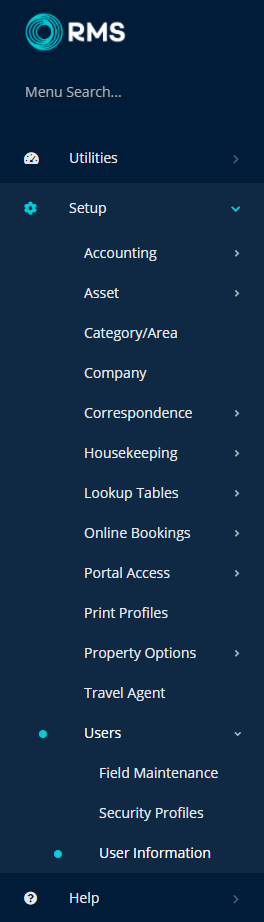
Setup
-
Use
- Add Button
Information
Two Factor Administrators are users with Security Profile access to generate backup verification codes for other users when using Two Factor Authentication in RMS.

Ensure the user nominated to be a Two Factor Administrator can be easily contacted by staff in need of a backup verification code.
-
Setup
- Add Button
Setup
Have your System Administrator complete the following.
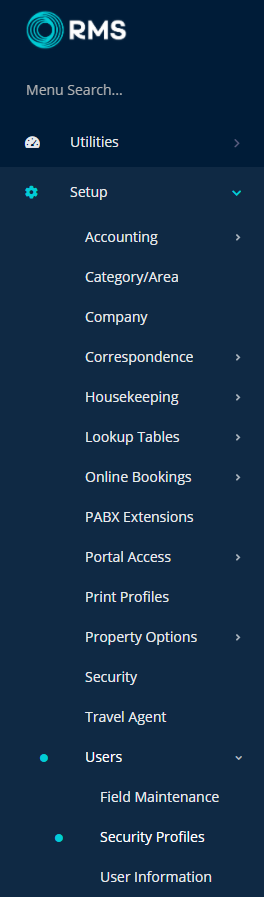
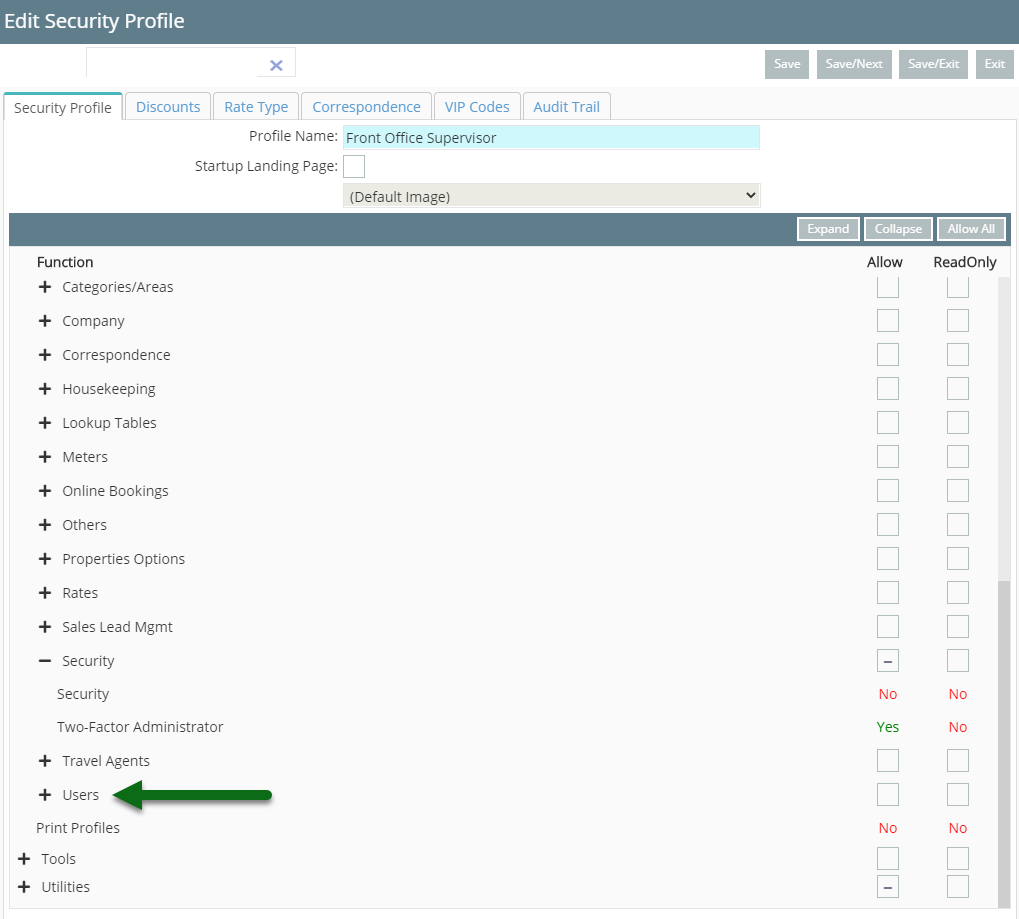
- Go to Setup > Users > Security Profiles in RMS.
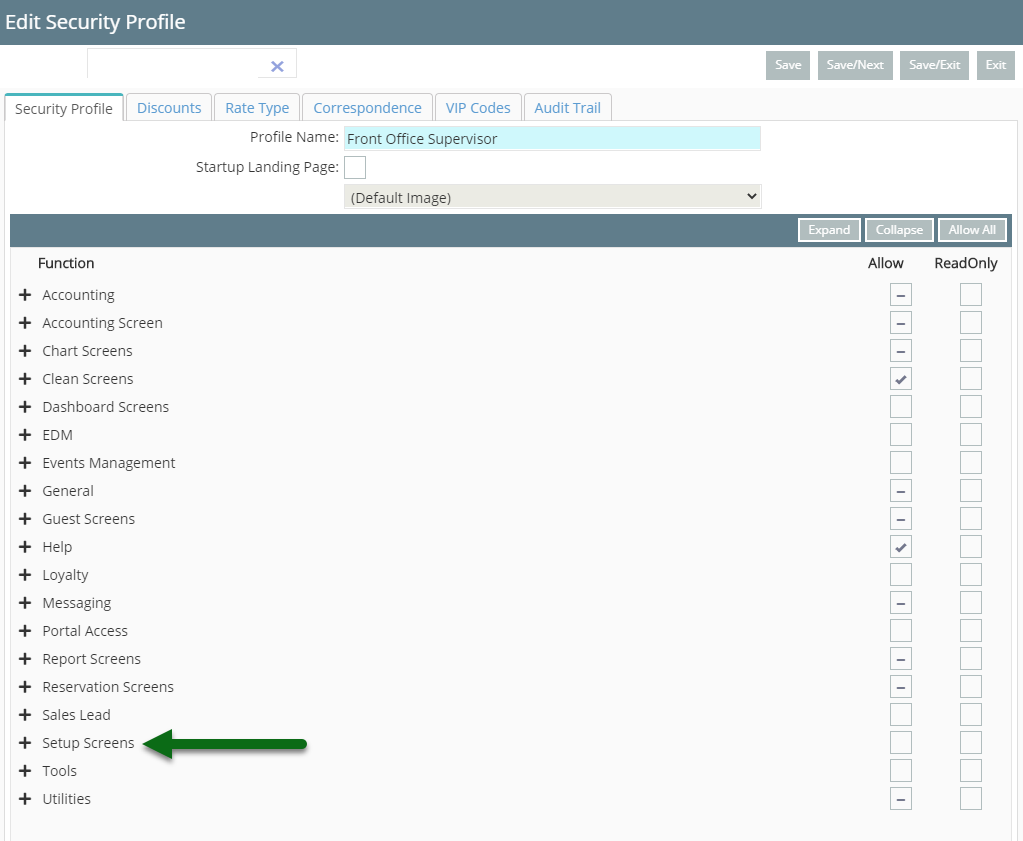
- Select the 'Edit' icon on an existing Security Profile.
- Expand the 'Setup Screens' Function Menu.
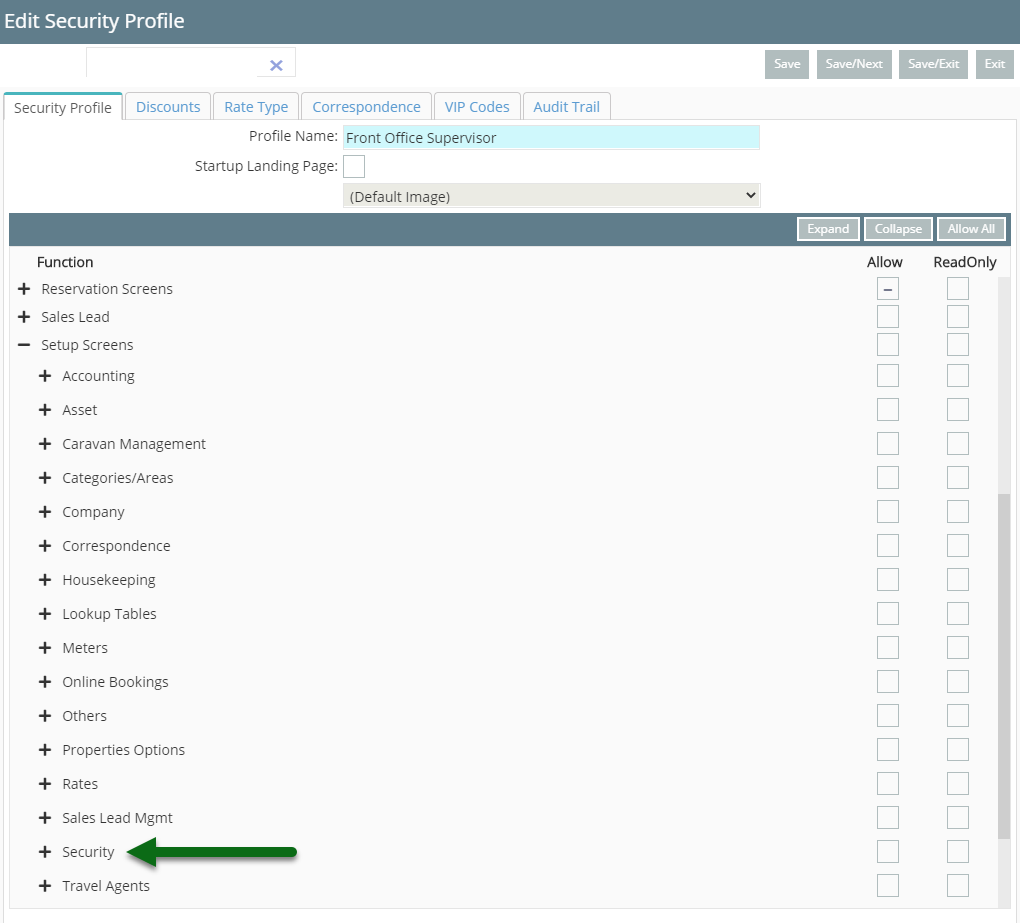
- Expand the 'Security' Function Menu.
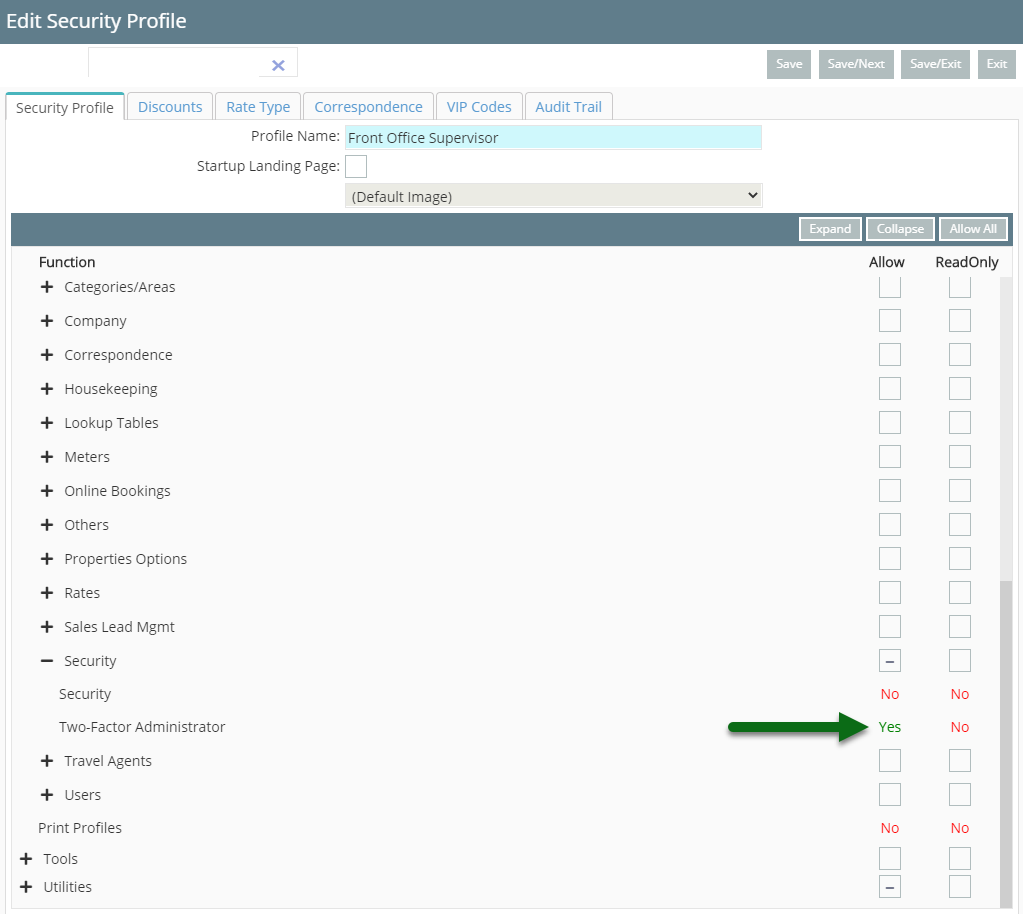
- Select 'Allow' as 'Yes' on the Function 'Two Factor Administrator'.
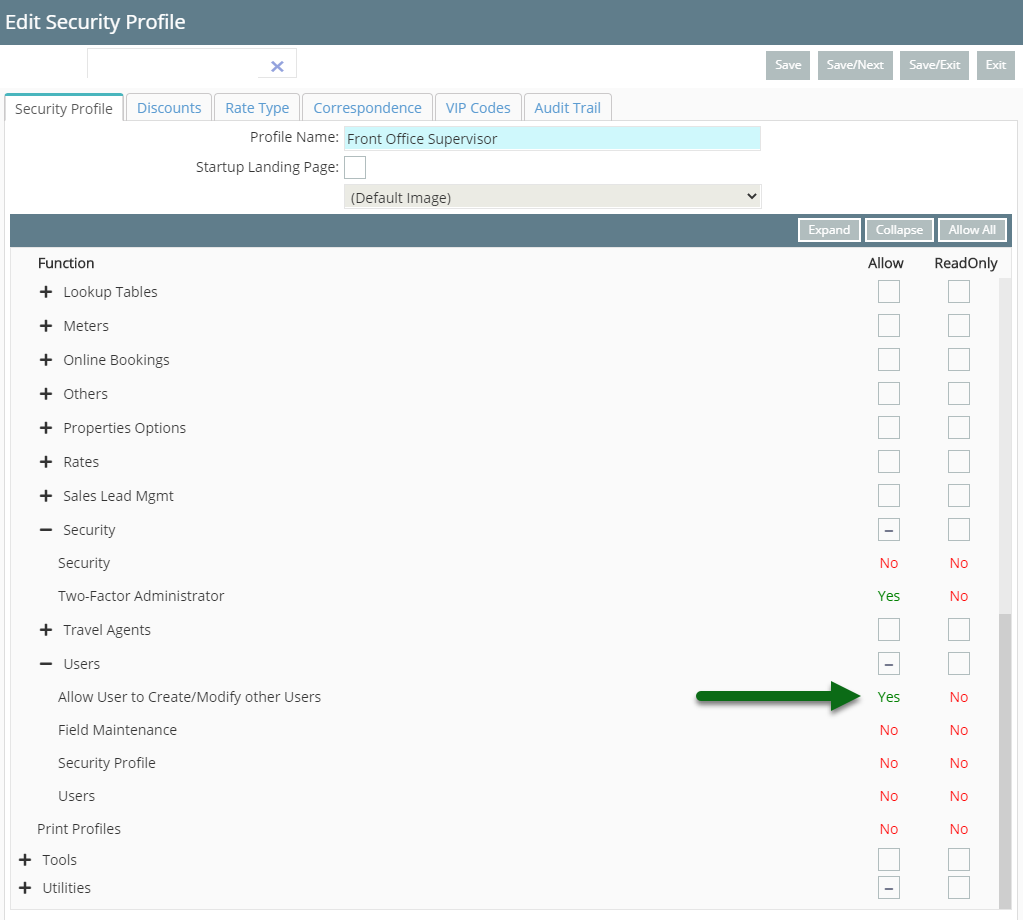
- Expand the 'Users' Function Menu.
- Select 'Allow' as 'Yes' on the Function 'Allow User to Create/Modify Other Users'.
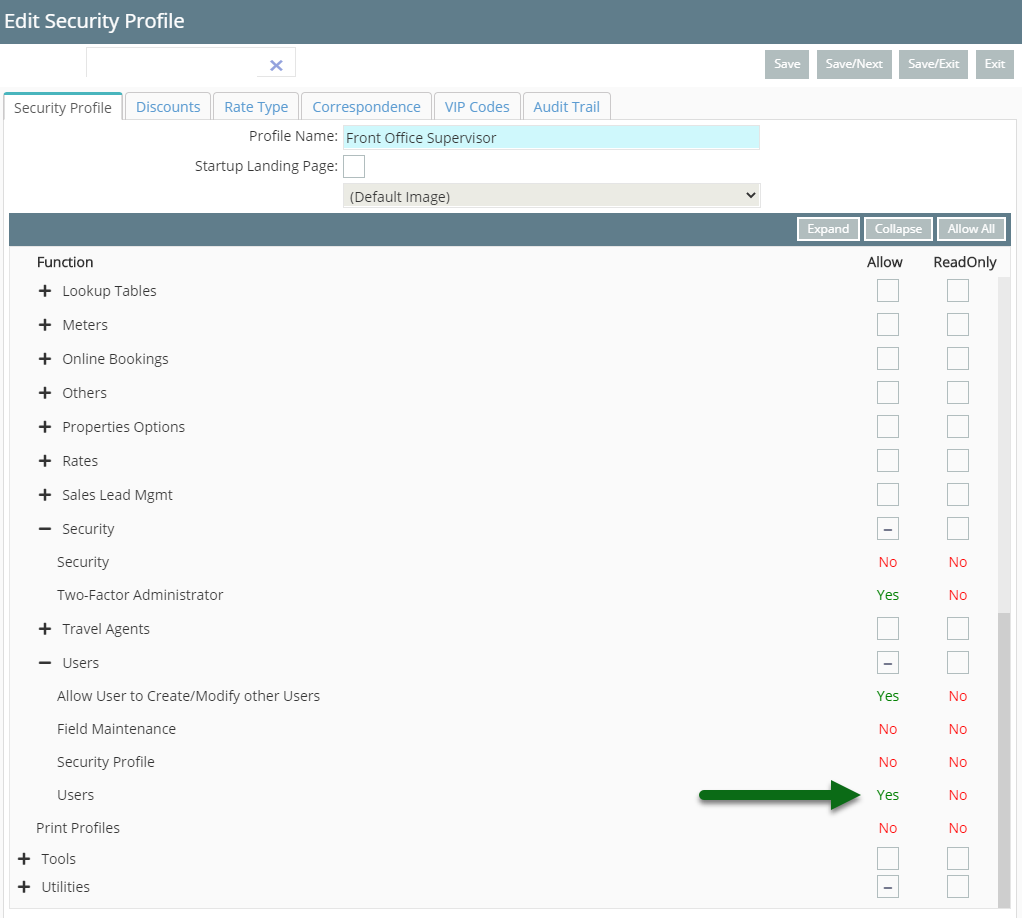
- Select 'Allow' as 'Yes' on the Function 'Users'.
- Save/Exit.
-
Guide
-
Use
- Add Button
Guide
Go to Setup > Users > Security Profiles in RMS.
Select the 'Edit' icon on an existing Security Profile.

Expand the 'Setup Screens' Function Menu.
Expand the 'Security' Function Menu.
Select 'Allow' as 'Yes' on the Function 'Two Factor Administrator'.
Expand the 'Users' Function Menu.
Select 'Allow' as 'Yes' on the Function 'Allow User to Create/Modify Other Users'.
Select 'Allow' as 'Yes' on the Function 'Users'.
Select 'Save/Exit' to store the changes made.
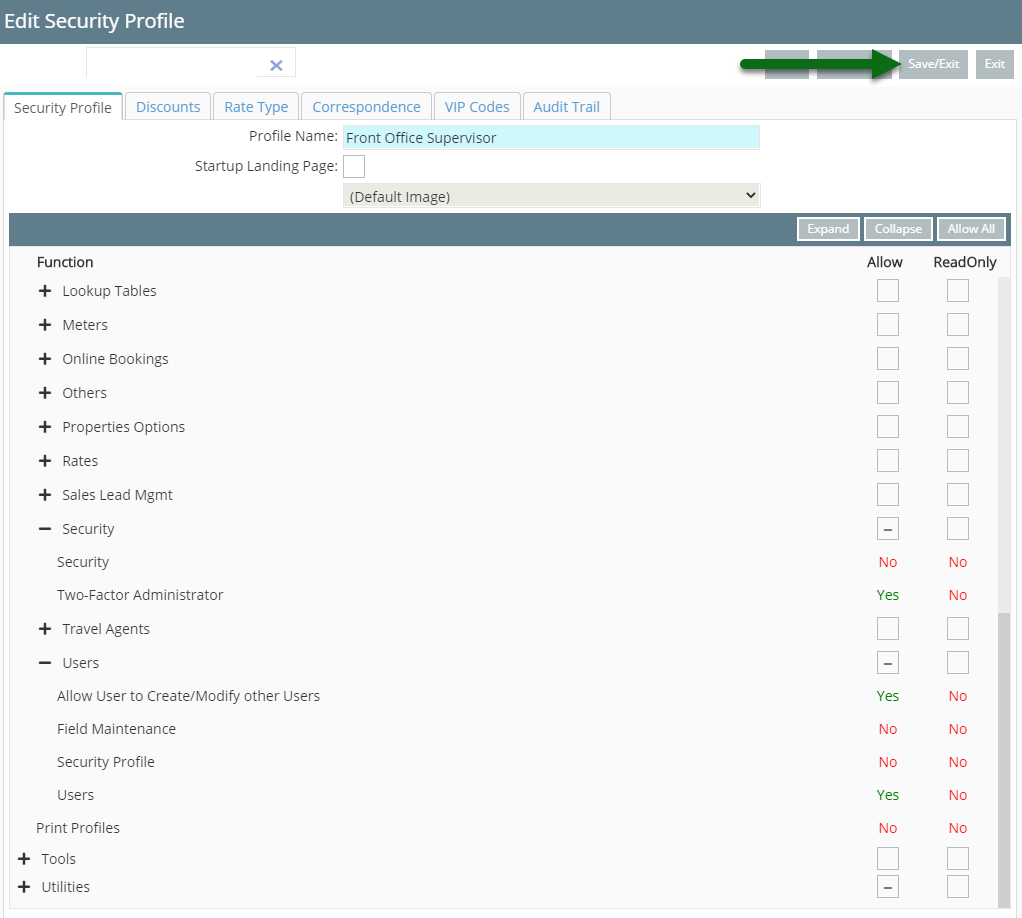
Users assigned this Security Profilewill be able to create new users, edit existing users and generate a Backup Verification Code for other users in RMS.
-
Use
- Add Button
Use
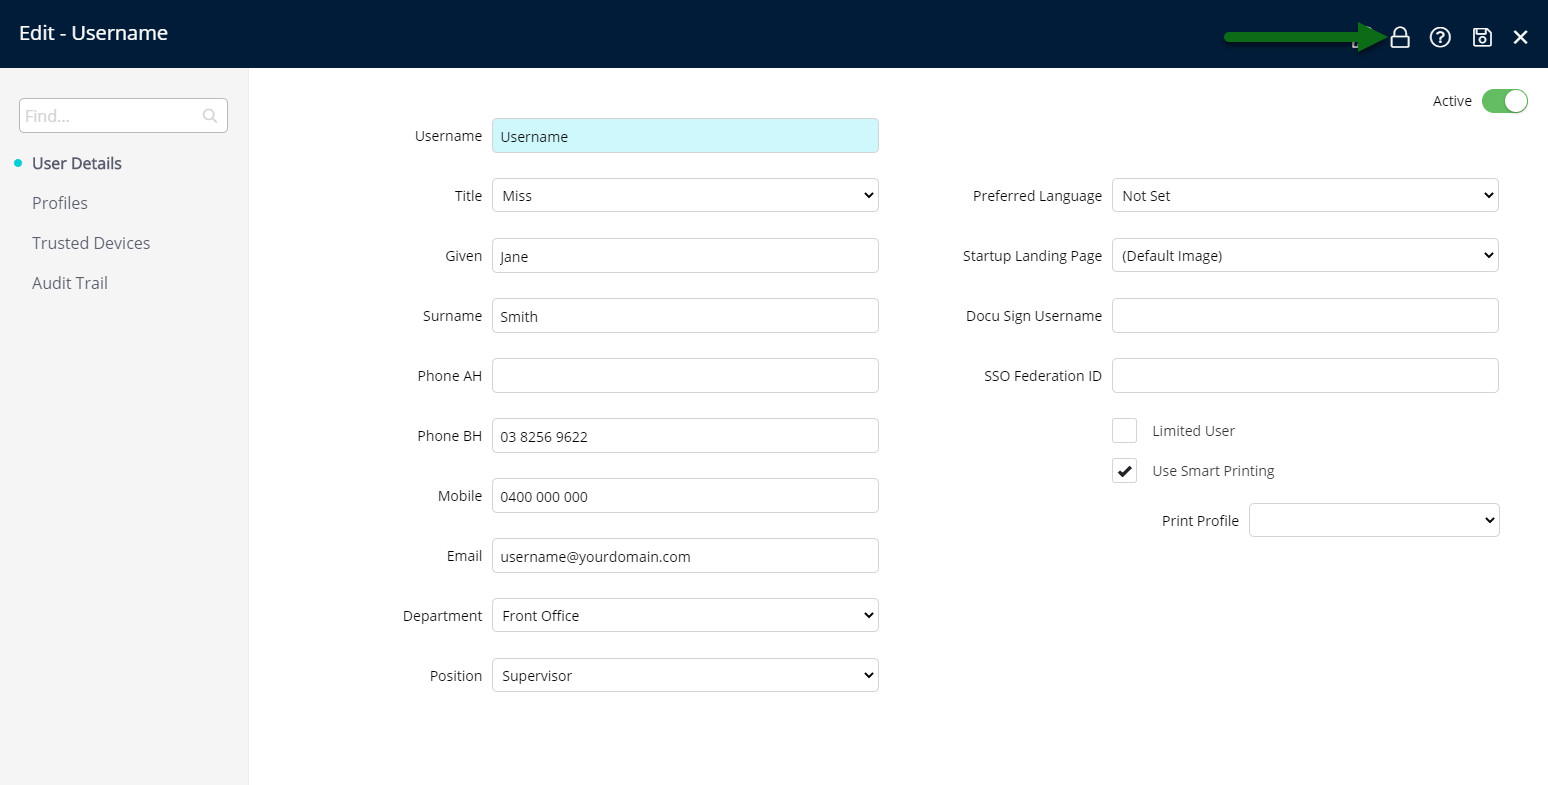
- Go to Setup > Users > User Information in RMS.
- Select the 'Edit' icon on an existing User.
- Select the 'Padlock' icon.
- Provide Backup Verification Code to the User.
-
Guide
- Add Button
Guide
Go to Setup > Users > User Information in RMS.
Select the 'Edit' icon on an existing User.

Select the 'Padlock' icon.
Provide Backup Verification Code to the User.
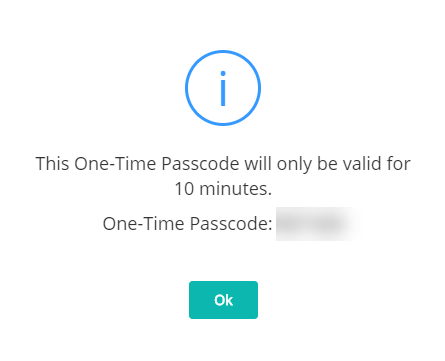
Users with an email address saved on their user profile will receive an email with their backup verification code.
Use
- Go to Setup > Users > User Information in RMS.
- Select the 'Edit' icon on an existing User.
- Select the 'Padlock' icon.
- Provide Backup Verification Code to the User.
-
Guide
- Add Button
Guide
Go to Setup > Users > User Information in RMS.
Select the 'Edit' icon on an existing User.
Select the 'Padlock' icon.
Provide Backup Verification Code to the User.
Users with an email address saved on their user profile will receive an email with their backup verification code.
Setup
Have your System Administrator complete the following.
- Go to Setup > Users > Security Profiles in RMS.
- Select the 'Edit' icon on an existing Security Profile.
- Expand the 'Setup Screens' Function Menu.
- Expand the 'Security' Function Menu.
- Select 'Allow' as 'Yes' on the Function 'Two Factor Administrator'.
- Expand the 'Users' Function Menu.
- Select 'Allow' as 'Yes' on the Function 'Allow User to Create/Modify Other Users'.
- Select 'Allow' as 'Yes' on the Function 'Users'.
- Save/Exit.
-
Guide
-
Use
- Add Button
Guide
Go to Setup > Users > Security Profiles in RMS.
Select the 'Edit' icon on an existing Security Profile.
Expand the 'Setup Screens' Function Menu.
Expand the 'Security' Function Menu.
Select 'Allow' as 'Yes' on the Function 'Two Factor Administrator'.
Expand the 'Users' Function Menu.
Select 'Allow' as 'Yes' on the Function 'Allow User to Create/Modify Other Users'.
Select 'Allow' as 'Yes' on the Function 'Users'.
Select 'Save/Exit' to store the changes made.
Users assigned this Security Profilewill be able to create new users, edit existing users and generate a Backup Verification Code for other users in RMS.
-
Use
- Add Button
Use
- Go to Setup > Users > User Information in RMS.
- Select the 'Edit' icon on an existing User.
- Select the 'Padlock' icon.
- Provide Backup Verification Code to the User.
-
Guide
- Add Button
Guide
Go to Setup > Users > User Information in RMS.
Select the 'Edit' icon on an existing User.
Select the 'Padlock' icon.
Provide Backup Verification Code to the User.
Users with an email address saved on their user profile will receive an email with their backup verification code.