Master Reservation Area List
Print, email, import or export an Area List on a Master Reservation in RMS.
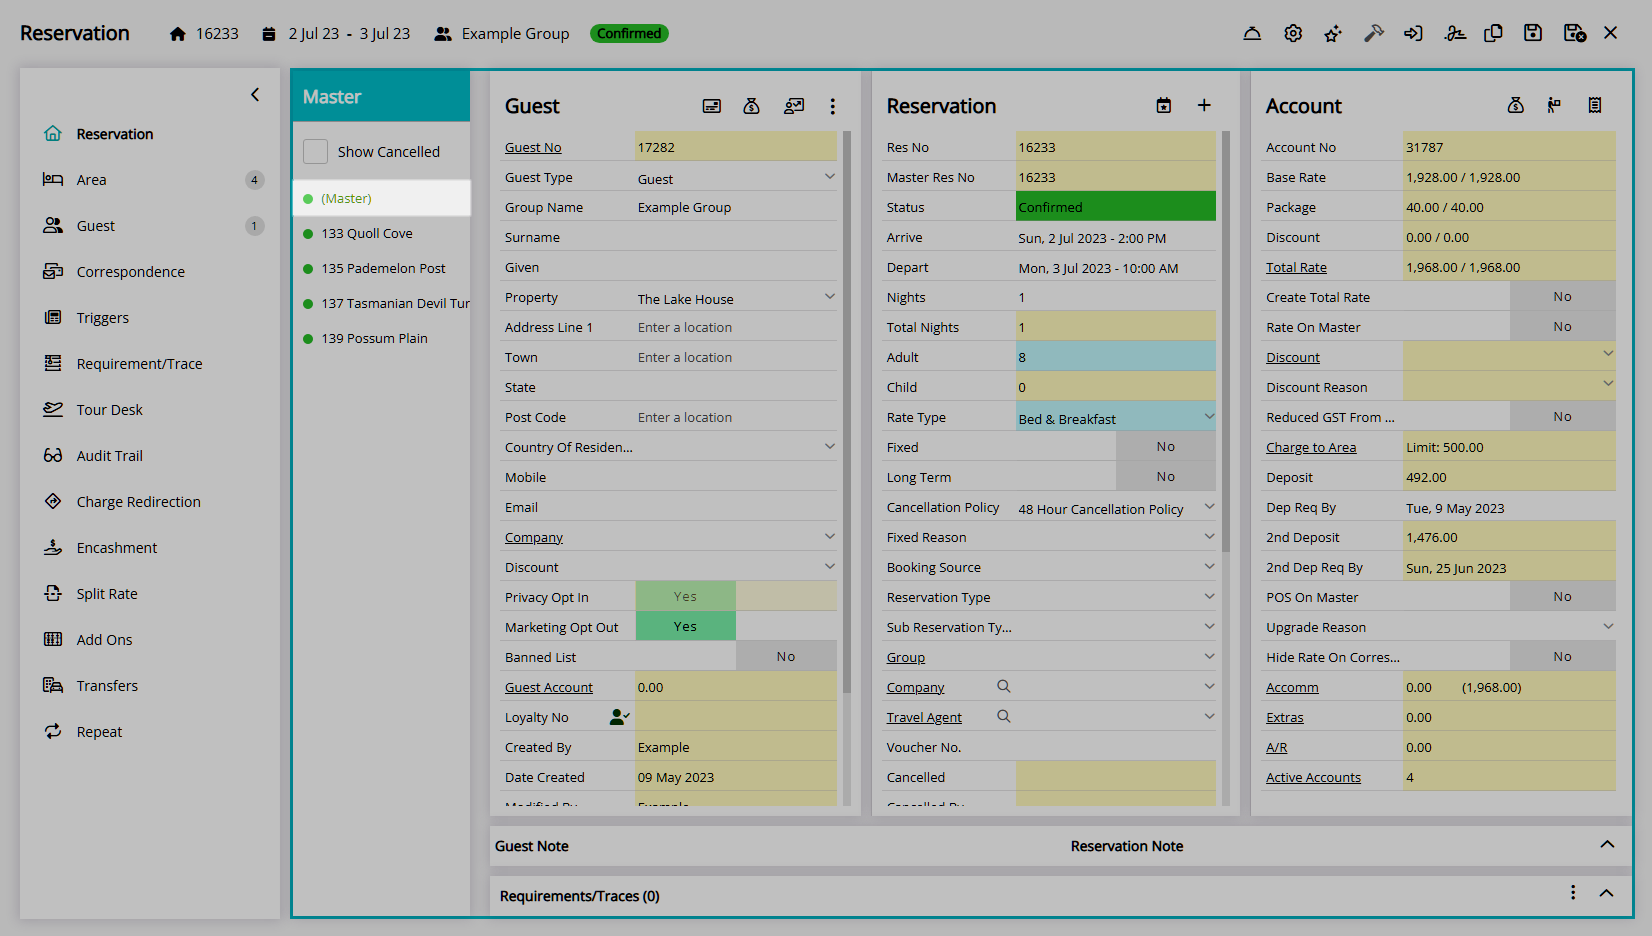
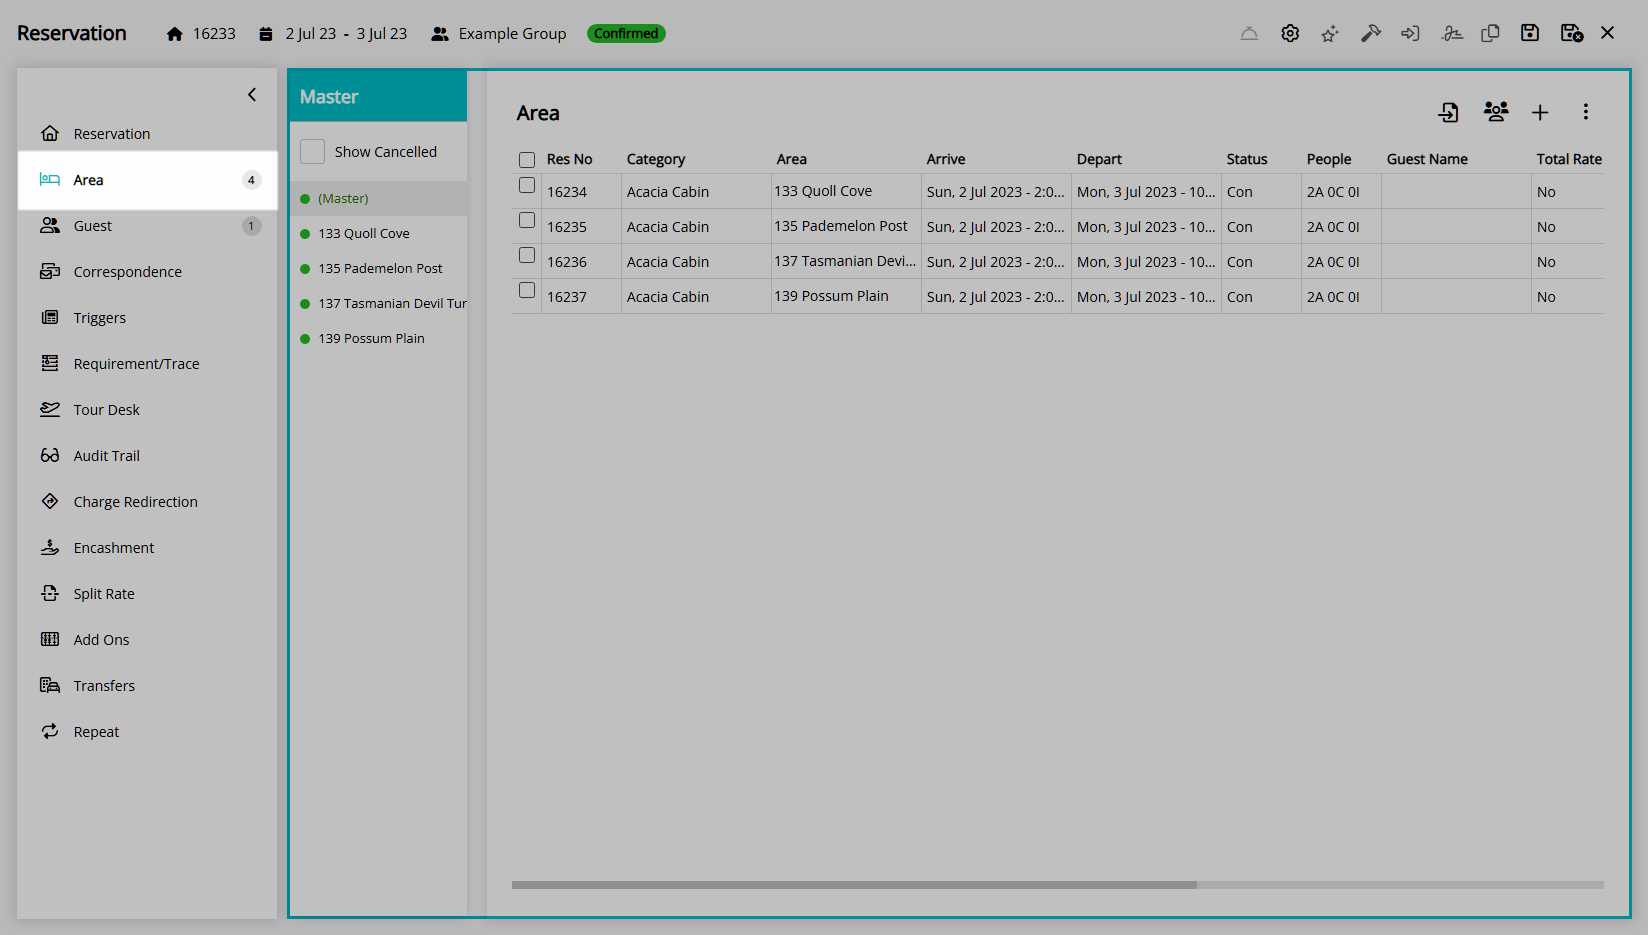
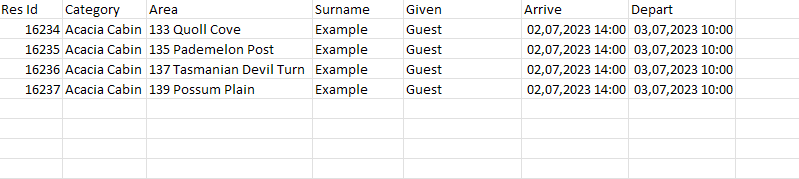
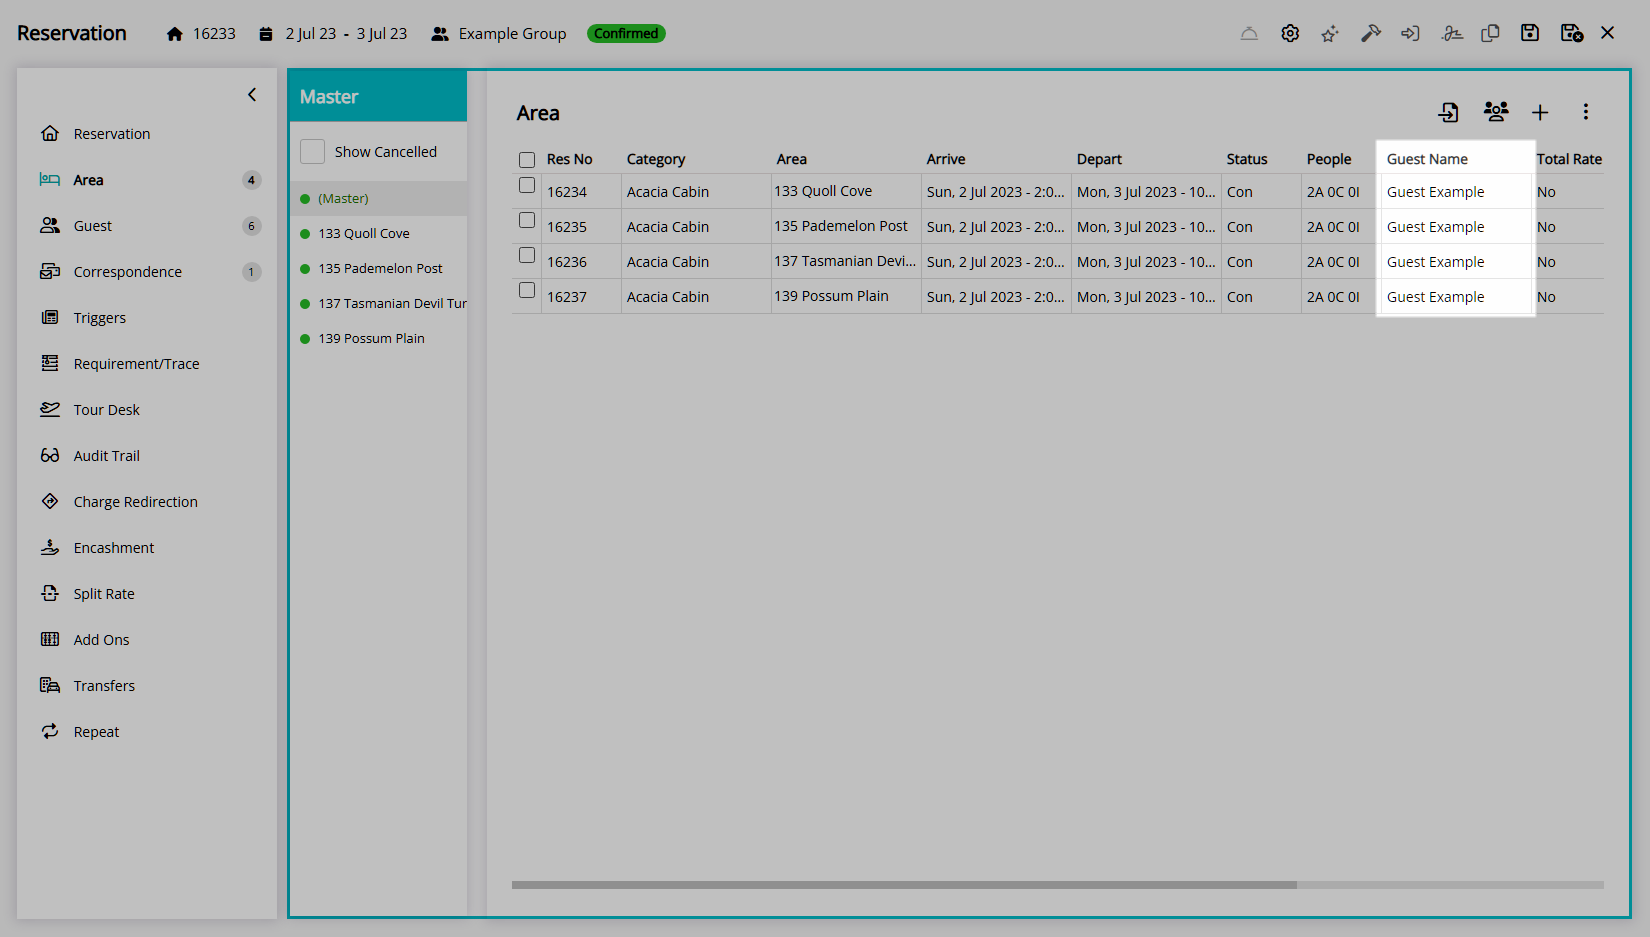
The Master Reservation Area List is a list of all Reservations in the group with the Area, Guest Name and key Reservation Details.
-
Information
-
Use
- Add Button
Information
The Master Reservation Area List is a list of all Reservations in the group with the Area, Guest Name and key Reservation Details.
A Master Reservation is a group of Reservations that simplifies management of Guests travelling together.
Master Reservations can be created using the Add Reservation Icon, on the Booking Chart, using Quick Quote or when setup as Book by Category using the Master Reservation Grid.
The Master Reservation Area List can be used to provide a list of Reservations and Guests to a group or tour leader to organise or coordinate Guests to their individual Areas or to update the Guest Name for all Reservations in the group.
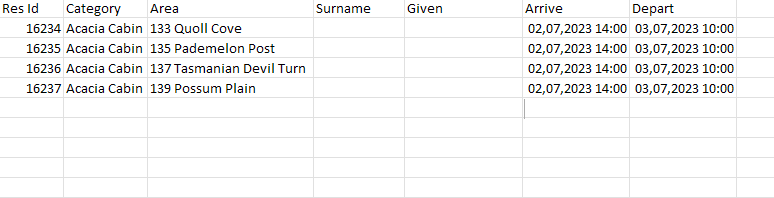
The Export Area List option can be used to generate a .csv file of the Area List which can have the Guest Name filled in for each Reservation in the group and be imported back into RMS.
The Import Area List option can be used to import a previously exported Area List for the Master Reservation to update the Guest Name on each Reservation in the group.

Arrive, Depart, Category, Area, Reservation, Guest, Group Name and Rate are default System Labels that can be customised.

Users will require Security Profile access to use this feature.
-
Use
- Add Button
Use
- Go to the Toolbar Menu Reservation Search in RMS.
- Enter the Group Name, Guest Name or Reservation Number and press 'Enter'.
- Select the Master in the Navigator Pane.
- Navigate to the
 'Area' tab.
 -
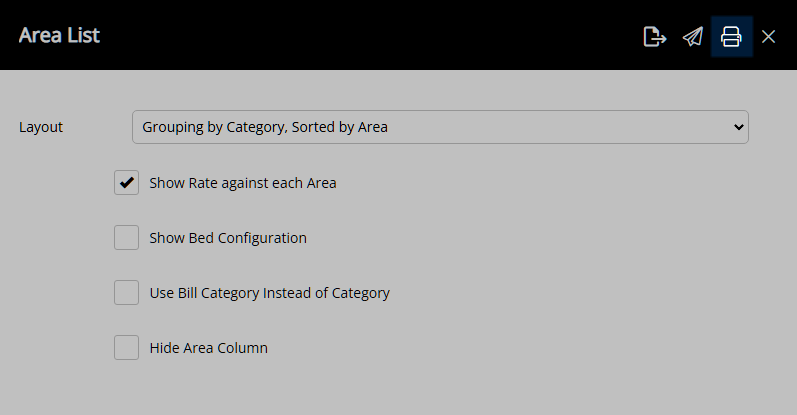
Print Area List:
- Select the
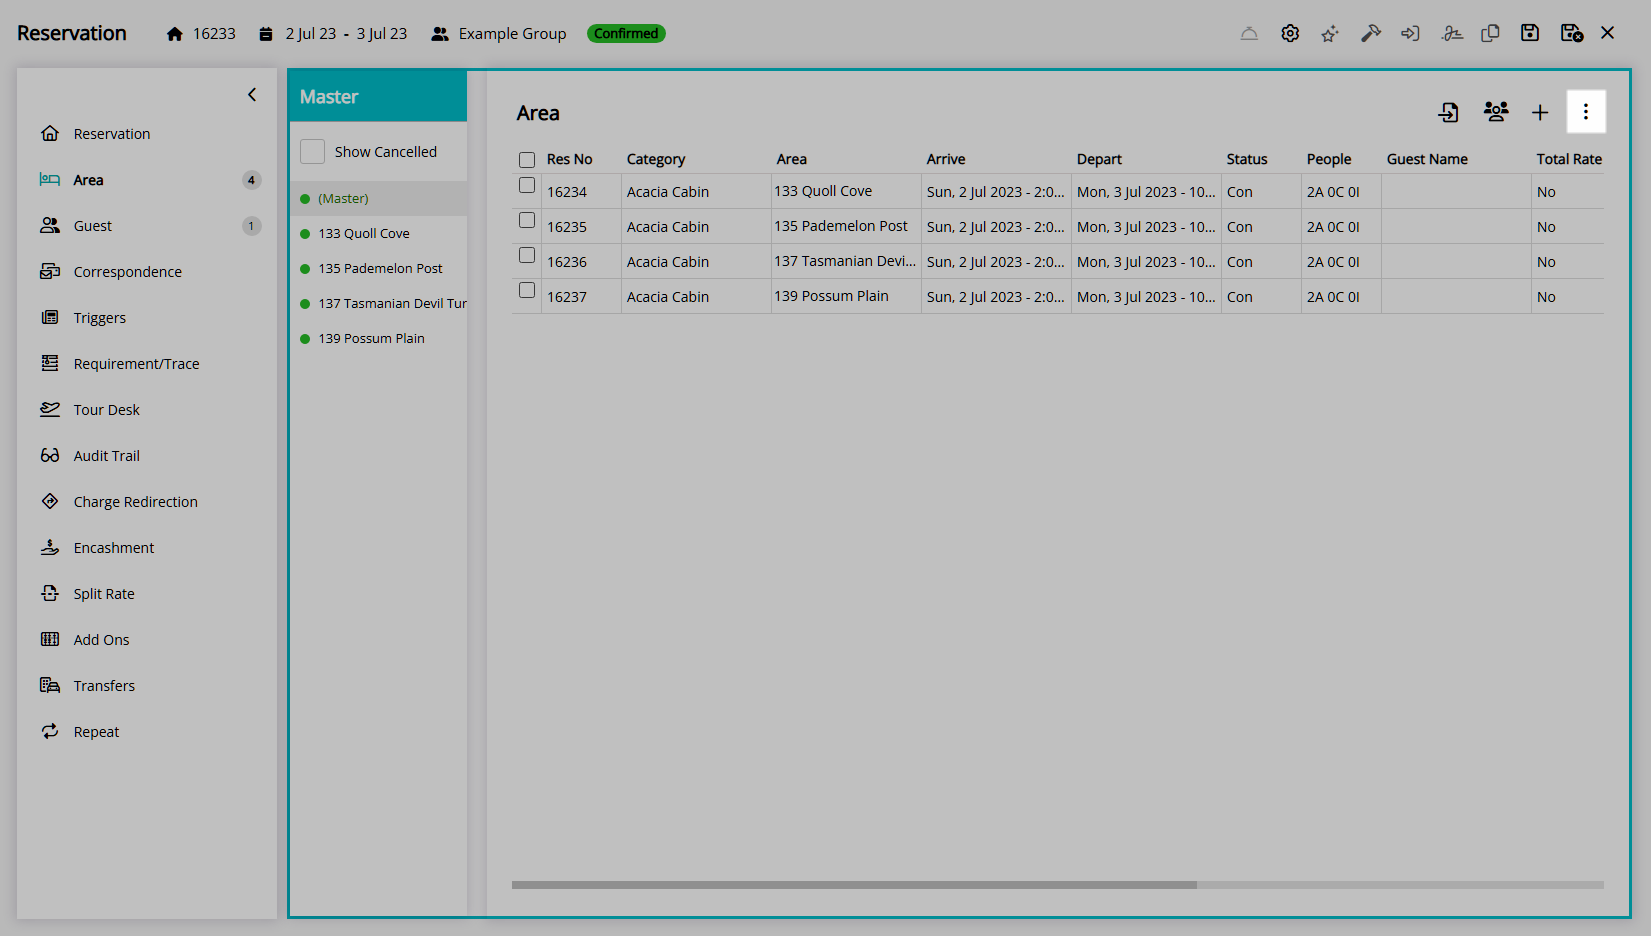
 'Options' icon.
 - Select 'Area List'.
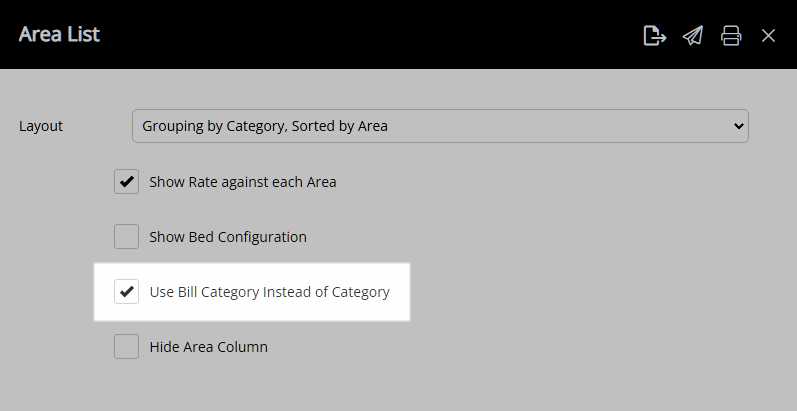
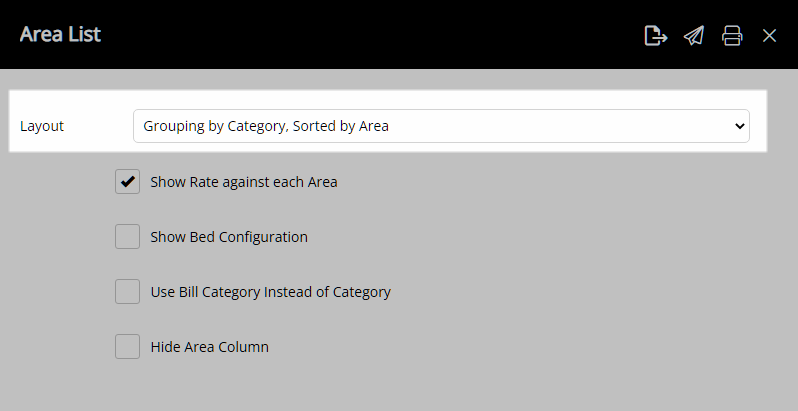
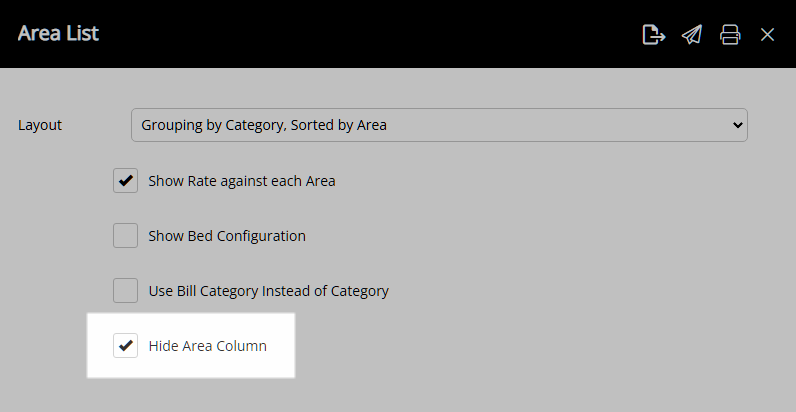
- Select a Layout.
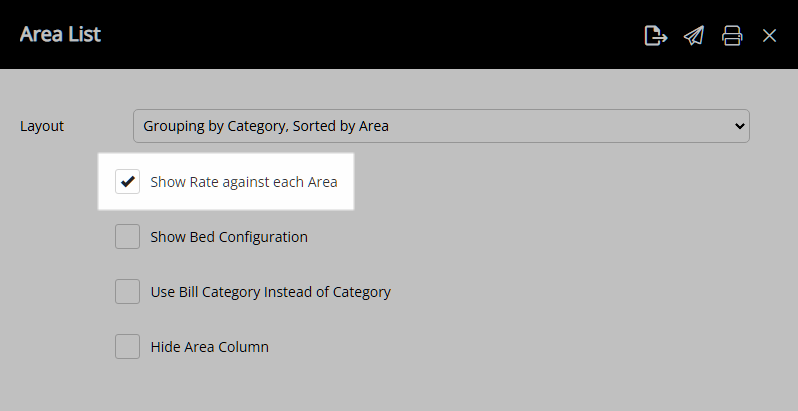
- Optional: Select the checkbox 'Show Rate against each Area'.
- Optional: Select the checkbox 'Show Bed Configuration'.
- Optional: Select the checkbox 'Use Bill Category instead of Category'.
- Optional: Select the checkbox 'Hide Area Column'.
- Select the
 'Print' icon.
 - Select the
 'Print' icon on the Area List.
 - Select 'Print'.
- Select the
-
Email Area List:
- Select the
 'Options' icon.
 - Select 'Area List'.
- Select a Layout.
- Optional: Select the checkbox 'Show Rate against each Area'.
- Optional: Select the checkbox 'Show Bed Configuration'.
- Optional: Select the checkbox 'Use Bill Category instead of Category'.
- Optional: Select the checkbox 'Hide Area Column'.
- Select the
 'Email Area List' icon.
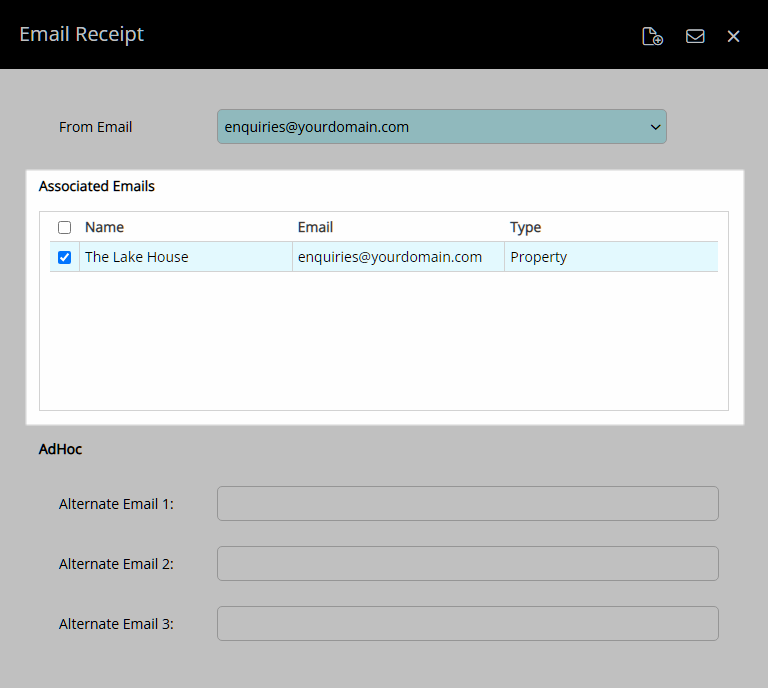
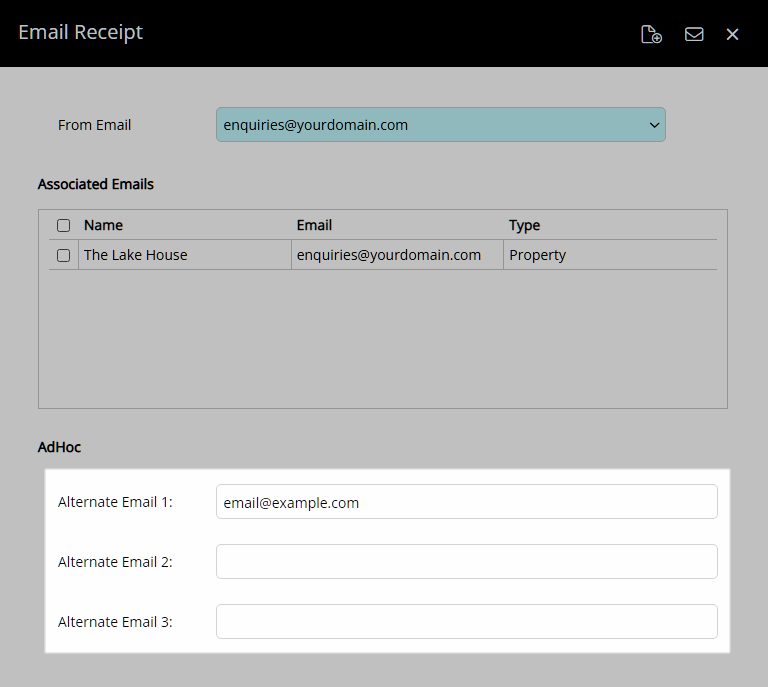
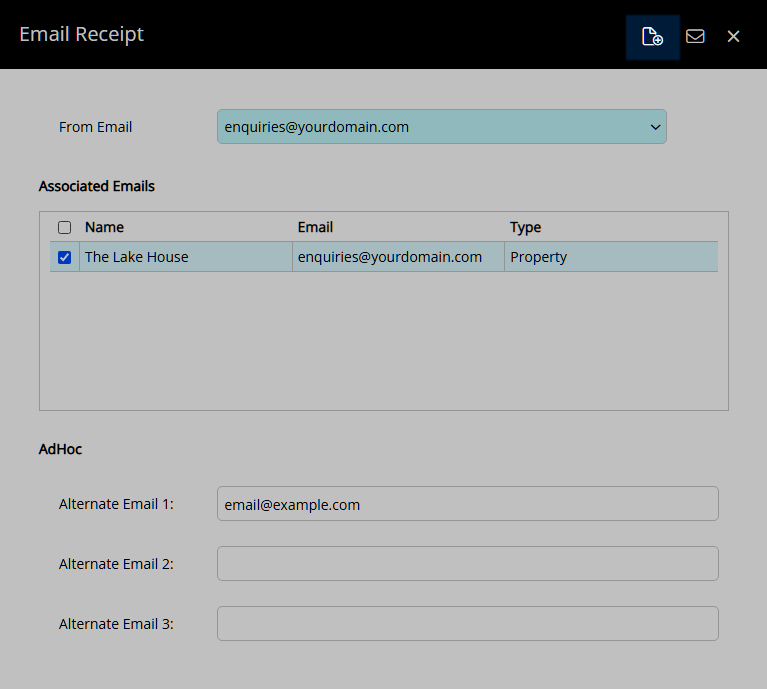
 - Select a From Email Address.
- Select or enter the Recipient Email Address.
-
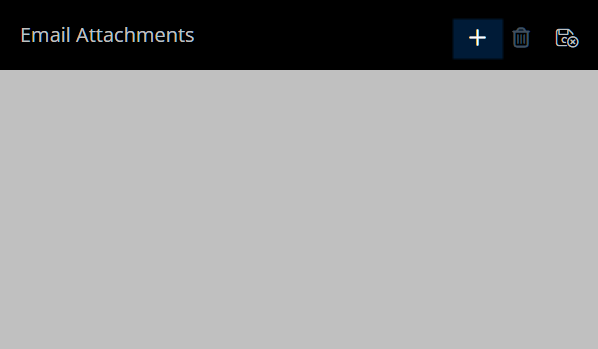
Optional: Attach a File.
- Select the
 'Attach File' icon.
 - Select the
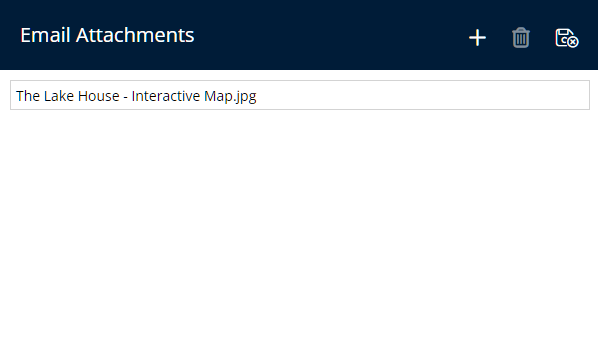
 'Add' icon.
 - Select a File and choose 'Ok'.
- Save/Exit.
- Select the
- Select the
 'Email' icon.
- Select the
-
Export Area List:
- Select the
 'Options' icon.
 - Select 'Area List'.
- Select a Layout.
- Optional: Select the checkbox 'Show Rate against each Area'.
- Optional: Select the checkbox 'Show Bed Configuration'.
- Optional: Select the checkbox 'Use Bill Category instead of Category'.
- Optional: Select the checkbox 'Hide Area Column'.
- Select the
 'Export' icon.
- Select the
-
Import Area List:
-
Select the
 'Import' icon.
 - Select the .csv File and choose 'Open'.
-
Select the
- Save/Exit.

The Export Area List option can be used to generate a .csv file of the Area List which can have the Guest Name filled in for each Reservation in the group and be imported back into RMS.
The Import Area List option can be used to import a previously exported Area List for the Master Reservation to update the Guest Name on each Reservation in the group.
-
Guide
- Add Button
Guide
Go to the Toolbar Menu Reservation Search in RMS.
Enter the Group Name, Guest Name or Reservation Number and press 'Enter'.

Select the Master in the Navigator Pane.
Navigate to the  'Area' tab.
Print Area List:
Select the  'Options' icon.
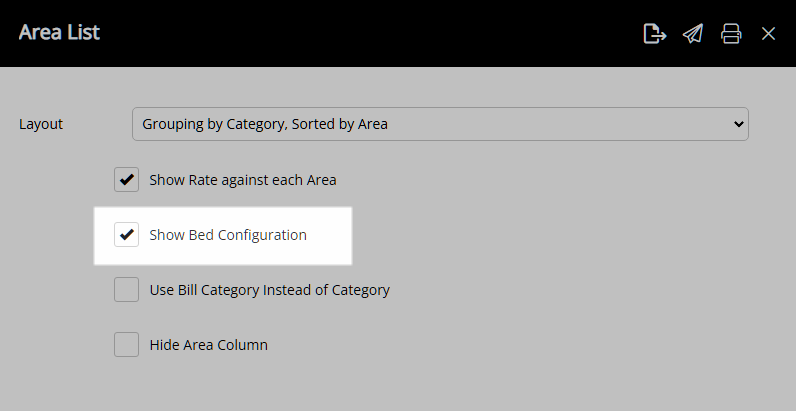
Select 'Area List'.

Select a Layout.

Optional: Select the checkbox 'Show Rate against each Area'.

Optional: Select the checkbox 'Show Bed Configuration'.

Optional: Select the checkbox 'Use Bill Category instead of Category'.
Optional: Select the checkbox 'Hide Area Column'.

Select the  'Print' icon.
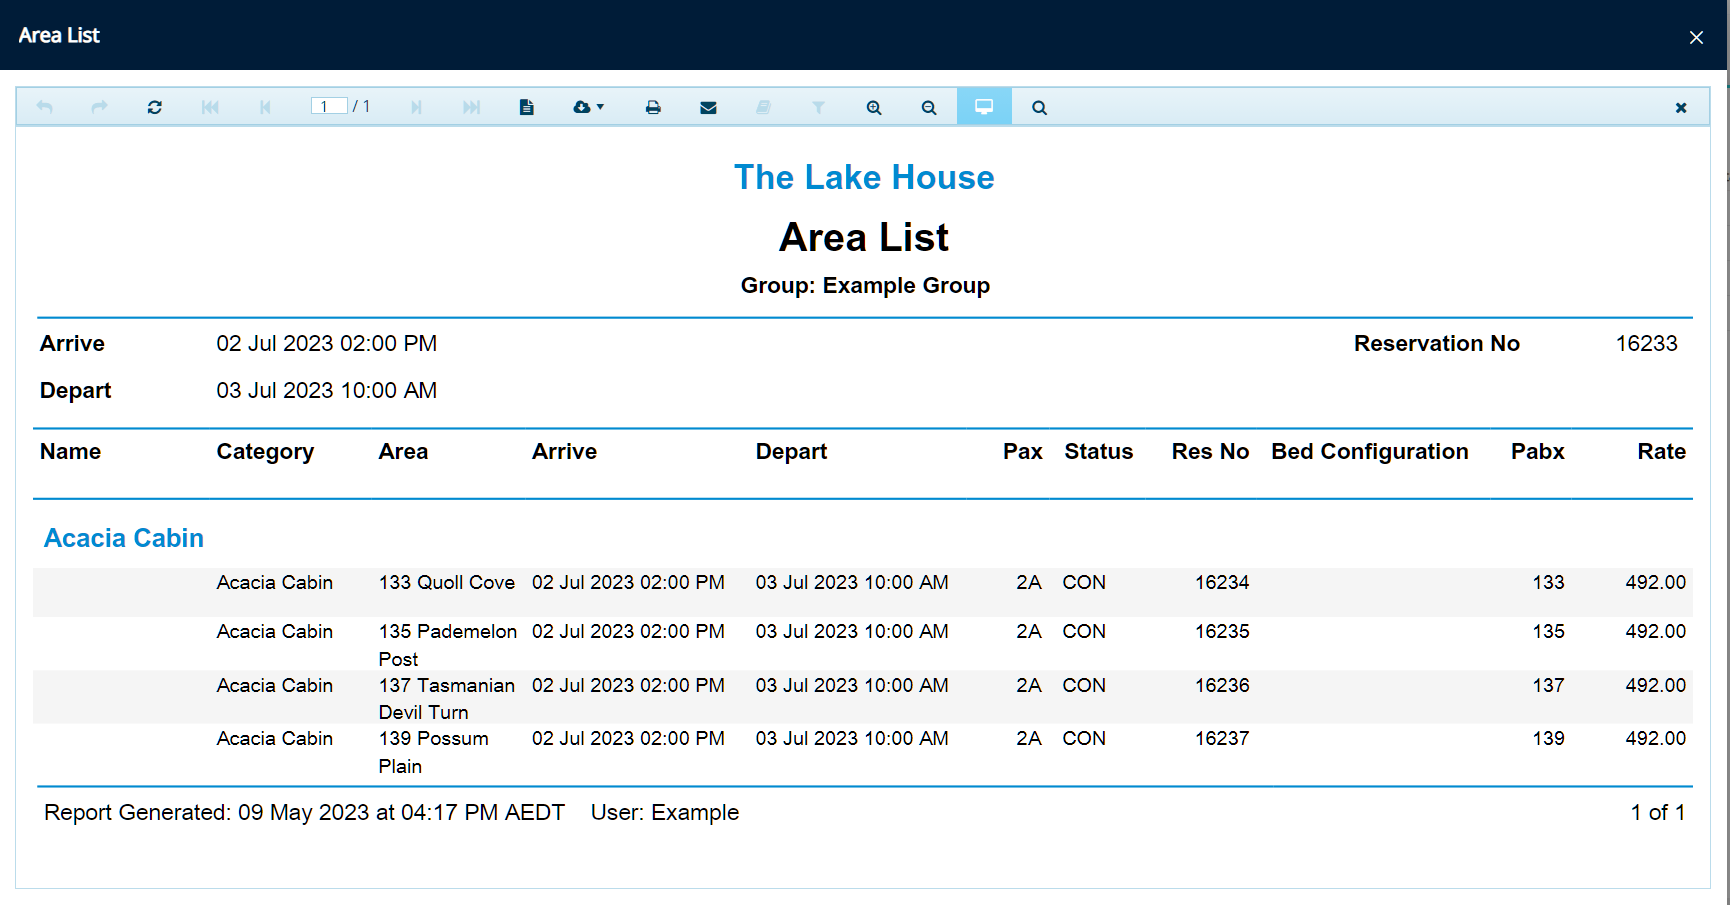
The Area List will open using the selected options with the browser's print window.
Email Area List:
Select the  'Options' icon.

Select 'Area List'.

Select a Layout.
Optional: Select the checkbox 'Show Rate against each Area'.
Optional: Select the checkbox 'Show Bed Configuration'.

Optional: Select the checkbox 'Use Bill Category instead of Category'.

Optional: Select the checkbox 'Hide Area Column'.
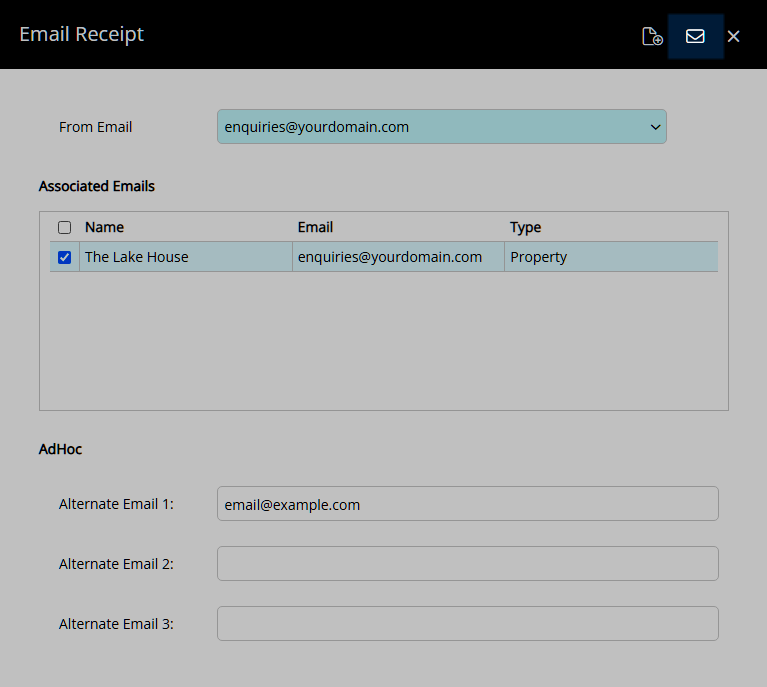
Select the  'Email Area List' icon.

Select a From Email Address.
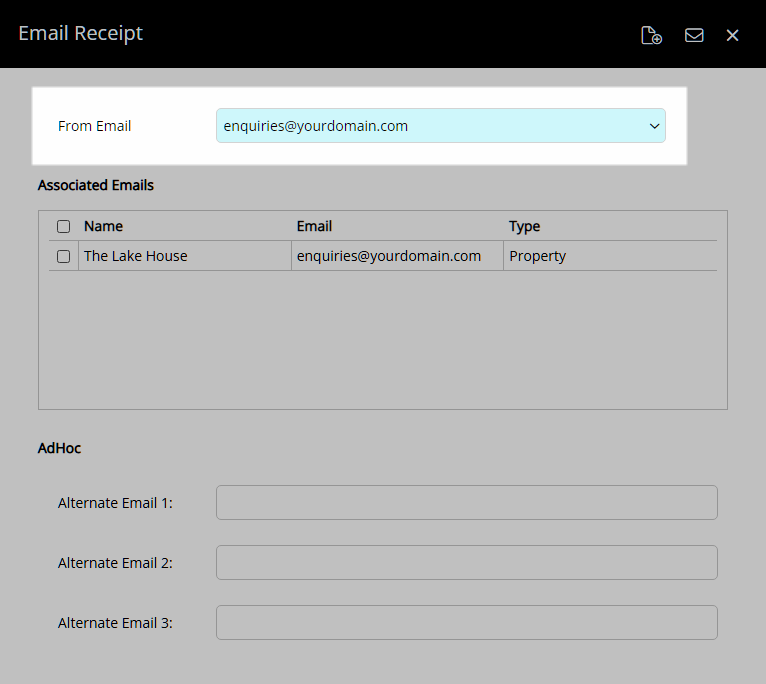
Select or enter the Recipient Email Address.
Optional: Attach a File.
Select the  'Attach File' icon.
Select the  'Add' icon.
Select a File and choose 'Ok'.
Select the  'Save/Exit' icon to store the changes made and return to the Ema
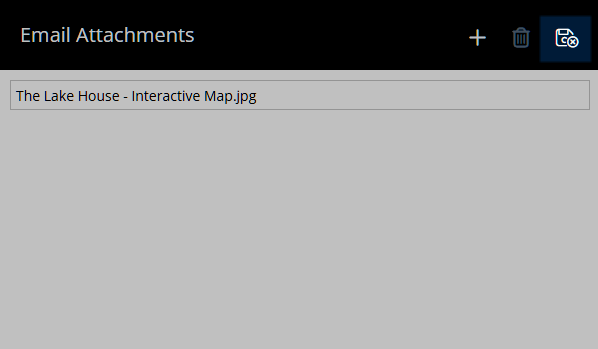
Select the  'Email' icon.
Export Area List:
Select the  'Options' icon.

Select 'Area List'.

Select a Layout.

Optional: Select the checkbox 'Show Rate against each Area'.

Optional: Select the checkbox 'Show Bed Configuration'.
Optional: Select the checkbox 'Use Bill Category instead of Category'.

Optional: Select the checkbox 'Hide Area Column'.

Select the  'Export' icon.
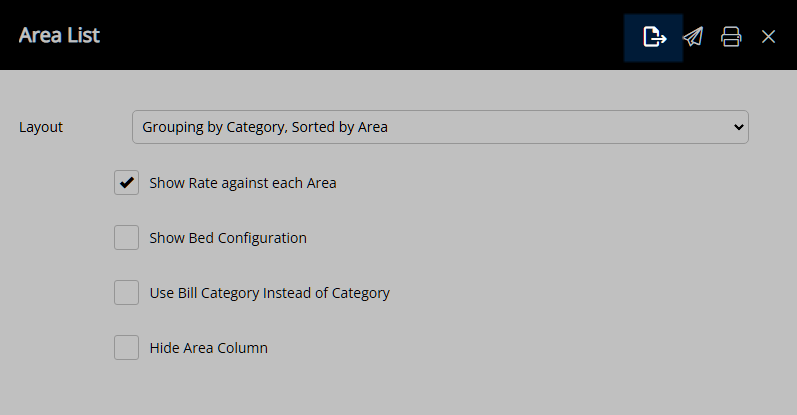
The Area List will be downloaded as a .csv file in the format that can be used to import with updated Guest Names.
Import Area List:
Select the ![]() 'Import' icon.
'Import' icon.
Select the .csv File and choose 'Open'.
The Master Reservation will be updated with the Guest Names entered on the imported .csv file.
Select the  'Save/Exit' icon to store the changes made and leave the Reservation.
Use
- Go to the Toolbar Menu Reservation Search in RMS.
- Enter the Group Name, Guest Name or Reservation Number and press 'Enter'.
- Select the Master in the Navigator Pane.
- Navigate to the 'Area' tab.
-
Print Area List:
- Select the 'Options' icon.
- Select 'Area List'.
- Select a Layout.
- Optional: Select the checkbox 'Show Rate against each Area'.
- Optional: Select the checkbox 'Show Bed Configuration'.
- Optional: Select the checkbox 'Use Bill Category instead of Category'.
- Optional: Select the checkbox 'Hide Area Column'.
- Select the 'Print' icon.
- Select the 'Print' icon on the Area List.
- Select 'Print'.
- Select the
-
Email Area List:
- Select the 'Options' icon.
- Select 'Area List'.
- Select a Layout.
- Optional: Select the checkbox 'Show Rate against each Area'.
- Optional: Select the checkbox 'Show Bed Configuration'.
- Optional: Select the checkbox 'Use Bill Category instead of Category'.
- Optional: Select the checkbox 'Hide Area Column'.
- Select the 'Email Area List' icon.
- Select a From Email Address.
- Select or enter the Recipient Email Address.
-
Optional: Attach a File.
- Select the 'Attach File' icon.
- Select the 'Add' icon.
- Select a File and choose 'Ok'.
- Save/Exit.
- Select the
- Select the 'Email' icon.
- Select the
-
Export Area List:
- Select the 'Options' icon.
- Select 'Area List'.
- Select a Layout.
- Optional: Select the checkbox 'Show Rate against each Area'.
- Optional: Select the checkbox 'Show Bed Configuration'.
- Optional: Select the checkbox 'Use Bill Category instead of Category'.
- Optional: Select the checkbox 'Hide Area Column'.
- Select the 'Export' icon.
- Select the
-
Import Area List:
-
Select the 'Import' icon.
- Select the .csv File and choose 'Open'.
-
Select the
- Save/Exit.
The Export Area List option can be used to generate a .csv file of the Area List which can have the Guest Name filled in for each Reservation in the group and be imported back into RMS.
The Import Area List option can be used to import a previously exported Area List for the Master Reservation to update the Guest Name on each Reservation in the group.
-
Guide
- Add Button
Guide
Go to the Toolbar Menu Reservation Search in RMS.
Enter the Group Name, Guest Name or Reservation Number and press 'Enter'.
Select the Master in the Navigator Pane.
Navigate to the 'Area' tab.
Print Area List:
Select the 'Options' icon.
Select 'Area List'.
Select a Layout.
Optional: Select the checkbox 'Show Rate against each Area'.
Optional: Select the checkbox 'Show Bed Configuration'.
Optional: Select the checkbox 'Use Bill Category instead of Category'.
Optional: Select the checkbox 'Hide Area Column'.
Select the 'Print' icon.
The Area List will open using the selected options with the browser's print window.
Email Area List:
Select the 'Options' icon.
Select 'Area List'.
Select a Layout.
Optional: Select the checkbox 'Show Rate against each Area'.
Optional: Select the checkbox 'Show Bed Configuration'.
Optional: Select the checkbox 'Use Bill Category instead of Category'.
Optional: Select the checkbox 'Hide Area Column'.
Select the 'Email Area List' icon.
Select a From Email Address.
Select or enter the Recipient Email Address.
Optional: Attach a File.
Select the 'Attach File' icon.
Select the 'Add' icon.
Select a File and choose 'Ok'.
Select the 'Save/Exit' icon to store the changes made and return to the Ema
Select the 'Email' icon.
Export Area List:
Select the 'Options' icon.
Select 'Area List'.
Select a Layout.
Optional: Select the checkbox 'Show Rate against each Area'.
Optional: Select the checkbox 'Show Bed Configuration'.
Optional: Select the checkbox 'Use Bill Category instead of Category'.
Optional: Select the checkbox 'Hide Area Column'.
Select the 'Export' icon.
The Area List will be downloaded as a .csv file in the format that can be used to import with updated Guest Names.
Import Area List:
Select the ![]() 'Import' icon.
'Import' icon.
Select the .csv File and choose 'Open'.
The Master Reservation will be updated with the Guest Names entered on the imported .csv file.
Select the 'Save/Exit' icon to store the changes made and leave the Reservation.