Windcave EFTPOS
Setup an EFTPOS terminal when using Windcave as the Payment Gateway in RMS.
Windcave EFTPOS allows payment to be sent to the terminal for processing from RMS.
-
Information
-
Setup
- Add Button
Information
Windcave EFTPOS allows payment to be sent to the terminal for processing from RMS.
Payment Gateways are an eCommerce application provided by merchant services to authorise and process credit card payments in a PCI compliant manner.
Connecting a Payment Gateway account with RMS provides secure credit card storage, payment processing and refunds directly from an account in RMS.
Adding the Windcave EFTPOS terminal in RMS enables transactions processed on the terminal to record on the account in RMS.

A Windcave account connected in RMS is required to use the Windcave EFTPOS terminal.
EFTPOS (Pymt Gateway) is a default System Label that can be customised.

System Administrators will require Security Profile access to use this feature.
-
Setup
- Add Button
Setup
Have your System Administrator complete the following.
- Go to Setup > Lookup Tables > EFTPOS (Pymt Gateway) in RMS.
- Select the
 'Add' icon.
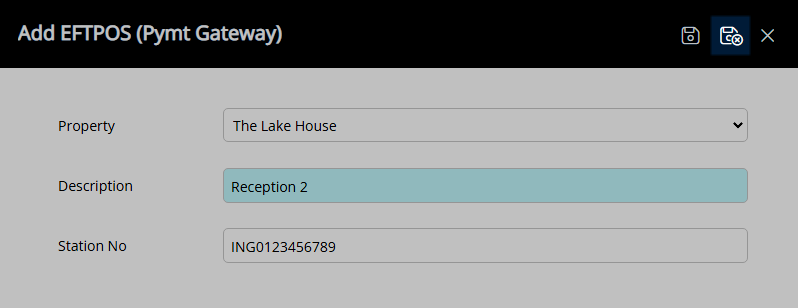
 - Select a Property.
- Enter a Description.
- Enter the Station Number.
- Save/Exit.

The Station Number can be located on the Windcave terminal.
-
Guide
- Add Button
Guide
Go to Setup > Lookup Tables > EFTPOS (Pymt Gateway) in RMS.

Select the ![]() 'Add' icon.
'Add' icon.

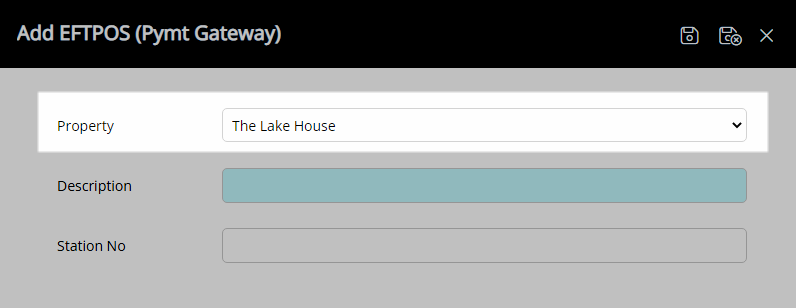
Select a Property.
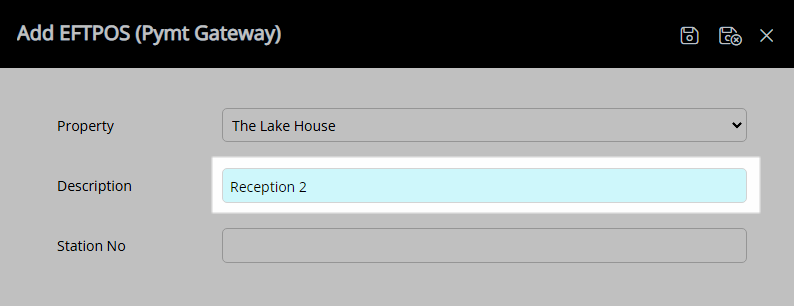
Enter a Description.
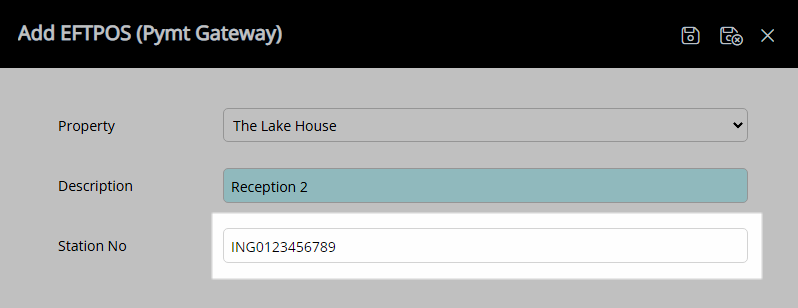
Enter the Station Number.
Select 'Save/Exit' to store the changes made and leave the setup.
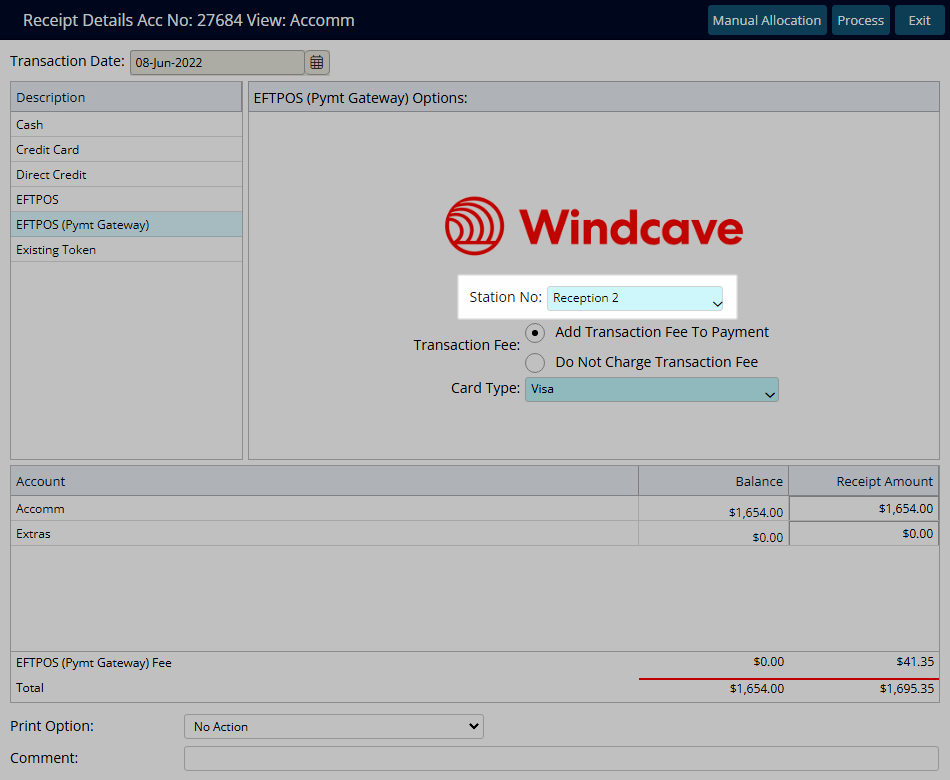
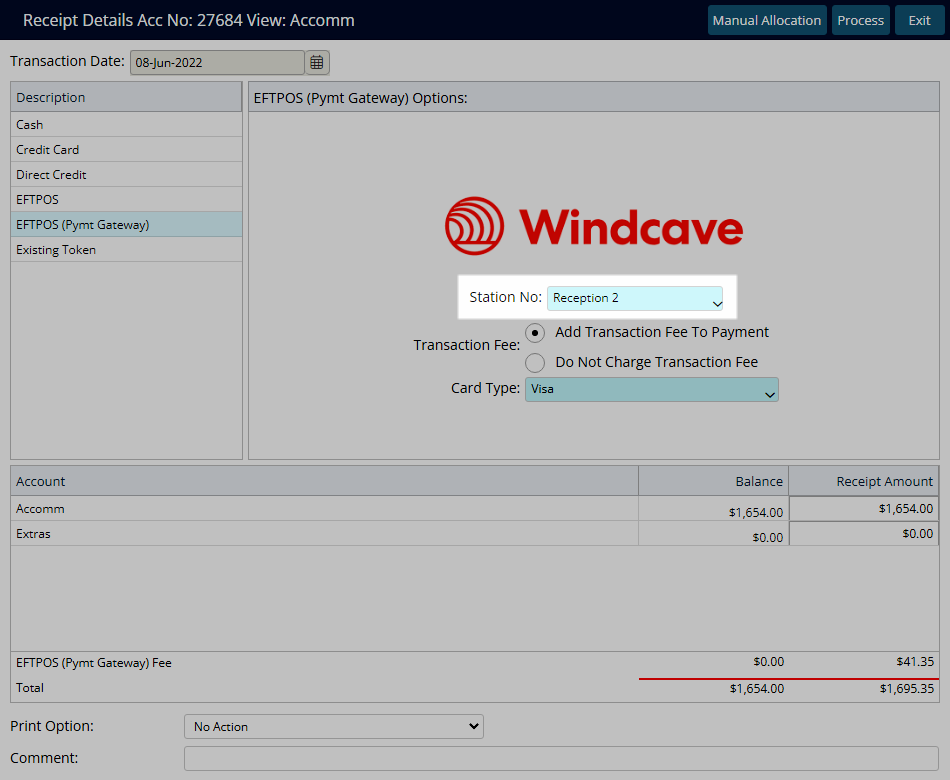
This terminal will now be available for selection when creating an EFTPOS Receipt in RMS.
Setup
Have your System Administrator complete the following.
- Go to Setup > Lookup Tables > EFTPOS (Pymt Gateway) in RMS.
- Select the
 'Add' icon.
 - Select a Property.
- Enter a Description.
- Enter the Station Number.
- Save/Exit.

The Station Number can be located on the Windcave terminal.
-
Guide
- Add Button
Guide
Go to Setup > Lookup Tables > EFTPOS (Pymt Gateway) in RMS.

Select the ![]() 'Add' icon.
'Add' icon.

Select a Property.

Enter a Description.

Enter the Station Number.

Select 'Save/Exit' to store the changes made and leave the setup.

This terminal will now be available for selection when creating an EFTPOS Receipt in RMS.
