Move a Reservation Across Properties
Moving a reservation to a different property in RMS.
Enterprise Users with access to multiple Properties can move a Reservation between properties when using the option 'Allow Moving Reservations Across Properties'.
-
Information
-
Use
- Add Button
Information
Enterprise Users with access to multiple Properties can move a Reservation between properties when using the option 'Allow Moving Reservations Across Properties'.
'Allow Moving Reservations Across Properties' is an option Enterprise customers can enable that will allow Reservations and all transactions on the Reservation Account to be moved between Properties.
This option will enable Users to move a Reservation between Properties included on their Security Profile.
Moving a Reservation to a different Property where transactions have been created on the Reservation Account will reallocate the transactions to the new Property.
Trust Accounting Properties can use this option if using One Trust Bank Account.

Reservation, Guest, Area and Category are default System Labels that can be customised.
The option 'Allow Moving Reservations Across Properties' cannot be used when interfacing with Revenue Management tools.

Users will require Security Profile access to use this feature.
-
Use
- Add Button
Use
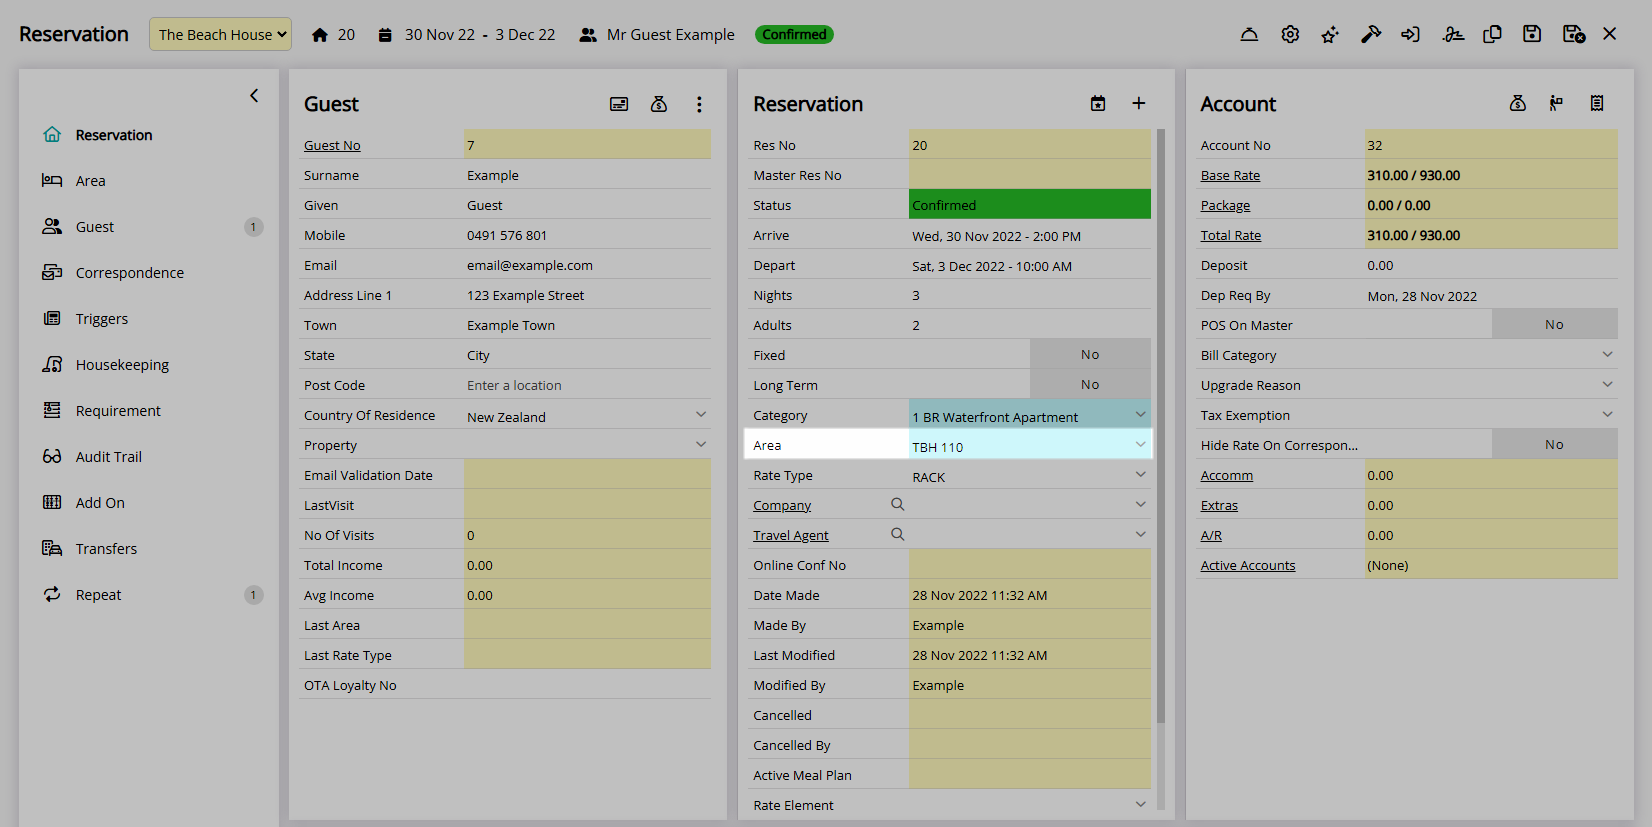
- Go to the Toolbar Menu Reservation Search in RMS.
- Enter the Guest Name or Reservation Number and press 'Enter'.
- Remove the selected Category.
- Select a Property.
- Select a Category.
- Select an Area.
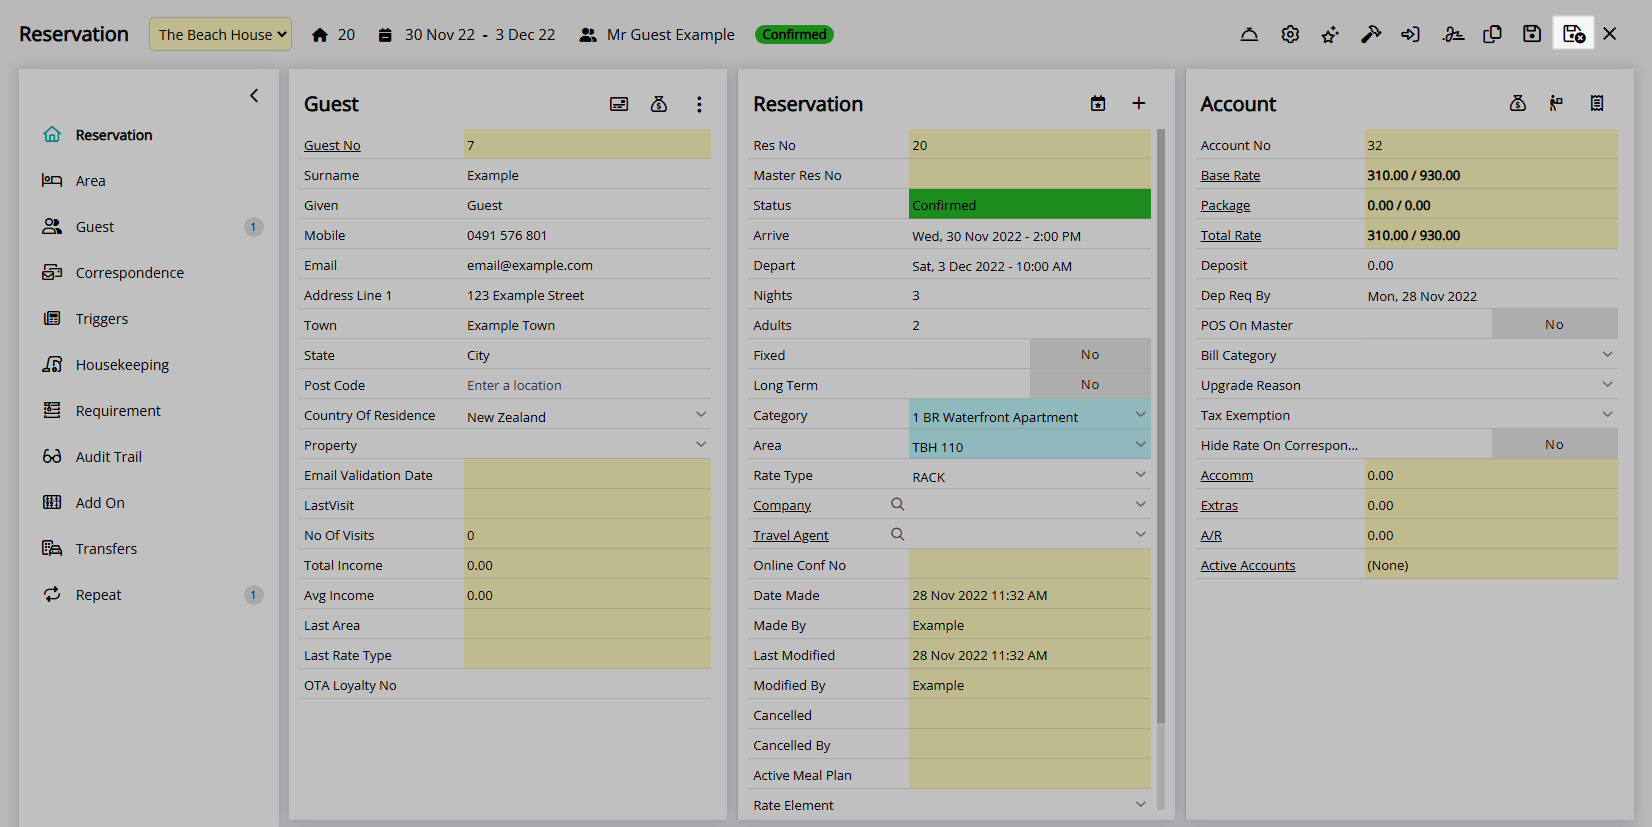
- Save/Exit.
-
Guide
- Add Button
Guide
Go to the Toolbar Menu Reservation Search in RMS.
Enter the Guest Name or Reservation Number and press 'Enter'.

Remove the selected Category.
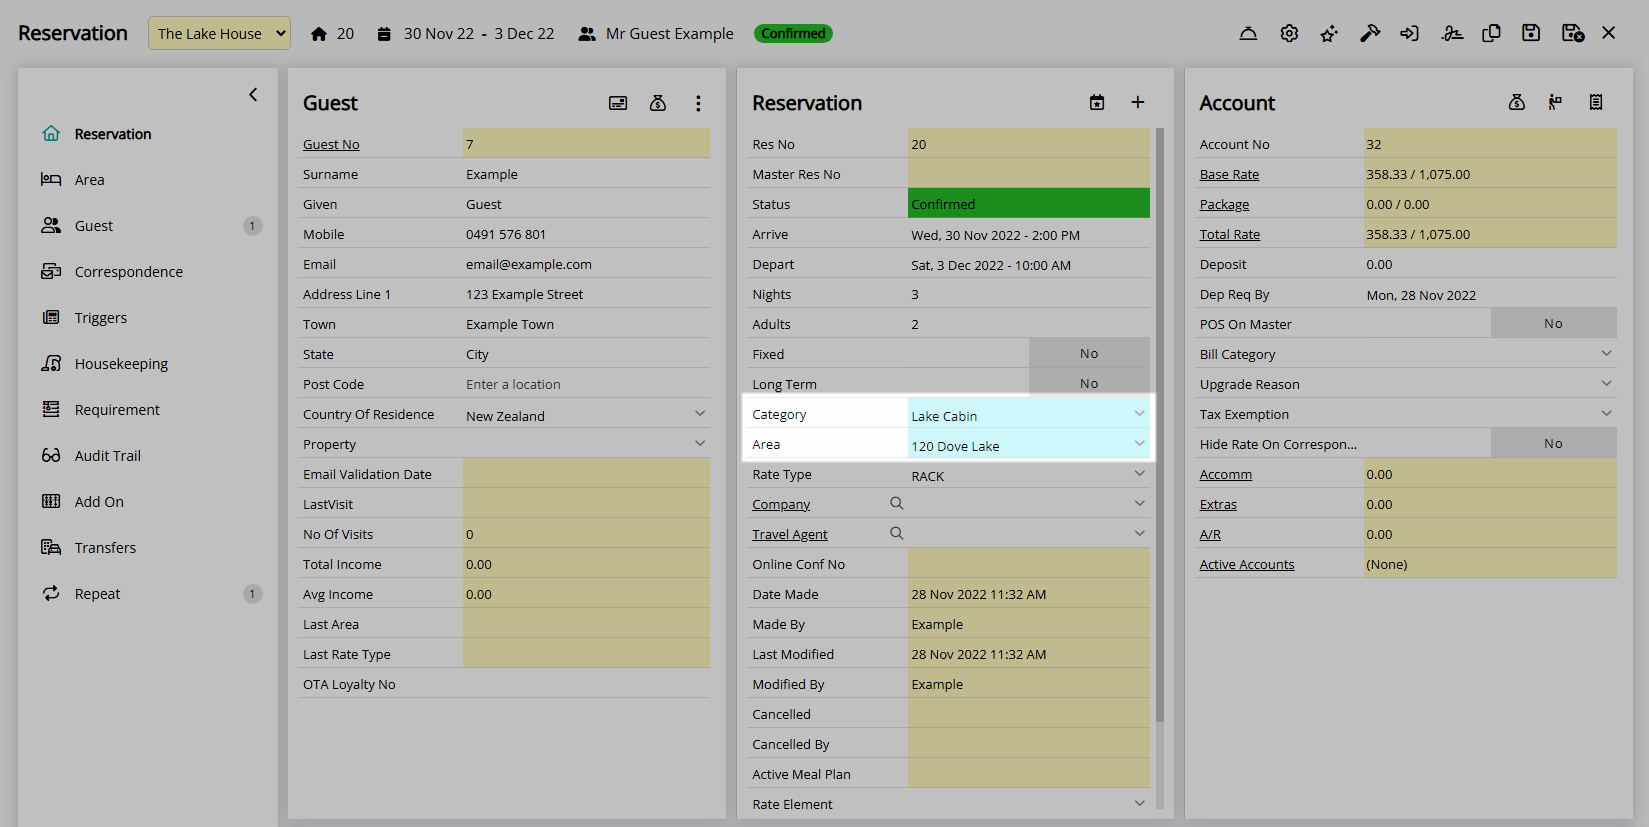
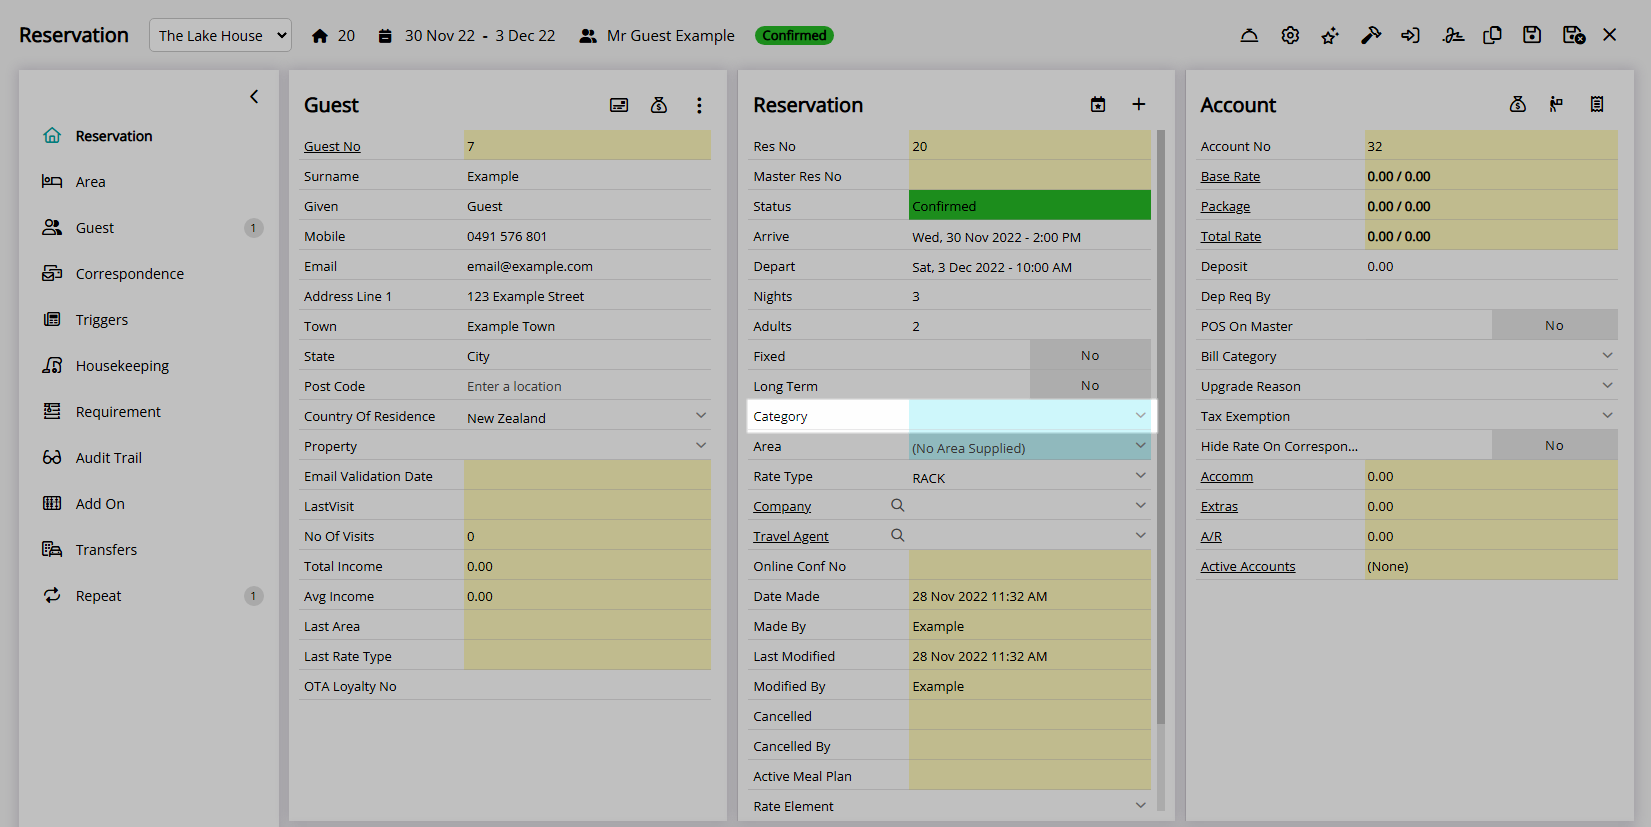
Select a Property.
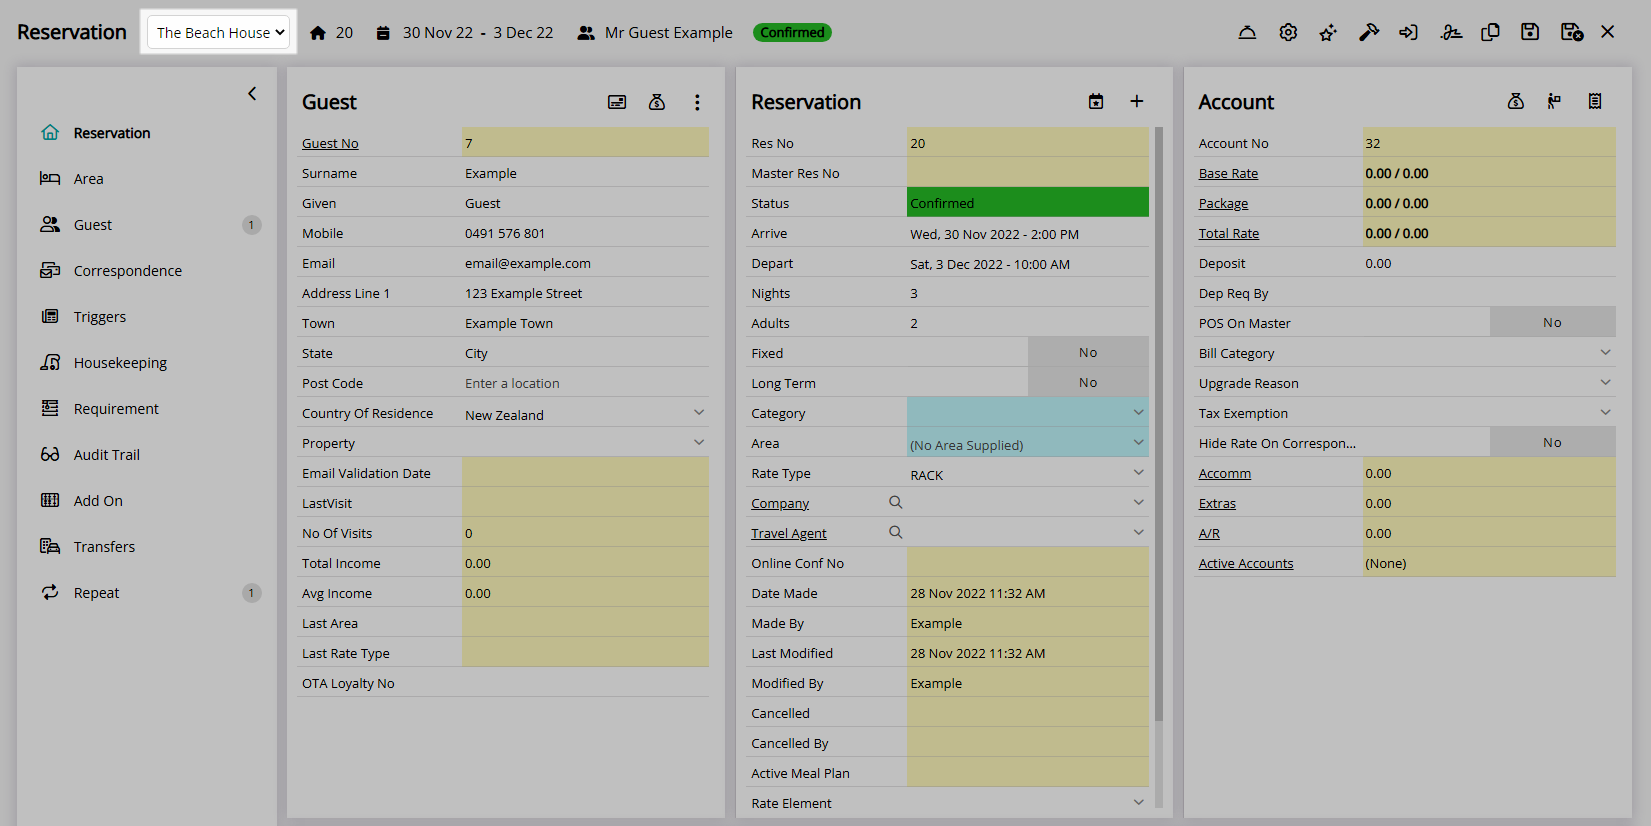
Select a Category.
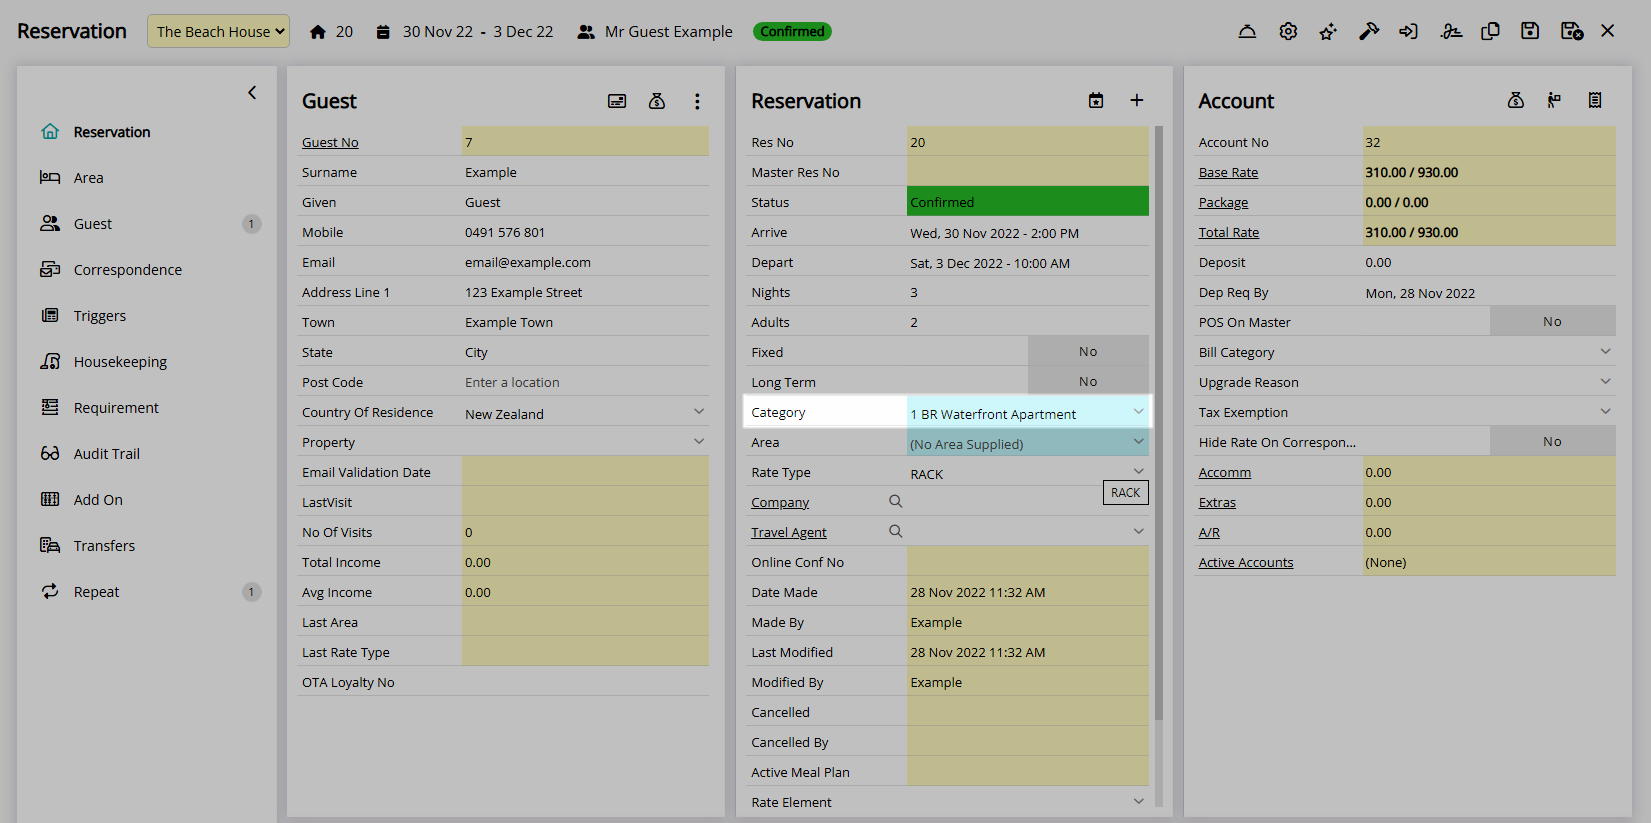
Select an Area.
Select 'Save/Exit' to store the changes made and leave the Reservation.
The Reservation will now be in the Category and Area at the selected Property with any transactions on the Reservation Account reallocated.
Use
- Go to the Toolbar Menu Reservation Search in RMS.
- Enter the Guest Name or Reservation Number and press 'Enter'.
- Remove the selected Category.
- Select a Property.
- Select a Category.
- Select an Area.
- Save/Exit.
-
Guide
- Add Button
Guide
Go to the Toolbar Menu Reservation Search in RMS.
Enter the Guest Name or Reservation Number and press 'Enter'.
Remove the selected Category.
Select a Property.
Select a Category.
Select an Area.
Select 'Save/Exit' to store the changes made and leave the Reservation.
The Reservation will now be in the Category and Area at the selected Property with any transactions on the Reservation Account reallocated.