Campaigns
Create email marketing campaigns using the campaign editor in RMS.
The campaign editor can be used to create professional branded marketing emails with a wide range of elements and options to design
A wide range of elements and options are available that can be used to create professional and branded email campaigns.
Email campaigns can be sent to mailing lists created in Report Writer with performance tracked using the available reports.
Basics & Navigation
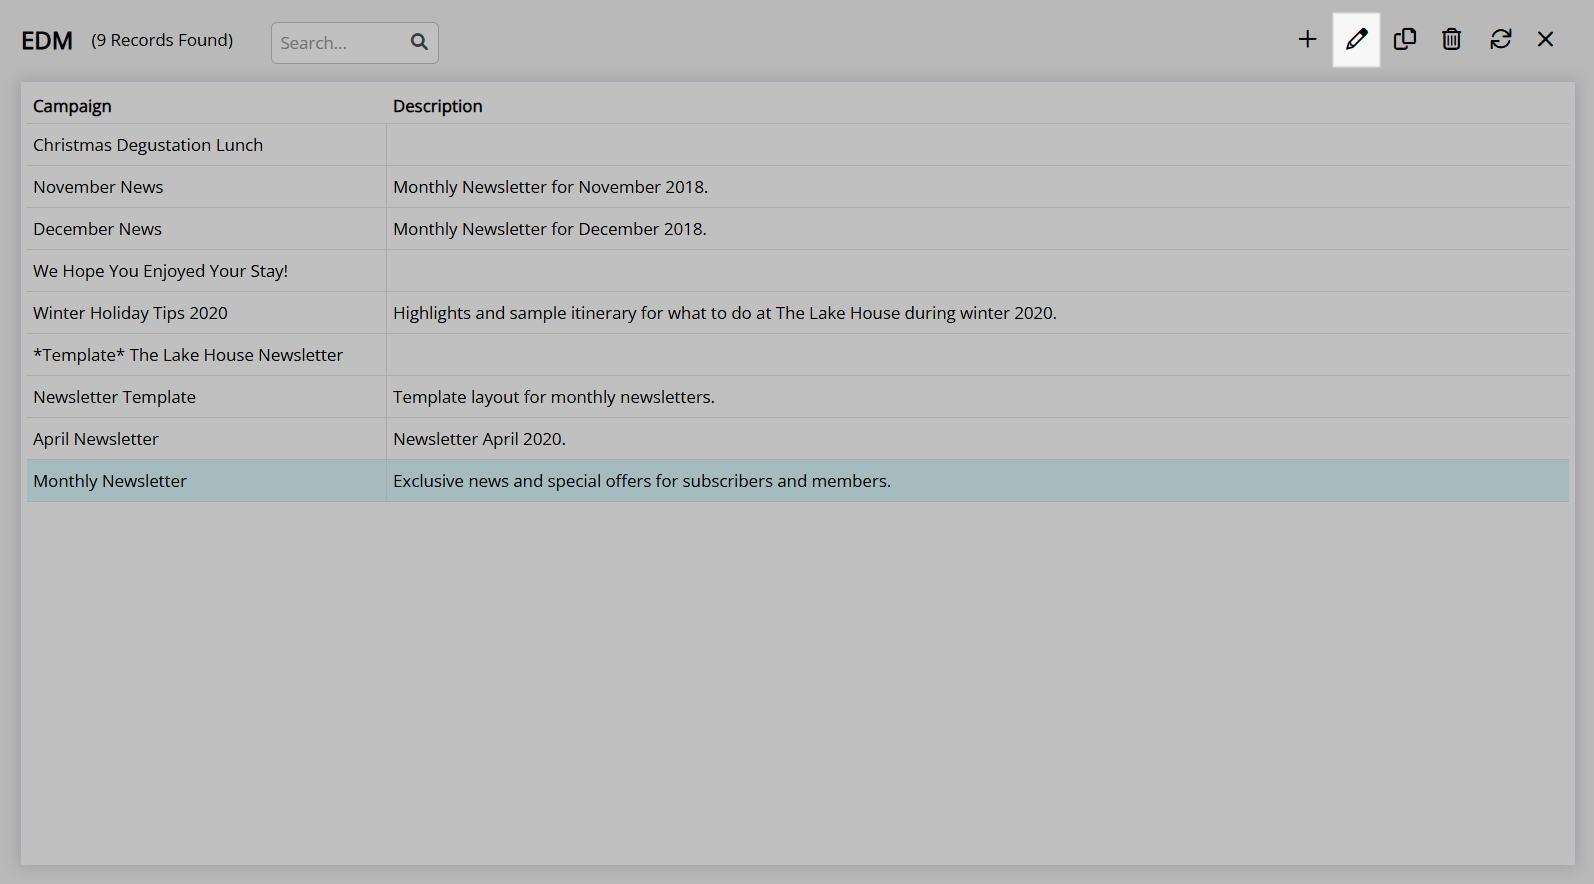
Navigate to EDM > Create Campaign in the side menu of RMS.
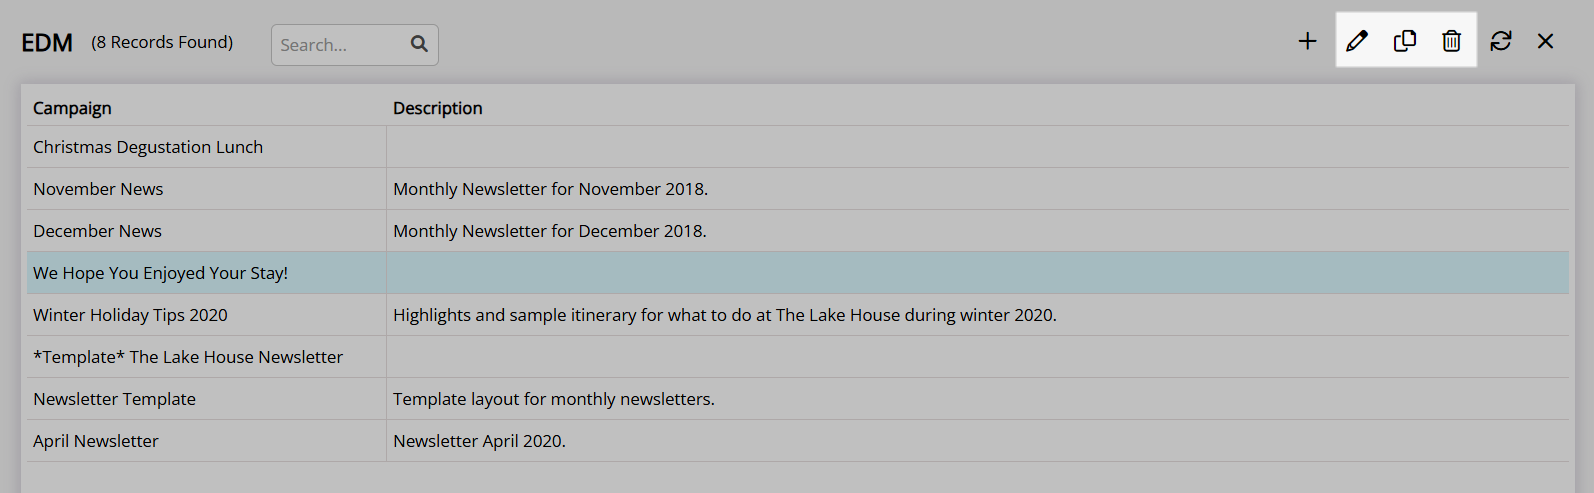
Select the  'Add' icon to create a new campaign layout.

Select an existing campaign and choose the  'Edit' icon to modify, the
  'Copy' icon to duplicate or the
  'Delete' icon to permanently remove the campaign.
 'Copy' icon to duplicate created templates and save time when preparing new email campaigns.
Content Elements
The campaign editor consists of a library of elements that can be used to design the email campaign.
| Element | Description |
|---|---|
 |
Inserts a text box anywhere within the email layout and includes a miniature WYSIWYG editor to format the inserted text, an Insert Merge Field button and the 'Details' section to apply advanced HTML and CSS formatting to text within the inserted text box. |
 |
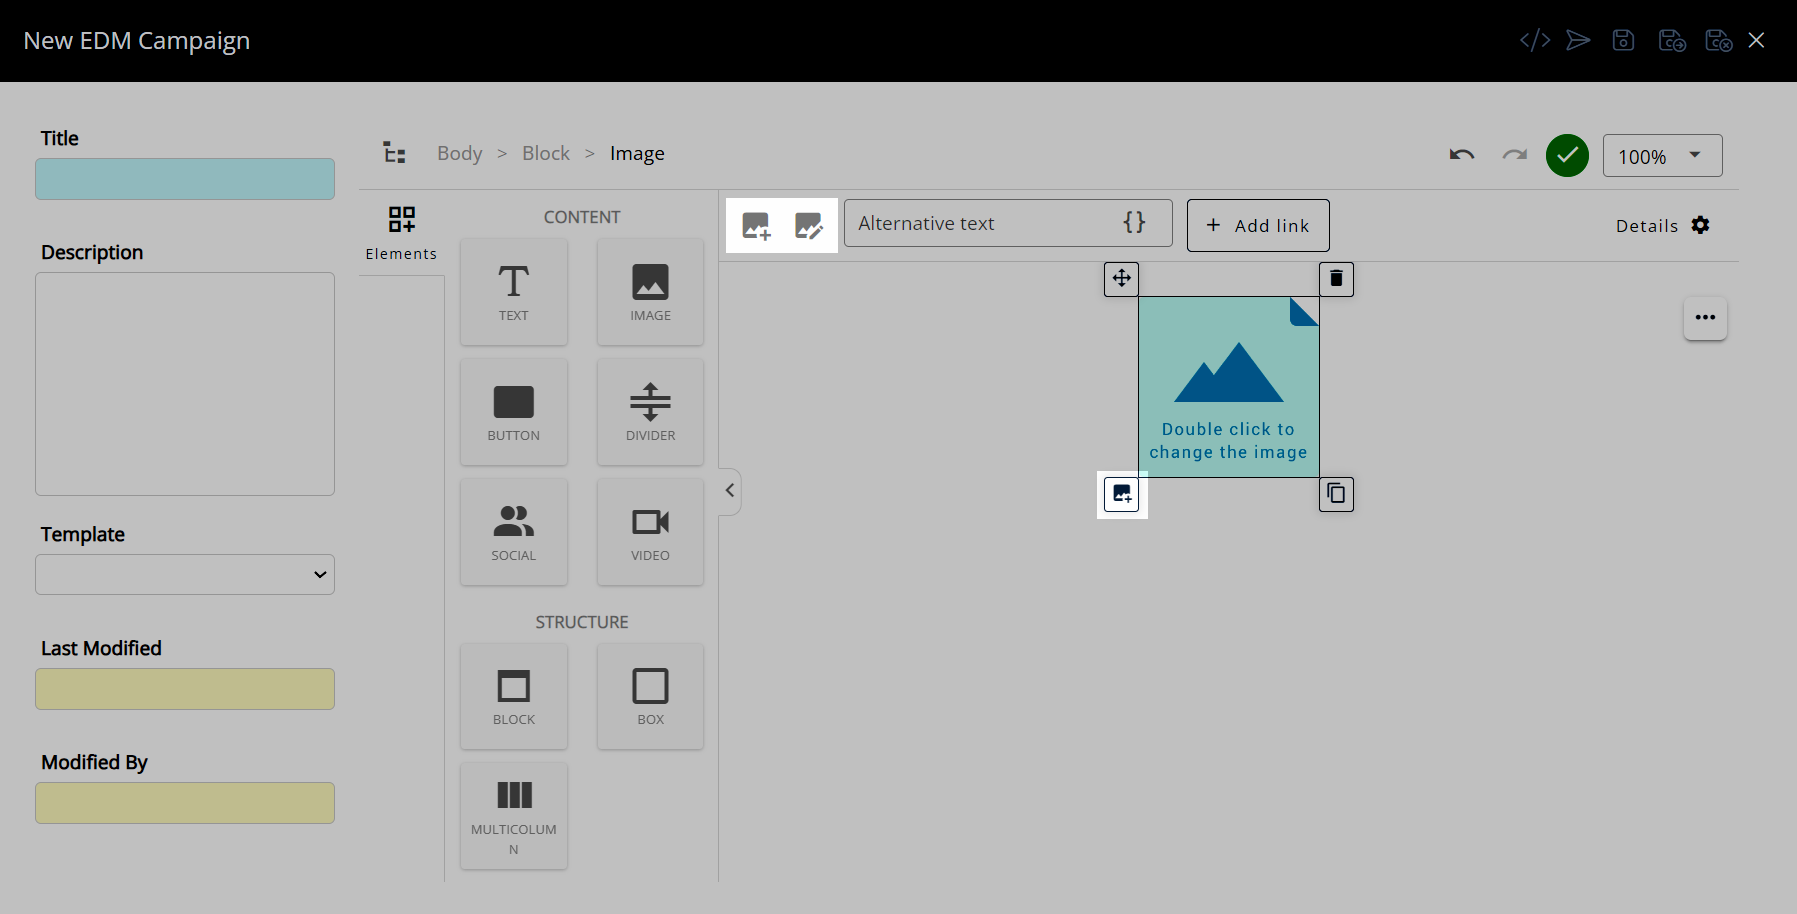
Inserts an image placeholder that can be replaced by any image in the Image Gallery. Select the image placeholder and choose the  'New Image' icon or 'New Image' icon or  'Edit Image' icon to open the Image Gallery. 'Edit Image' icon to open the Image Gallery.Image Details include image size options, mobile responsiveness, image alignment, padding, margins, border and the ability to set a background image. |
 |
Inserts a clickable button that will open the entered URL with additional options to change the display of the button. |
 |
Inserts a decorative spacing element with advanced display options to change its design. |
 |
Inserts a row of four buttons for common social media sites that can be linked to custom URLs. Additional icons for a library of social networking sites can be added in the advanced details section with additional display options available. |
 |
Embeds a playable video using the URL source entered with display options. |
 |
The Block element is used to structure sections of the layout and can be used to group a collection of elements together to be re-used. |
 |
The Box element is used to group or segment content elements together providing advanced placement options. |
 |
Inserts an element that displays as multiple columns which can be used to provide visual interest and vary the layout. Advanced options can be used to customise the design, number of columns, spacing and behaviour on mobile devices. |
 |
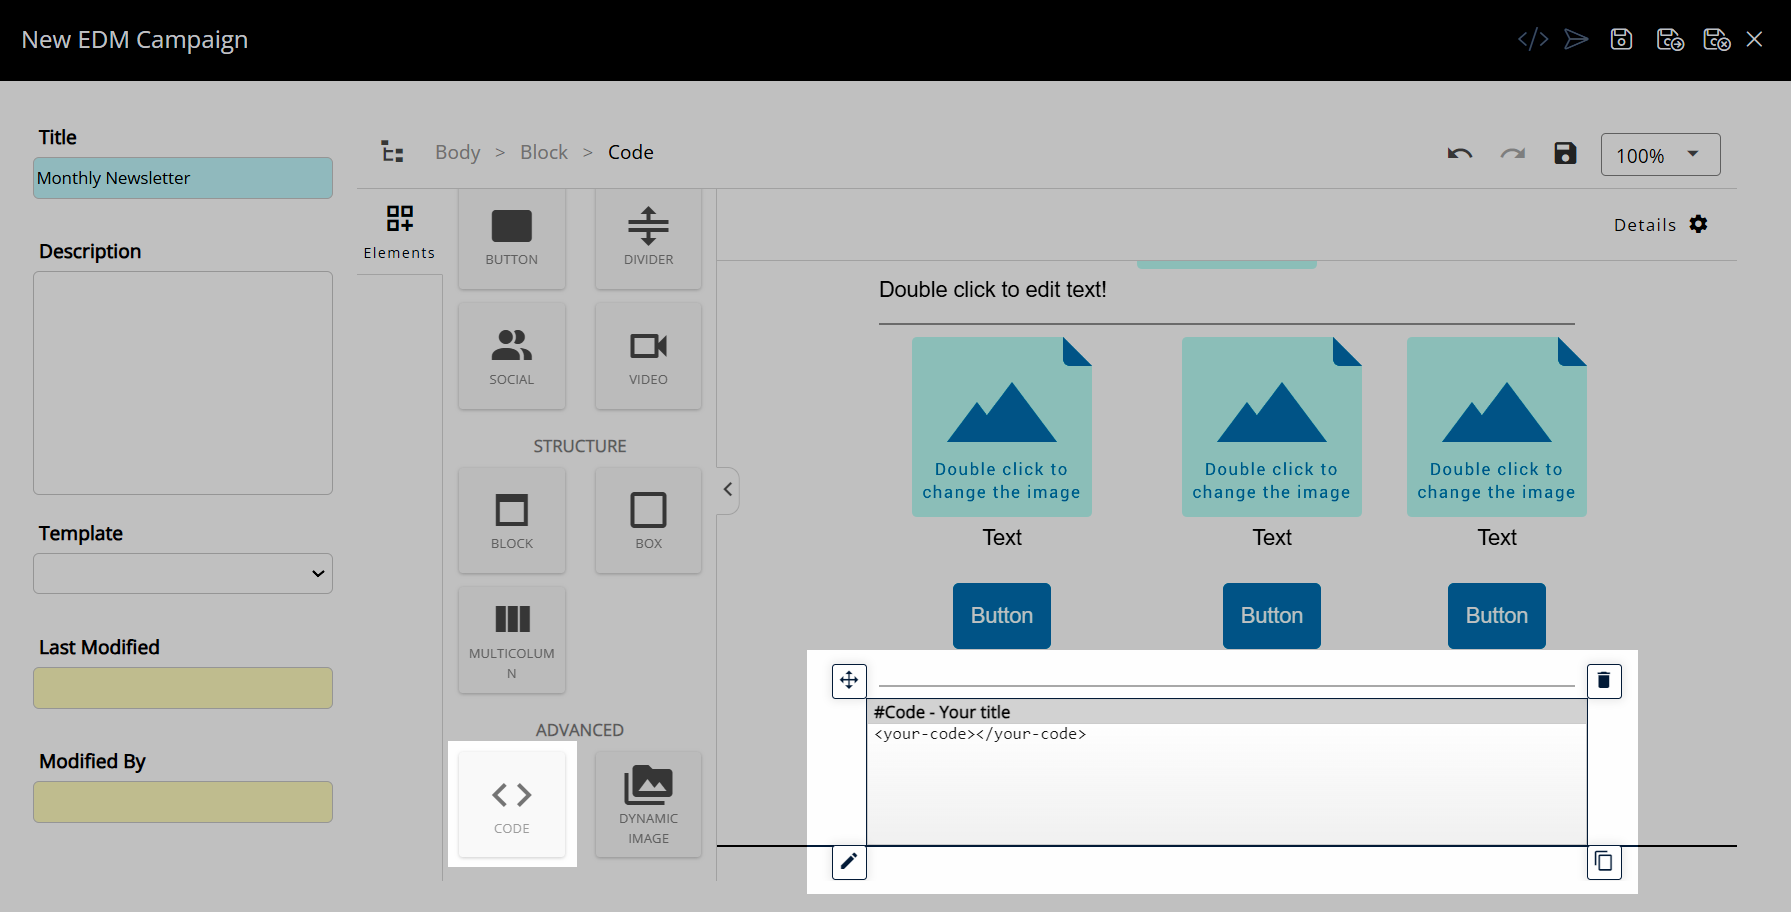
An advanced element that can be used write HTML and CSS to customise the design of the campaign layout. |
 |
An advanced element that uses the inserted URL as the image source which enables changing the image at it's source instead of within the campaign. |
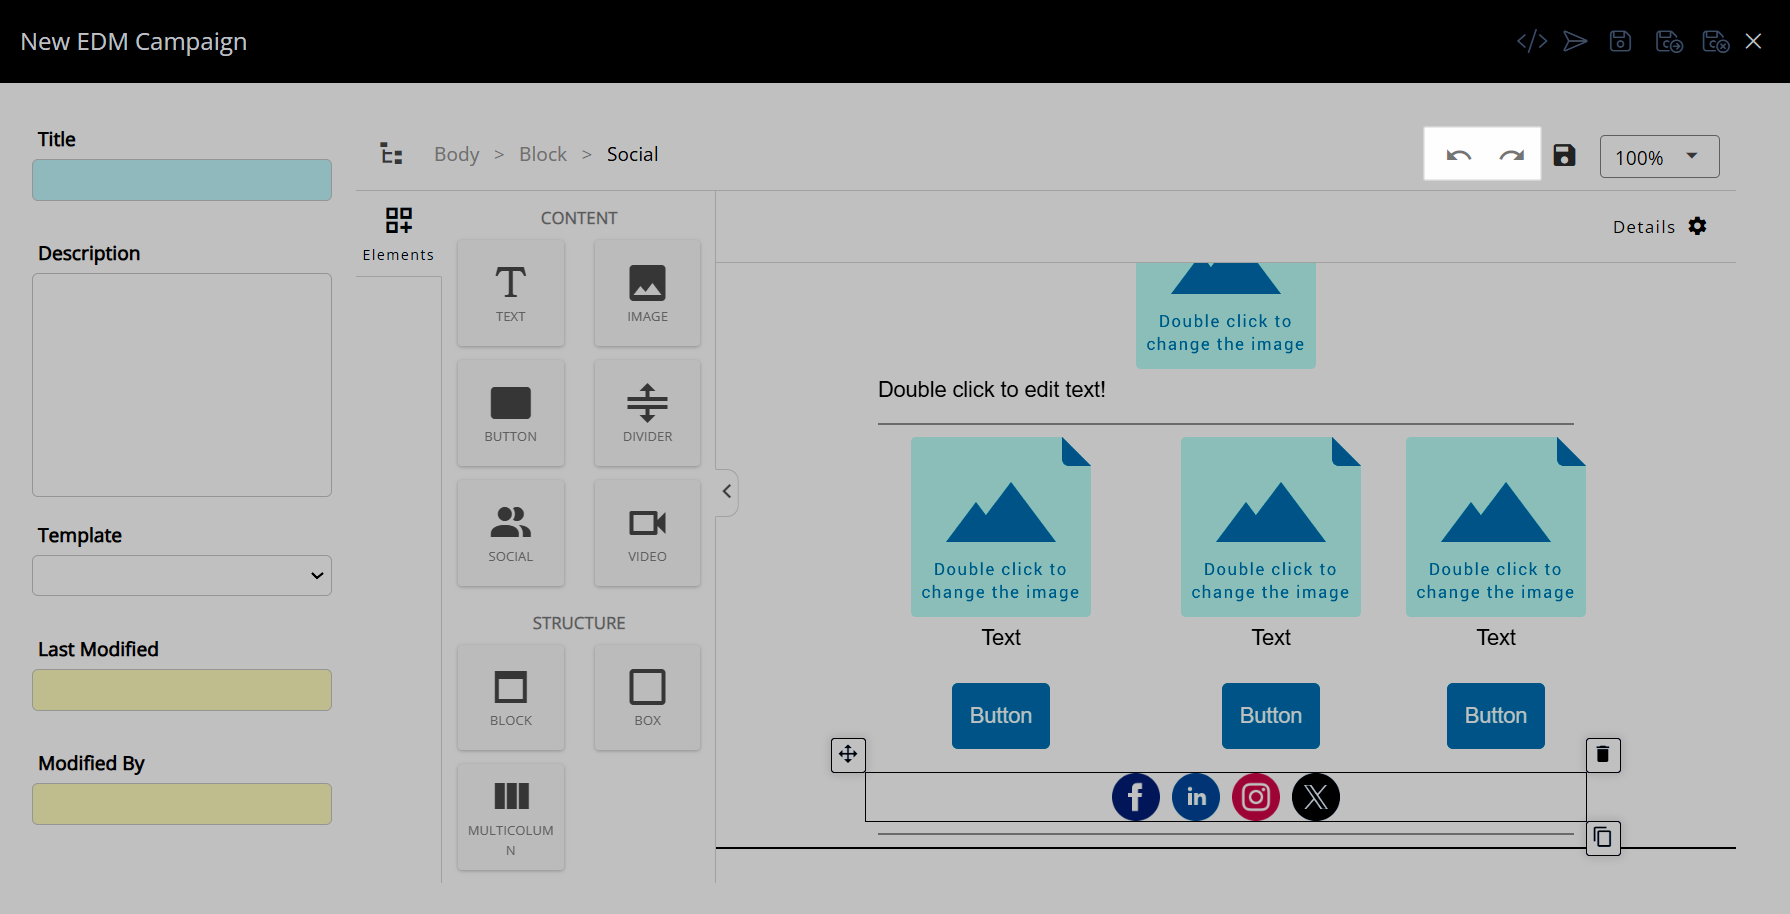
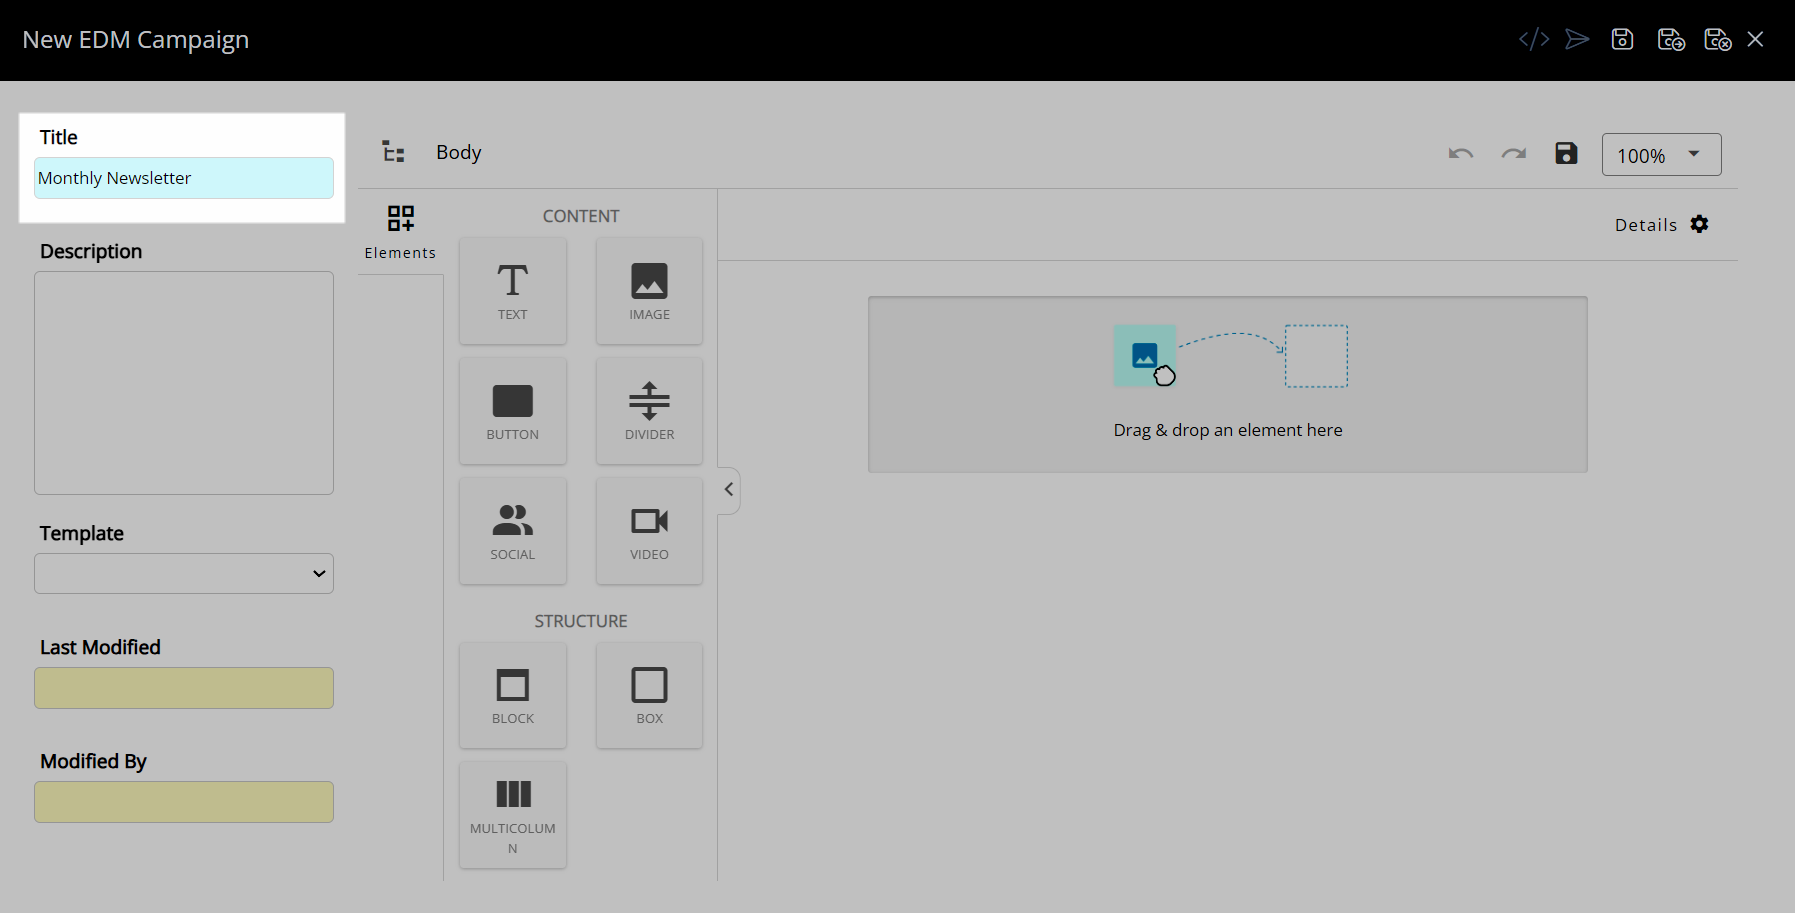
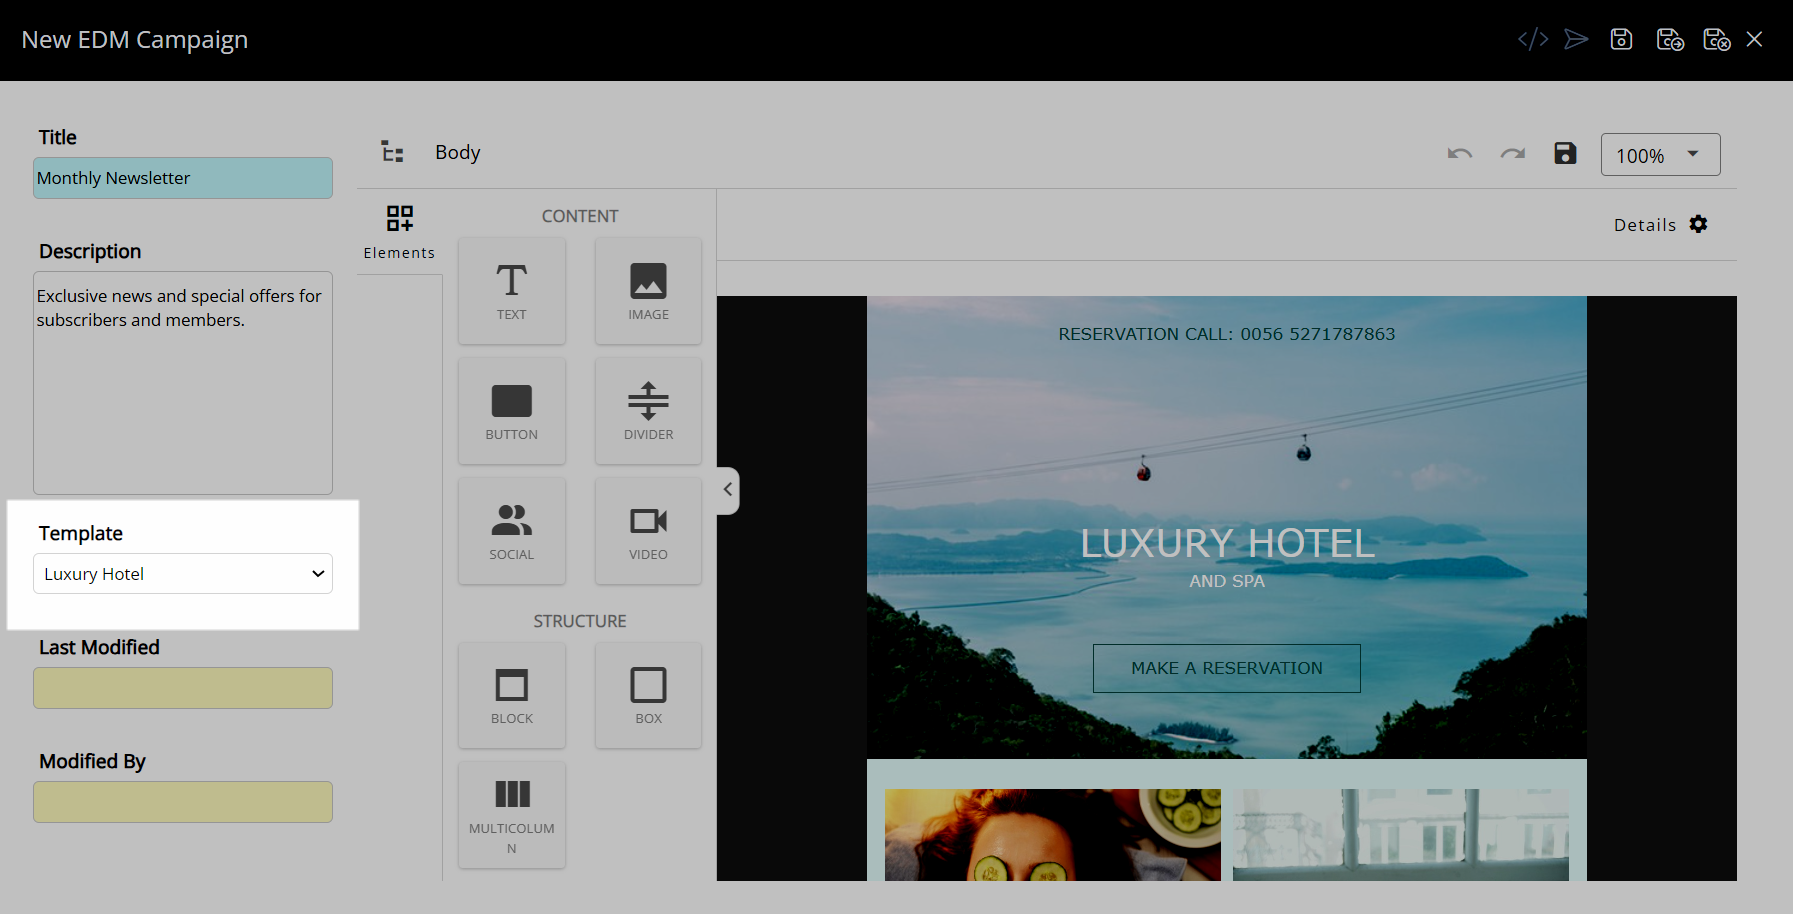
Campaign Editor
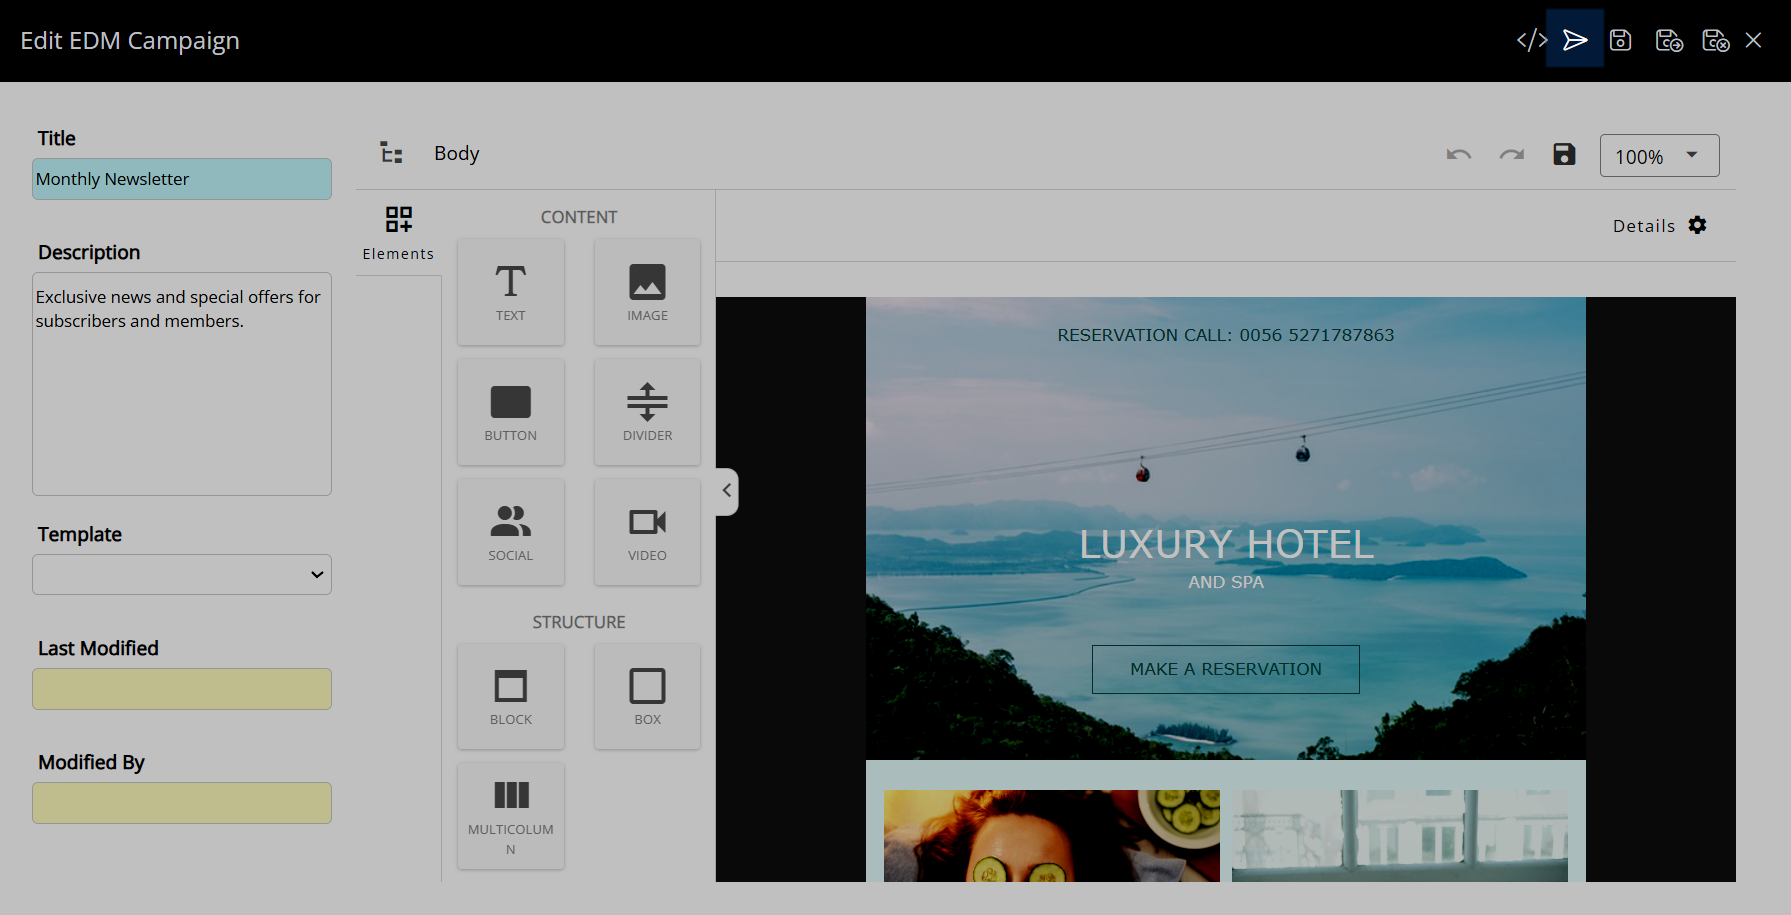
The campaign editor contains all the tools and options to create a campaign layout.
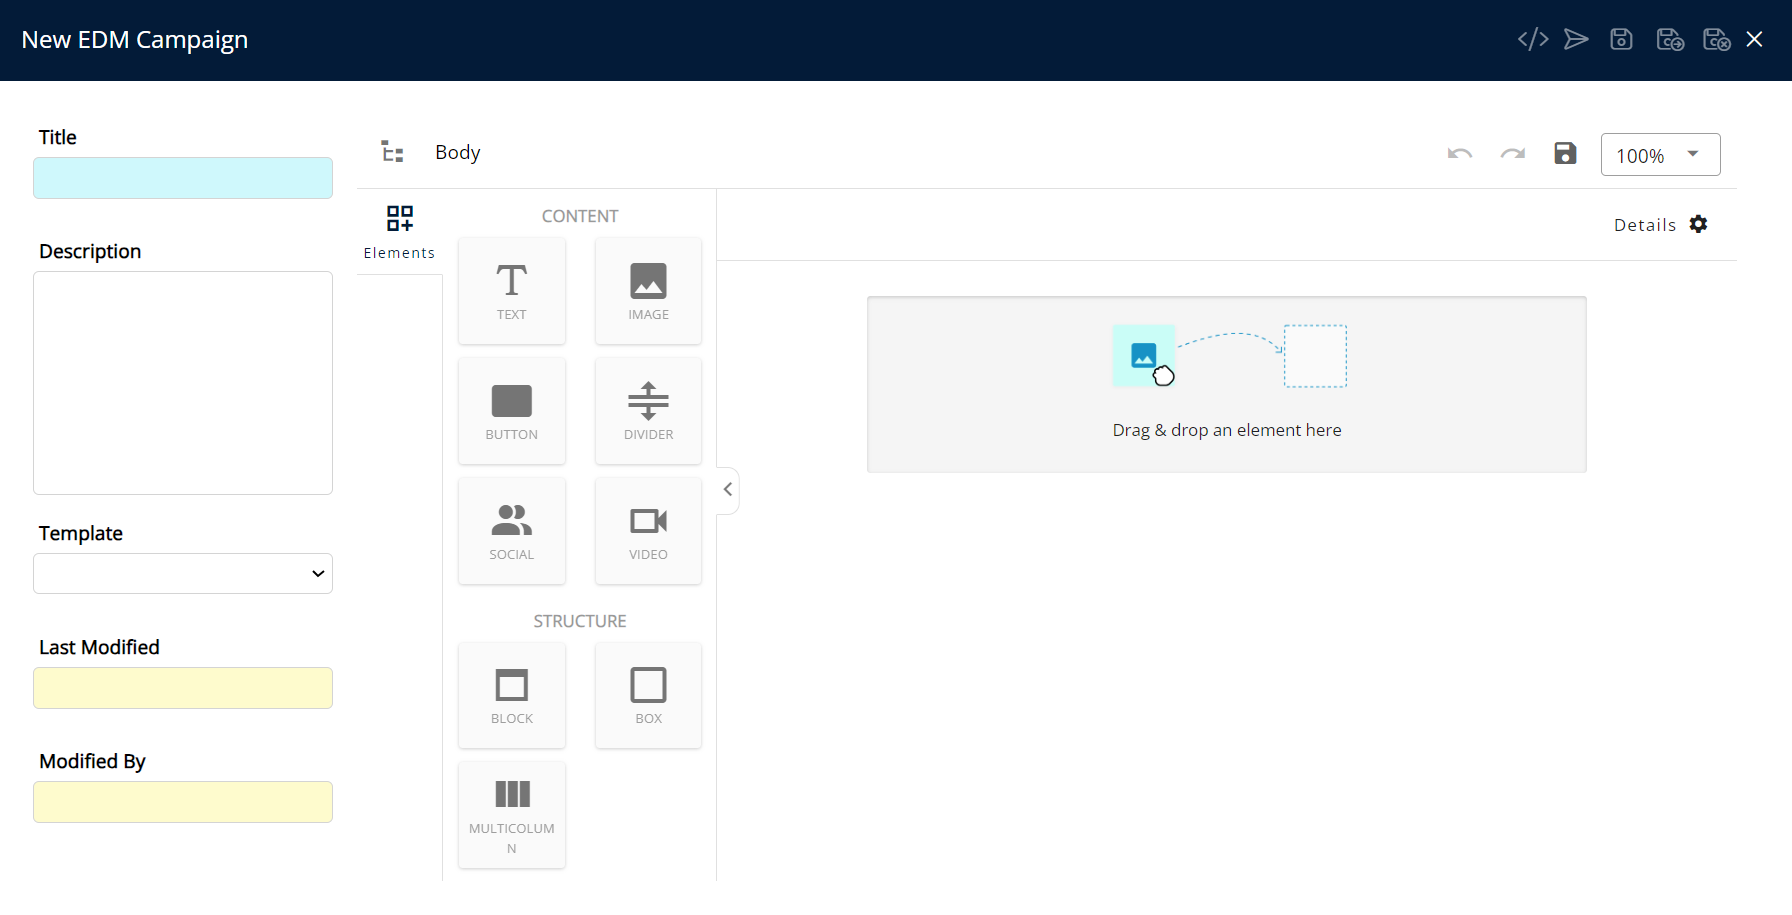
Campaign information is available on the lefthand side of the editor including the campaign name, pre-made templates and when a campaign was last modified.
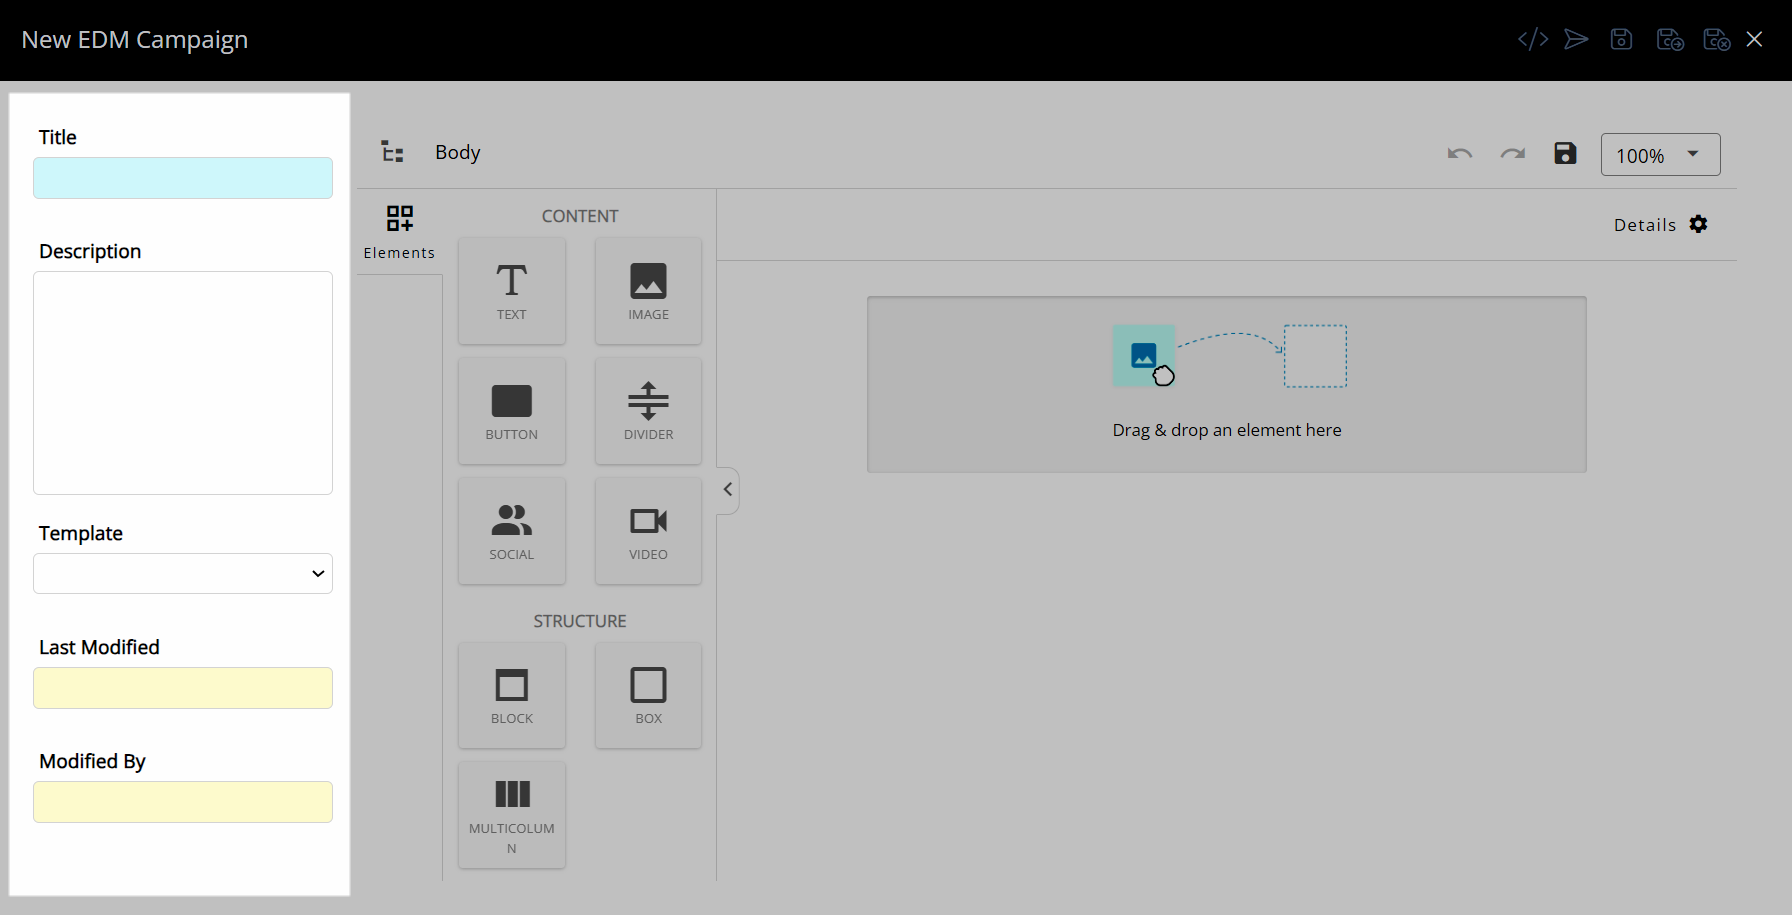
Select the  'Elements' icon to toggle the elements toolbar to expand or collapse from view.
Click and drag an element to place it into the layout.

Placement arrows will appear to assist with placing an element into the layout in relation to the position of another element.
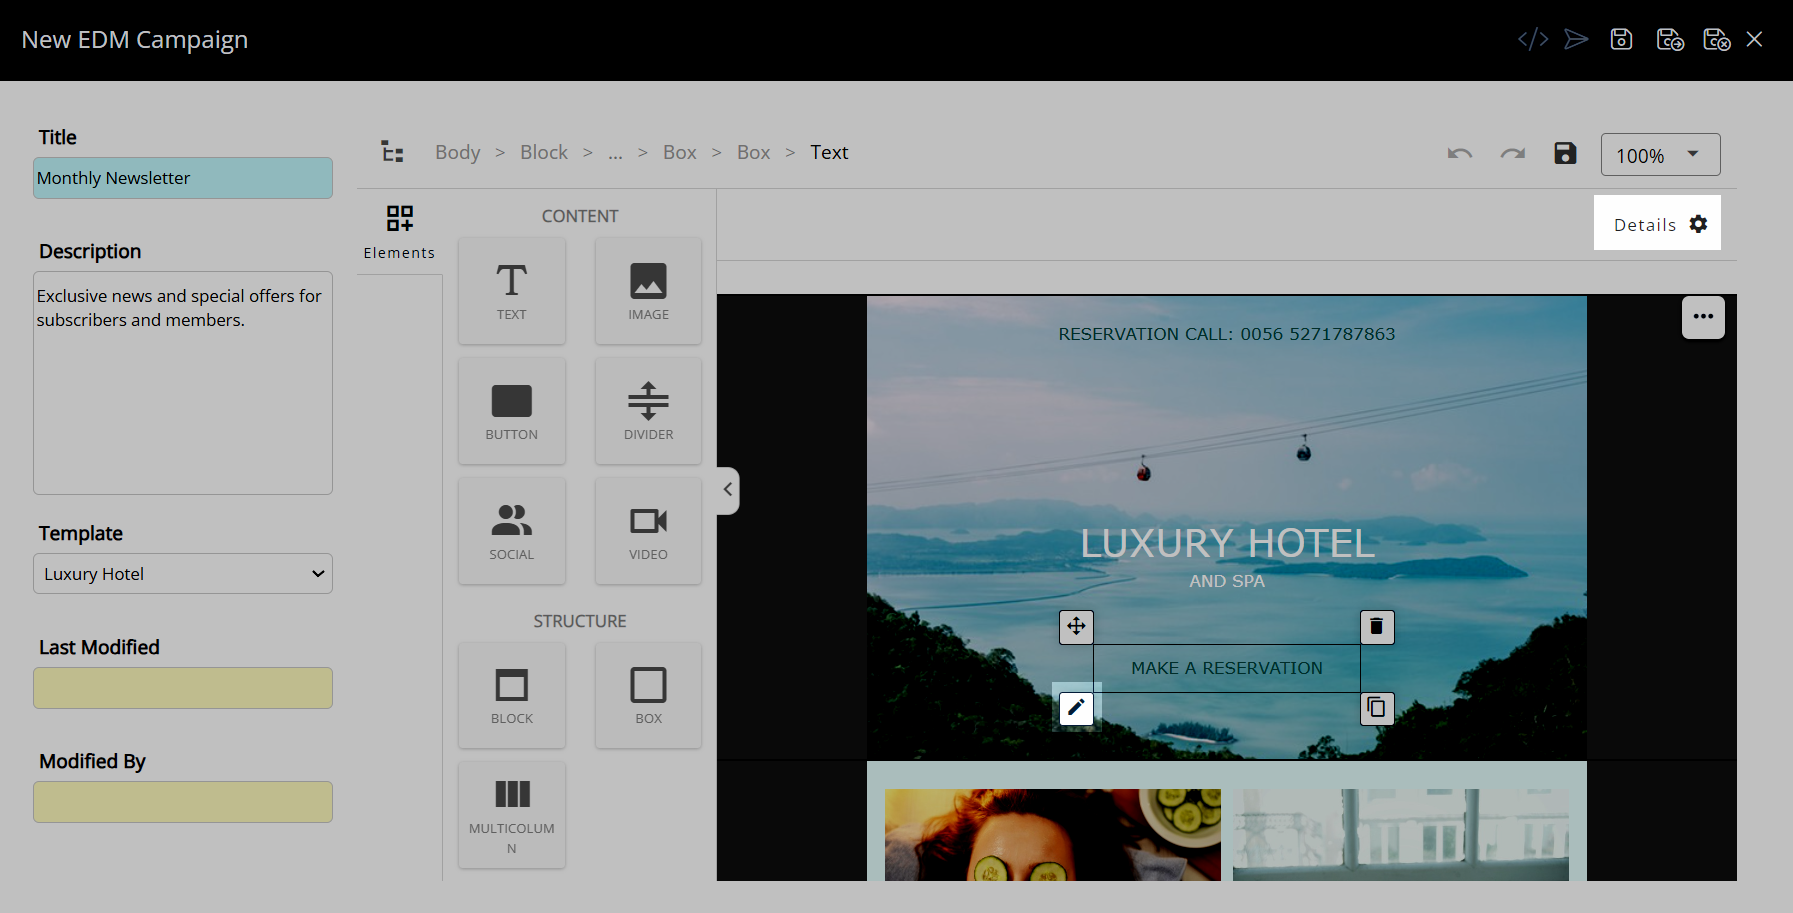
Select an element to customise it's design and features using the element options.
The  'Details' icon includes contextual options to further customise the design and behaviour of the selected element.

Select the  'Move' icon to relocate an element within the layout or select the
  'Delete' icon to remove it from the layout.

The  'Undo' and
  'Redo' icons can be used to reverse a layout change.
The  'Save' icon can be used to store changes made to the layout.
The 'Code' element can be used to apply custom HTML and CSS to the email layout.
The  'Export' icon will download a HTML file version of the email layout that can be viewed in the browser to preview the campaign.
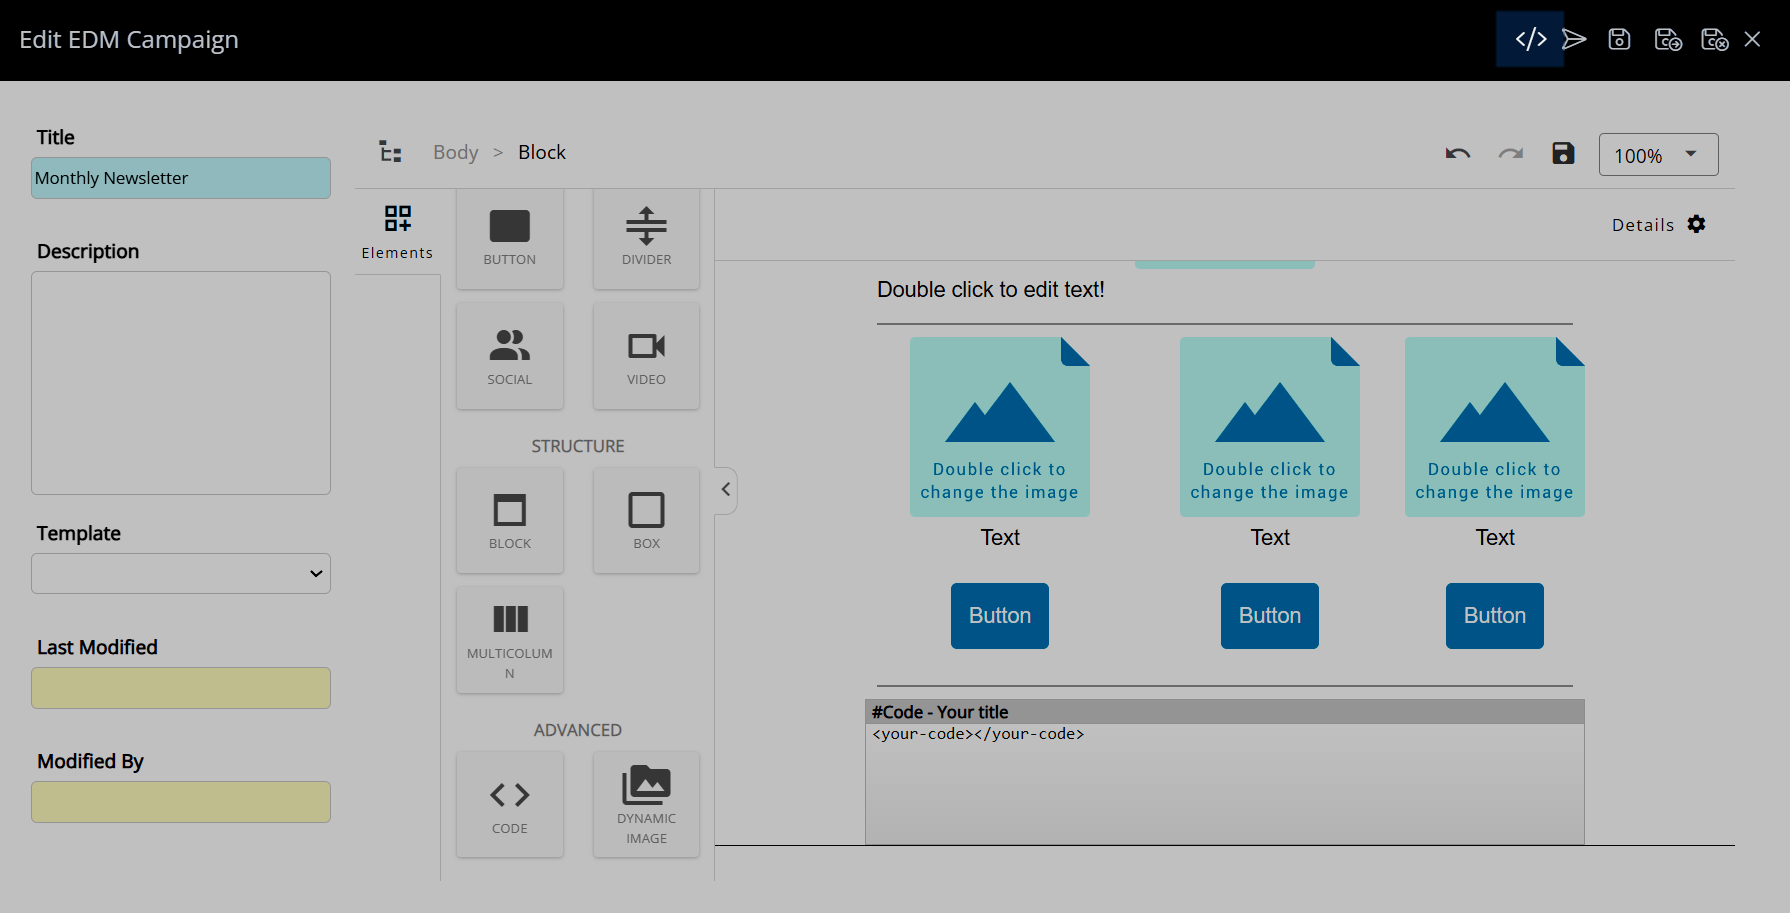
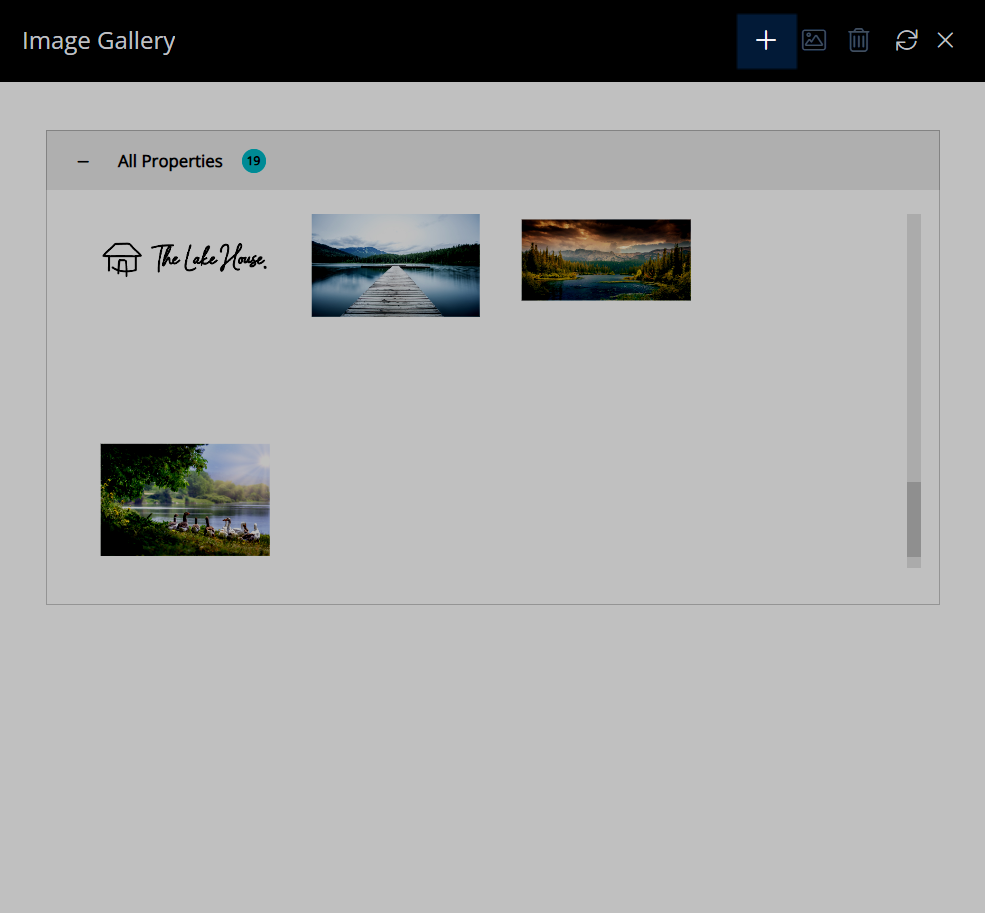
Image Gallery
The Image Gallery is a library of uploaded image files that can be used and re-used across eDM campaigns.
Select an image element and use one of the  Image Gallery icons to open the gallery and select or upload image files.
Images in the gallery are grouped by property.
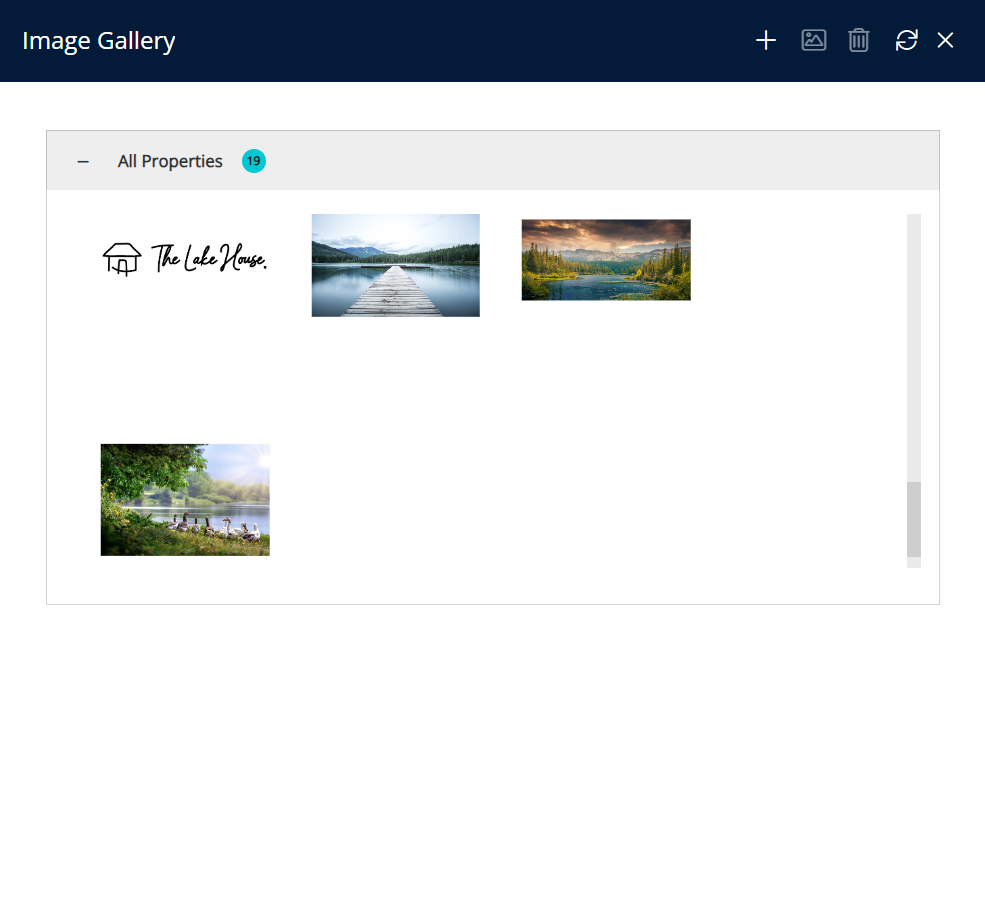
Select the  'Add' icon to upload a new image.
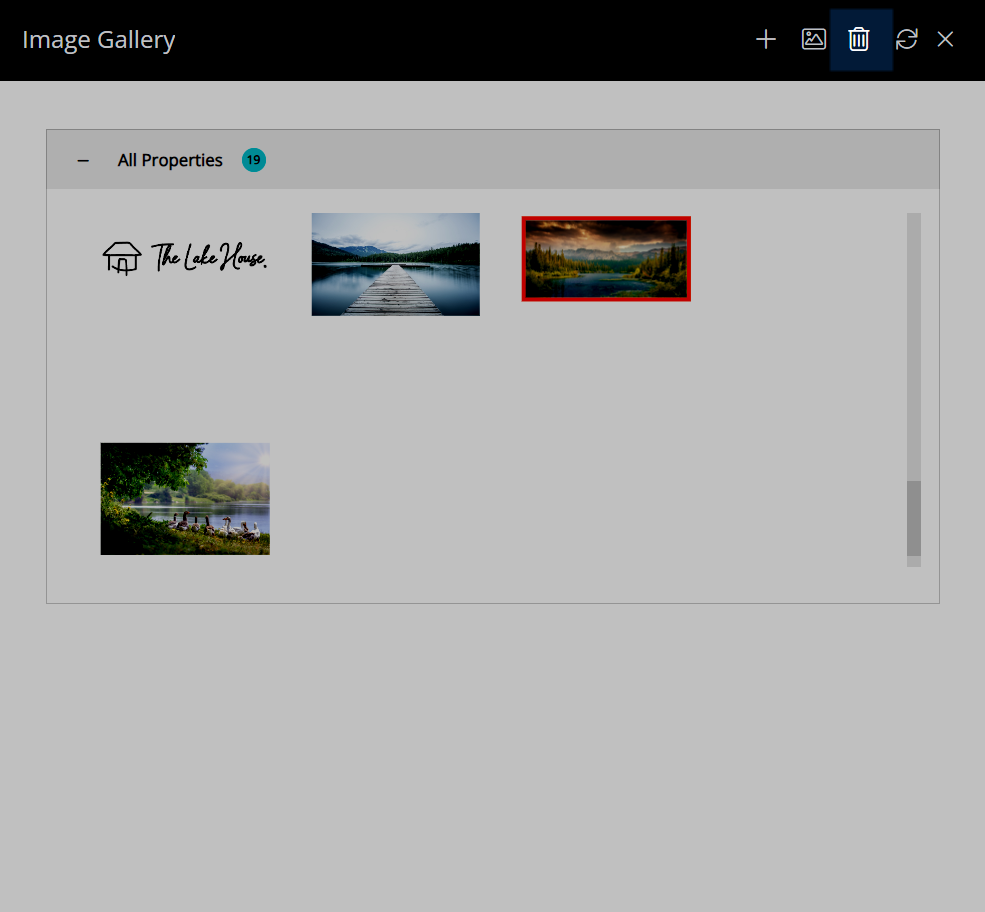
Select an existing image and choose the  'Insert' icon to use the selected image in the image element.

Select an existing image and choose the  'Delete' icon to permanently remove an image from the gallery.
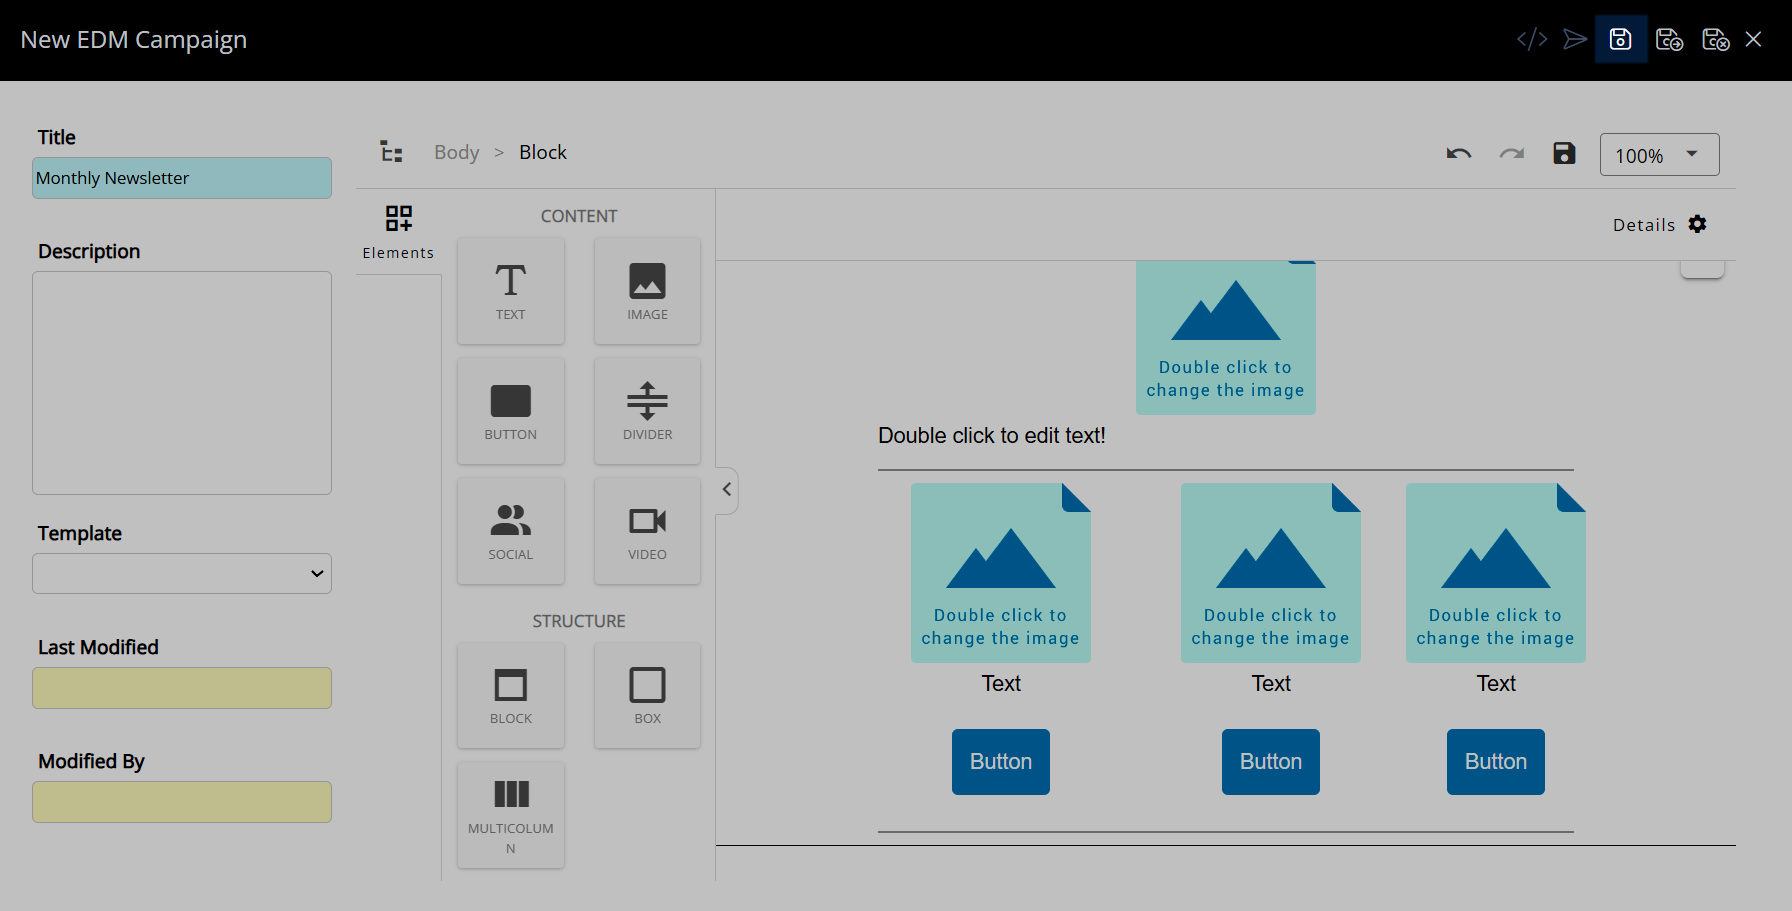
Campaign Creation
Navigate to EDM > Create Campaign in the side menu of RMS.

Select the  'Add' icon.

Enter a Campaign Title.
Optional: Enter a Campaign Description.
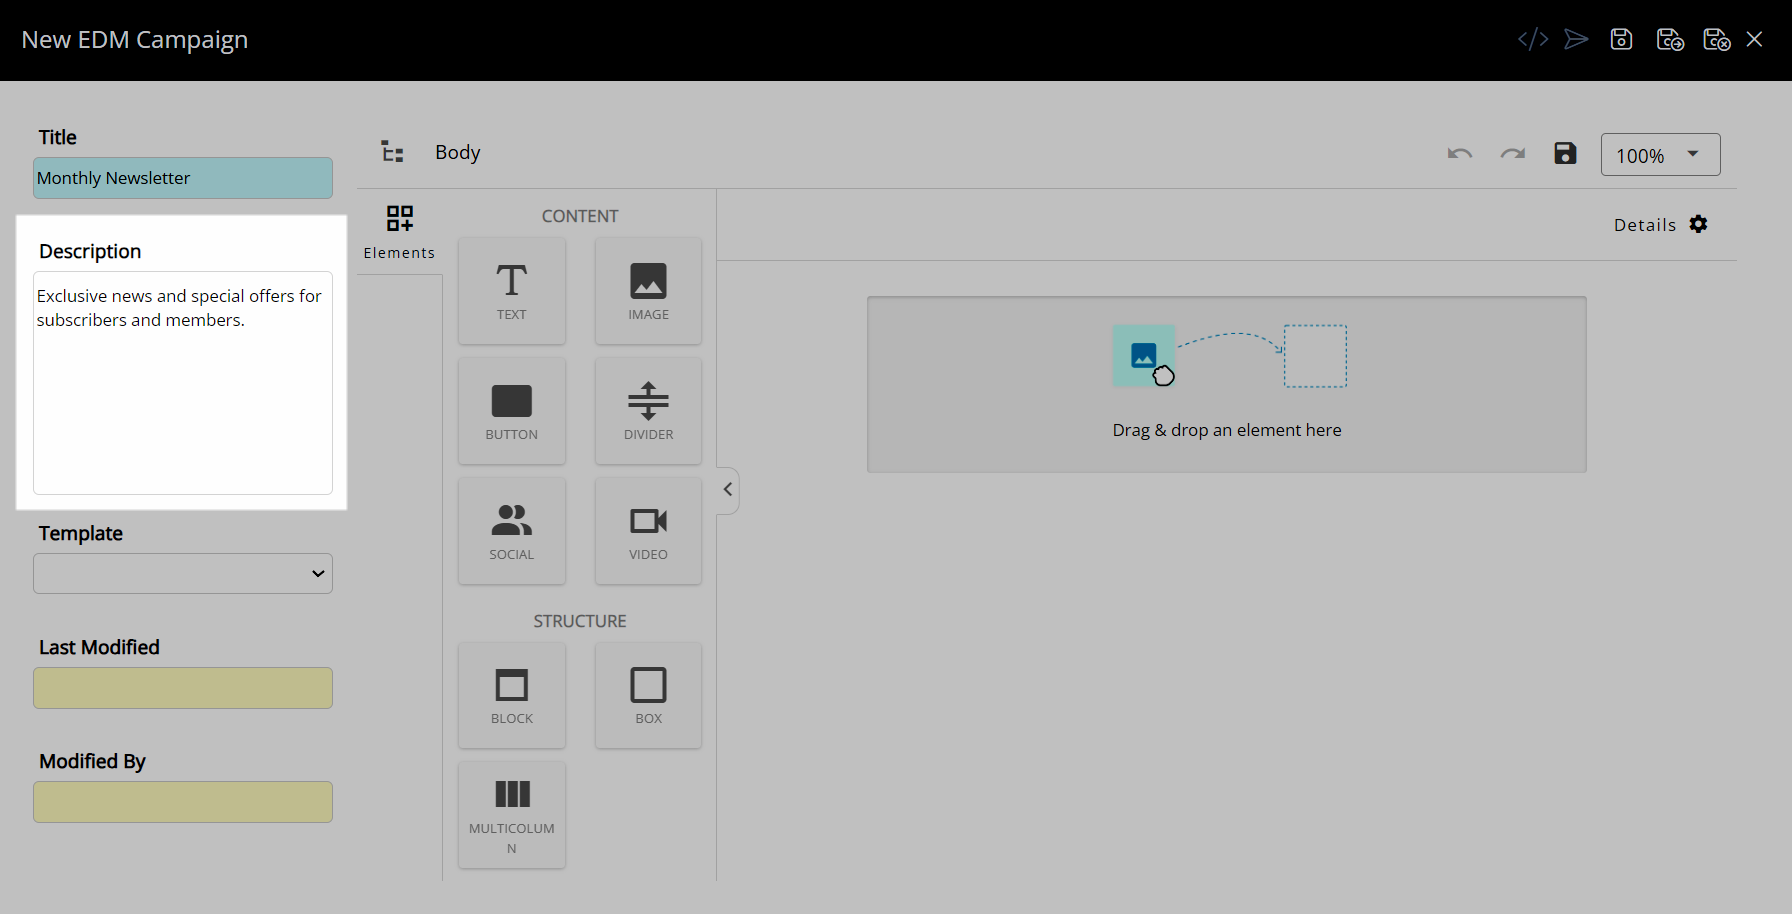
Optional: Select a Template.
Click and drag to insert an element into the email body.
Select the  'Edit Element' icon or the
  'Details' icon to customise the design and behaviour of the element.
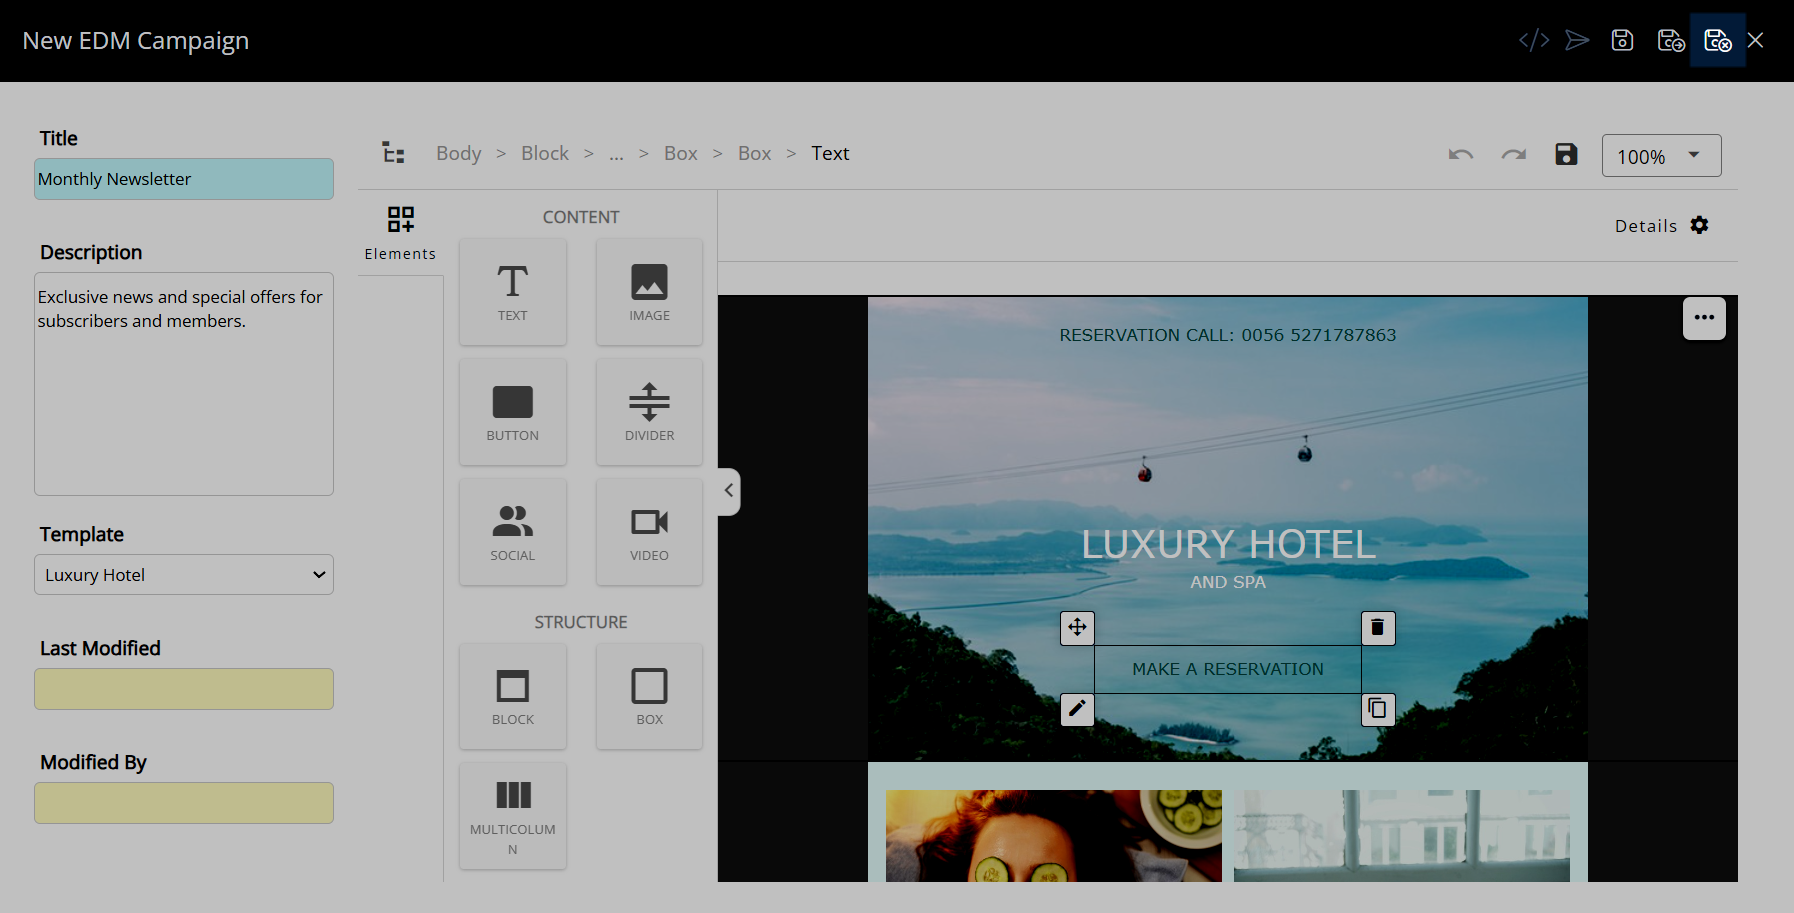
Select the  'Save/Exit' icon to store the changes made and leave the campaign editor.
Test Send Campaign
Navigate to EDM > Create Campaign in the side menu of RMS.

Select an existing campaign and choose the 'Edit' icon.
Select the  'Test Send' icon.
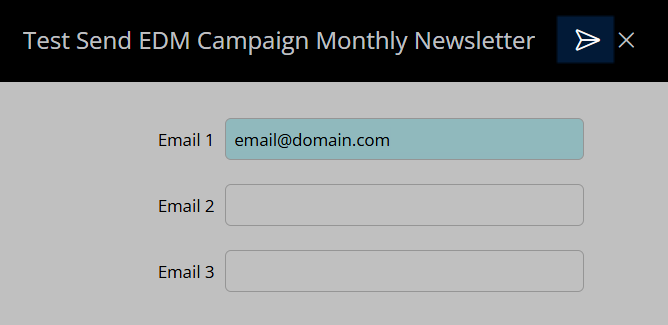
Enter up to three email addresses for the test send.
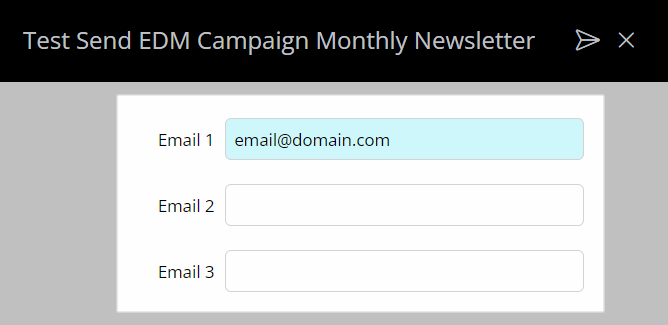
Select the  'Send' icon to test the campaign.
Mailing List
A mailing list can be created using Report Writer and any selection of criteria from the Guest Profile or Reservation Details including Guest Statistics.
Communication Preferences can be recorded on the Guest Profile and included in the validation criteria of the Report Writer template to ensure a recipient list that complies with guest preferences and GDPR.
Report Writer is a powerful tool that can be used to create customised reports, export information or create mailing lists based on any information saved in RMS.
Campaigns can be sent to targeted groups of recipients based on recorded information on the Guest Profile including Guest Loyalty or Membership, Guest Classifications, Reason for Stay or Guest Statistics.DeleteSend Campaign
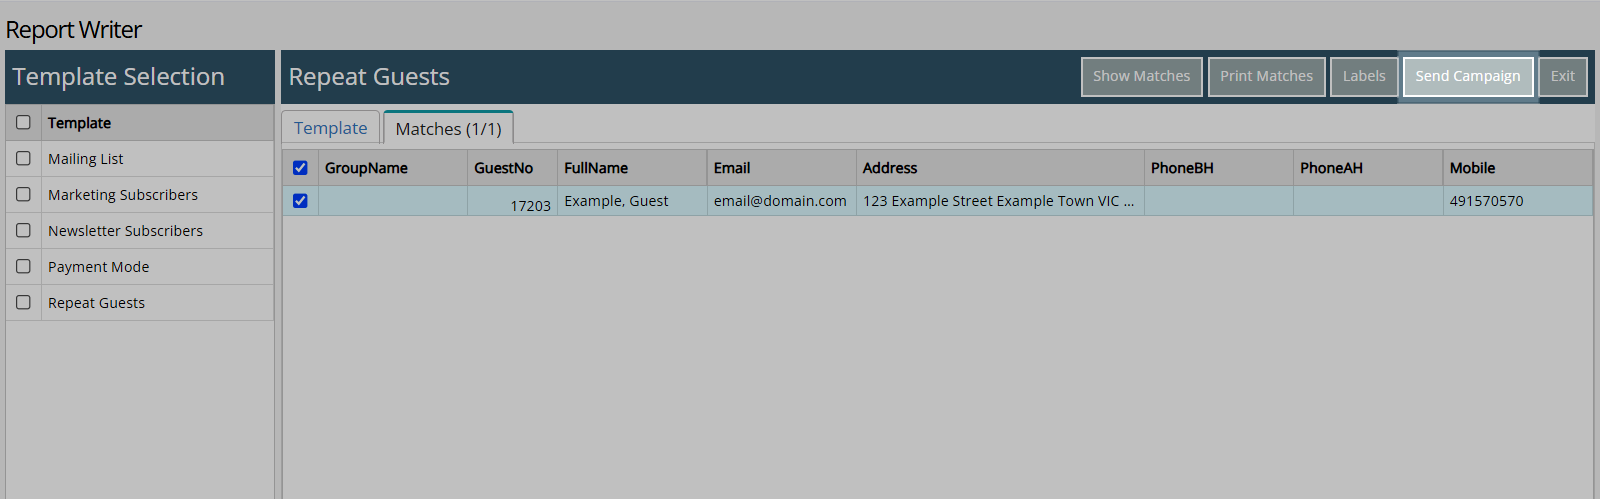
Navigate to EDM > Send Campaign in the side menu of RMS.
Select a Report Writer Search Template or create a new template.
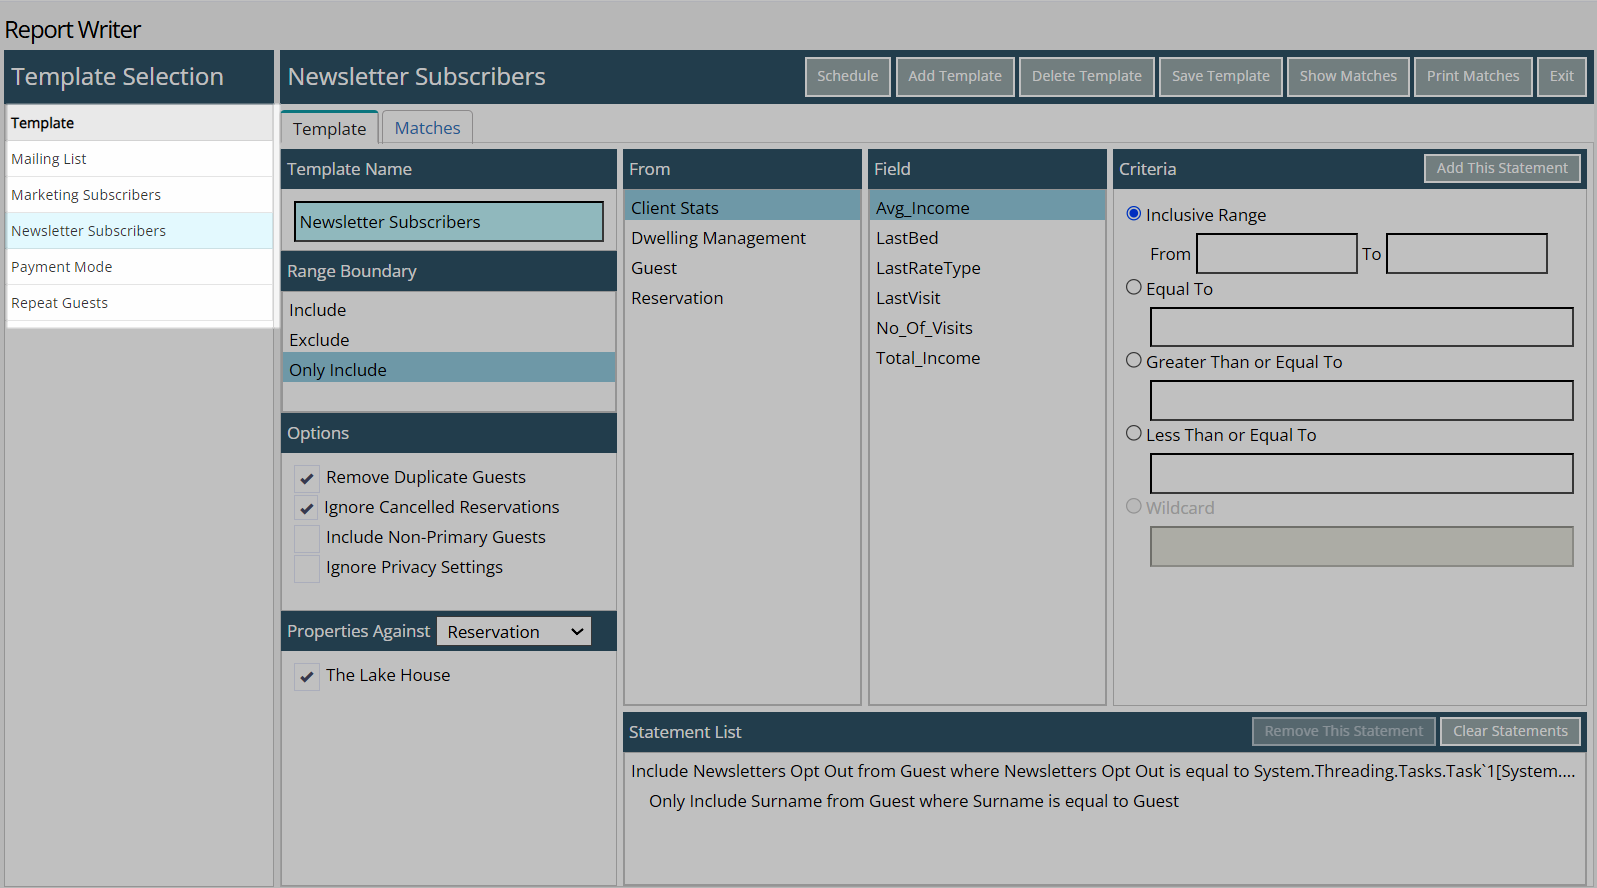
Select the 'Show Matches' button.
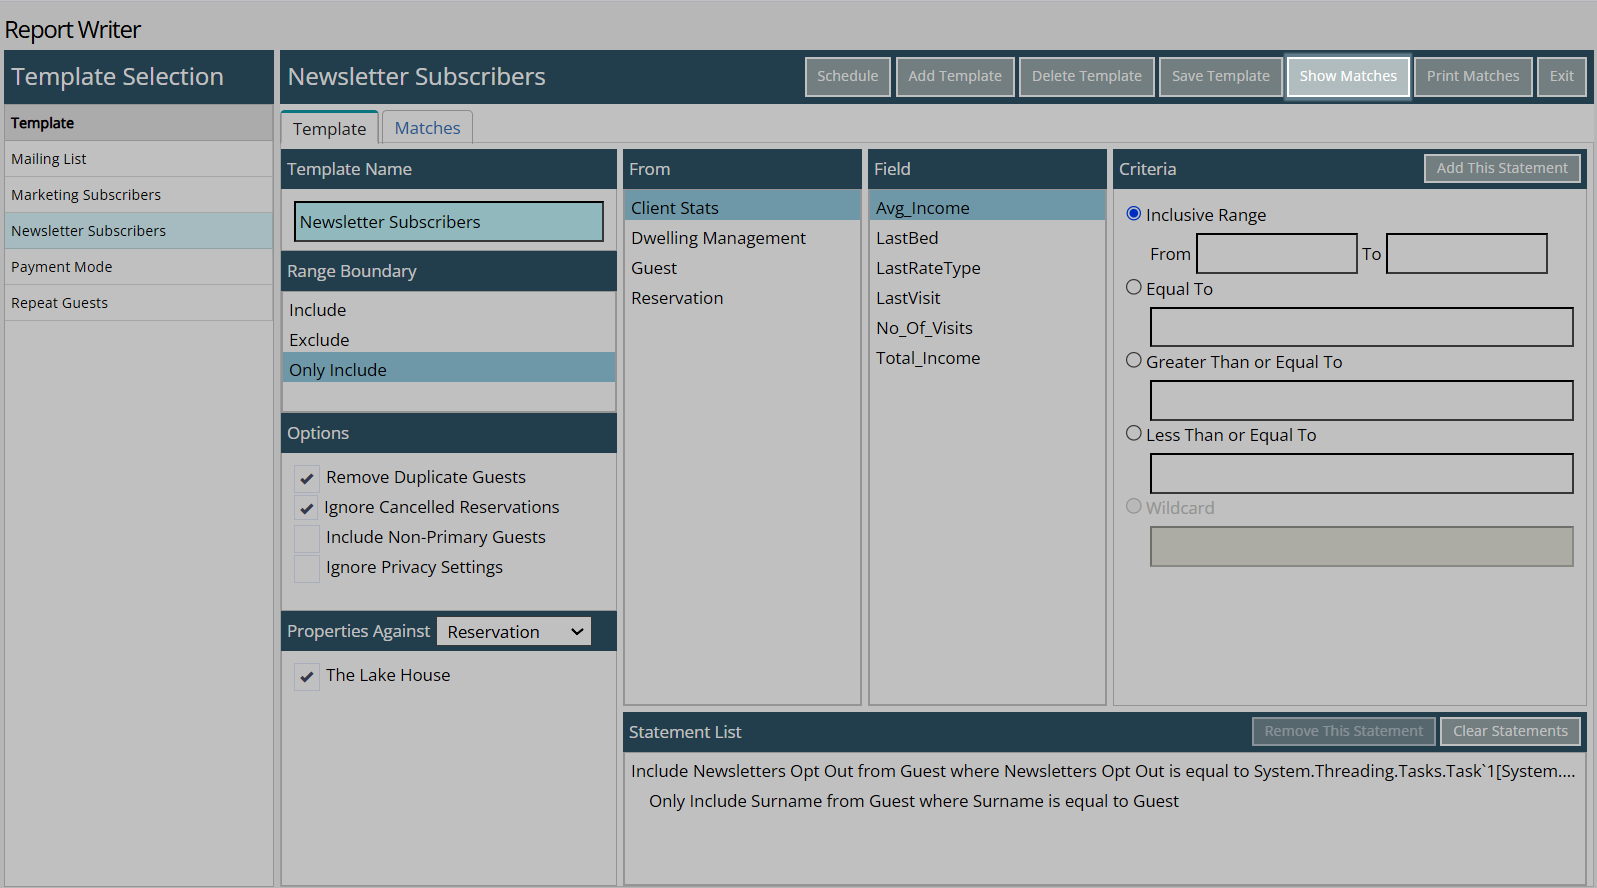
Select the checkbox for the recipients to include in the send out.
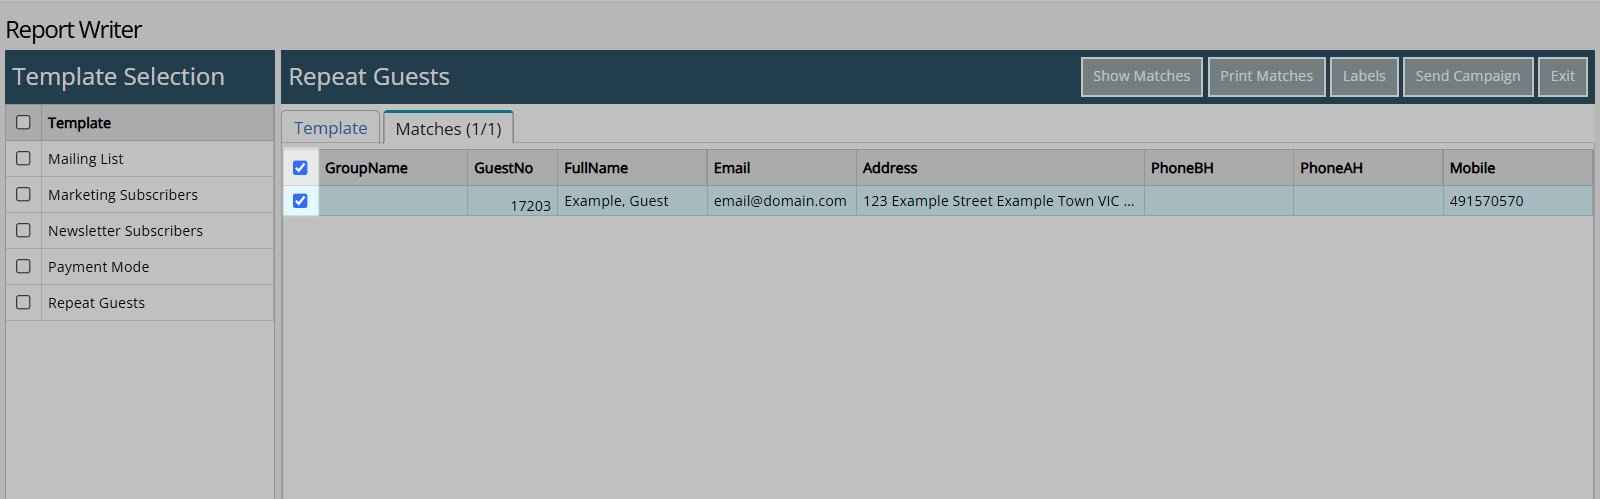
Select the 'Send Campaign' button.
Select a Campaign or Form Letter.
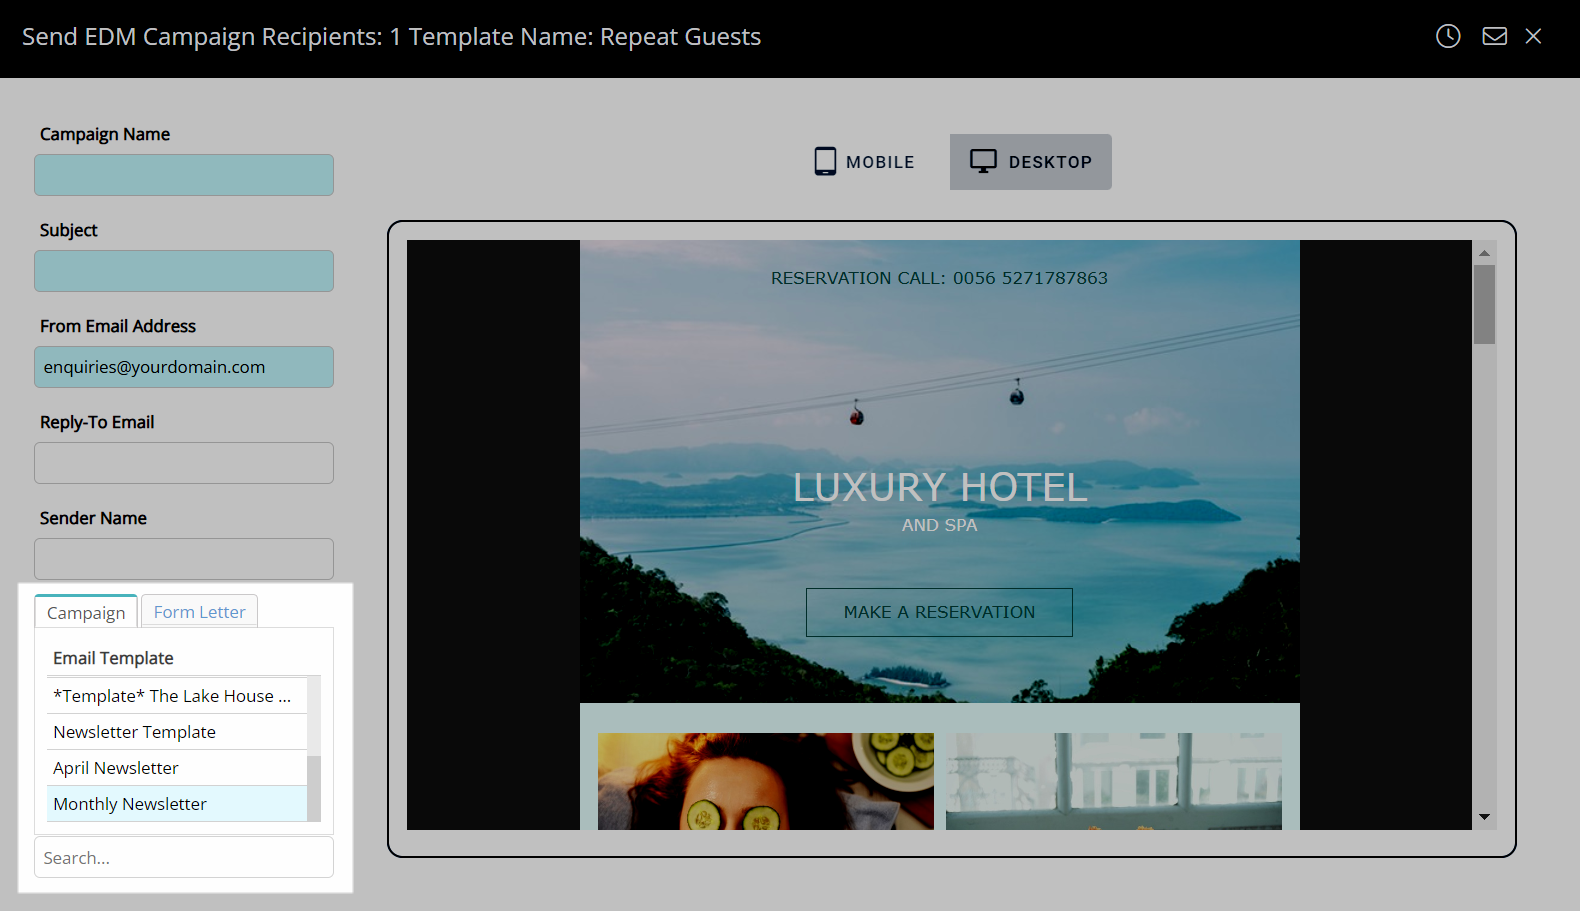
Enter a Campaign Name.
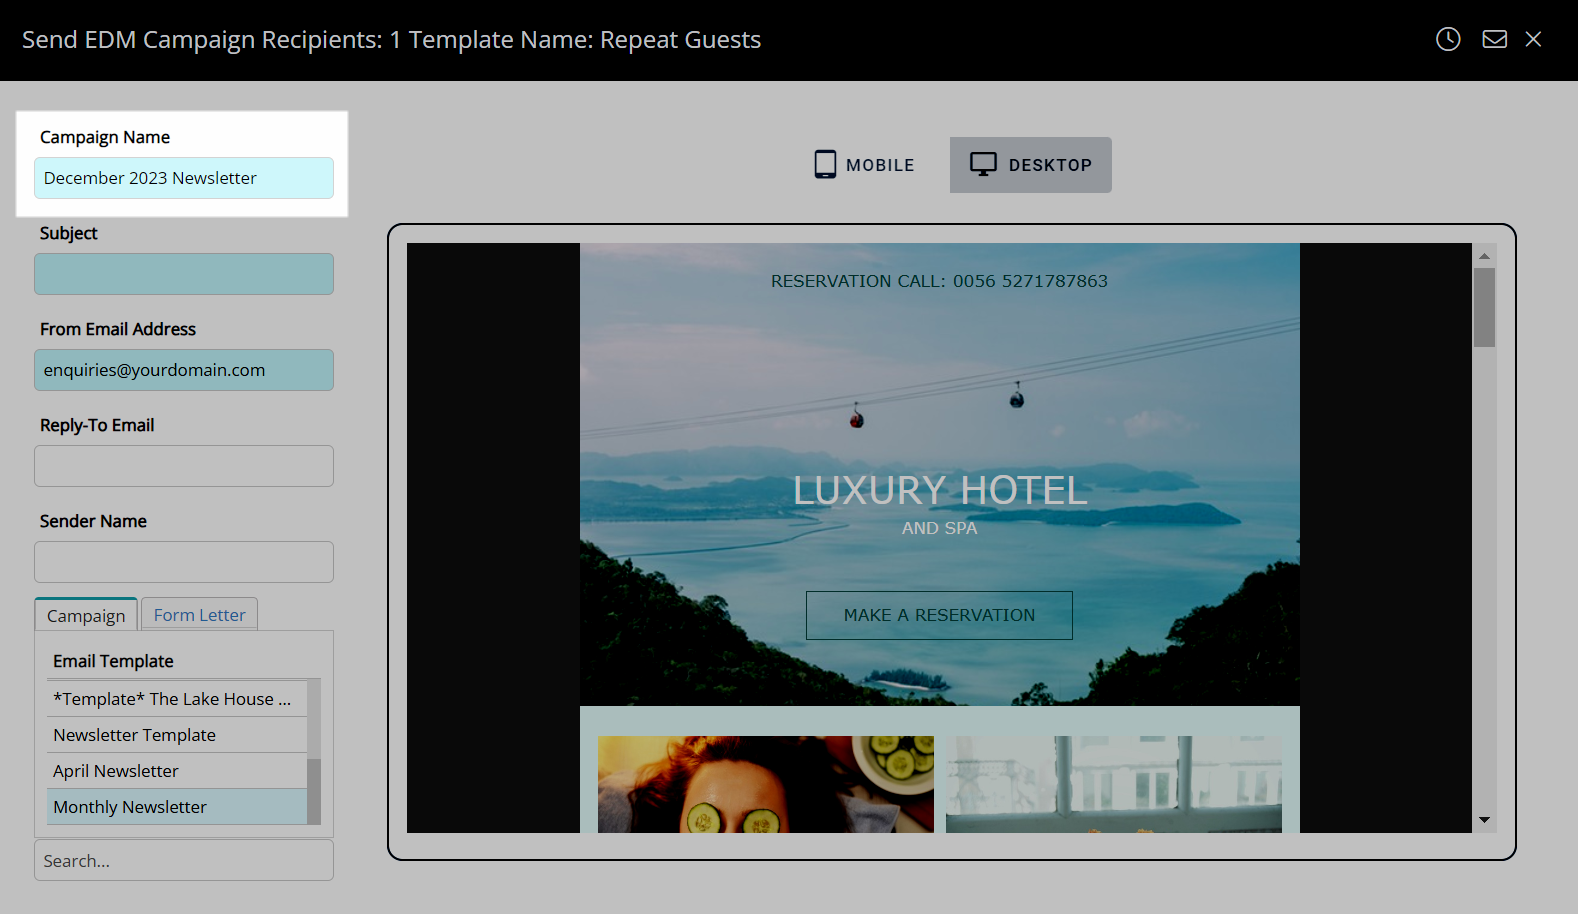
Enter an Email Subject Line.
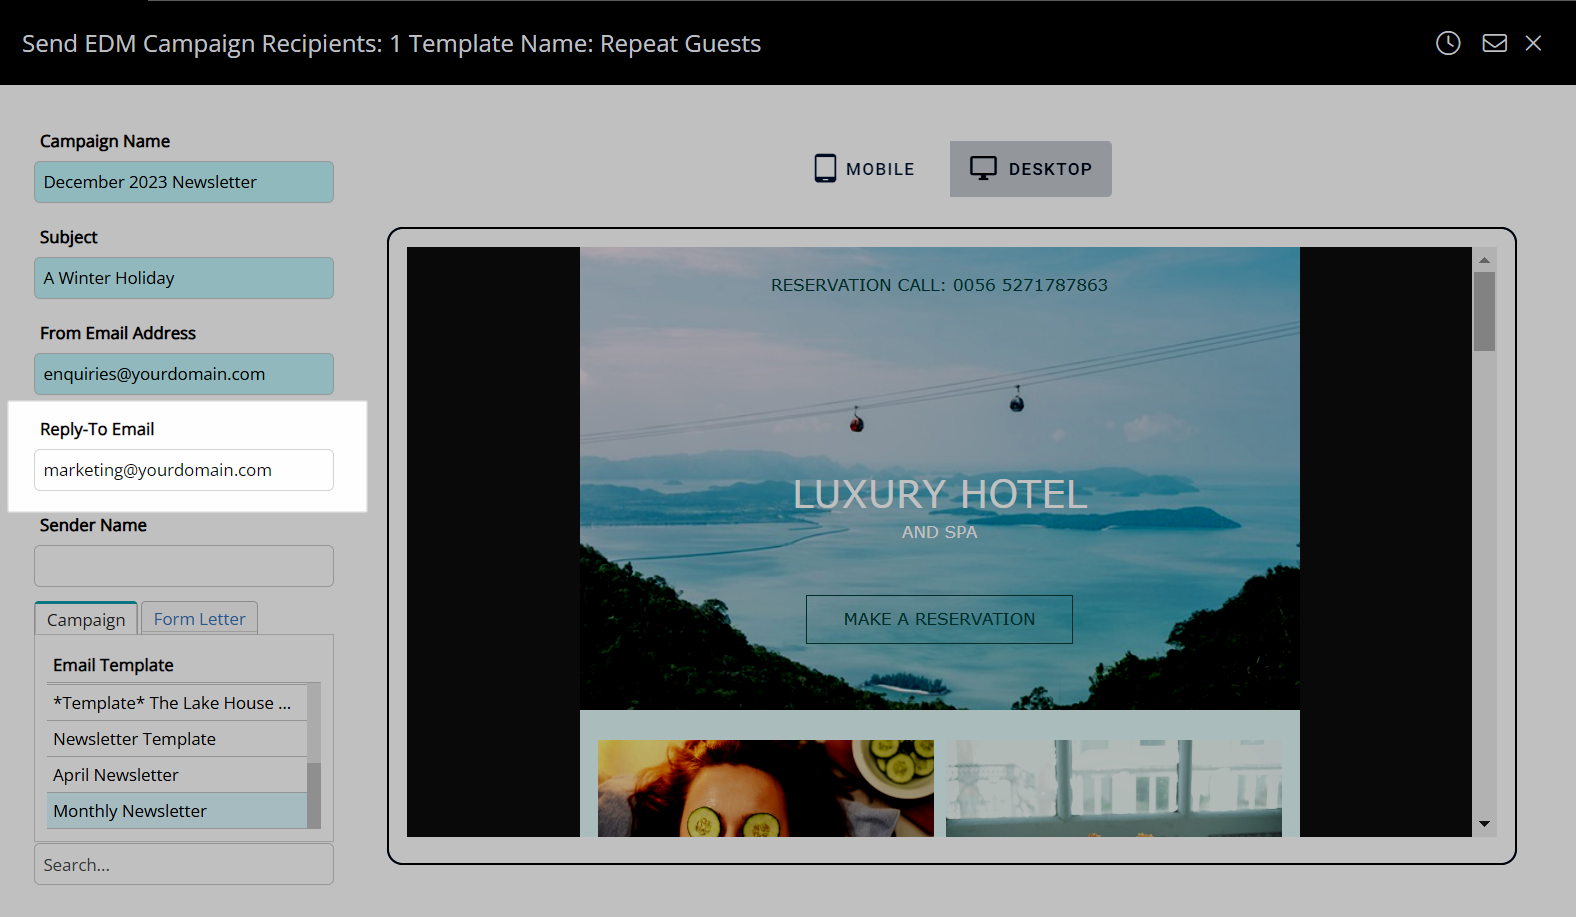
Optional: Enter an alternate Reply-To Email Address.
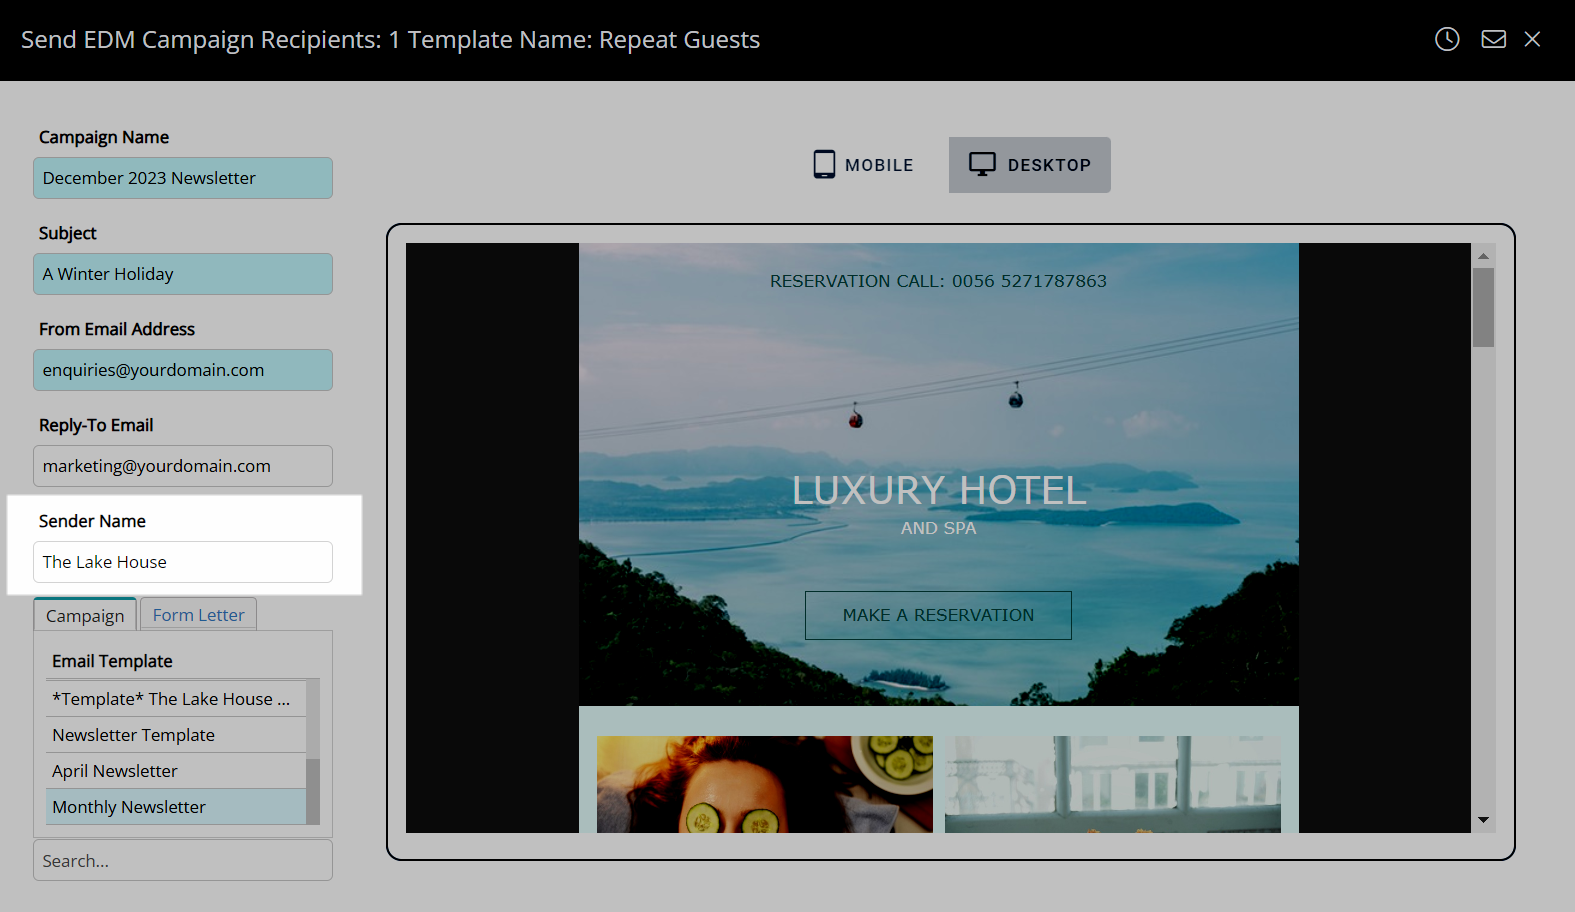
Optional: Enter a Sender Name.
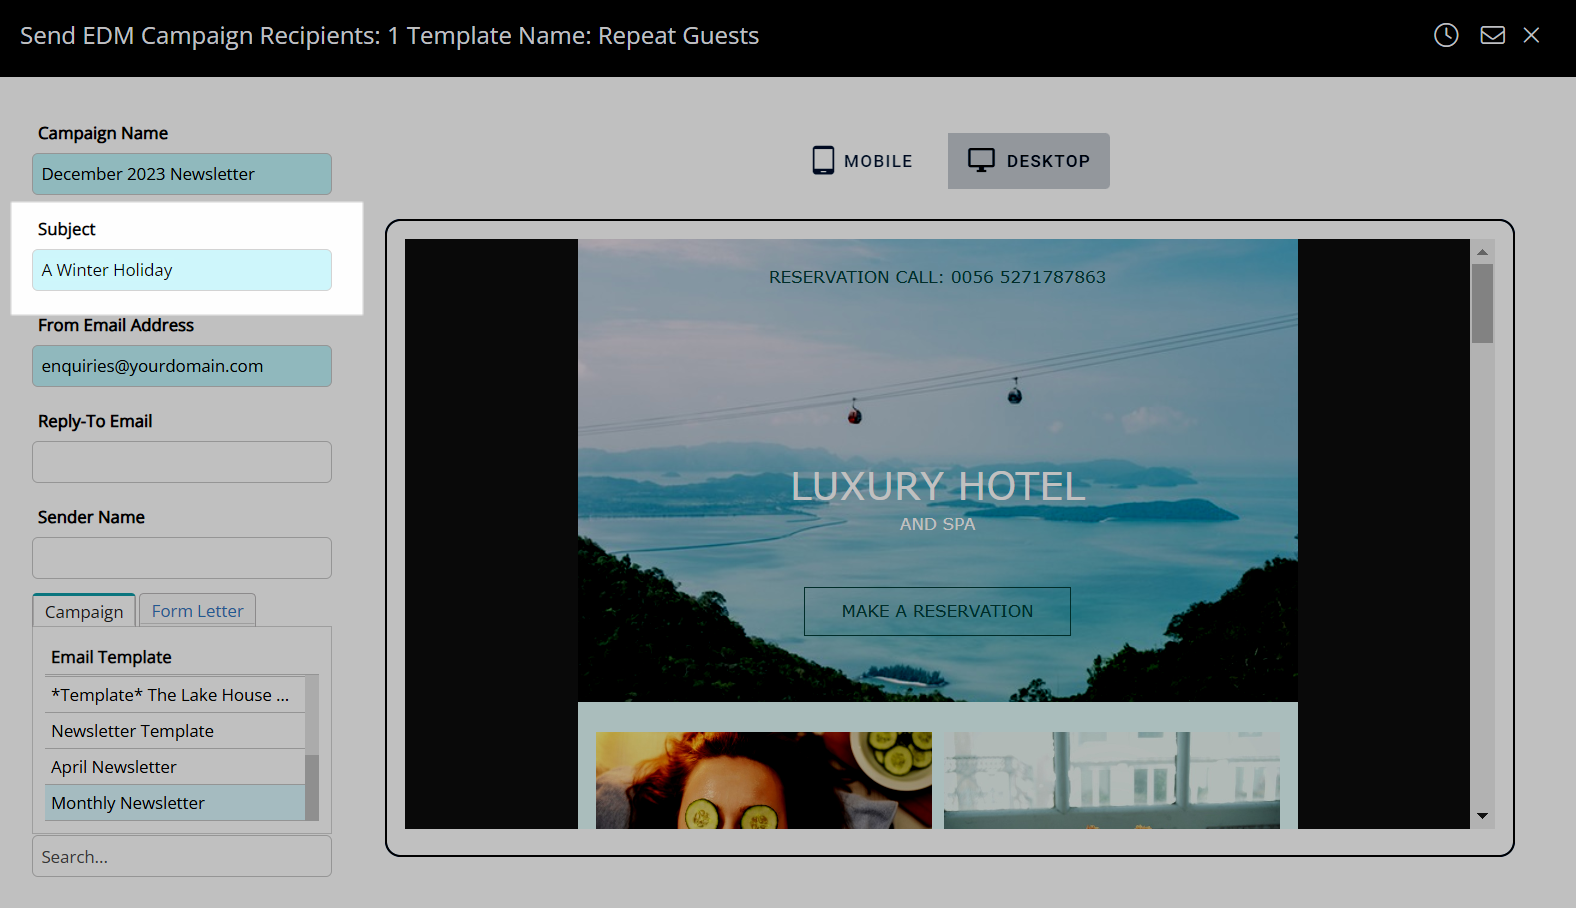
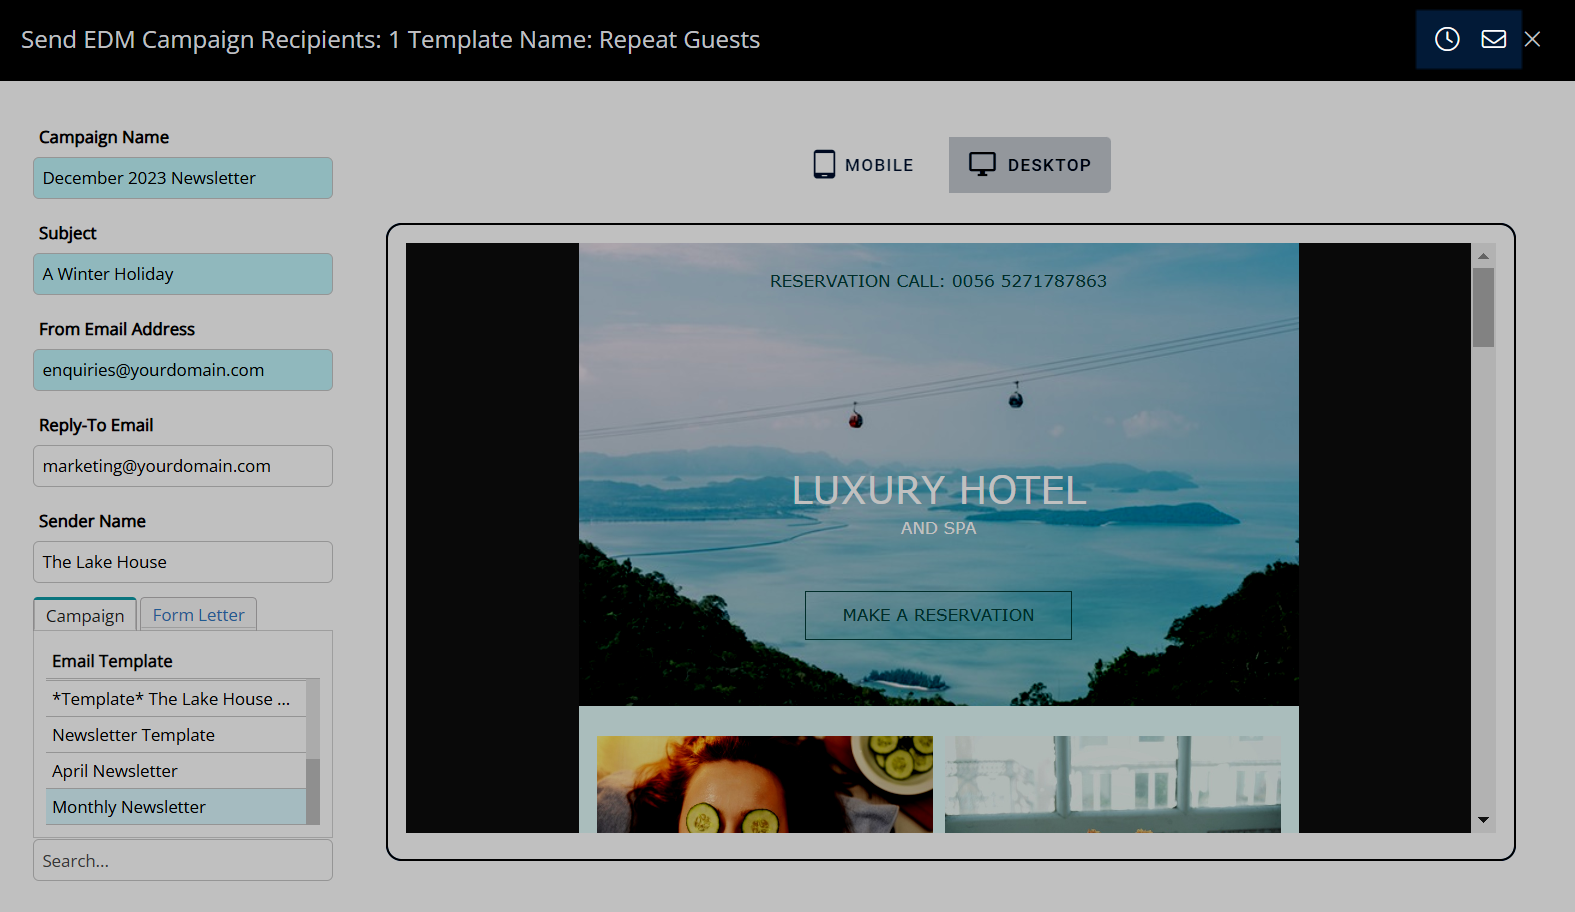
Select the  'Send' icon or
  'Schedule' icon.
Campaign progress and performance can be tracked using EDM Reports.
Delete