Stock Control
Setup inventory management on a Sundry Charge in RMS.
Stock Control is an optional feature that can be enabled on a Sundry Charge to track inventory including units sold.
-
Information
-
Setup
- Add Button
Information
Stock Control is an optional feature that can be enabled on a Sundry Charge to track inventory including units sold.
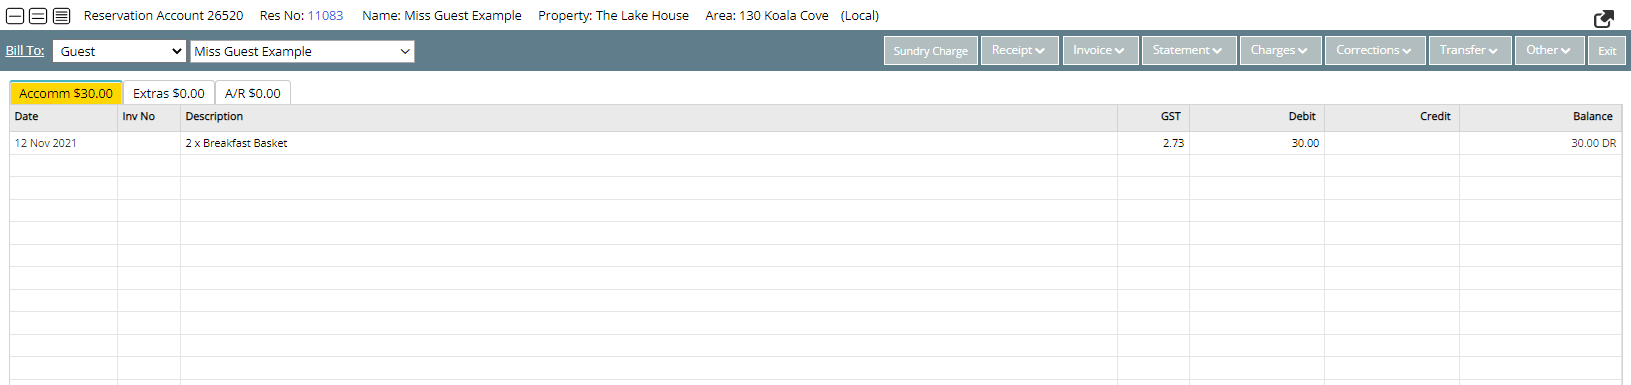
Stock usage is recorded for a Sundry Charge after Stock Control is enabled and does not include any usage prior to activation of Stock Control.
After activation the inventory count will be updated using the quantity entered each time the Sundry Charge is used.
The Sundry Usage report may not match the Stock Control records if the Sundry Charge has been used prior to Stock Control being enabled.

Sundry is a default System Label that can be customised.

System Administrators will require Security Profile access to use this feature.
-
Setup
- Add Button
Setup
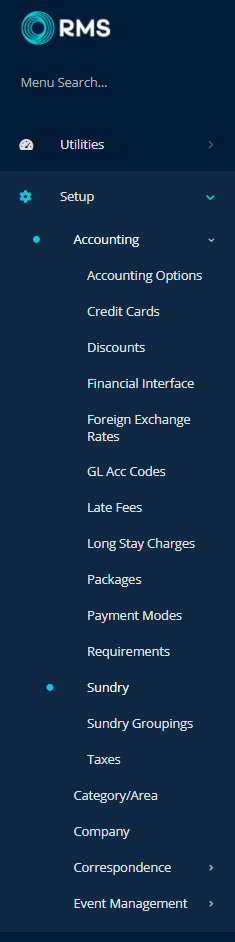
- Go to Setup > Accounting > Sundry in RMS.
- Select the
 'Edit' icon on an existing Sundry Charge.
 - Navigate to the 'Stock Control' tab.
- Select the toggle 'Use Stock Control'.
- Optional: Select a Supplier.
- Optional: Select a Stock Category and Sub Category.
- Optional: Enter a Part Number.
- Optional: Select a Stock Location.
- Select a Property.
- Select 'Stock Received'.
- Enter the current Stock Level as the Quantity Received.
- Save/Exit.
- Optional: Enter the Quantity Reorder Level.
- Save/Exit.

Stock usage is recorded for a Sundry Charge after Stock Control is enabled and does not include any usage prior to activation of Stock Control.
After activation the inventory count will be updated using the quantity entered each time the Sundry Charge is used.
-
Guide
- Add Button
Guide
Go to Setup > Accounting > Sundry in RMS.
Select the ![]() 'Edit' icon on an existing Sundry Charge.
'Edit' icon on an existing Sundry Charge.
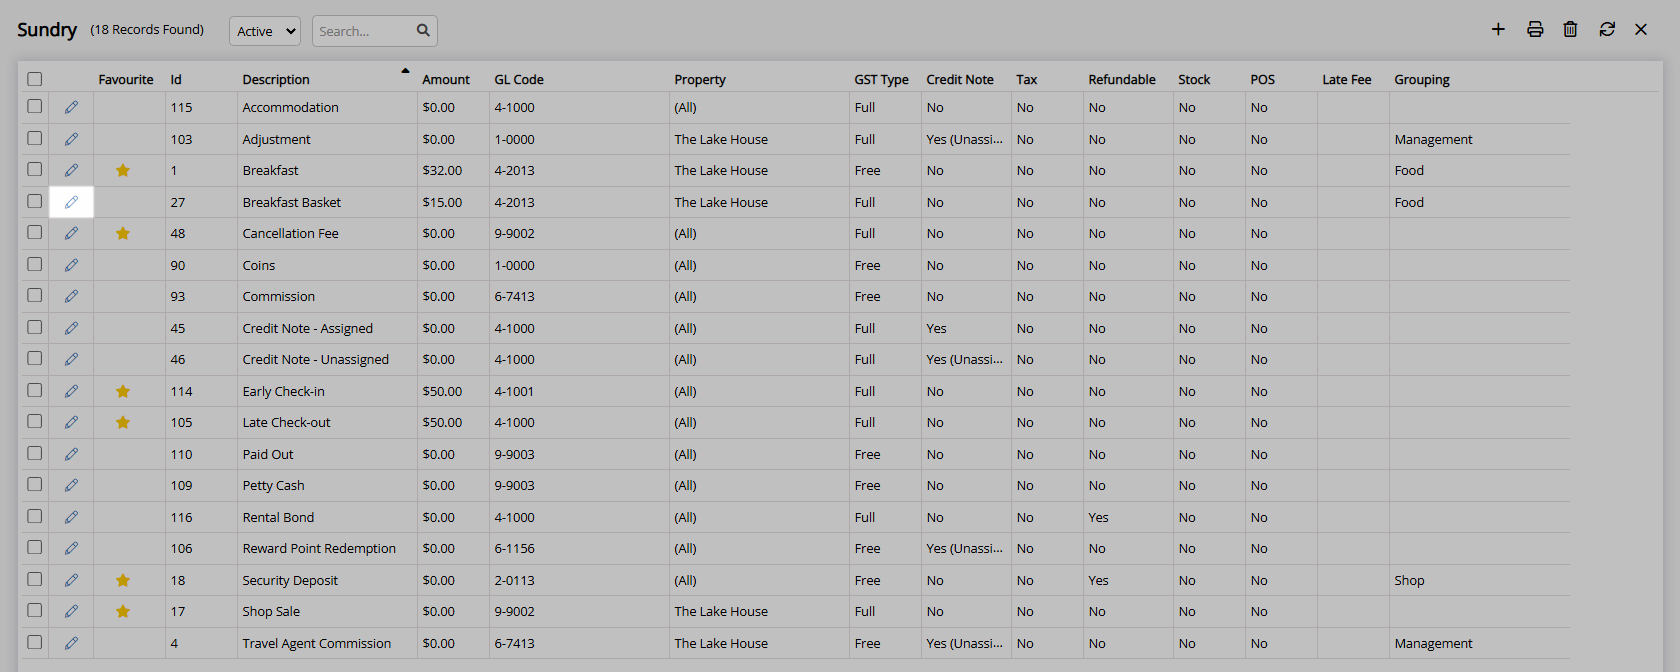
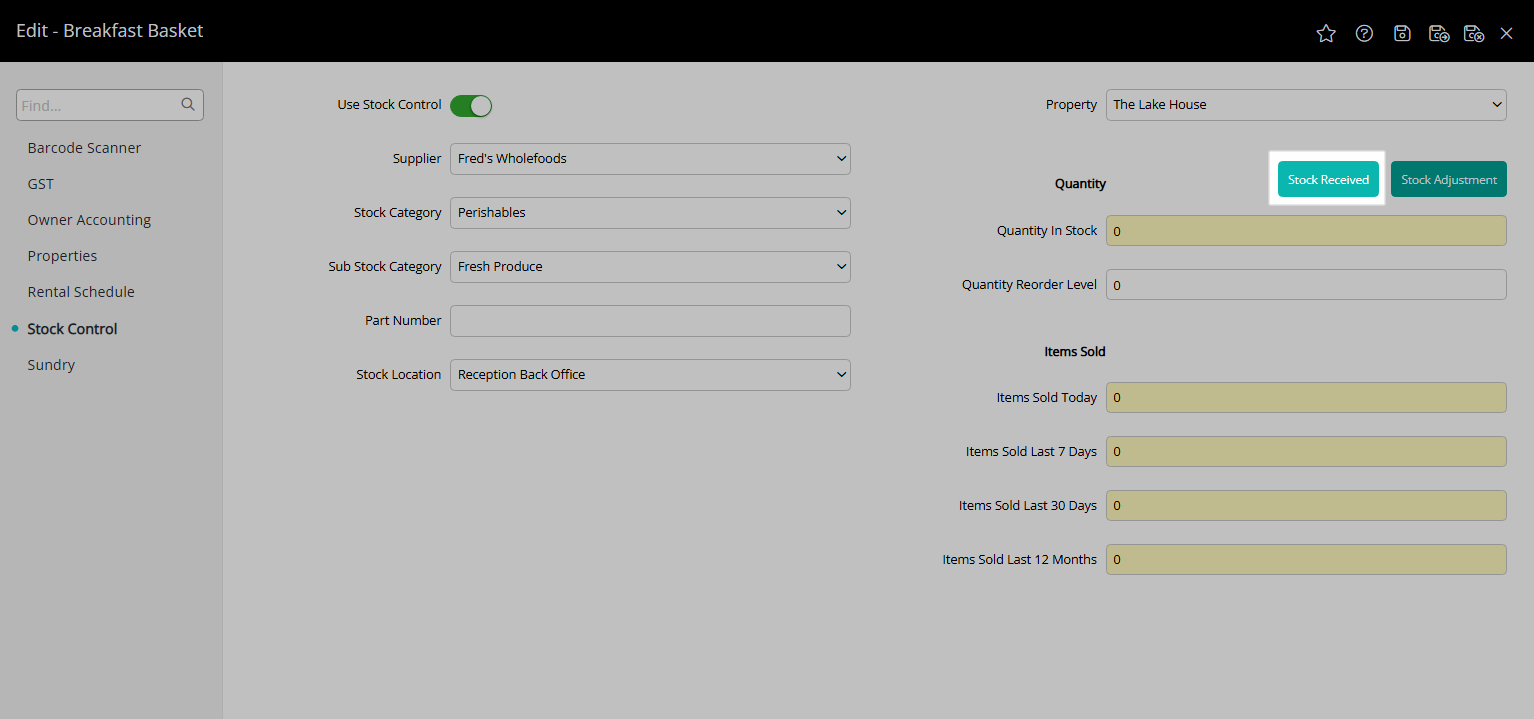
Navigate to the 'Stock Control' tab.
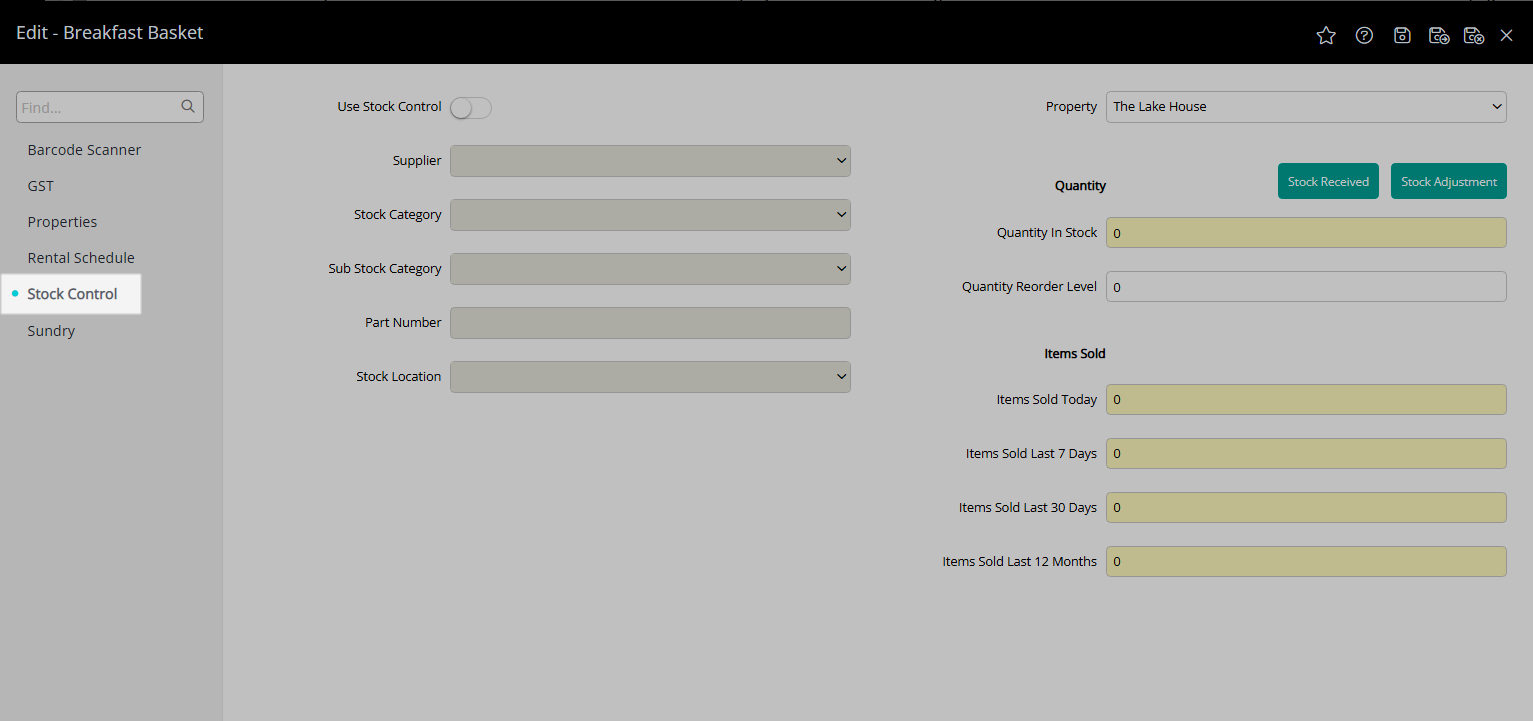
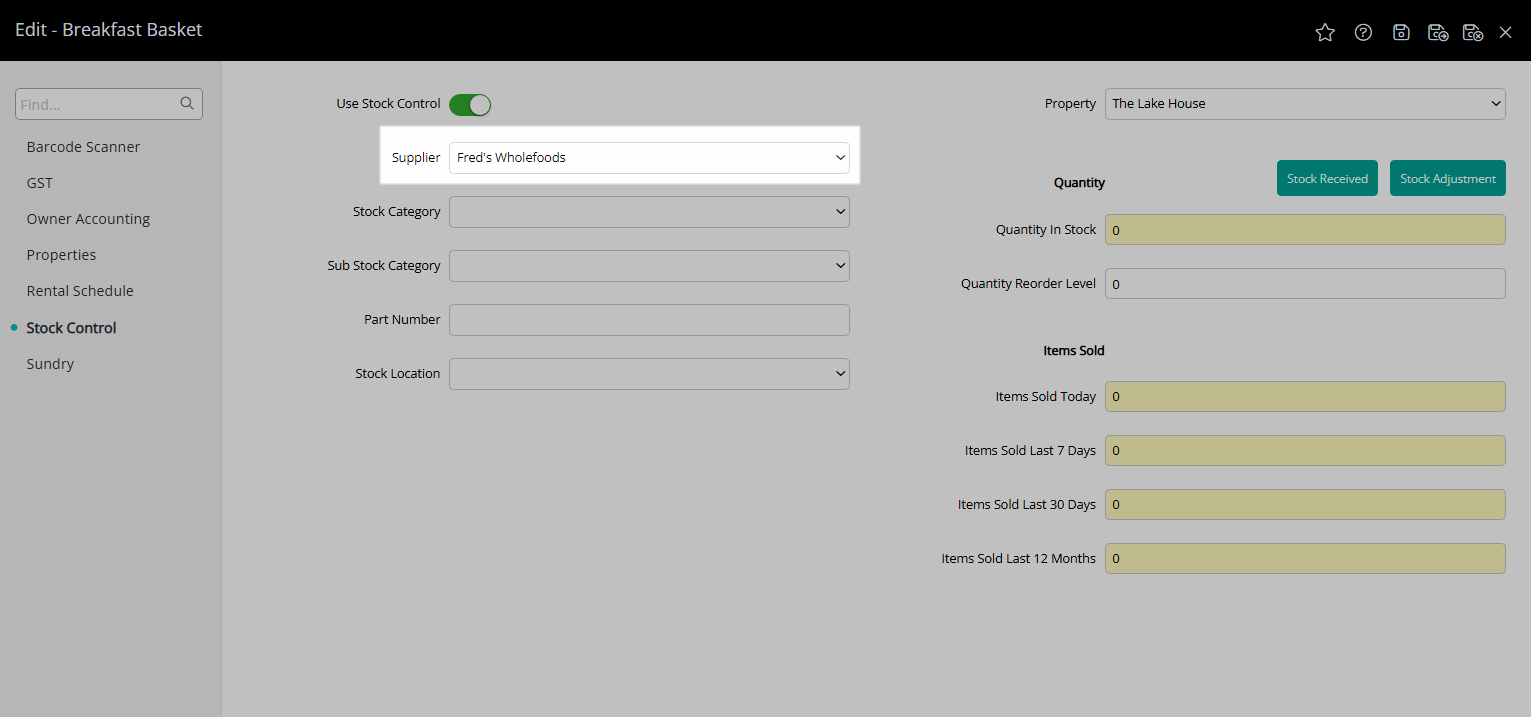
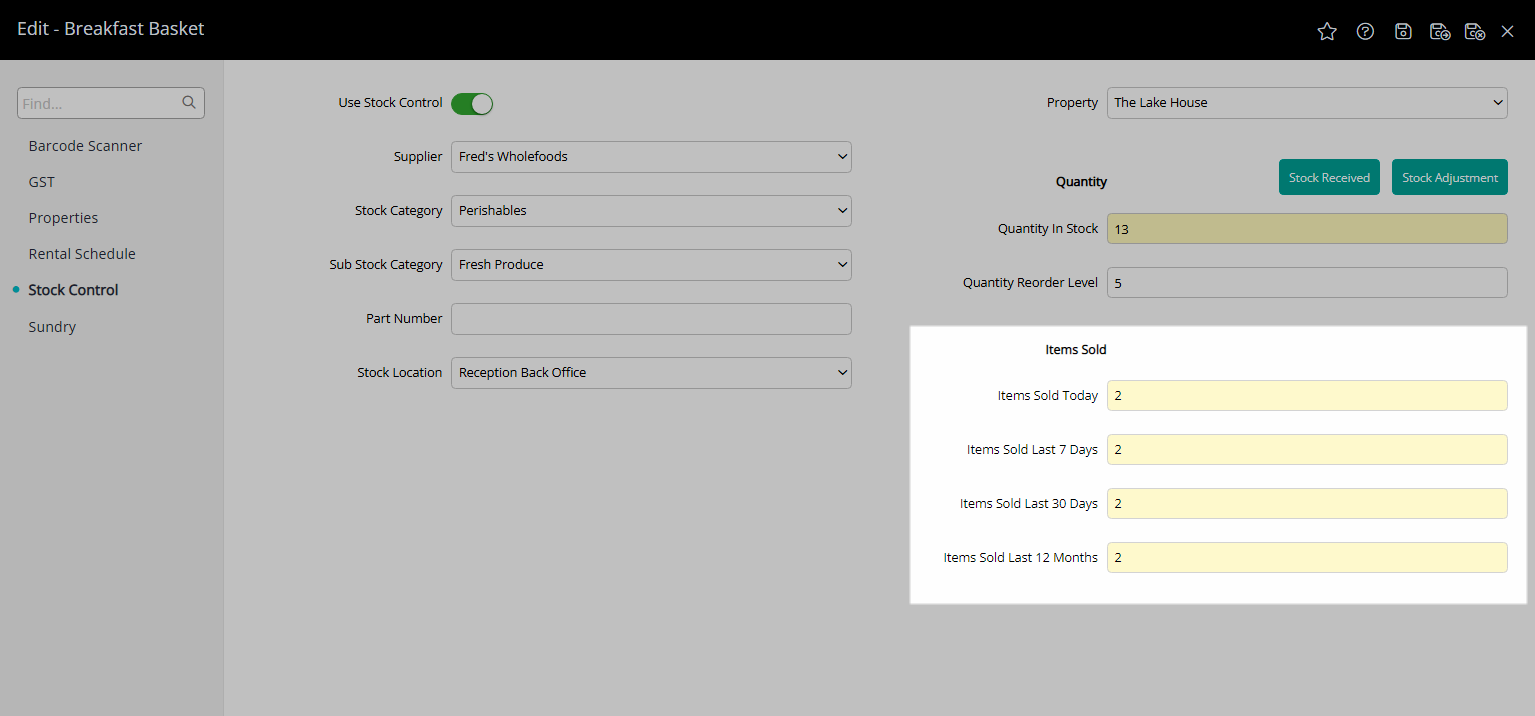
Select the toggle 'Use Stock Control'.
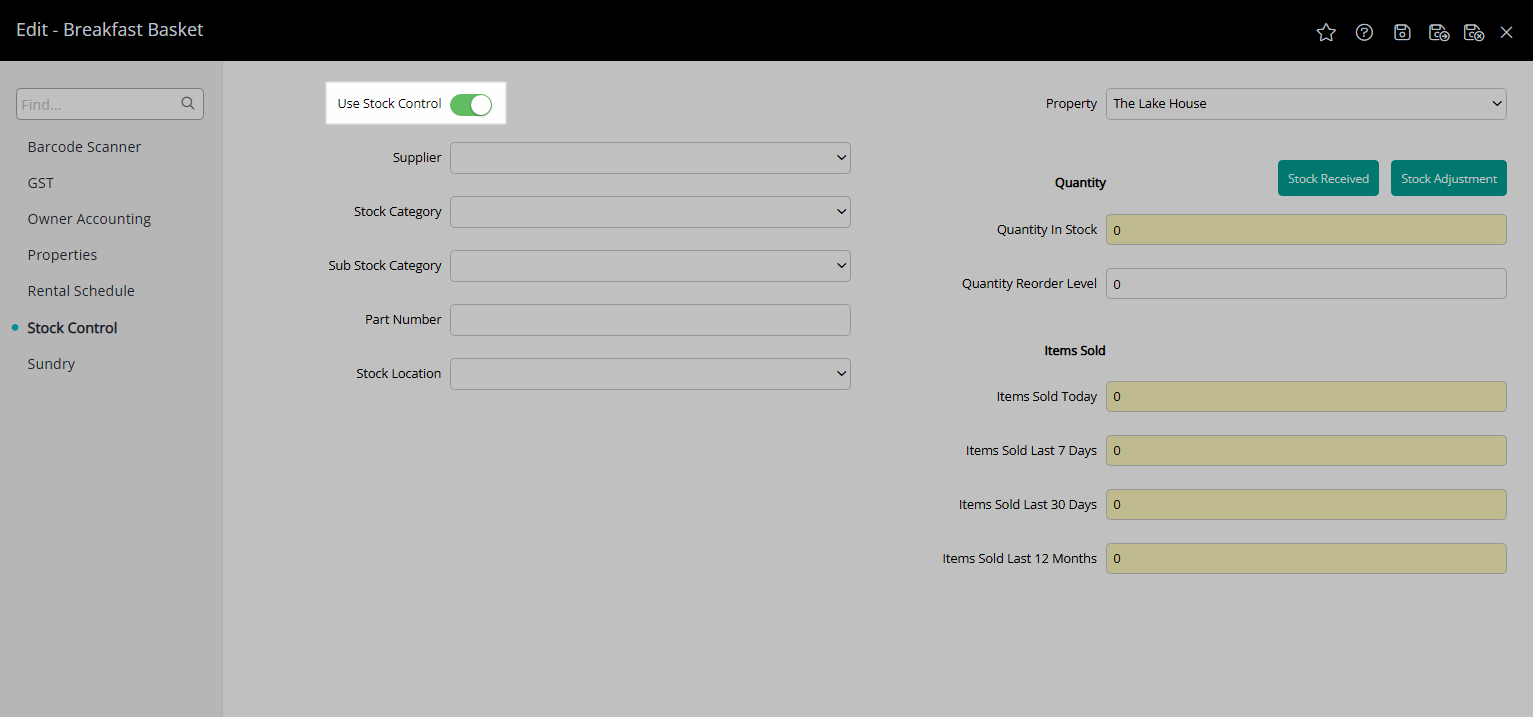
Optional: Select a Supplier.
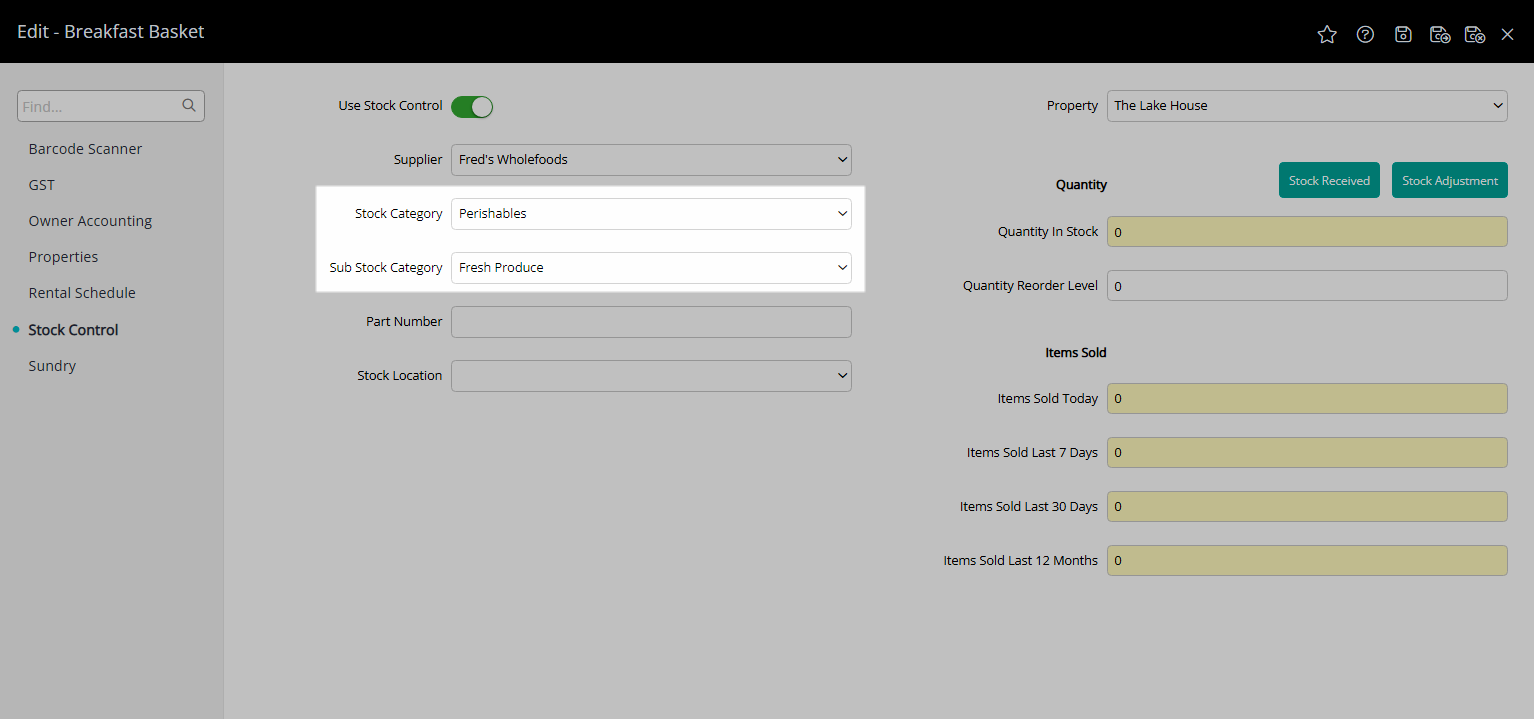
Optional: Select a Stock Category and Sub Category.
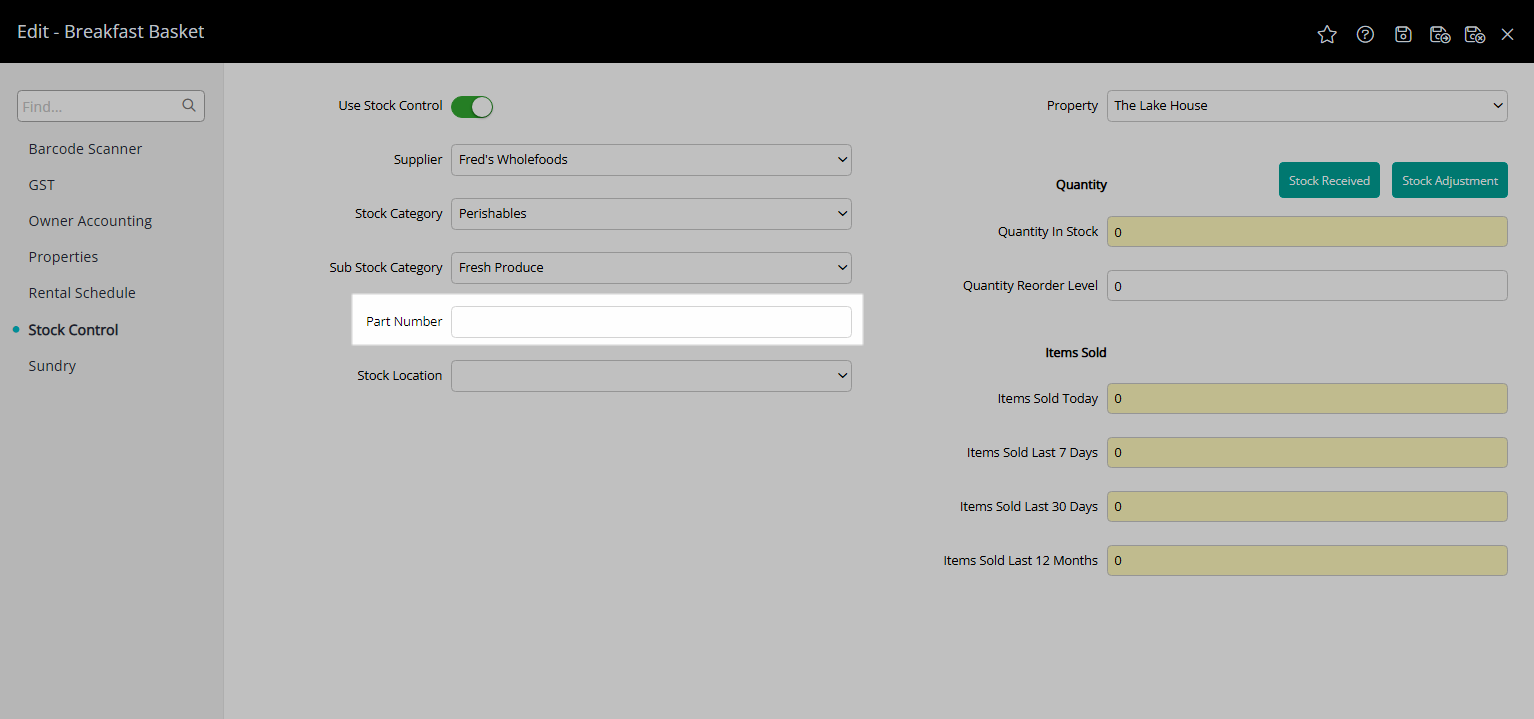
Optional: Enter a Part Number.
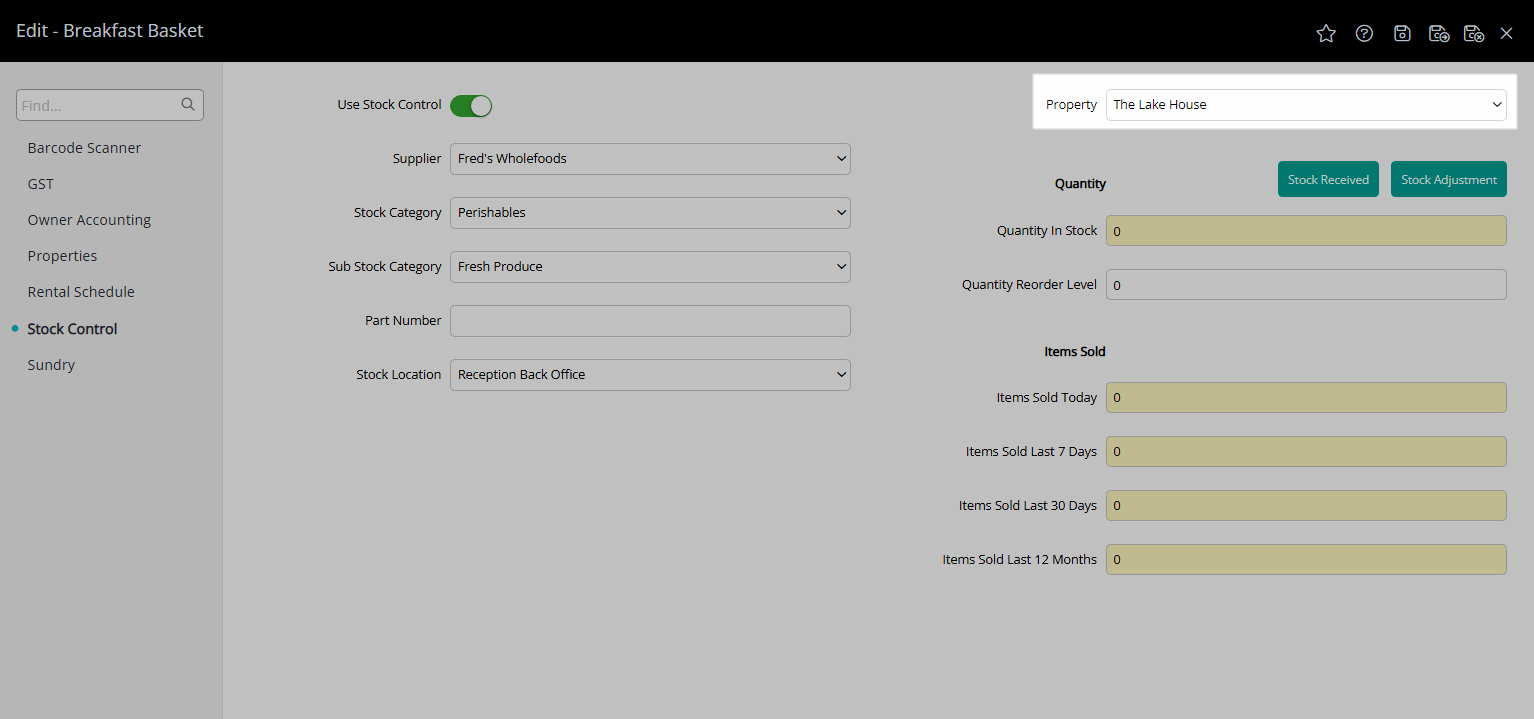
Optional: Select a Stock Location.

Select a Property.
Select 'Stock Received'.
Enter the current Stock Level as the Quantity Received.
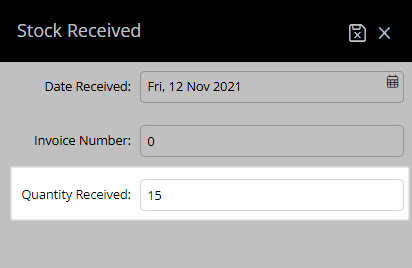
Select 'Save/Exit' to store the changes made and return to the setup.

Optional: Enter the Quantity Reorder Level.
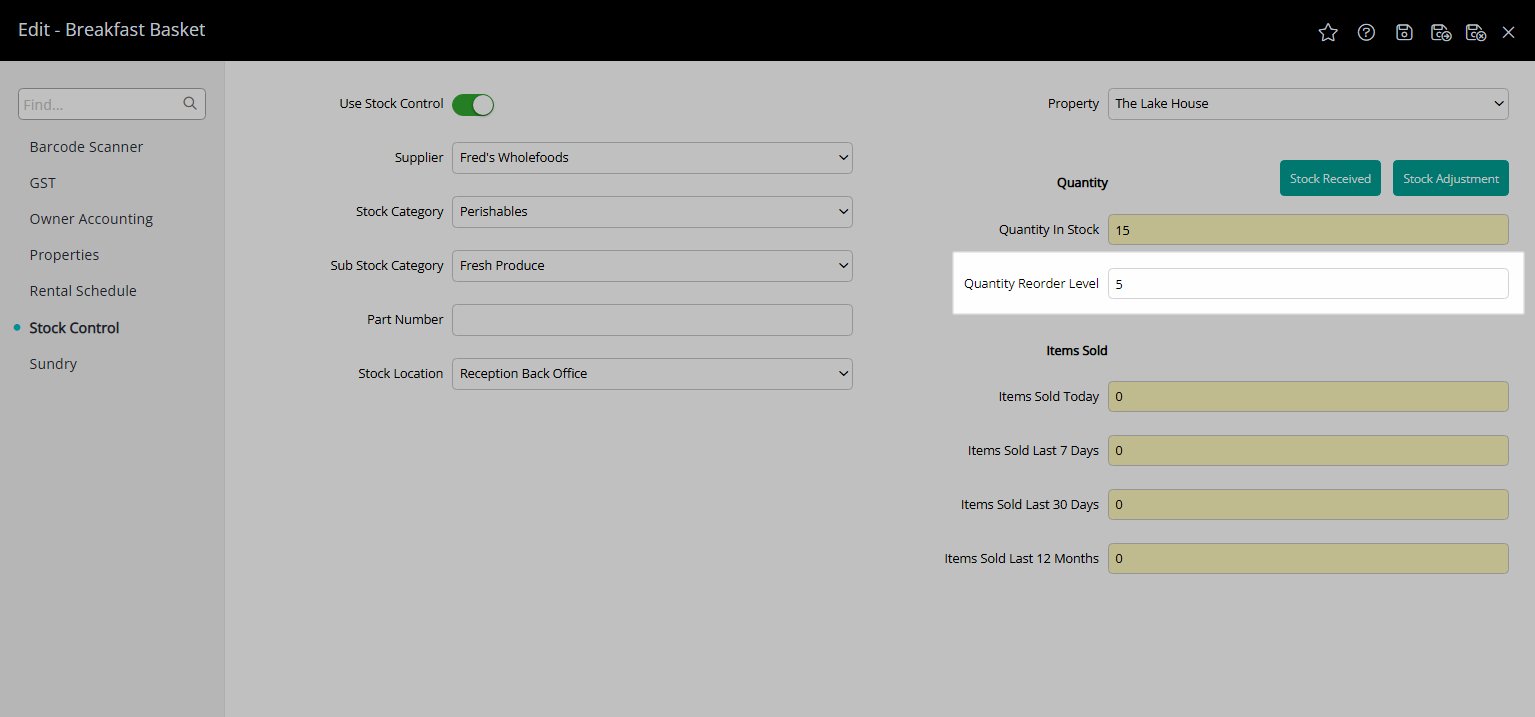
Select 'Save/Exit' to store the changes made and leave the setup.
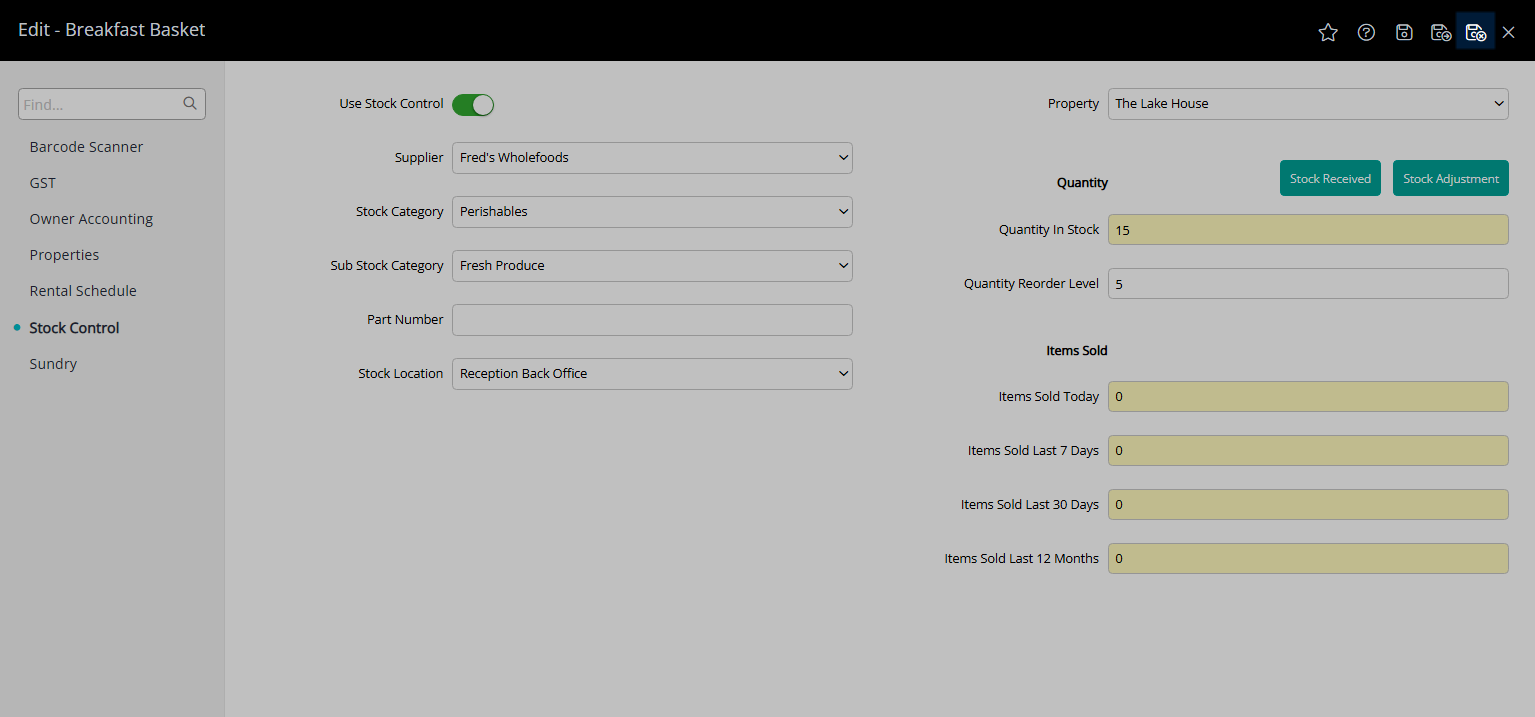
Stock usage will be recorded for this Sundry Charge for each use after Stock Control was enabled.
Setup
- Go to Setup > Accounting > Sundry in RMS.
- Select the 'Edit' icon on an existing Sundry Charge.
- Navigate to the 'Stock Control' tab.
- Select the toggle 'Use Stock Control'.
- Optional: Select a Supplier.
- Optional: Select a Stock Category and Sub Category.
- Optional: Enter a Part Number.
- Optional: Select a Stock Location.
- Select a Property.
- Select 'Stock Received'.
- Enter the current Stock Level as the Quantity Received.
- Save/Exit.
- Optional: Enter the Quantity Reorder Level.
- Save/Exit.
Stock usage is recorded for a Sundry Charge after Stock Control is enabled and does not include any usage prior to activation of Stock Control.
After activation the inventory count will be updated using the quantity entered each time the Sundry Charge is used.
-
Guide
- Add Button
Guide
Go to Setup > Accounting > Sundry in RMS.
Select the ![]() 'Edit' icon on an existing Sundry Charge.
'Edit' icon on an existing Sundry Charge.
Navigate to the 'Stock Control' tab.
Select the toggle 'Use Stock Control'.
Optional: Select a Supplier.
Optional: Select a Stock Category and Sub Category.
Optional: Enter a Part Number.
Optional: Select a Stock Location.
Select a Property.
Select 'Stock Received'.
Enter the current Stock Level as the Quantity Received.
Select 'Save/Exit' to store the changes made and return to the setup.
Optional: Enter the Quantity Reorder Level.
Select 'Save/Exit' to store the changes made and leave the setup.
Stock usage will be recorded for this Sundry Charge for each use after Stock Control was enabled.