Deposit Slip
Report summary of payments processed for verifying banking totals in RMS.
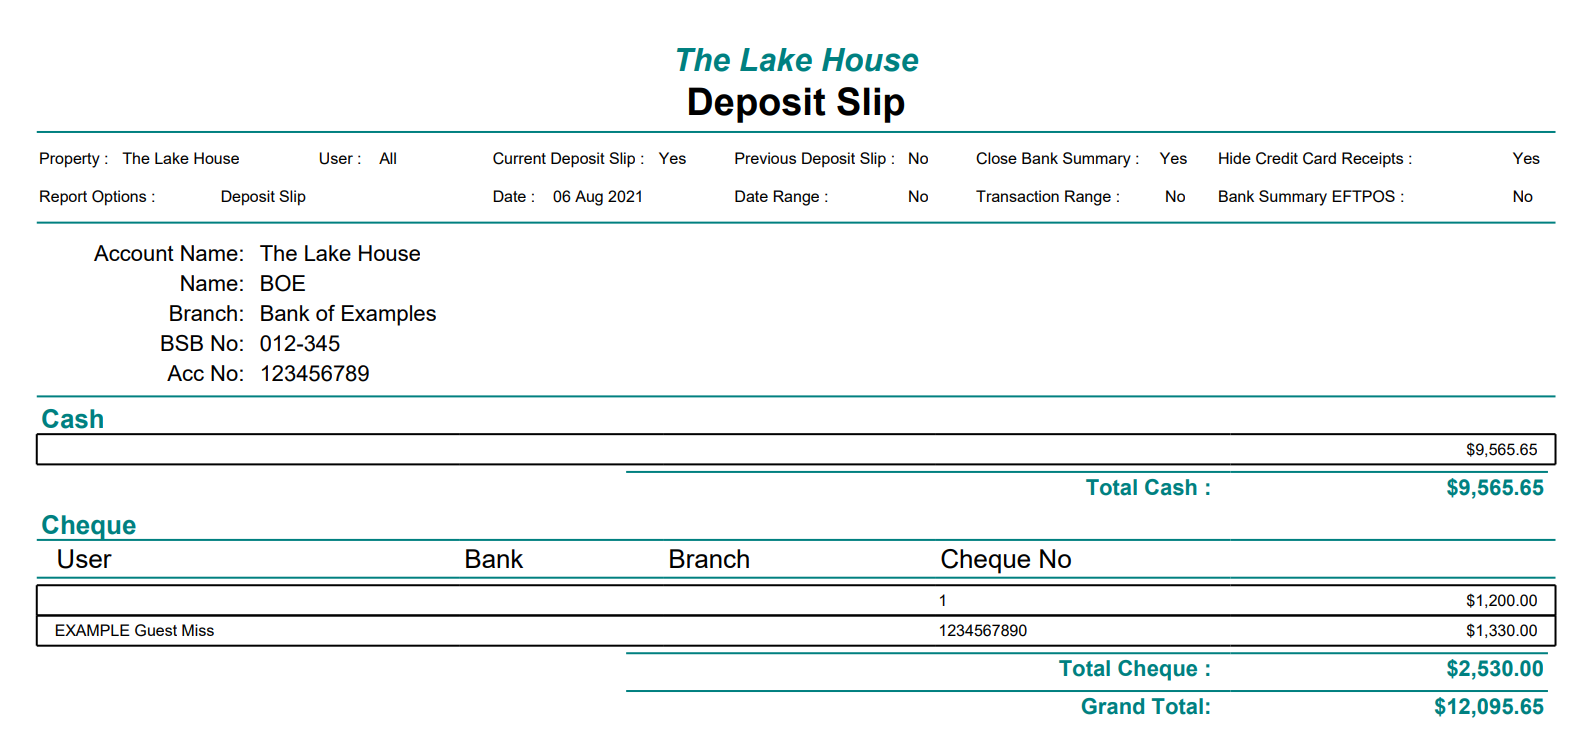
The Deposit Slip provides a summary of payments processed for verifying banking totals.
-
Information
-
Use
- Add Button
Information
The Deposit Slip provides a summary of payments processed for verifying banking totals.
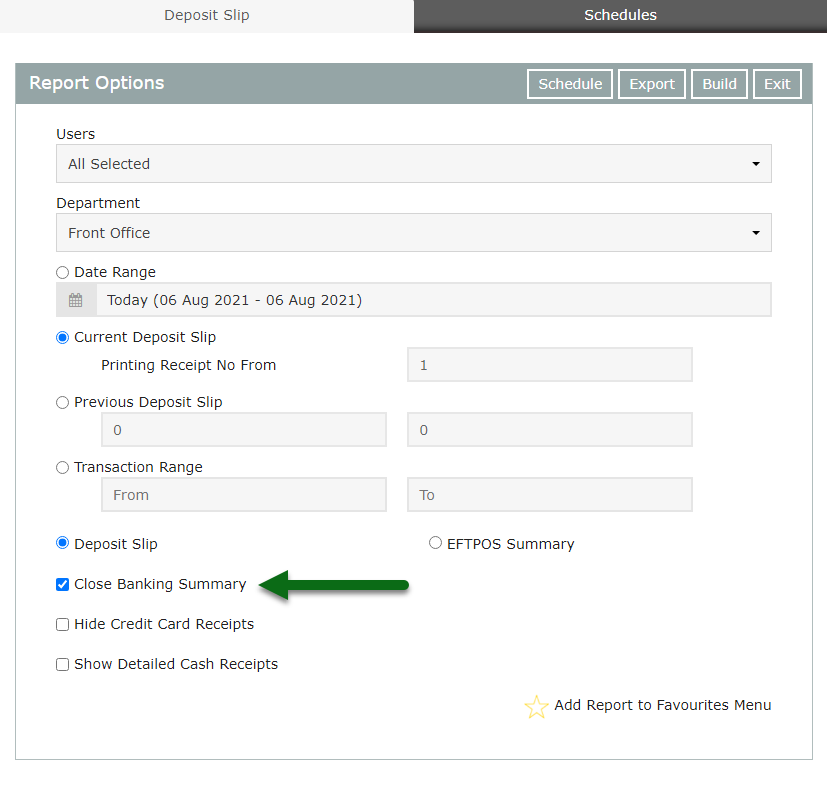
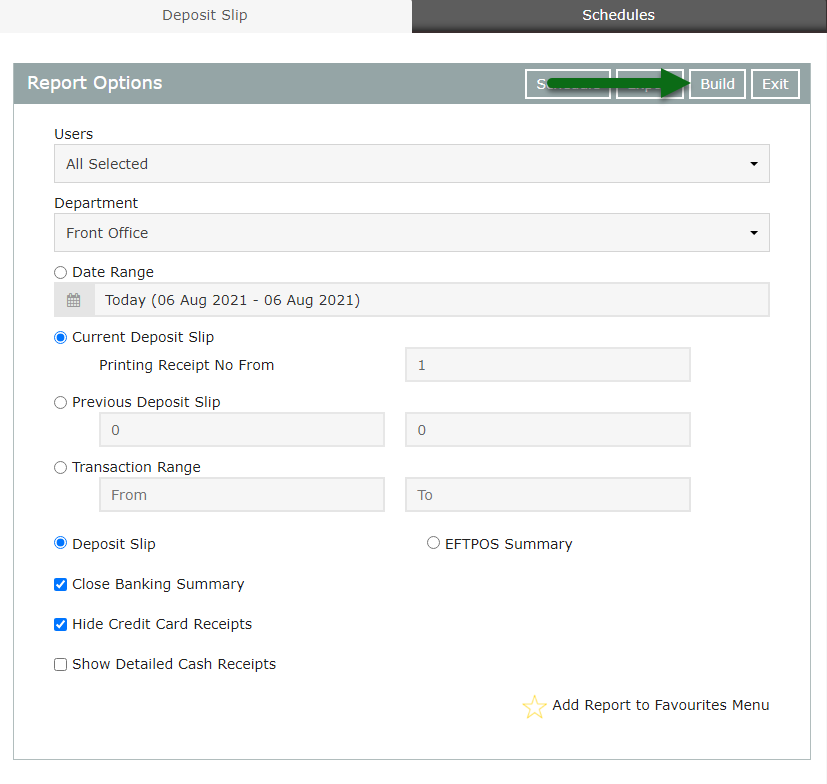
Close Banking Summary will close the Deposit Slip when selecting 'Build'. Generating a new Deposit Slip after closing the Deposit Slip will only show transactions created after the previous Deposit Slip was closed.
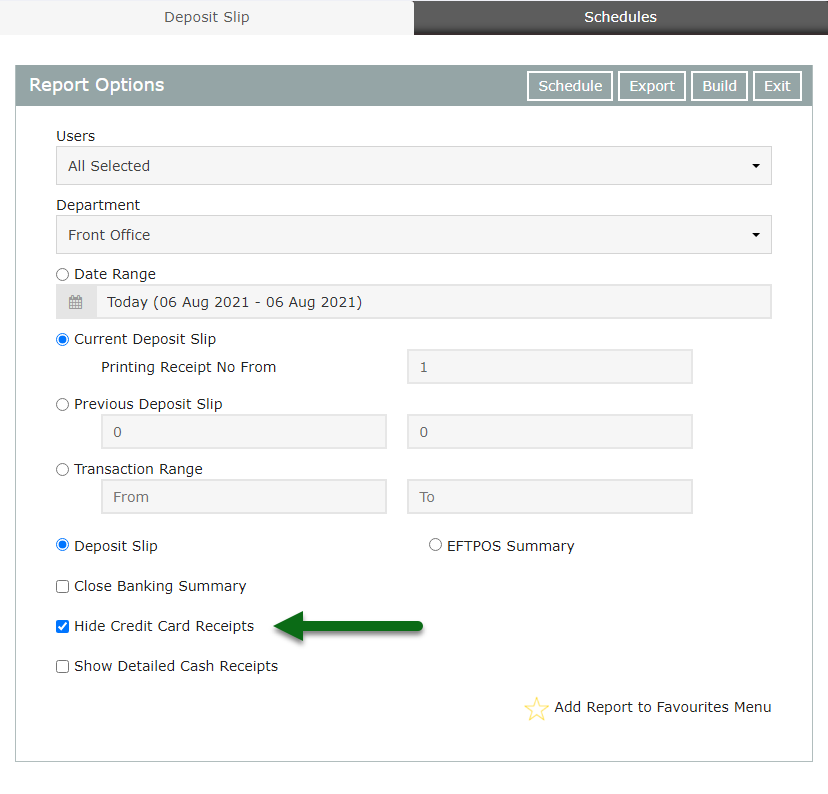
Properties using a Payment Gateway for credit card payments can use the option 'Hide Credit Card Receipts' when generating the Deposit Slip to use as their banking summary.
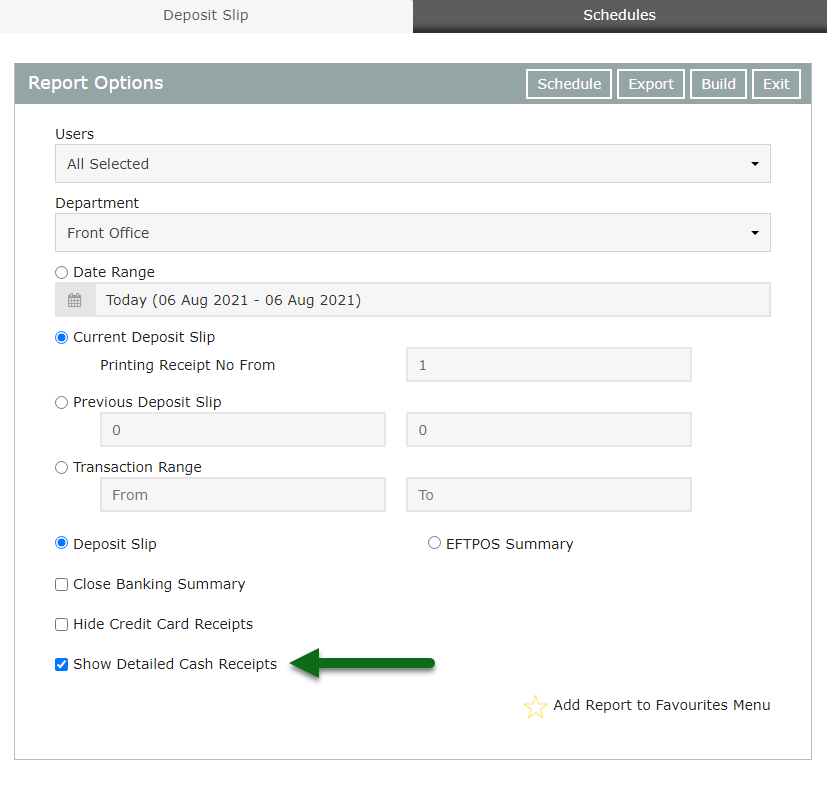
'Show Detailed Cash Receipts' will include the Guest Name, Transaction ID, Transaction Date, Receipt Number, Reservation Number, User and Receipt Amount for all Cash Receipts included in the current Deposit Slip.
The Deposit Slip includes the following information.
| Report Section | Details |
|---|---|
| Report Header | Displays the property's bank account details. |
| Cash | Includes the total cash taken since the Deposit Slip was last closed. Use the Cash Transactions Report for a breakdown of individual Cash Receipts or select the option 'Show Detailed Cash Receipts' to include this information on the Deposit Slip. |
| Cheque | Includes the total of cheque payments received since the Deposit Slip was last closed. Displays the Cheque Number and Cheque Details as entered by the user processing the Receipt in RMS. |

Users will require Security Profile access to view this report.
-
Use
- Add Button
Use
- Go to Reports > Accounting > Deposit Slip in RMS.
- Optional: Select a User.
- Optional: Select a Department.
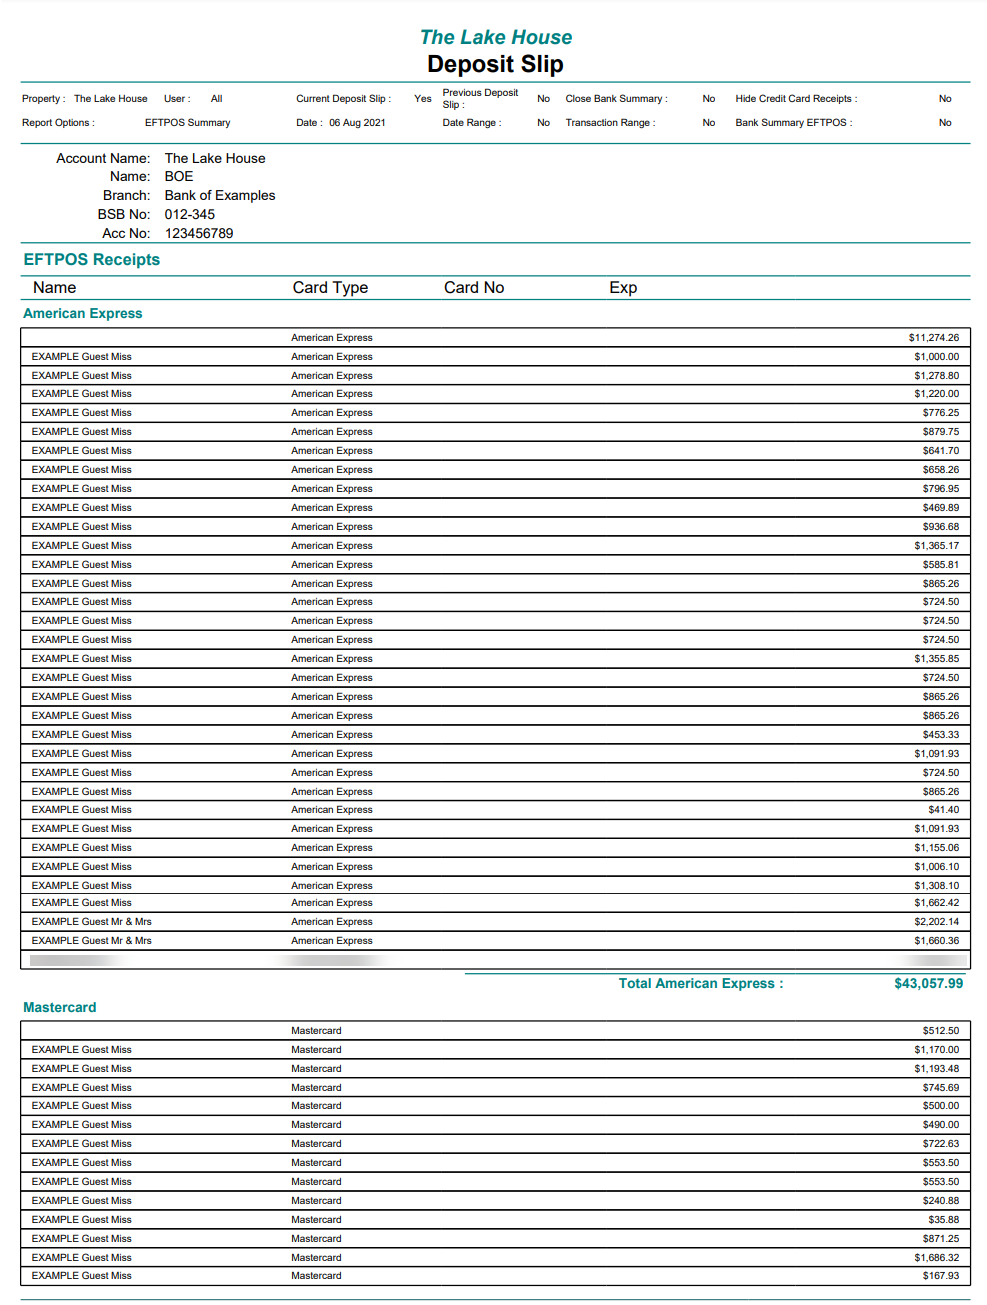
- Select Deposit Slip or EFTPOS Summary.
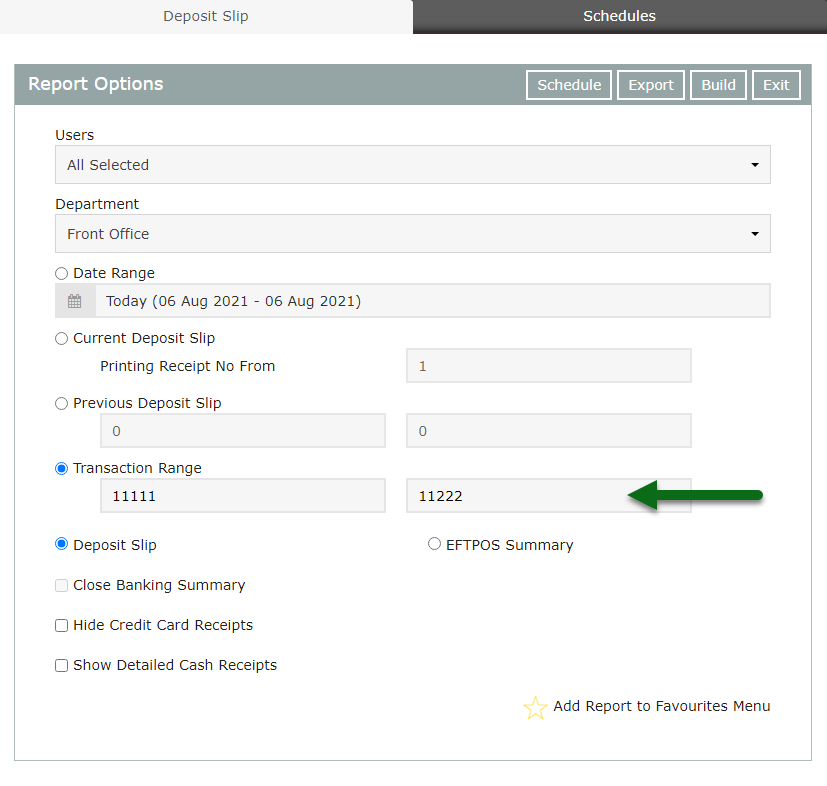
- Select Date Range, Current, Previous or Transaction Range.
- Select or enter the Date Range or Transaction Range.
- Optional: Select the checkbox 'Close Banking Summary'.
- Optional: Select the checkbox 'Hide Credit Card Receipts'.
- Optional: Select the checkbox 'Show Detailed Cash Receipts'.
- Build.

'Close Banking Summary' will close the Deposit Slip when selecting 'Build'. Generating a new Deposit Slip after closing the Deposit Slip will only show transactions created after the previous Deposit Slip was closed.
Properties using a Payment Gateway for credit card payments can use the option 'Hide Credit Card Receipts' when generating the Deposit Slip to use as their banking summary.
'Show Detailed Cash Receipts' will include the Guest Name, Transaction ID, Transaction Date, Receipt Number, Reservation Number, User and Receipt Amount for all Cash Receipts included in the current Deposit Slip.
-
Guide
- Add Button
Guide
Go to Reports > Accounting > Deposit Slip in RMS.
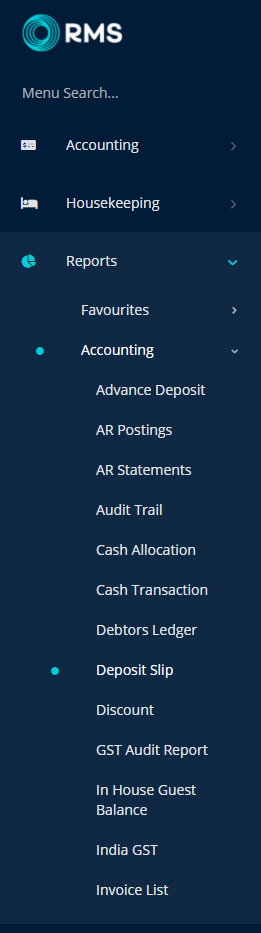
Optional: Select a User.
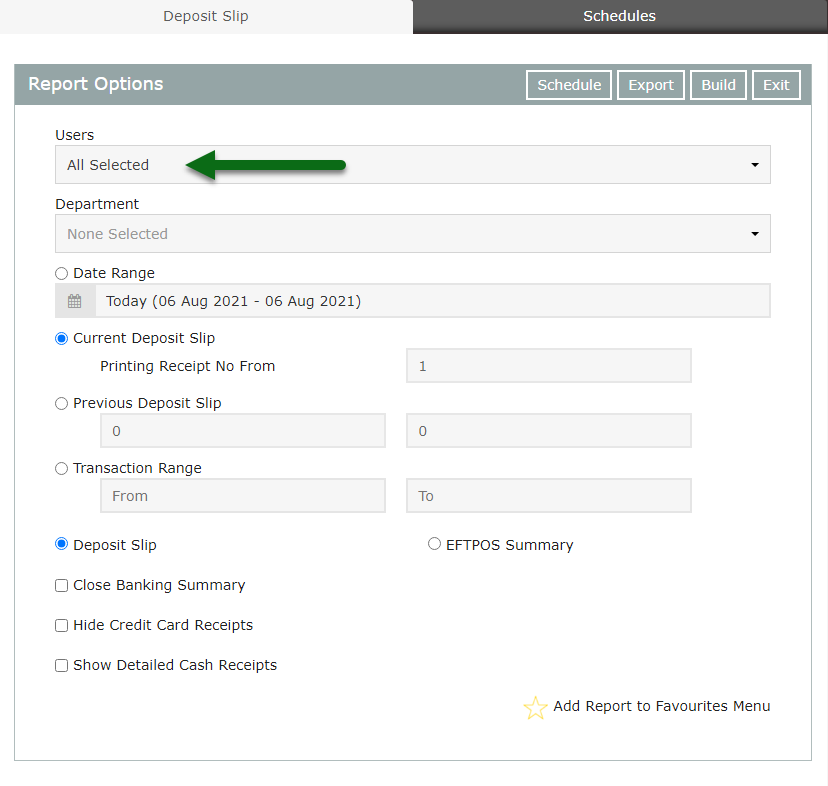
Optional: Select a Department.
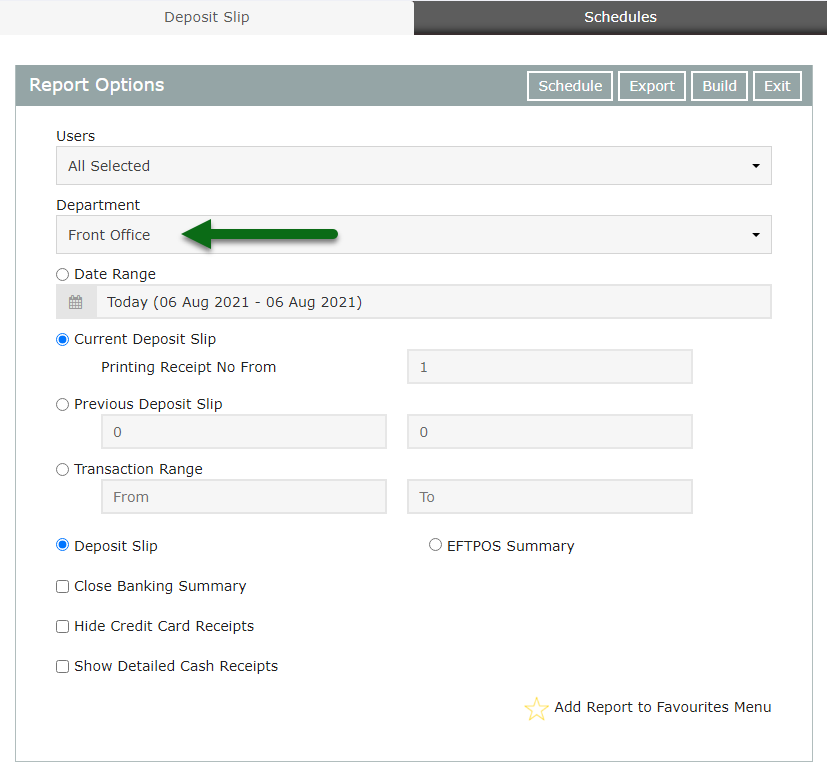
Select Deposit Slip or EFTPOS Summary.
Select Date Range, Current, Previous or Transaction Range.
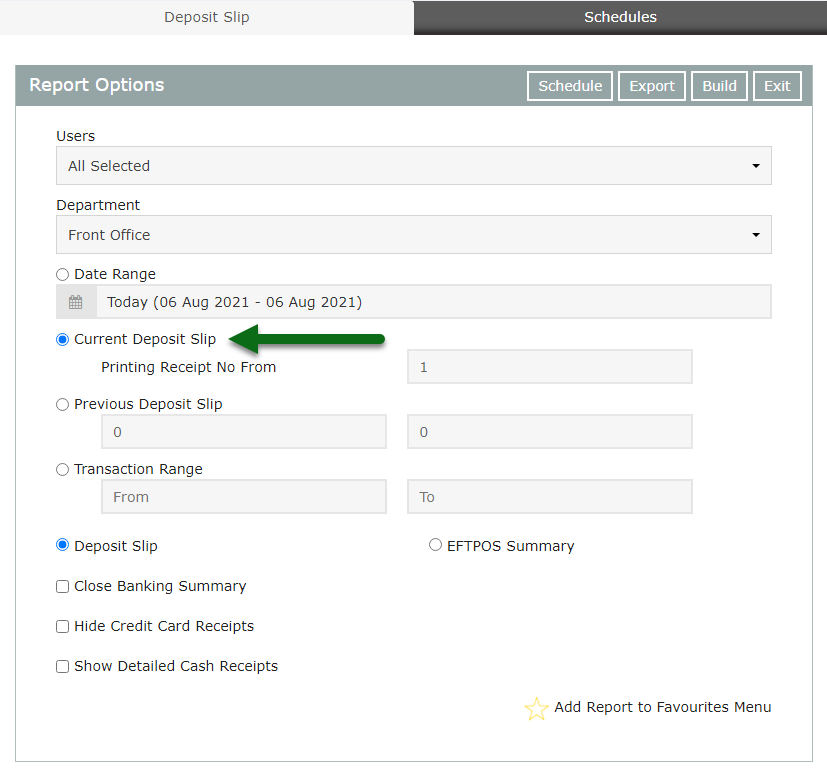
Select or enter the Date Range or Transaction Range.
Optional: Select the checkbox 'Close Banking Summary'.
Optional: Select the checkbox 'Hide Credit Card Receipts'.
Optional: Select the checkbox 'Show Detailed Cash Receipts'.
Select 'Build' to generate the Deposit Slip or EFTPOS Summary.
The Deposit Slip can be used as a banking summary to verify the banking totals of cash and cheques for the property.
The EFTPOS Summary can be used to verify all EFTPOS payments have been recorded in RMS by matching it to the EFTPOS terminal's settlement for the same period.
Use
- Go to Reports > Accounting > Deposit Slip in RMS.
- Optional: Select a User.
- Optional: Select a Department.
- Select Deposit Slip or EFTPOS Summary.
- Select Date Range, Current, Previous or Transaction Range.
- Select or enter the Date Range or Transaction Range.
- Optional: Select the checkbox 'Close Banking Summary'.
- Optional: Select the checkbox 'Hide Credit Card Receipts'.
- Optional: Select the checkbox 'Show Detailed Cash Receipts'.
- Build.
'Close Banking Summary' will close the Deposit Slip when selecting 'Build'. Generating a new Deposit Slip after closing the Deposit Slip will only show transactions created after the previous Deposit Slip was closed.
Properties using a Payment Gateway for credit card payments can use the option 'Hide Credit Card Receipts' when generating the Deposit Slip to use as their banking summary.
'Show Detailed Cash Receipts' will include the Guest Name, Transaction ID, Transaction Date, Receipt Number, Reservation Number, User and Receipt Amount for all Cash Receipts included in the current Deposit Slip.
-
Guide
- Add Button
Guide
Go to Reports > Accounting > Deposit Slip in RMS.
Optional: Select a User.
Optional: Select a Department.
Select Deposit Slip or EFTPOS Summary.
Select Date Range, Current, Previous or Transaction Range.
Select or enter the Date Range or Transaction Range.
Optional: Select the checkbox 'Close Banking Summary'.
Optional: Select the checkbox 'Hide Credit Card Receipts'.
Optional: Select the checkbox 'Show Detailed Cash Receipts'.
Select 'Build' to generate the Deposit Slip or EFTPOS Summary.
The Deposit Slip can be used as a banking summary to verify the banking totals of cash and cheques for the property.
The EFTPOS Summary can be used to verify all EFTPOS payments have been recorded in RMS by matching it to the EFTPOS terminal's settlement for the same period.