Domains
Setup domain verification in RMS.
Domain verification in RMS ensures that the correct DNS records for the property are used when sending emails from RMS.
-
Information
-
Setup
- Add Button
Information
Verified domains will remove the 'Sent from RMS on behalf of' in the sender field.
Domain Verification ensures that the user has access to an email address on the submitted domain and is authorised to send emails from that domain.

Refer to the domain host's documentation for email client configuration.
Below are external links to the documentation for commonly used domain hosts.
Google Gmail, Microsoft Outlook, Bluehost, DreamHost, GoDaddy, CPanel
-
Setup
- Add Button
Setup
Have your System Administrator complete the following.
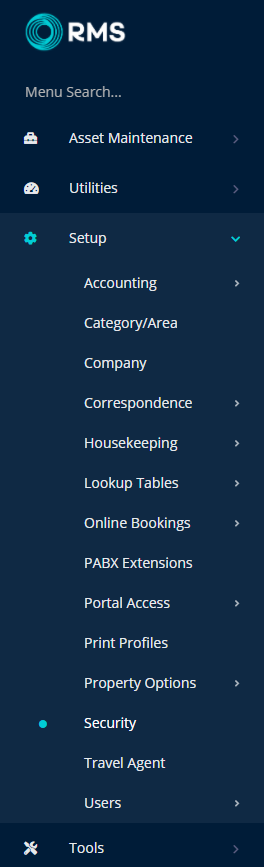
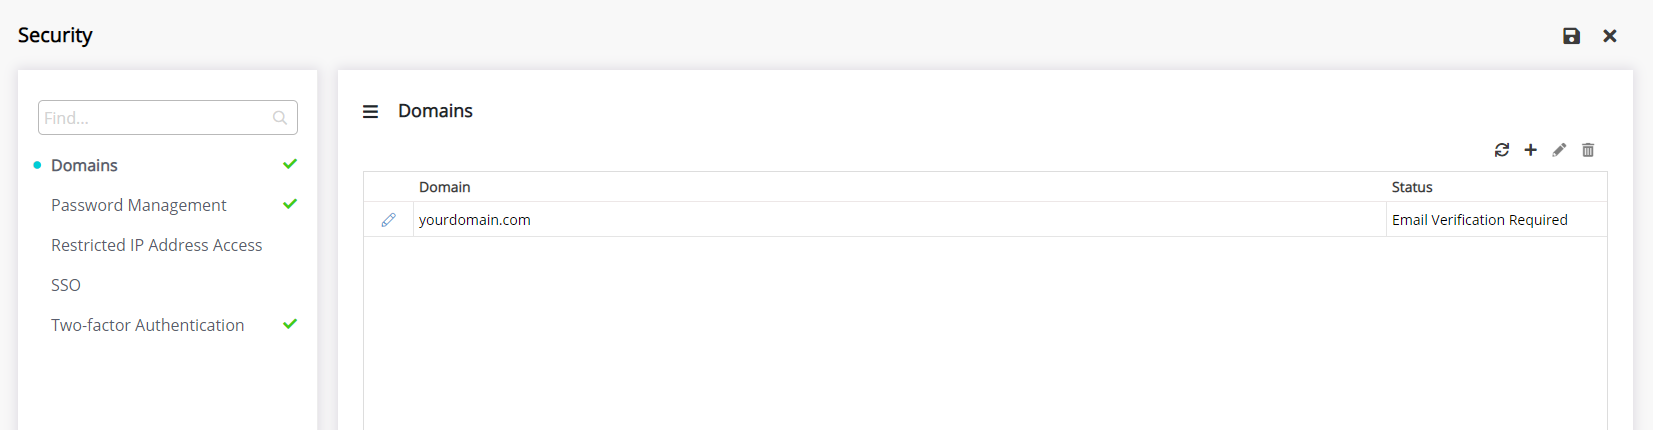
- Go to Setup > Security in RMS.
- Navigate to the 'Domains' tab.
- Select the 'Add' icon.
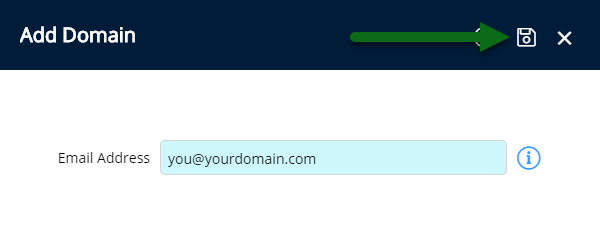
- Enter the Email Address.
- Save.
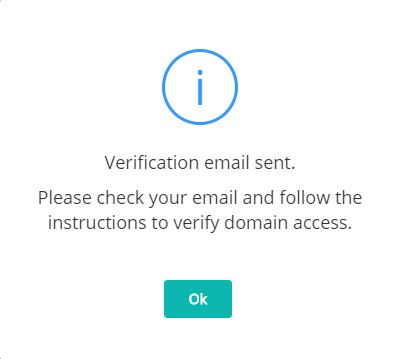
- Click the button 'Verify Domain Access' in the email sent from RMS.
- Add DNS Records to the Hosting Provider.

Use a subdomain for sending email from RMS to ensure external products configured with the property's domain do not have their service interrupted.
Refer to the domain host's documentation to setup a subdomain.
-
Guide
-
DNS Records
- Add Button
Guide
Go to Setup > Security in RMS.
Navigate to the 'Domains' tab.
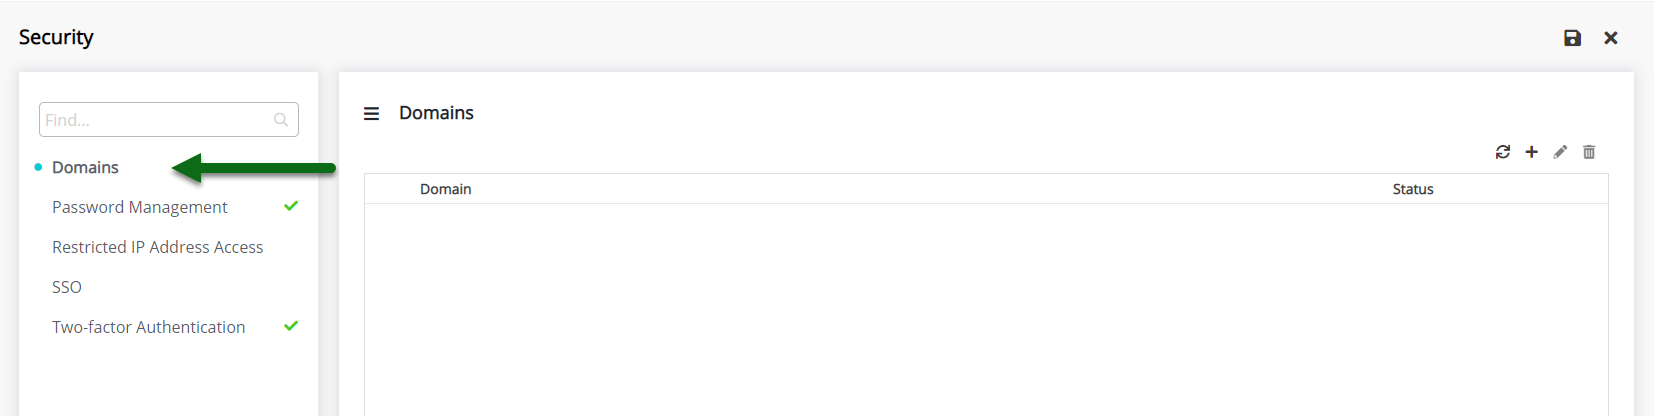
Select the 'Add' icon.
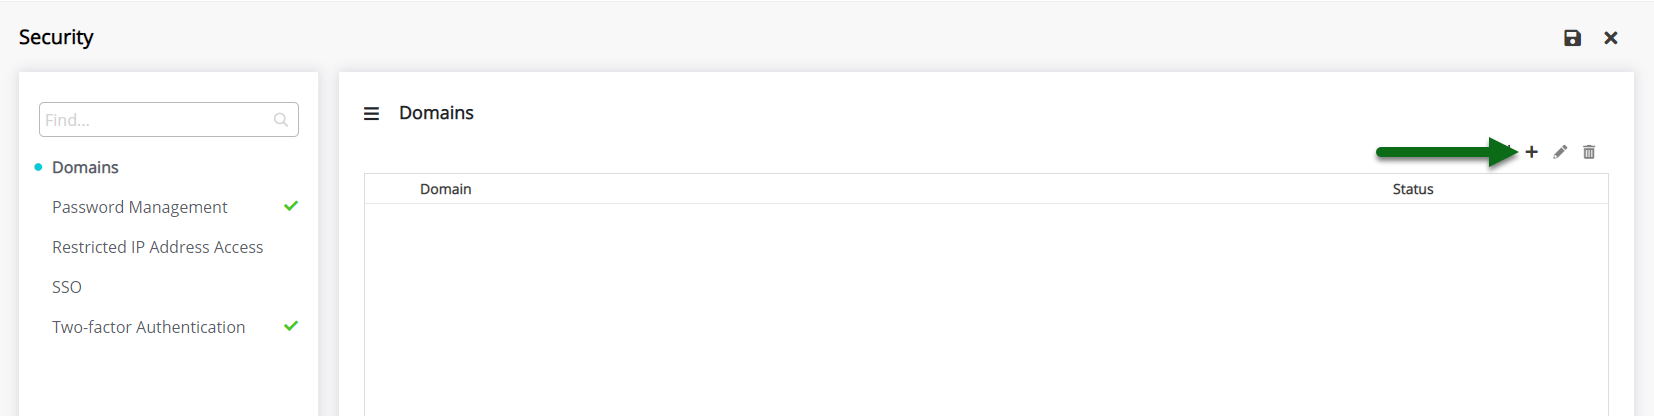
Enter the Email Address.
Select 'Save' to store the changes made.
Click the button 'Verify Domain Access' in the email sent from RMS.
Added Domains will be displayed in the list with their current Verification Status.
Add DNS Records to the Hosting Provider.
-
DNS Records
- Add Button
DNS Records
This setup is completed outside of RMS.
Have your System Administrator complete the following.
Log into the Hosting Provider and navigate to the DNS section.
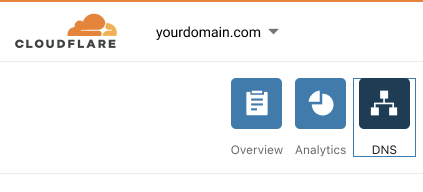

The DNS section may be listed under 'DNS', 'Networking' or 'Zone Editor' depending on the hosting provider used.

Enter a second TXT record with the below hostname.
mx._domainkey.mail.yourdomain.com
It can take up to 24-hours for DNS records to be updated once the changes are made.
DNS Records
This setup is completed outside of RMS.
Have your System Administrator complete the following.
Log into the Hosting Provider and navigate to the DNS section.
The DNS section may be listed under 'DNS', 'Networking' or 'Zone Editor' depending on the hosting provider used.
Enter a second TXT record with the below hostname.
mx._domainkey.mail.yourdomain.com
It can take up to 24-hours for DNS records to be updated once the changes are made.
Setup
Have your System Administrator complete the following.
- Go to Setup > Security in RMS.
- Navigate to the 'Domains' tab.
- Select the 'Add' icon.
- Enter the Email Address.
- Save.
- Click the button 'Verify Domain Access' in the email sent from RMS.
- Add DNS Records to the Hosting Provider.

Use a subdomain for sending email from RMS to ensure external products configured with the property's domain do not have their service interrupted.
Refer to the domain host's documentation to setup a subdomain.
-
Guide
-
DNS Records
- Add Button
Guide
Go to Setup > Security in RMS.
Navigate to the 'Domains' tab.
Select the 'Add' icon.
Enter the Email Address.
Select 'Save' to store the changes made.
Click the button 'Verify Domain Access' in the email sent from RMS.
Added Domains will be displayed in the list with their current Verification Status.
Add DNS Records to the Hosting Provider.
-
DNS Records
- Add Button
DNS Records
This setup is completed outside of RMS.
Have your System Administrator complete the following.
Log into the Hosting Provider and navigate to the DNS section.
The DNS section may be listed under 'DNS', 'Networking' or 'Zone Editor' depending on the hosting provider used.
Enter a second TXT record with the below hostname.
mx._domainkey.mail.yourdomain.com
It can take up to 24-hours for DNS records to be updated once the changes are made.