Secondary Guest
Add a secondary Guest to a Reservation in RMS.
Secondary Guests are additional Guest Profiles added to a reservation.
-
Information
-
Use
- Add Button
Information
Secondary Guests are additional Guest Profiles added to a reservation.
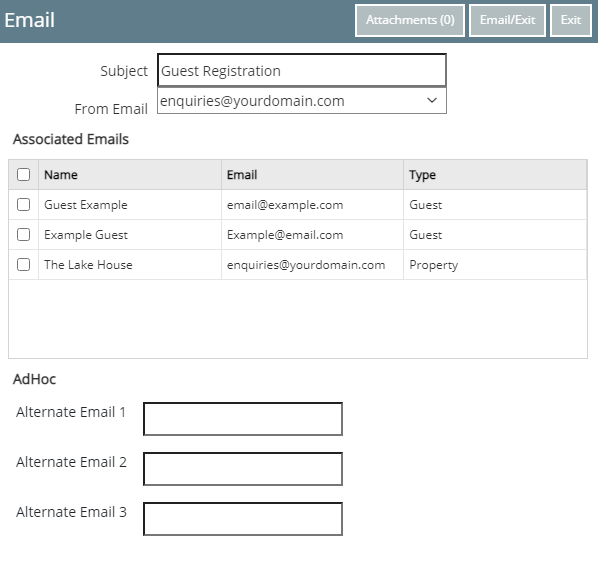
Additional Guest information can be viewed on the 'Guest' tab of the reservation and enables sending correspondence to one or more occupants of the Area at the same time.

Category, Area & Guest are default System Labels that can be customised.

Users will require Security Profile access to use this feature.
-
Use
- Add Button
Use
- Go to the Toolbar Menu Reservation Search in RMS.
- Enter the Guest Name or Reservation Number and press 'Enter'.
- Navigate to the
 'Guest' tab.
 - Select the
 'Add' icon.
 - Enter the Guest Details.
-
Optional: Search for an existing Guest Profile.
- Enter the Guest Details.
- Double click the matching Guest Profile.
- Select the Area to add the Guest to.
- Select
 'Allocate/Exit'.
 - Save/Exit.

Category, Area & Guest are default System Labels that can be customised.
-
Guide
- Add Button
Guide
Go to the Toolbar Menu Reservation Search in RMS.

Enter the Guest Name or Reservation Number and press 'Enter'.

Navigate to the ![]() 'Guest' tab.
'Guest' tab.

Select the ![]() 'Add' icon.
'Add' icon.
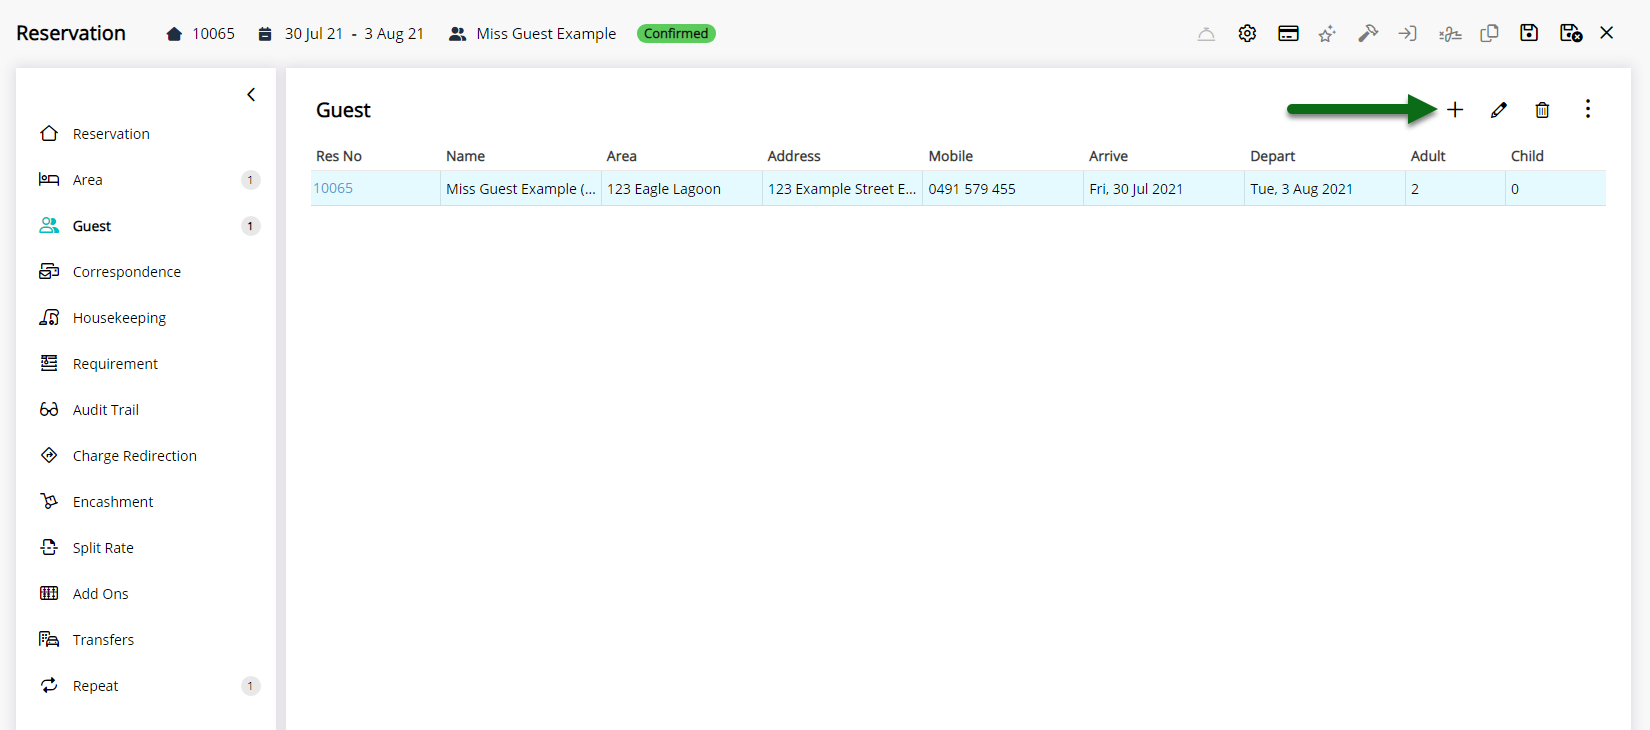
Enter the Guest Details.
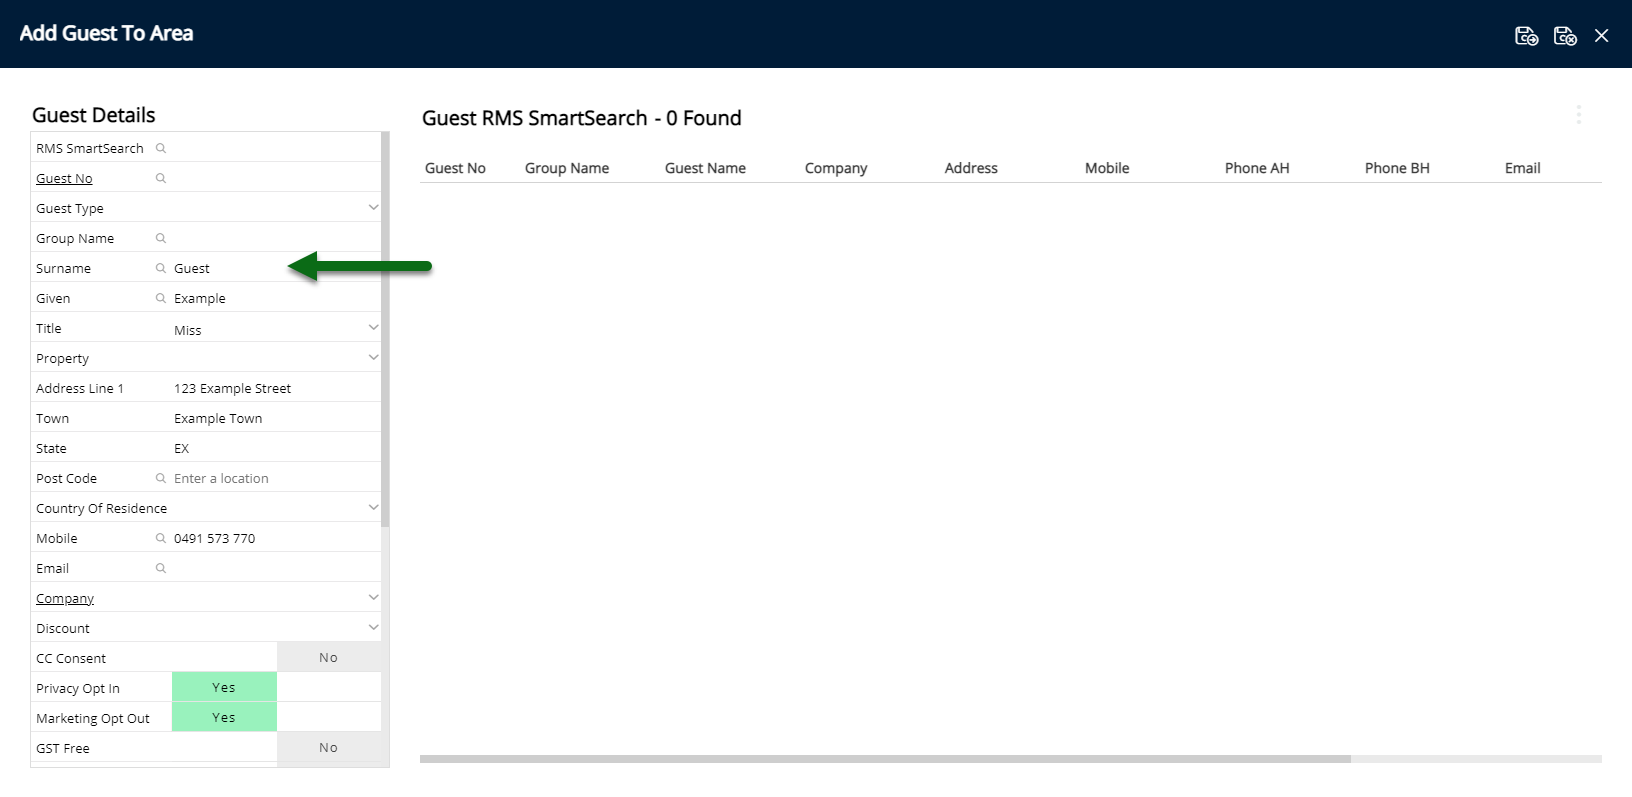
Optional: Search for an existing Guest Profile.
Enter the Guest Details.
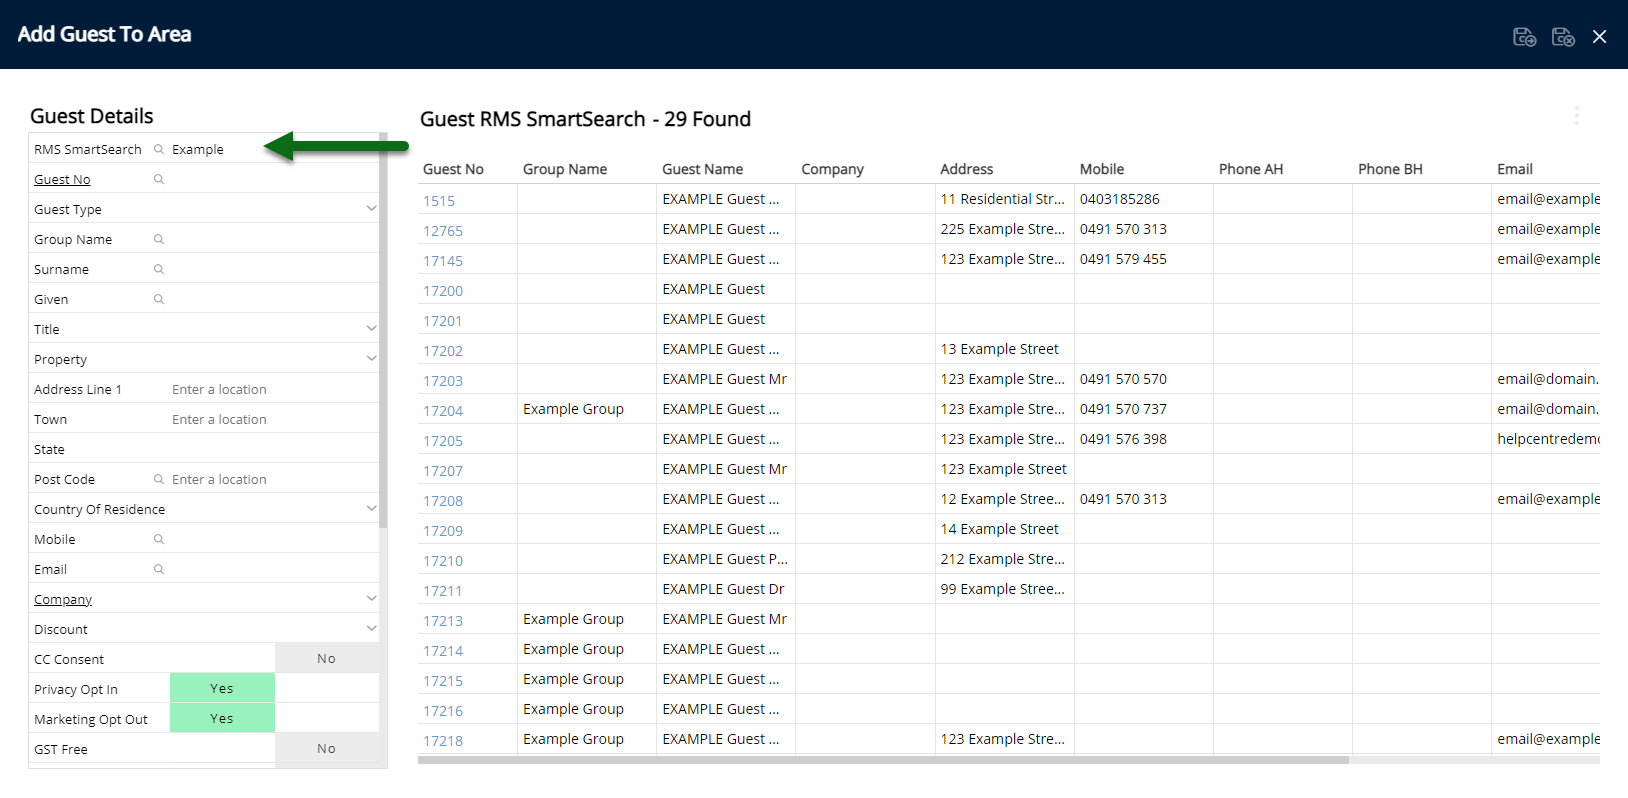
Double click the matching Guest Profile.
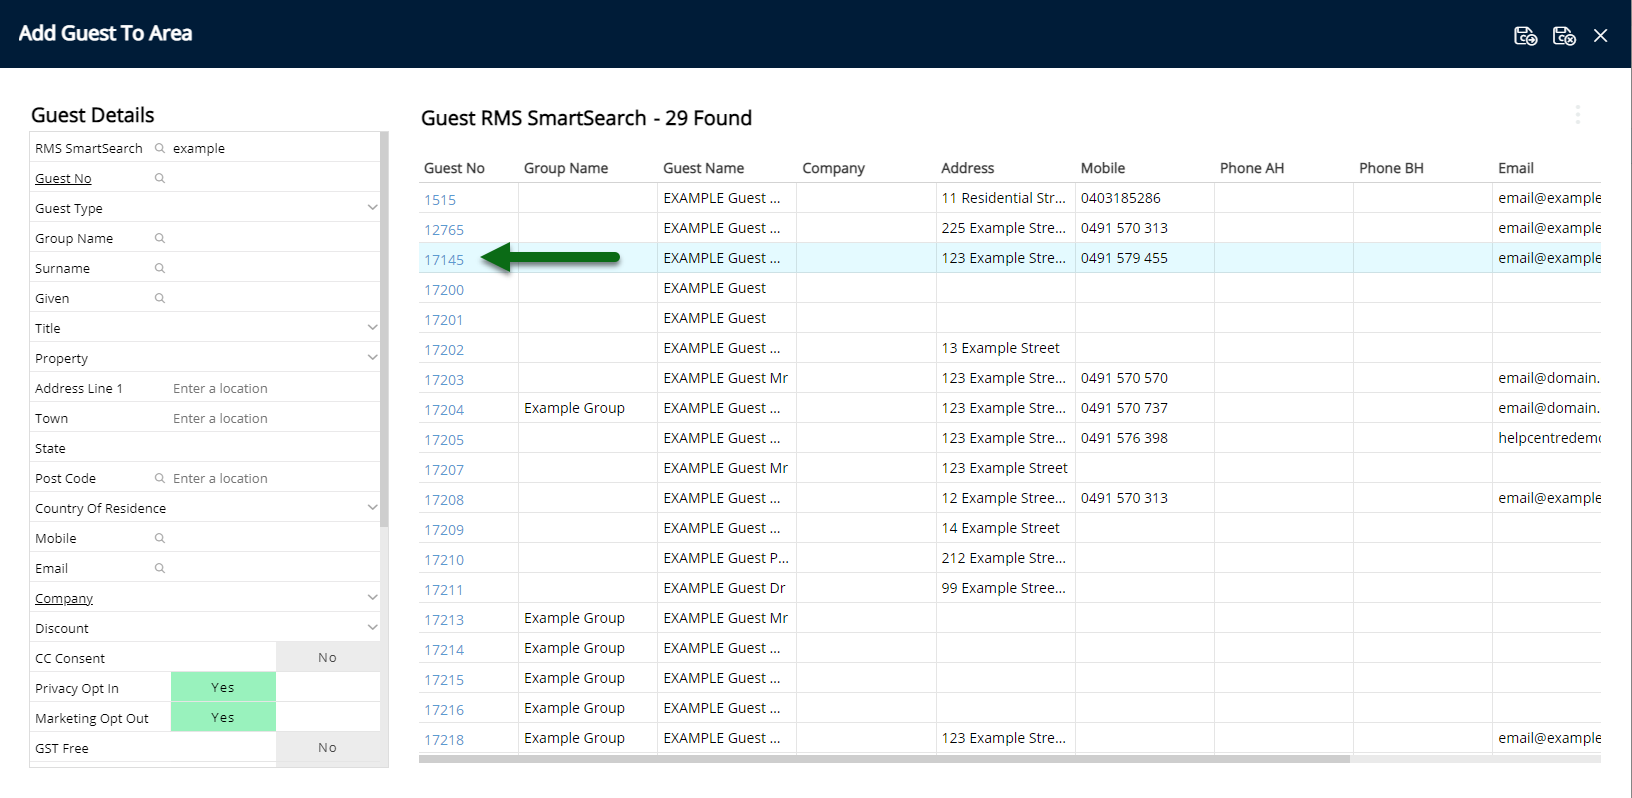
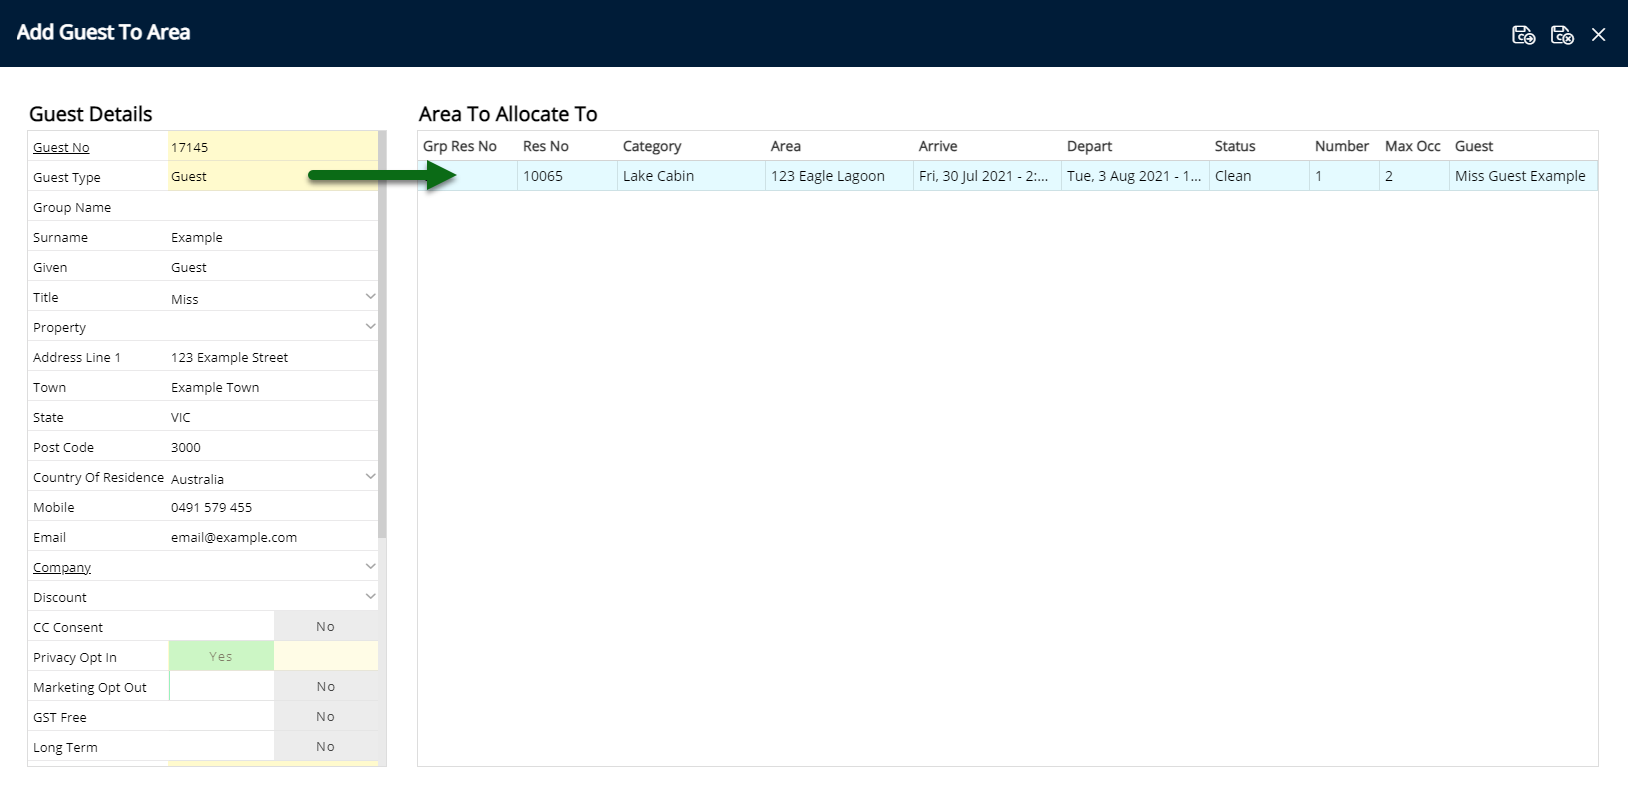
Select the Area to add the Guest to.
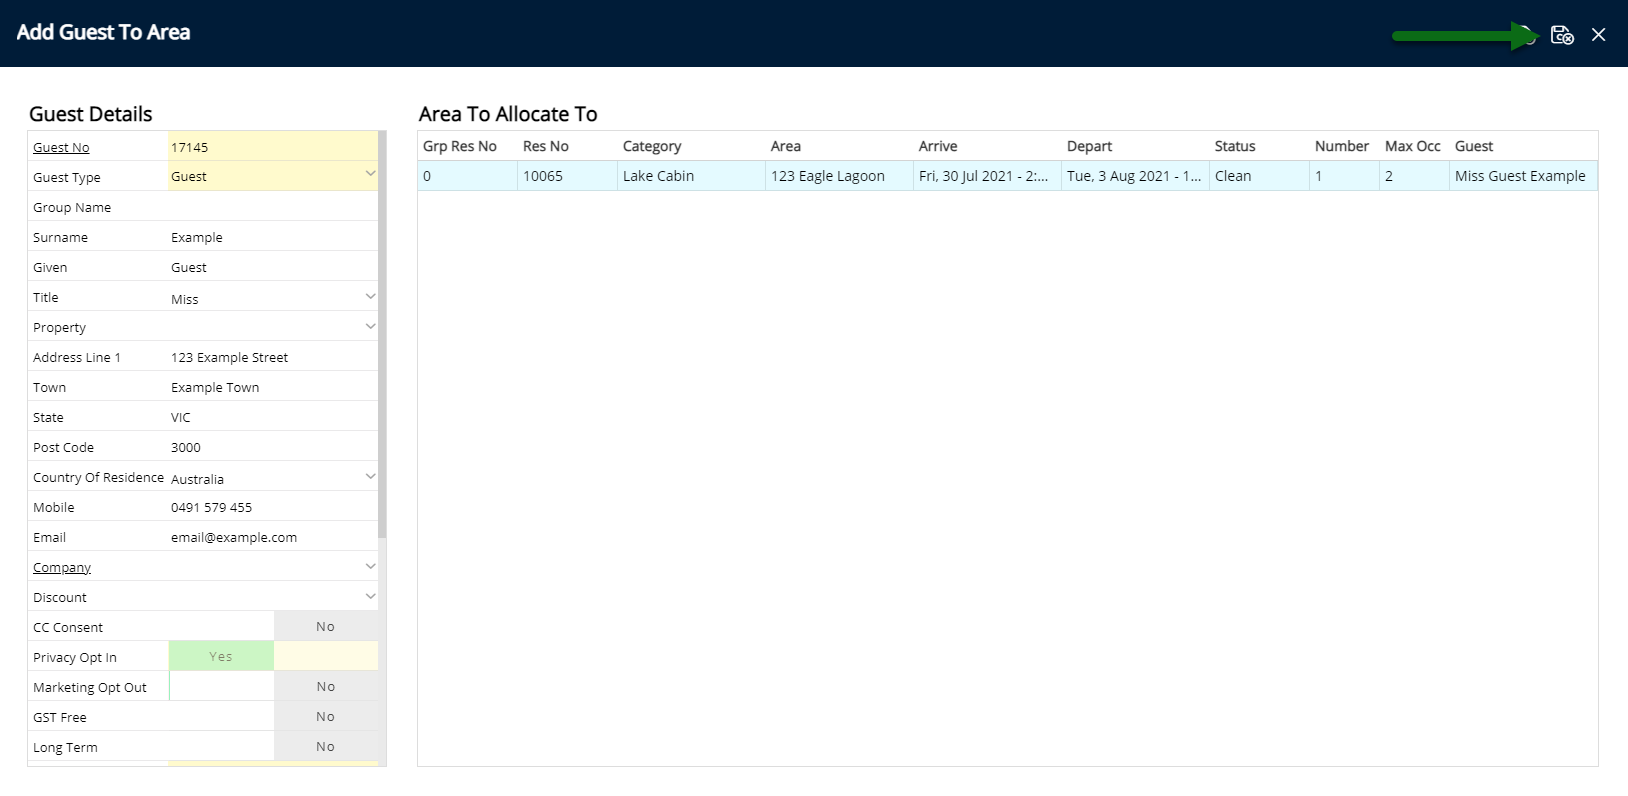
Select ![]() 'Allocate/Exit'.
'Allocate/Exit'.
Select 'Save/Exit' to store the changes made.
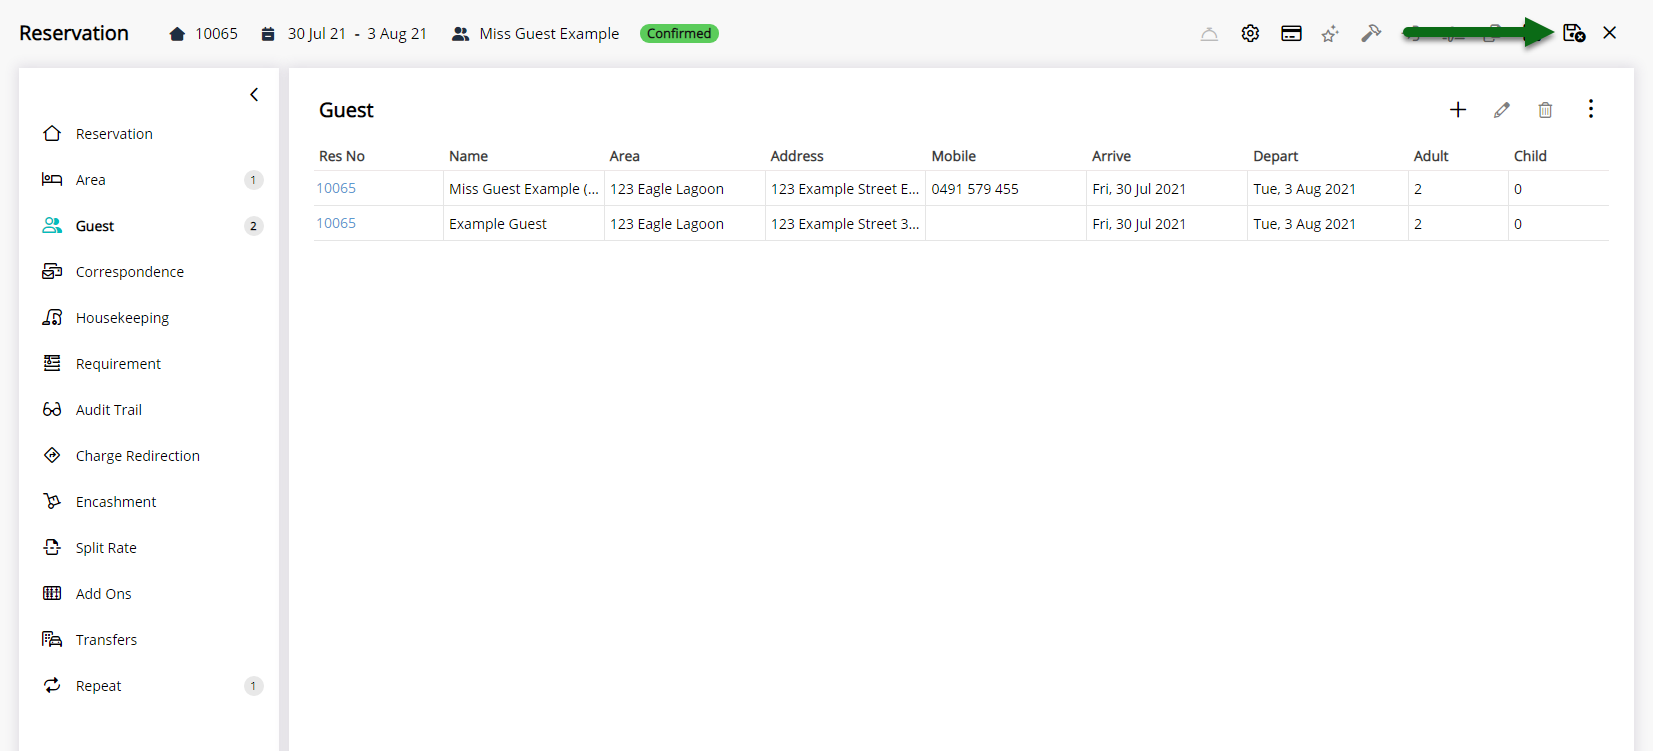
The Secondary Guest will now be available for selection when sending correspondence on this reservation.
Use
- Go to the Toolbar Menu Reservation Search in RMS.
- Enter the Guest Name or Reservation Number and press 'Enter'.
- Navigate to the 'Guest' tab.
- Select the 'Add' icon.
- Enter the Guest Details.
-
Optional: Search for an existing Guest Profile.
- Enter the Guest Details.
- Double click the matching Guest Profile.
- Select the Area to add the Guest to.
- Select 'Allocate/Exit'.
- Save/Exit.
Category, Area & Guest are default System Labels that can be customised.
-
Guide
- Add Button
Guide
Go to the Toolbar Menu Reservation Search in RMS.
Enter the Guest Name or Reservation Number and press 'Enter'.
Navigate to the ![]() 'Guest' tab.
'Guest' tab.
Select the ![]() 'Add' icon.
'Add' icon.
Enter the Guest Details.
Optional: Search for an existing Guest Profile.
Enter the Guest Details.
Double click the matching Guest Profile.
Select the Area to add the Guest to.
Select ![]() 'Allocate/Exit'.
'Allocate/Exit'.
Select 'Save/Exit' to store the changes made.
The Secondary Guest will now be available for selection when sending correspondence on this reservation.