PayGuardian
Setup BridgePay's PayGuardian for use with RMS.
Steps Required
Have your System Administrator complete the following.
- Open the PayGuardian application.
- Complete the Registration Form.
- Select 'Activate'.
- Complete the User Registration Form.
- Select 'Register'.
- Log into PayGuardian as this user.
- Navigate to 'Settings'.
- Choose the desired options.
- Enable 'Auto Submit'.
- Select 'Save'.
- Navigate to 'Payment Server'.
- Add your Merchant Account.
- Navigate to the 'Hardware' tab.
- Select each EFTPOS Terminal model & download the forms.
- Log into RMS.
- Go to Setup > Property Options > Property Information.
- Select a Property and choose 'Edit'.
- Navigate to the 'Gateway' tab.
- Select the checkbox 'EFTPOS Terminal'.
- Save/Exit.
Visual Guide
Open the PayGuardian application.

Complete the registration form using the information provided by BridgePay, then choose 'Activate'.

Register a user by completing the Register form.

Select 'Register' to continue to the login screen.

Login as the user registered and navigate to 'Settings'.
Choose the desired options from the 'General' and 'Swiped Transactions' tabs.

Ensure 'Auto Submit' is selected on 'Swiped Transactions' to make processing payments from RMS work smoothly.

Select 'Save' on Settings.
Navigate to the 'Payment Server' tab.
Add your merchant account using the details provided to you by BridgePay.

Continue to the 'Hardware' tab.

Log into RMS and go to Setup > Property Options > Property Information.
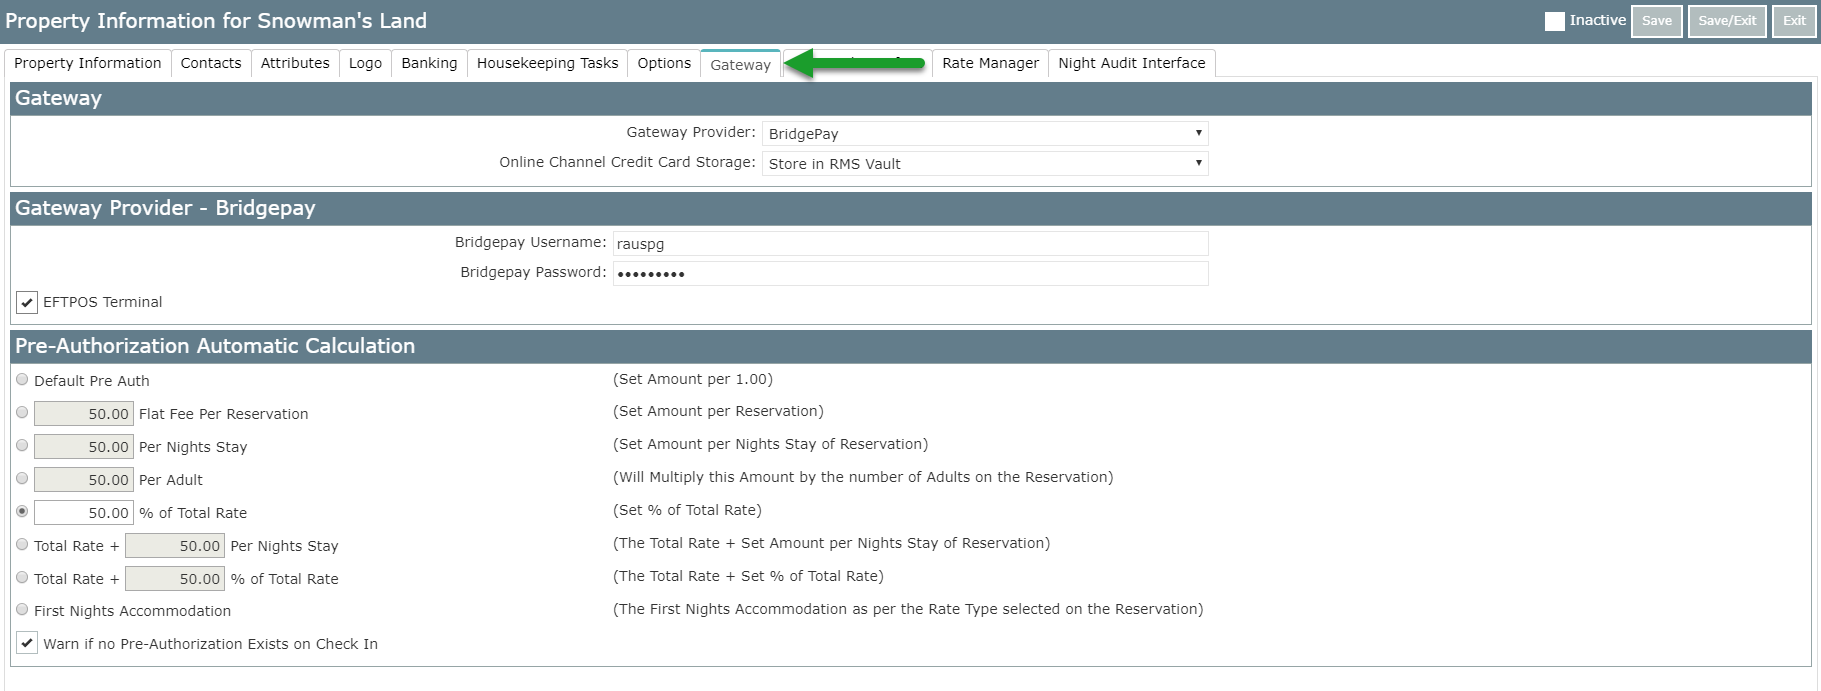
 Select a property and choose 'Edit'.
 Navigate to the 'Gateway' tab.
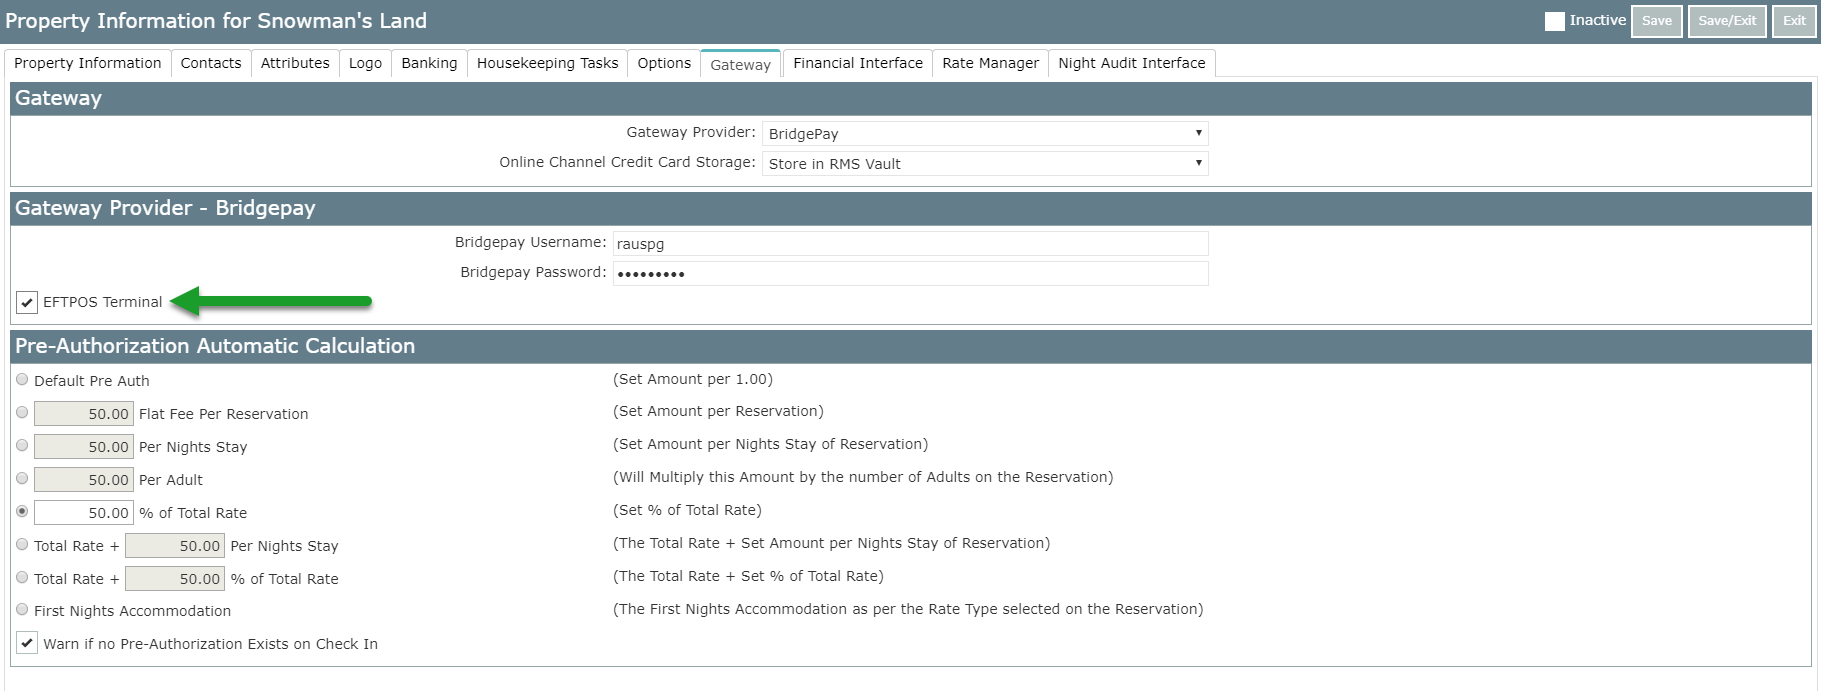
 Select the checkbox 'EFTPOS Terminal'.
 Select 'Save/Exit' to store the changes made.
You will now be able to select 'EFTPOS Terminal' as a Receipt Type in RMS and process the payment via your BridgePay EFTPOS Terminal & PayGuardian application.