Setup Areas with Custom Fields
Setting up custom user fields on Areas in RMS.
Steps Required
Have your System Administrator complete the following.
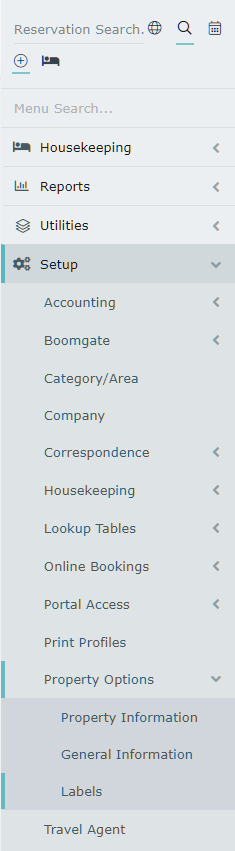
- Go to Setup > Property Options > Labels in RMS.
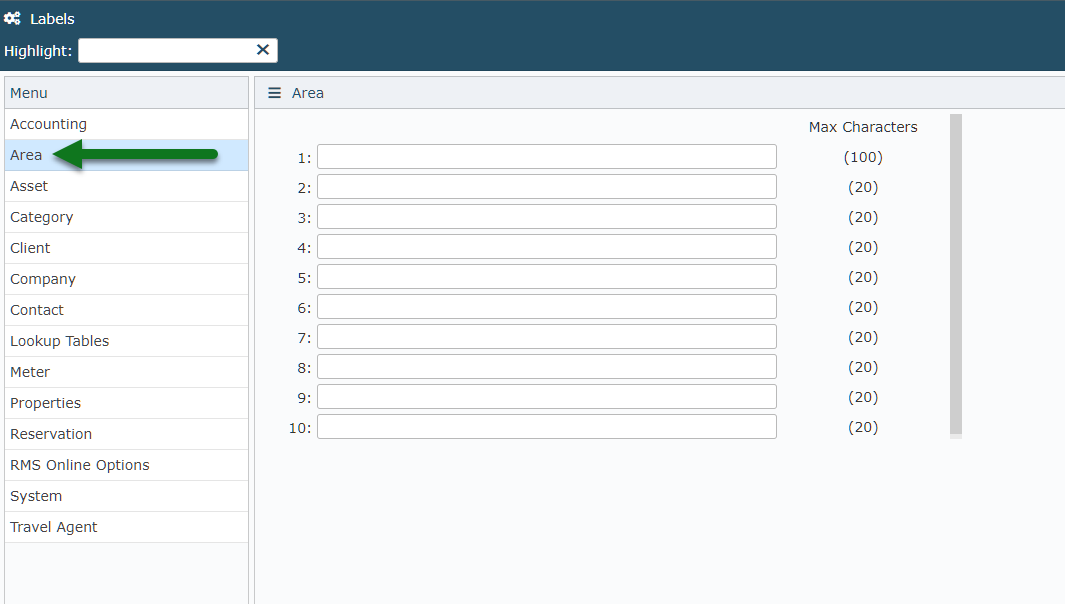
- Navigate to the 'Area' tab.
- Enter the Custom Field Names.
- Save/Exit.
- Log out of and back into RMS.
- Go to Setup > Category/Area in RMS.
- Select a Category and choose 'Edit'.
- Navigate to the Area tab.
- Select an Area and choose 'Edit'.
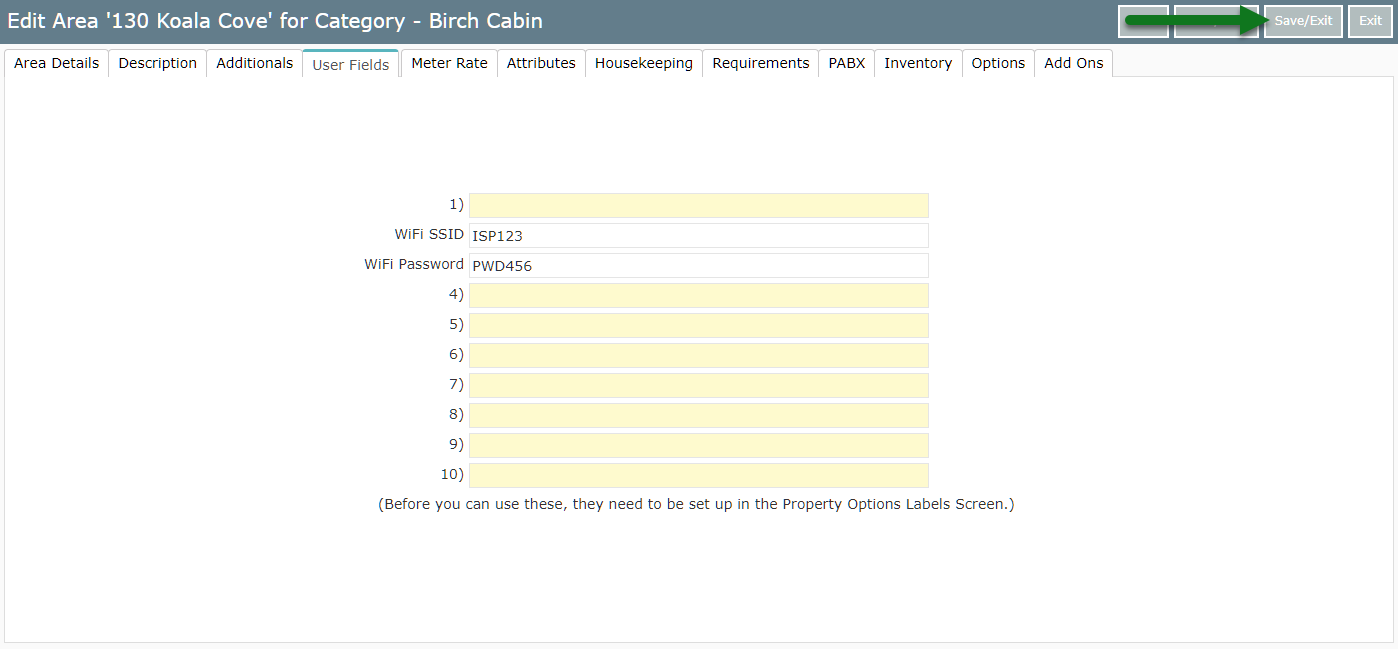
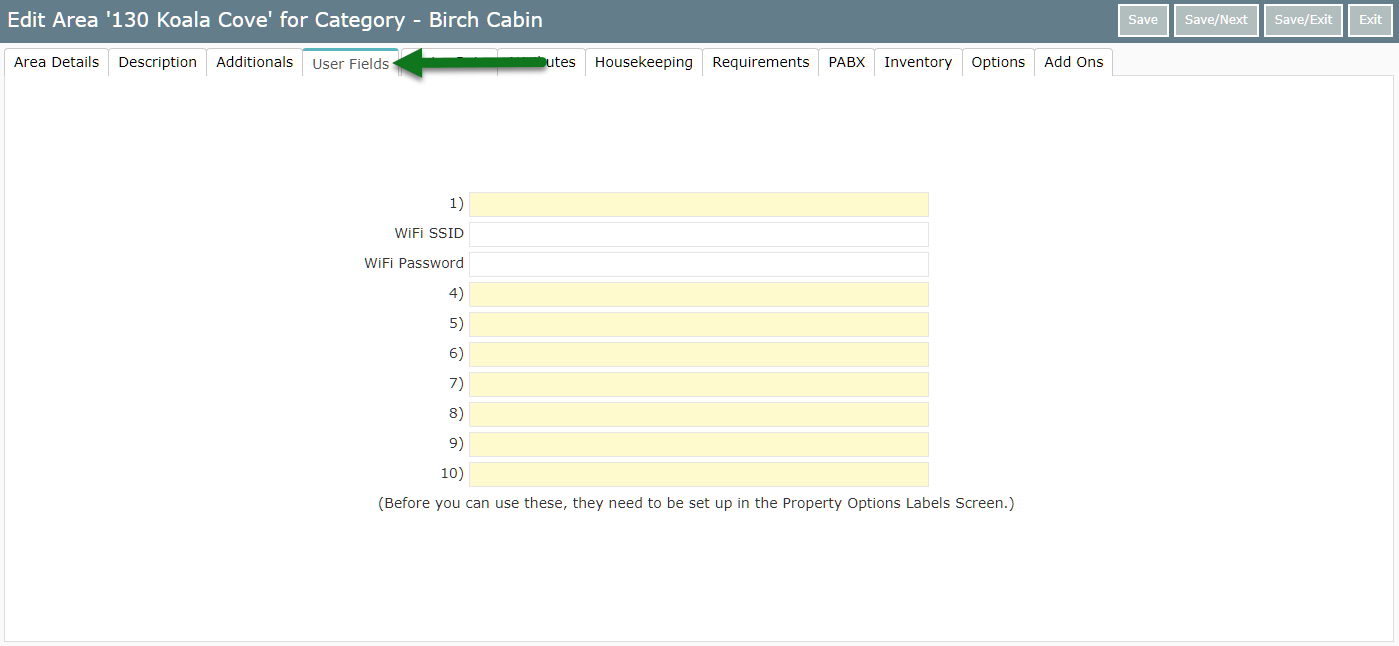
- Navigate to the 'User Fields' tab.
- Enter the Custom Field.
- Save/Exit.
Visual Guide
Go to Setup > Property Options > Labels in RMS.
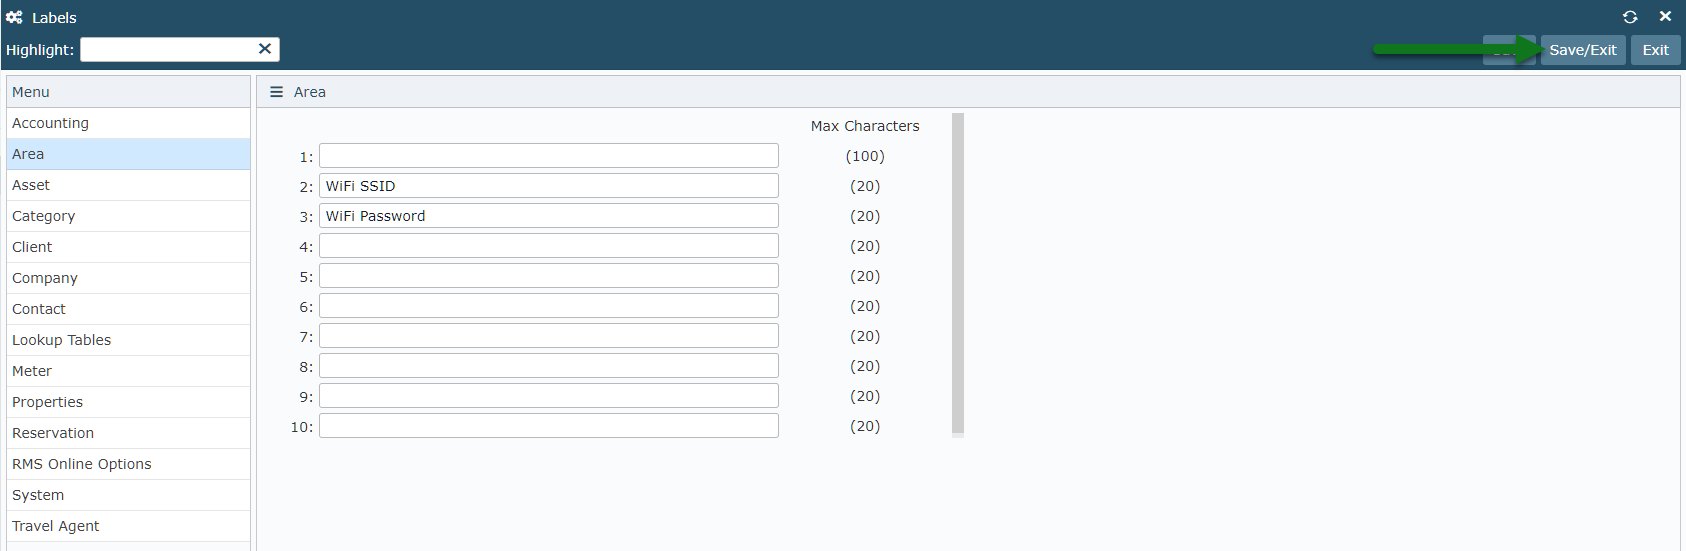
Navigate to the 'Area' tab.
Enter the Custom Field Names.
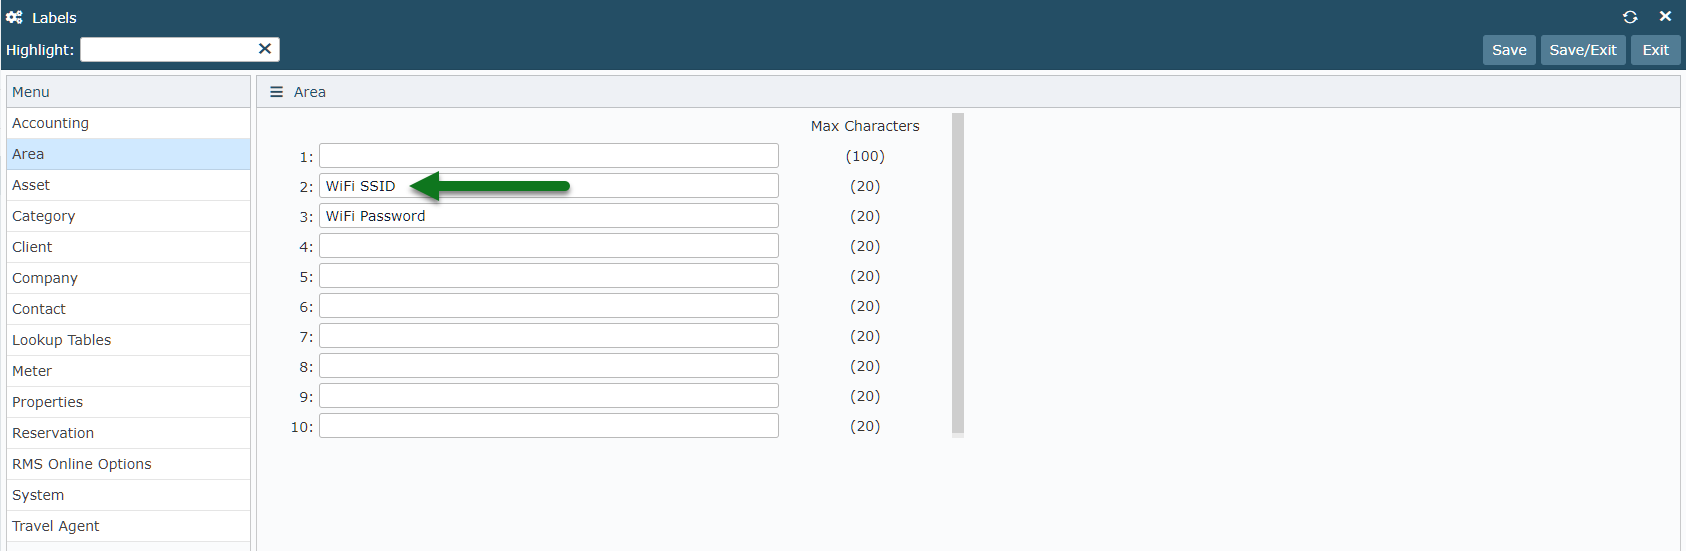
Select 'Save/Exit' to store the changes made.
Log out of and back into RMS to allow the database to update with the changes made.

Go to Setup > Category/Area in RMS.
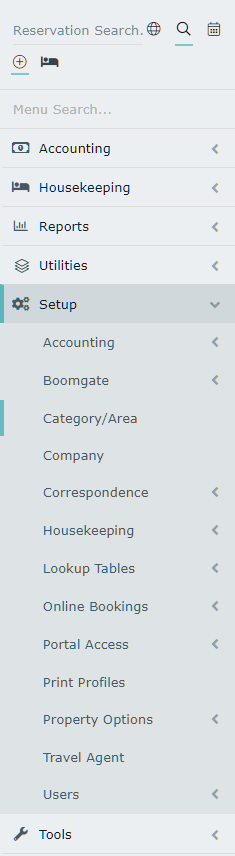
Select a Category and choose 'Edit'.

Navigate to the Area tab.
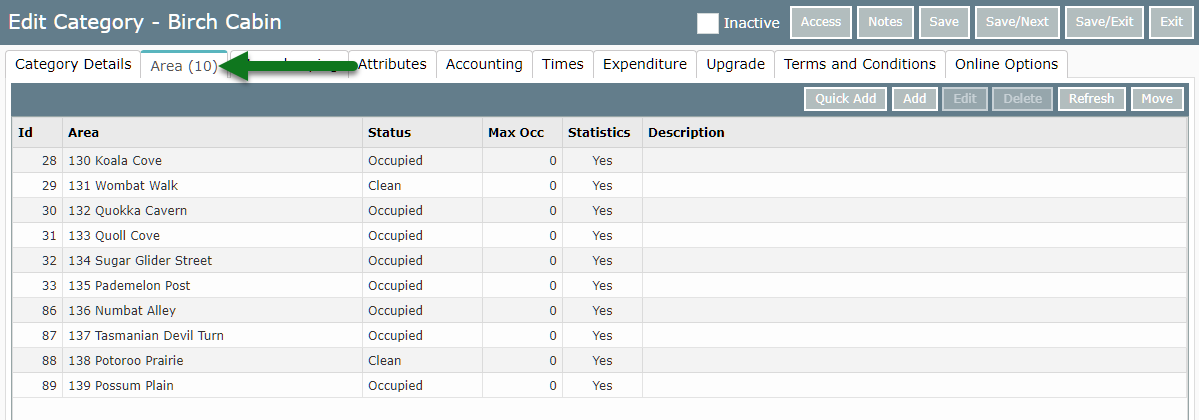
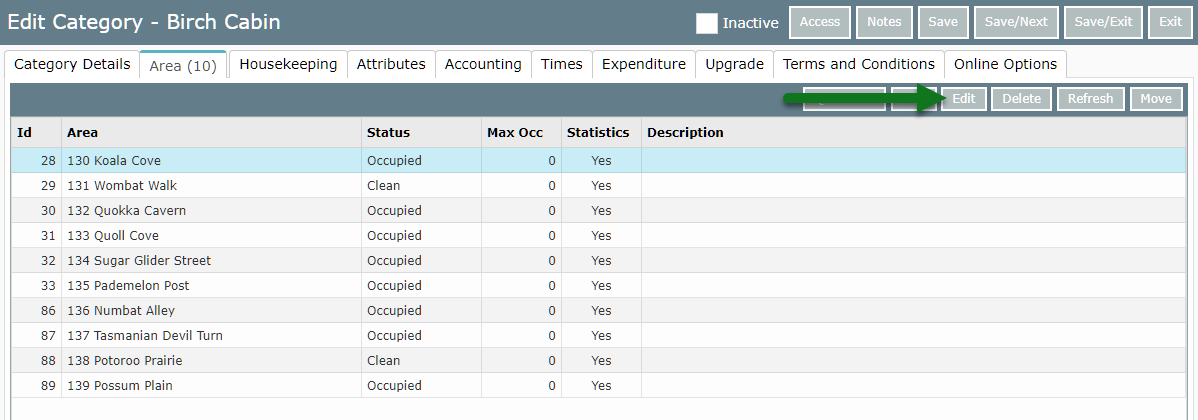
Select an Area and choose 'Edit'.
Navigate to the 'User Fields' tab.
Enter the Custom Field.
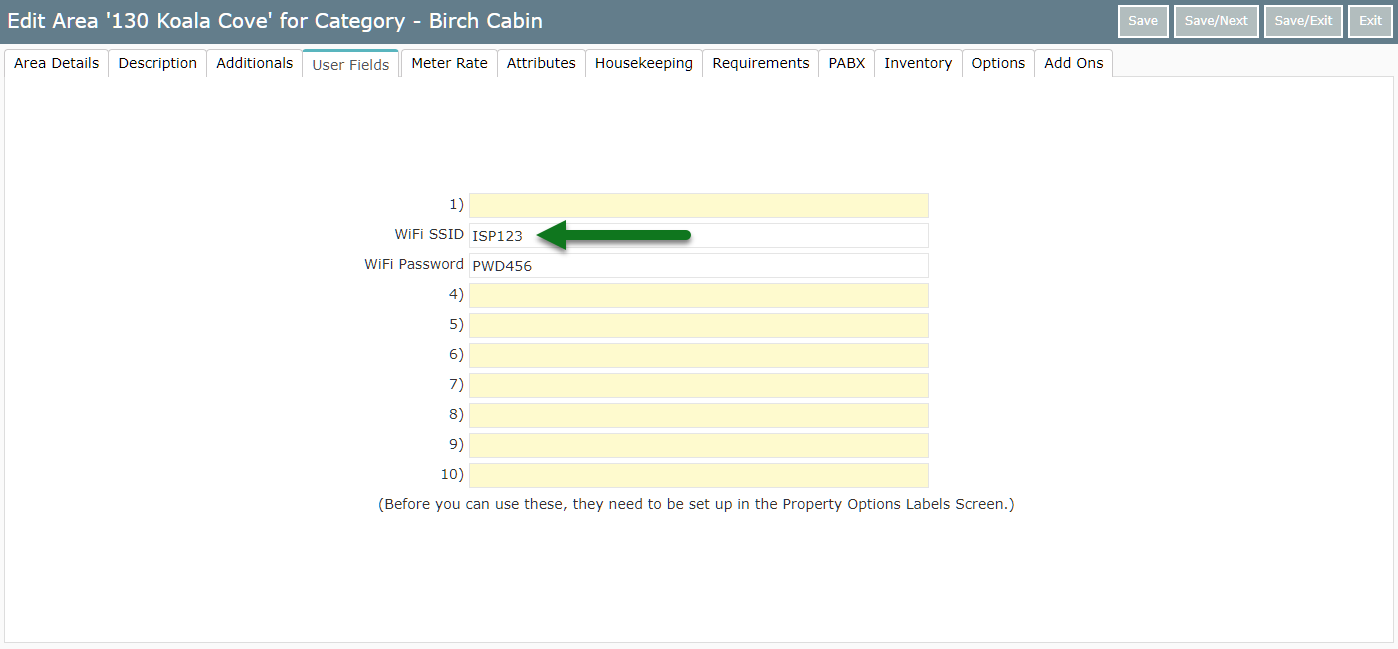
Select 'Save/Exit' to store the changes made.