Restricted IP Addresses
Limit the IP Addresses authorised to access RMS.
-
Information
-
Setup
- Add Button
Information
IP Addresses are unique numerical labels assigned to each device on a network with internet access.
Restricting the IP Addresses that can log into your RMS database adds control to the network a user must be connected to before they can log into RMS.
For maximum security, Restricted IP Addresses cannot be disabled once activated.

Static IP Addresses are required to use this feature.
Contact your Internet Service Provider for more information on setting up Static IP Addresses for your network.

Select 'Use Current IP' to automatically populate the IP Address of the device being used to setup Restricted IP Addresses.
Select the 'User' icon to view the IP Address of the device the user is logged in on.
-
Setup
- Add Button
Setup
Have your System Administrator complete the following.
- Go to Setup > Security in RMS.
- Navigate to the 'Restricted IP Address Access' tab.
- Select the 'Add' icon.
- Enter a Description.
- Enter the IP Address Range.
- Select 'Save'.
- Repeat Steps 3-6 for all required IP Addresses.
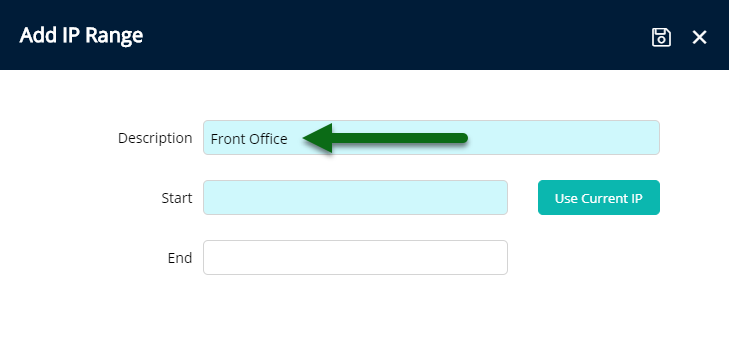
- Select the checkbox 'Use Restricted IP Addresses'.
- Save.

Adding Dynamic IP Addresses will result in a loss of access to RMS when the device is assigned a new IP Address.
Static IP Addresses must be setup on the network before using this feature.
-
Guide
- Add Button
Guide
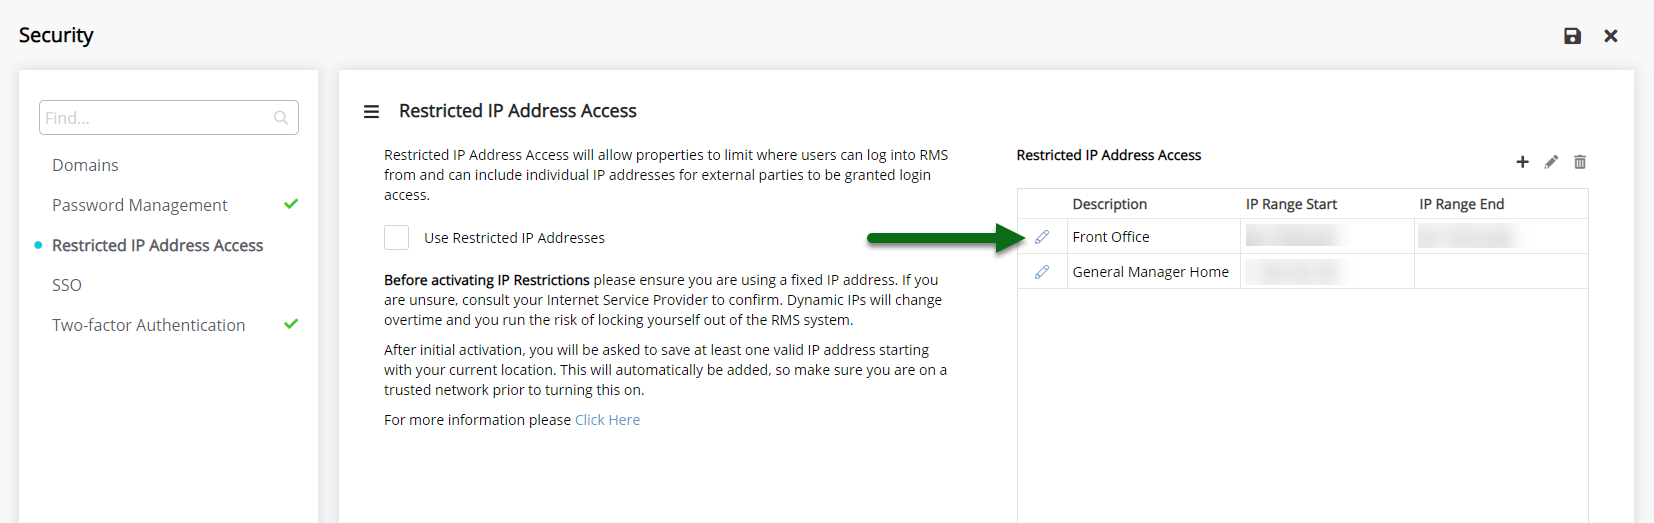
Go to Setup > Security in RMS.
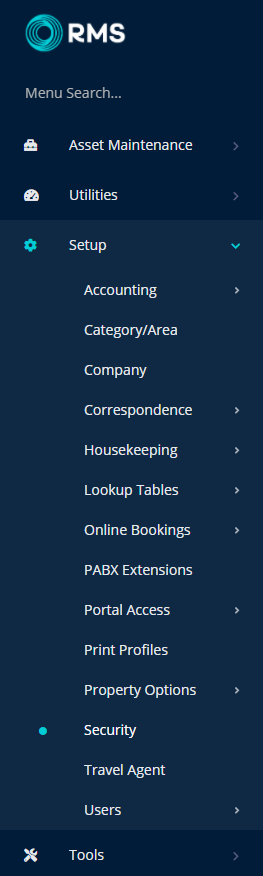
Navigate to the 'Restricted IP Address Access' tab.
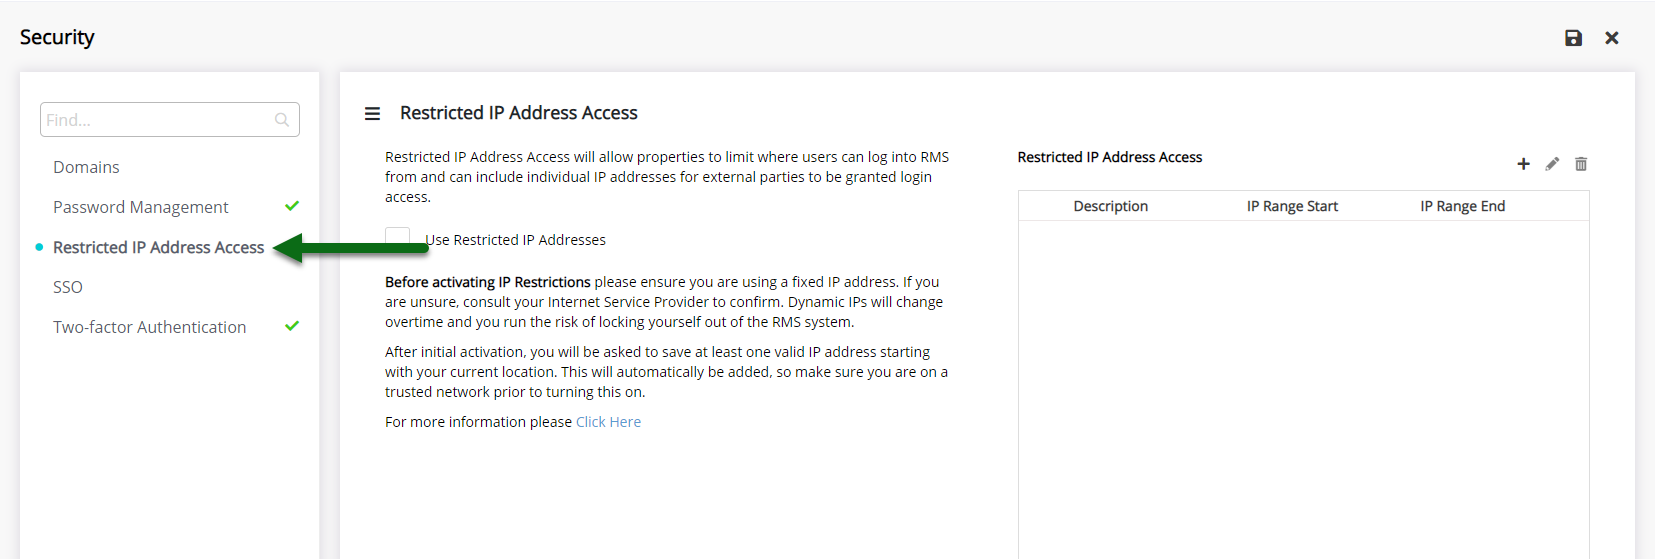
Select the 'Add' icon.
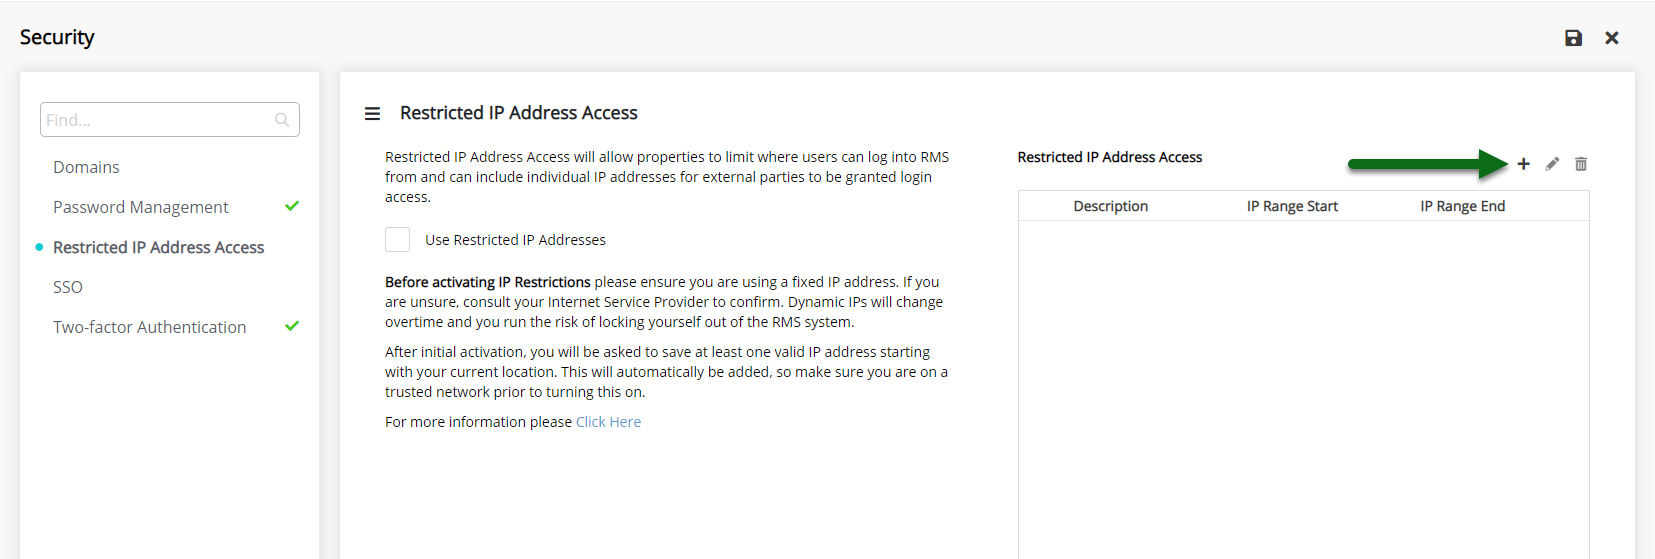
Enter a Description.
Enter the IP Address Range.
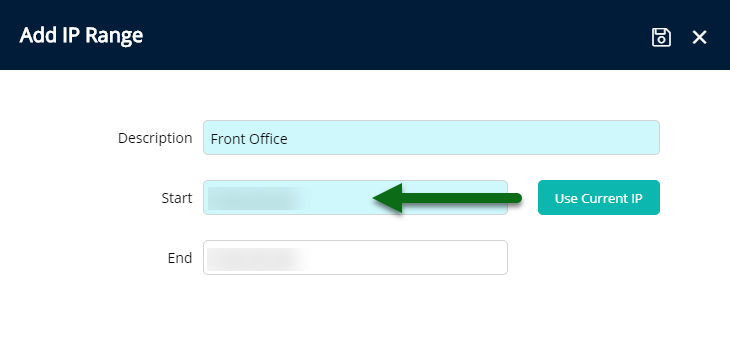

Select 'Use Current IP' to automatically populate the IP Address of the device being used to setup Restricted IP Addresses.
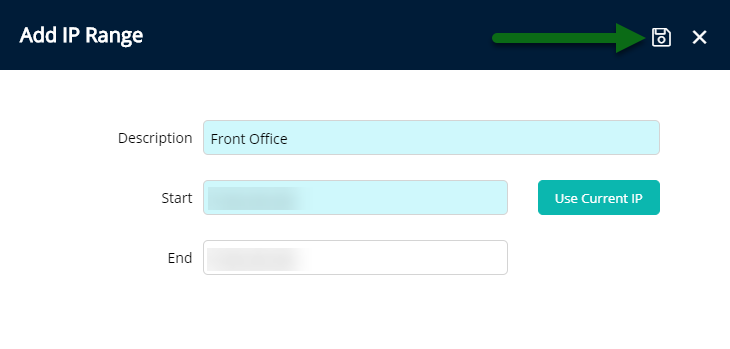
Select 'Save' to store the changes made.
Repeat Steps 3-6 for all required IP Addresses.
Select the checkbox 'Use Restricted IP Addresses'.
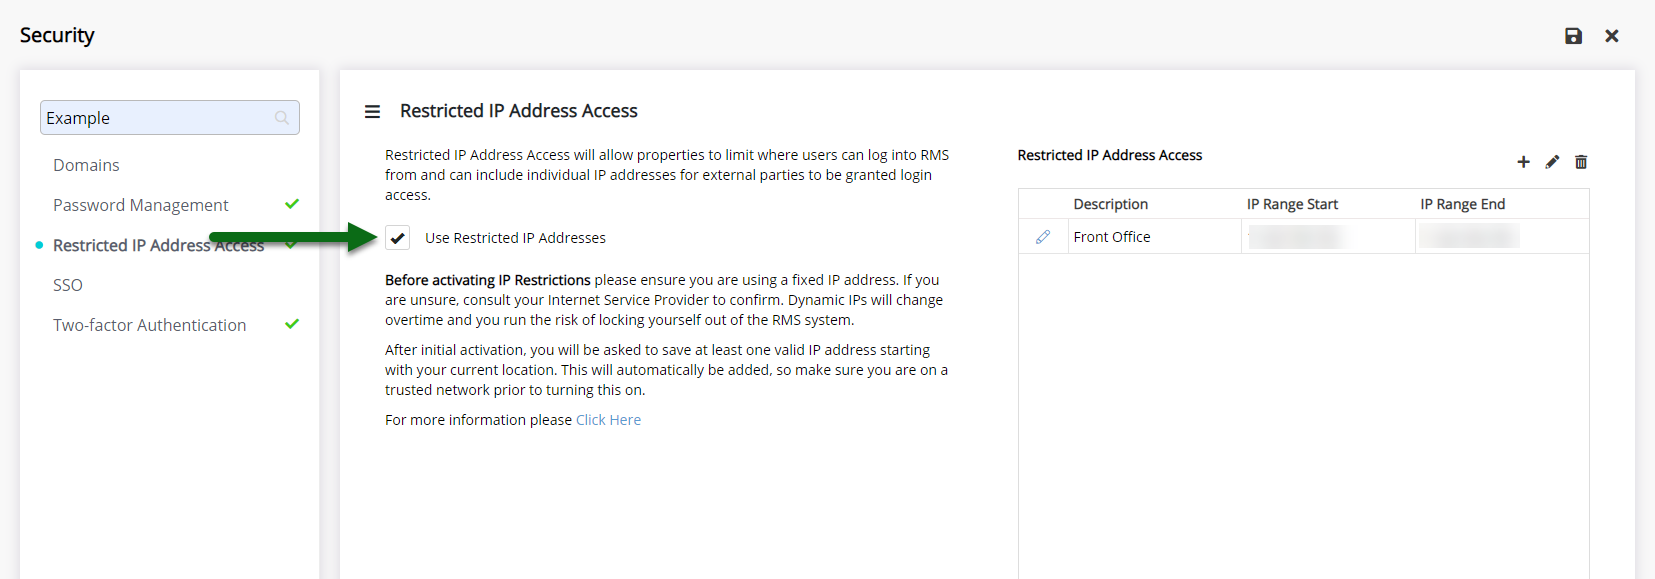
Select 'Save' to activate Restricted IP Addresses in RMS.
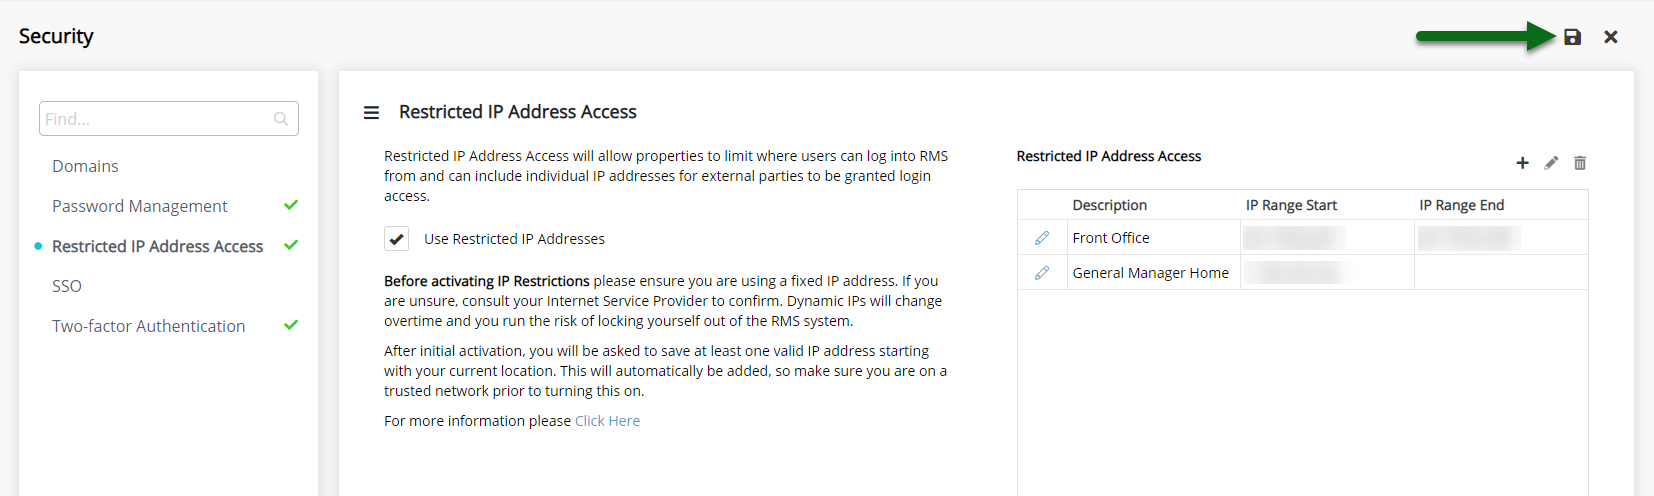

IP Address Restrictions will take immediate effect once 'Save' is selected on the Security Setup.
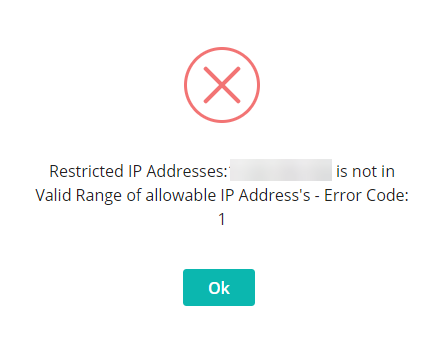
Users logging in on a device with an IP Address outside those set in Restricted IP Addresses will be prompted with a warning.
Setup
Have your System Administrator complete the following.
- Go to Setup > Security in RMS.
- Navigate to the 'Restricted IP Address Access' tab.
- Select the 'Add' icon.
- Enter a Description.
- Enter the IP Address Range.
- Select 'Save'.
- Repeat Steps 3-6 for all required IP Addresses.
- Select the checkbox 'Use Restricted IP Addresses'.
- Save.
Adding Dynamic IP Addresses will result in a loss of access to RMS when the device is assigned a new IP Address.
Static IP Addresses must be setup on the network before using this feature.
-
Guide
- Add Button
Guide
Go to Setup > Security in RMS.
Navigate to the 'Restricted IP Address Access' tab.
Select the 'Add' icon.
Enter a Description.
Enter the IP Address Range.
Select 'Use Current IP' to automatically populate the IP Address of the device being used to setup Restricted IP Addresses.
Select 'Save' to store the changes made.
Repeat Steps 3-6 for all required IP Addresses.
Select the checkbox 'Use Restricted IP Addresses'.
Select 'Save' to activate Restricted IP Addresses in RMS.
IP Address Restrictions will take immediate effect once 'Save' is selected on the Security Setup.
Users logging in on a device with an IP Address outside those set in Restricted IP Addresses will be prompted with a warning.