PABX Extensions
Setup PABX Extensions in RMS.
Steps Required
Have your System Administrator complete the following.
- Go to Setup > PABX Extensions in RMS.
- Select 'Add'.
- Enter the Extension.
- Optional: Select the checkbox 'Admin'.
- Select the checkbox 'Enabled'.
- Enter the Cost Multiplier.
- Enter a Cut Off.
- Select the Category.
- Select the Area.
- Save/Next.
- Repeat Steps 3-10 for all Extensions.
- Save/Exit.
Visual Guide
Go to Setup > PABX Extensions in RMS.
Select 'Add' to create a new PABX Extension.

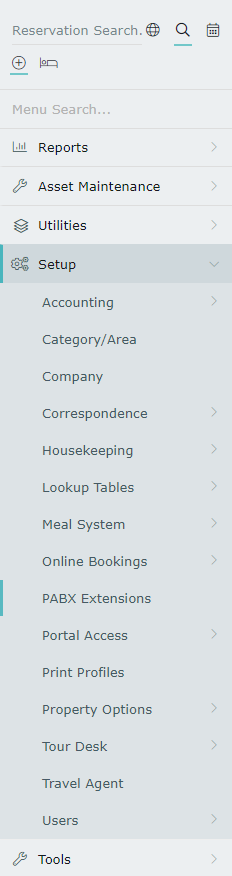
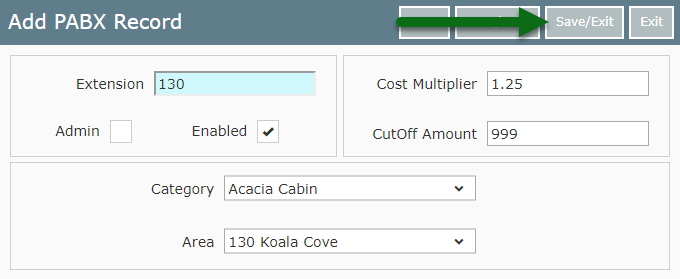
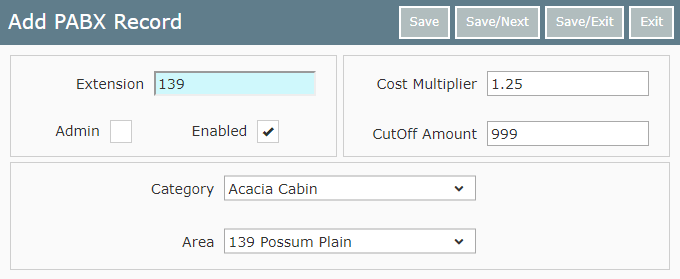
Enter the Extension.
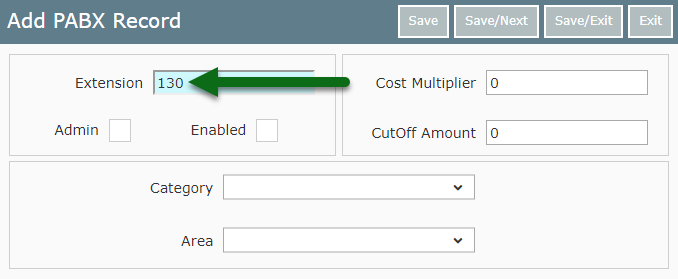
Optional: Select the checkbox 'Admin'.
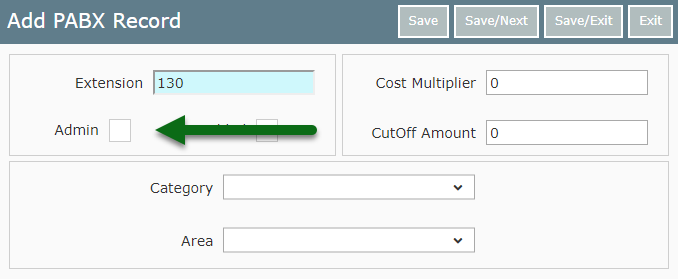
Select the checkbox 'Enabled'.
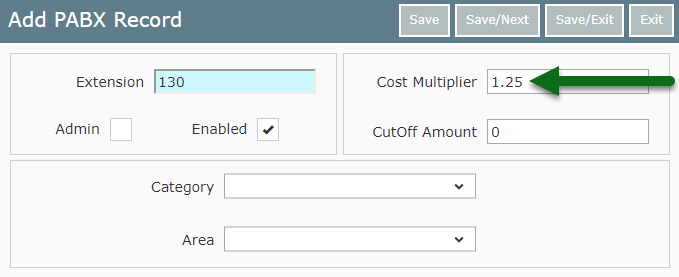
Enter the Cost Multiplier.
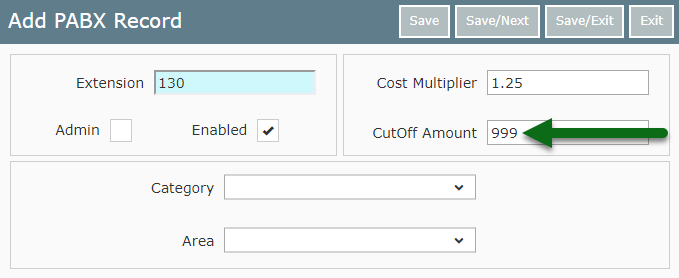
Enter a Cut Off.
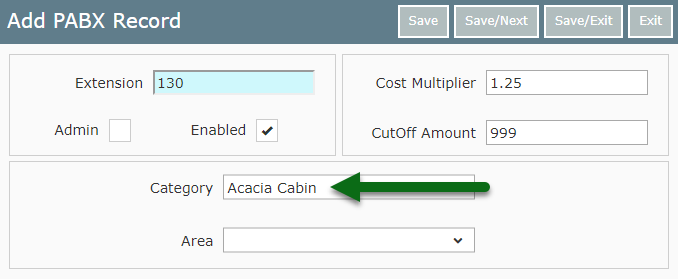
Select the Category.
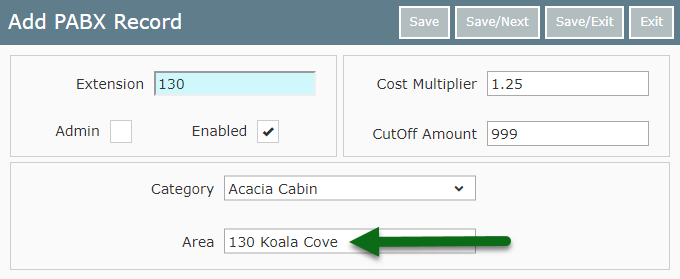
Select the Area.
Select 'Save/Next' to store the changes made and create another PABX Extension.
Repeat Steps 3-10 for all Extensions.
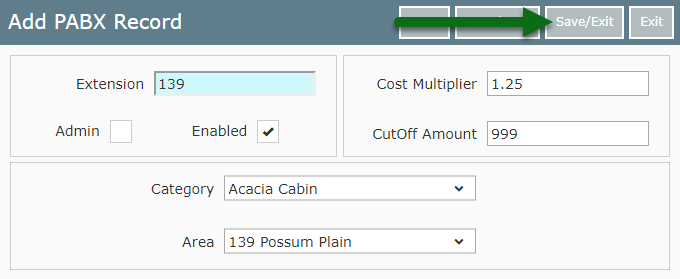
Select 'Save/Exit' to store the changes made.
These PABX Extensions will be used by the PABX interface for call charges in RMS.
