Microsoft Dynamics GP
Setup and use the financial interface to Microsoft Dynamics GP available in RMS.
Microsoft Dynamics GP is a business management solution including financial and accounting software that can be interfaced with RMS.
The Financial Interface to Microsoft Dynamics GP is not included in the base RMS subscription.
Contact RMS Sales for pricing information.
-
Information
-
Setup
-
Use
- Add Button
Information
Microsoft Dynamics GP(formerly Great Plains) is a business management solution including financial and accounting software that can be interfaced with RMS.
This Financial Interface is available for Accrual Accounting properties using RMS.
The Financial Interface to Microsoft Dynamics GP is not included in the base RMS subscription.
Contact RMS Sales for pricing information.
-
Setup
-
Use
- Add Button
Setup
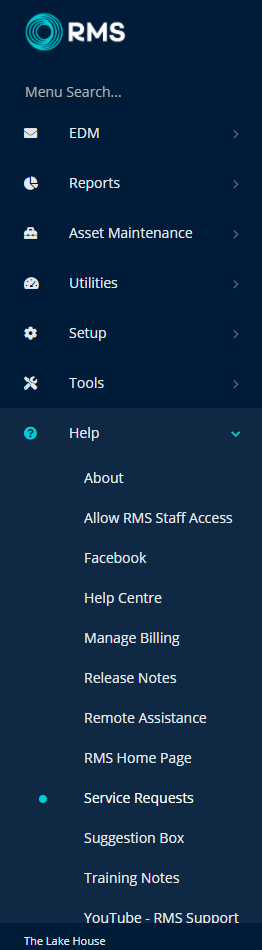
- Log a Service Request for the financial interface to be set to 'Microsoft Great Plains'.
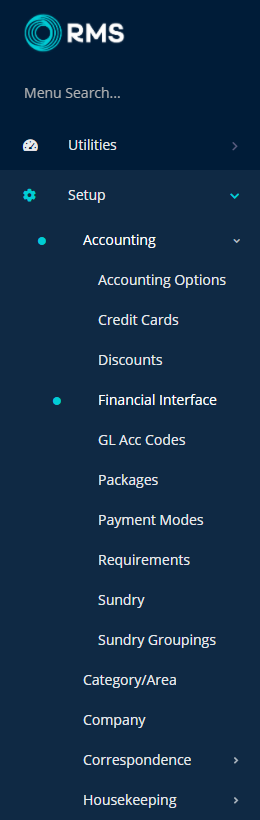
- Go to Setup > Accounting > Financial Interface in RMS.
- Navigate to the 'Mapping' tab.
- Enter the GL Account Codes & Descriptions in the Advances Ledger section.
- Enter the GL Account Codes & Descriptions in the Guest Ledger section.
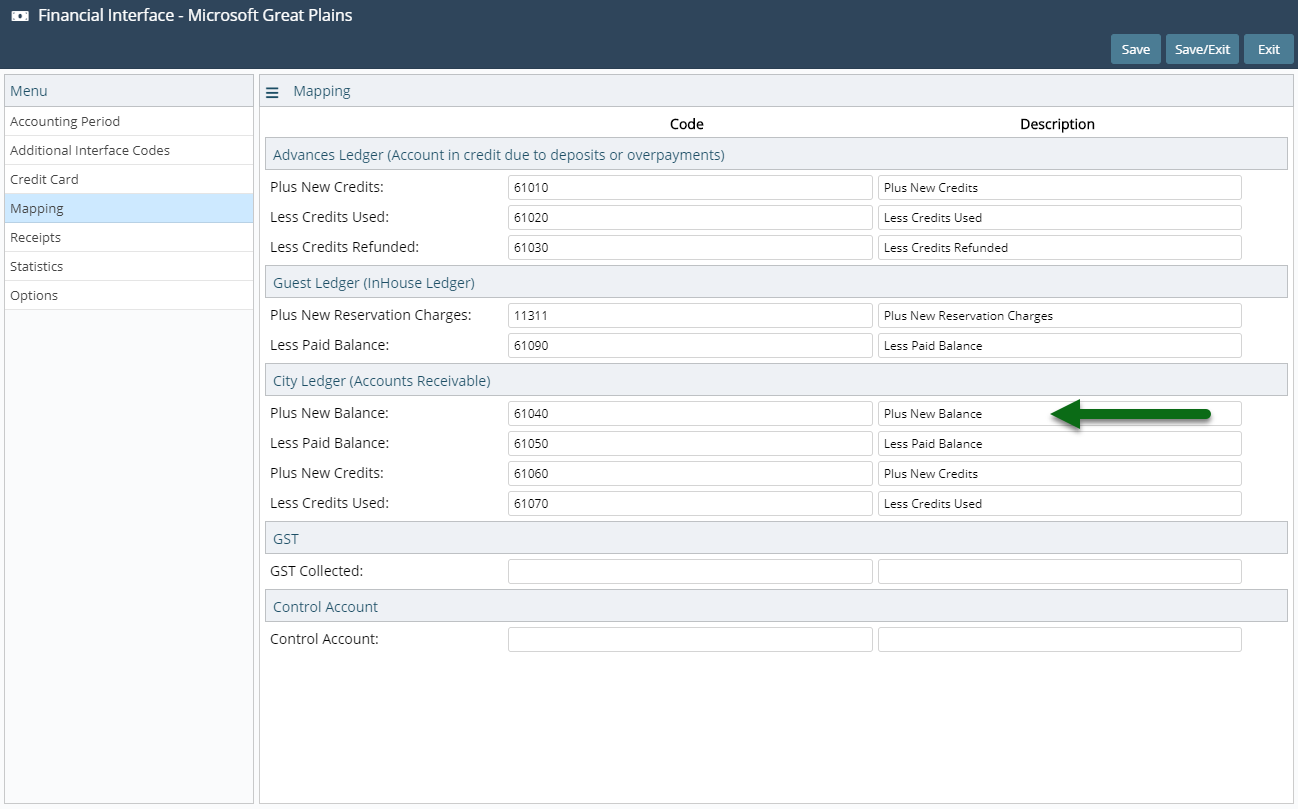
- Enter the GL Account Codes & Descriptions in the City Ledger section.
- Select 'Save' and navigate to the 'Receipts' tab.
- Enter the GL Account Codes & Descriptions for the Receipt Types.
- Select 'Save' and navigate to the 'Credit Cards' tab.
- Enter the GL Account Codes & Descriptions for the Card Types.
- Select 'Save'.
-
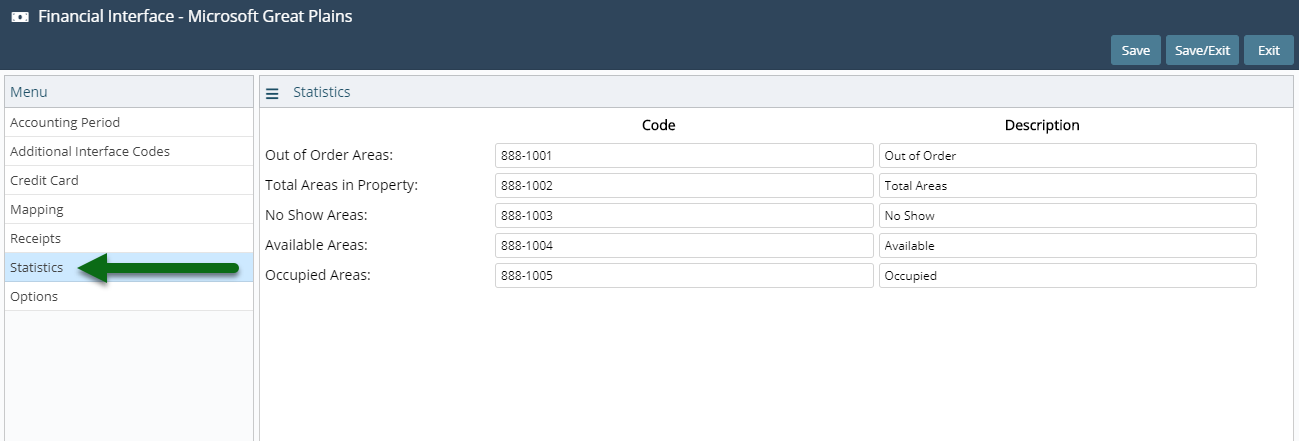
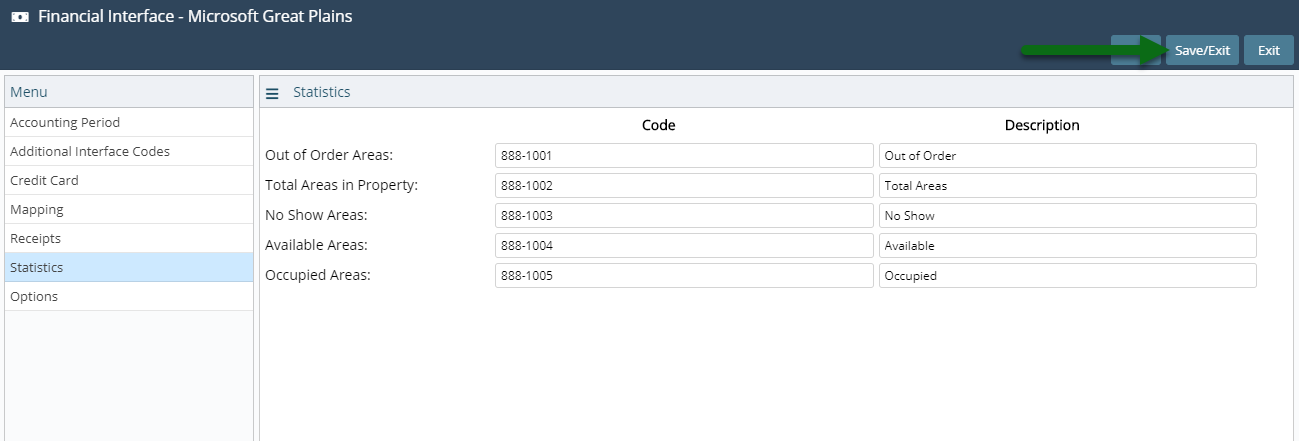
Optional: Navigate to the 'Statistics' tab.
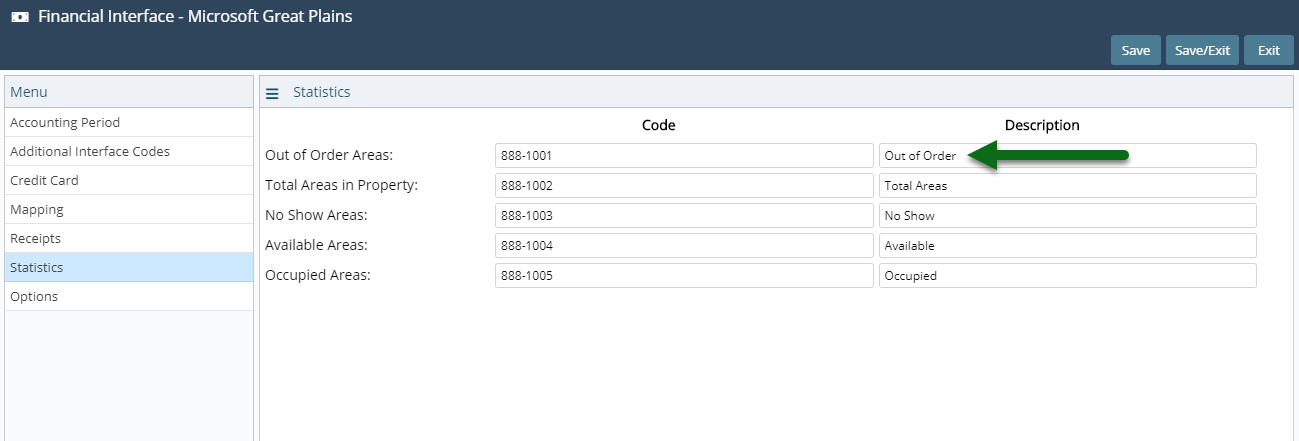
- Enter the Microsoft Dynamics GP GL Account Codes & Descriptions for the RMS Statistics.
- Save/Exit.
-
Guide
-
Use
- Add Button
Guide
Log a Service Request for the financial interface to be set to 'Microsoft Great Plains'.
Go to Setup > Accounting > Financial Interface in RMS.
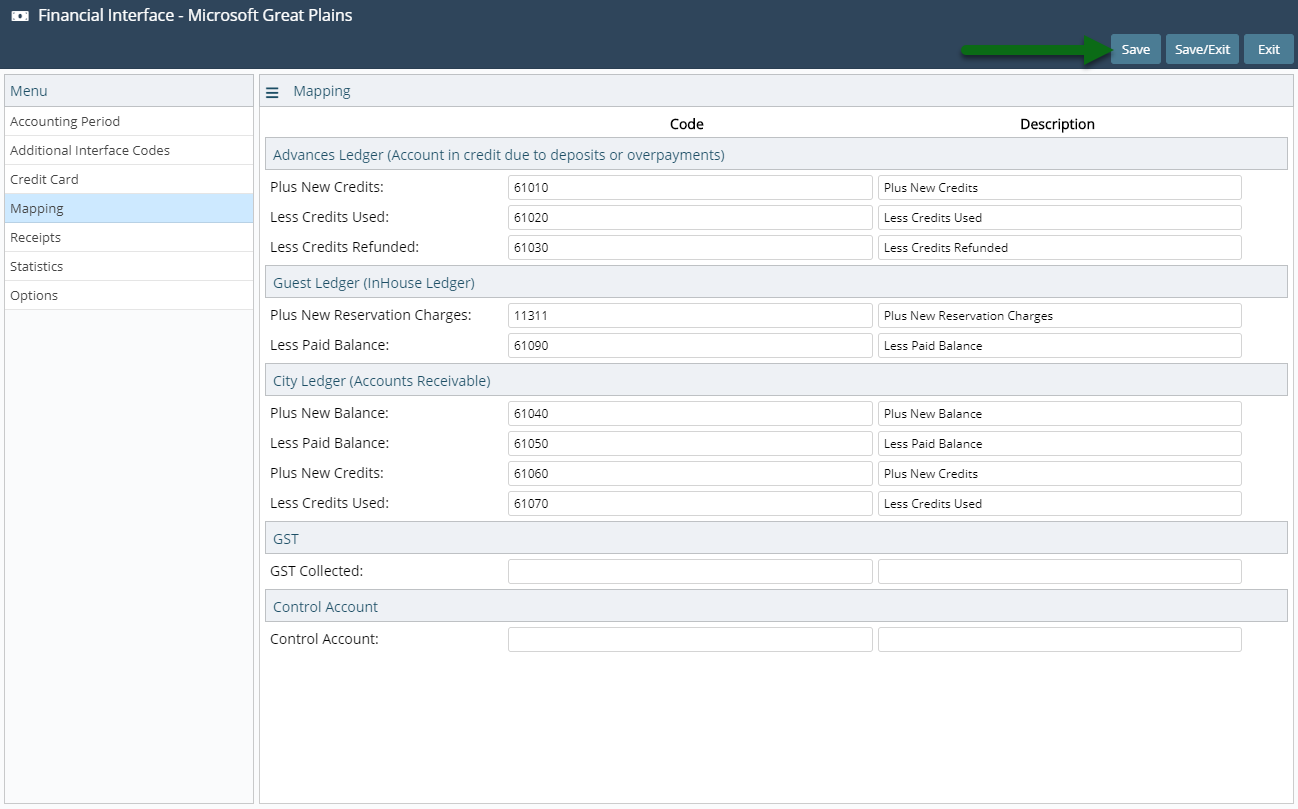
Navigate to the 'Mapping' tab.

Enter the GL Account Codes & Descriptions in the Advances Ledger section.

Enter the GL Account Codes & Descriptions in the Guest Ledger section.
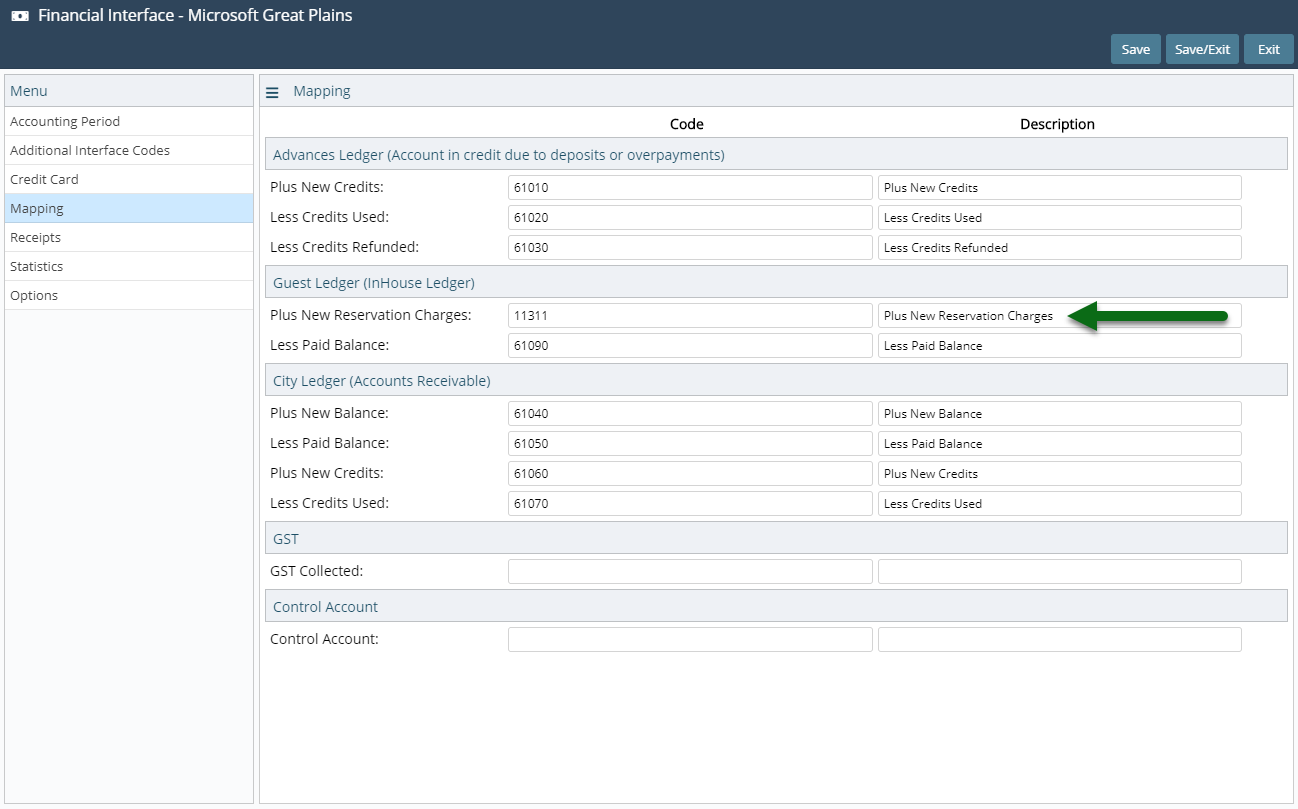
Enter the GL Account Codes & Descriptions in the City Ledger section.
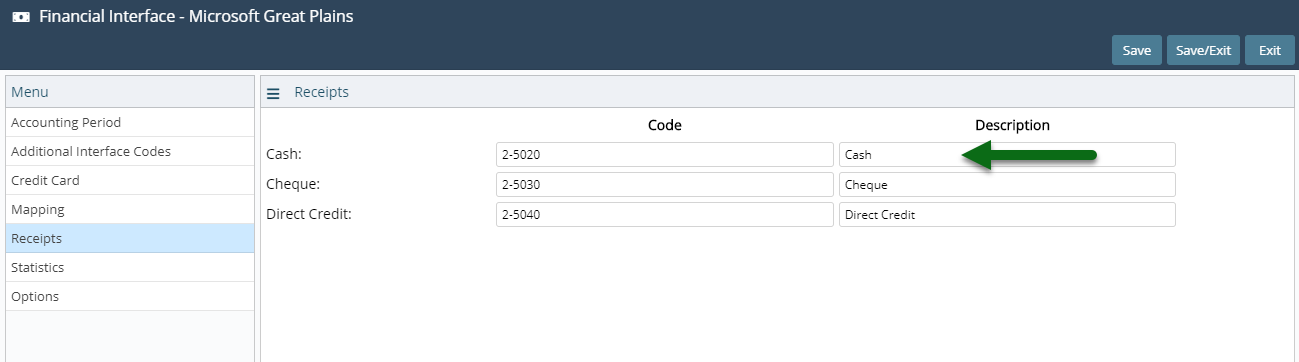
Select 'Save' and navigate to the 'Receipts' tab.
Enter the GL Account Codes & Descriptions for the Receipt Types.
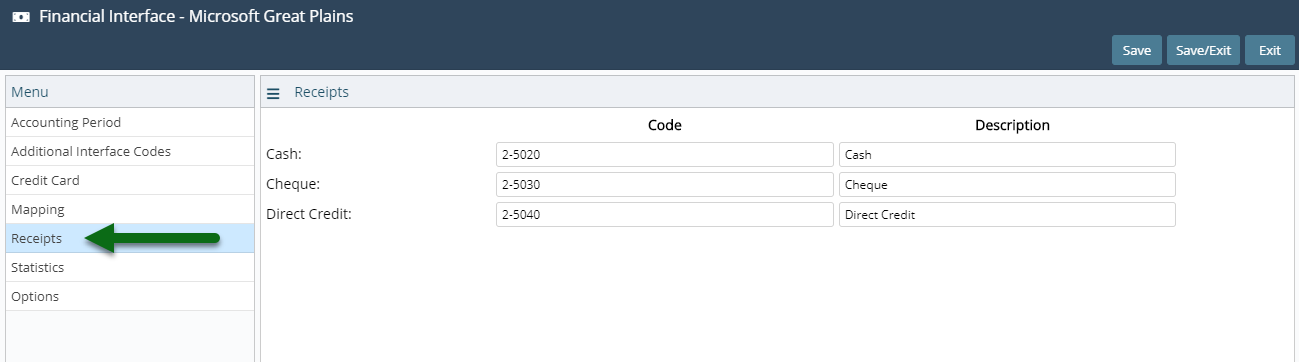
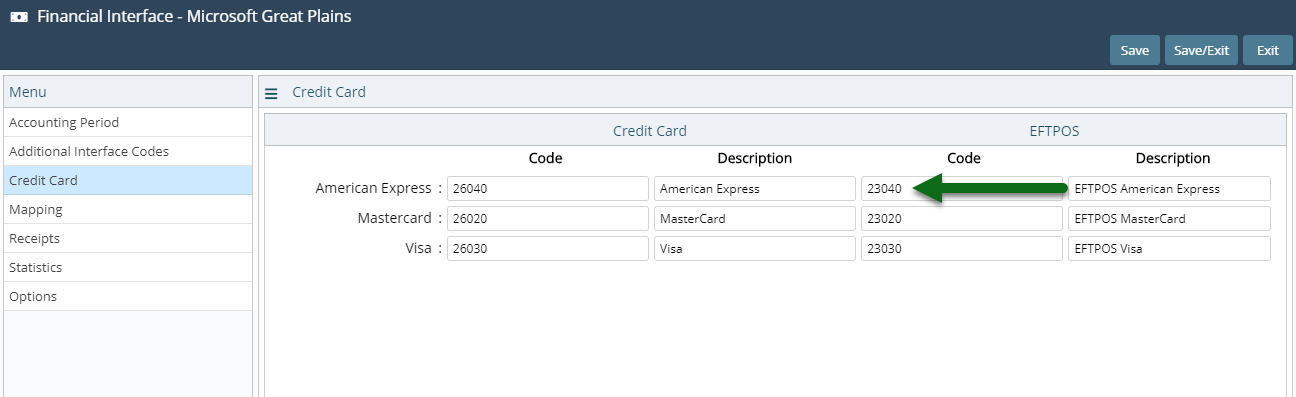
Select 'Save' and navigate to the 'Credit Cards' tab.
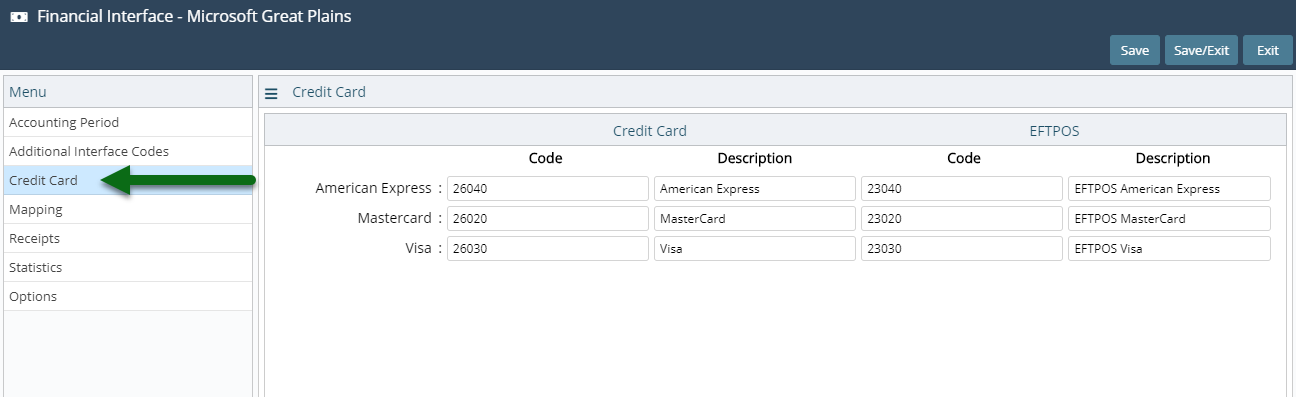
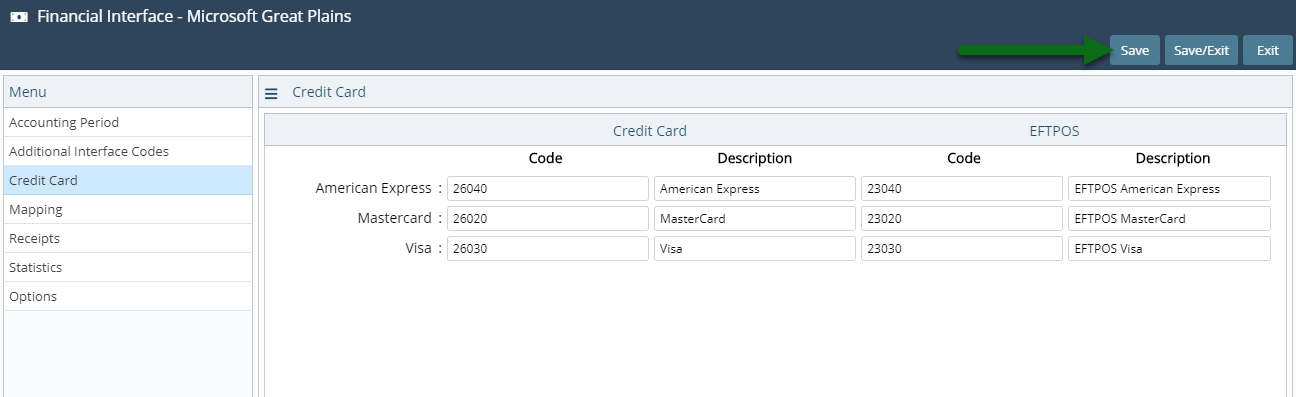
Enter the GL Account Codes & Descriptions for the Card Types.
Select 'Save'.
Optional: Navigate to the 'Statistics' tab.
Enter the Microsoft Dynamics GP GL Account Codes & Descriptions for the RMS Statistics.
Select 'Save/Exit' to store the changes made.
The Financial Export can now be generated in RMS.
-
Use
- Add Button
Use
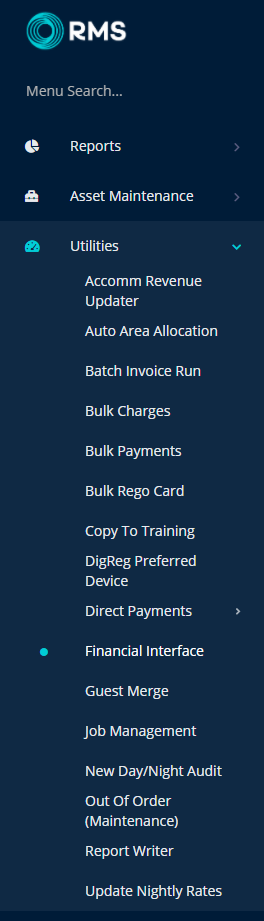
- Go to Utilities > Financial Interface in RMS.
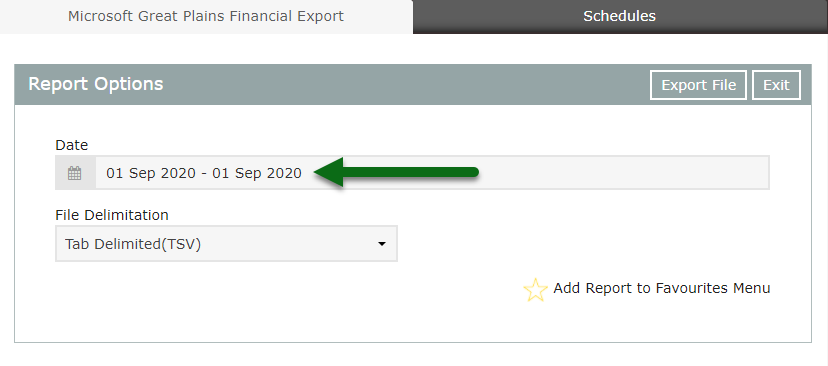
- Select the Date.
- Select a File Format.
- Select 'Export File'.
-
Guide
- Add Button
Guide
Go to Utilities > Financial Interface in RMS.
Select the Date.
Select a File Format.
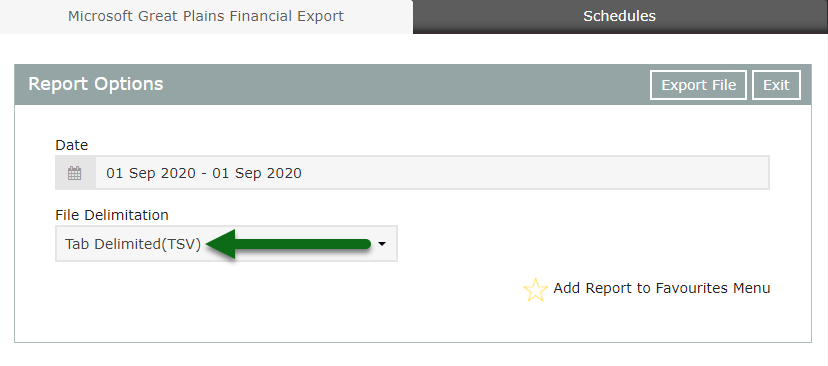
Select 'Export File'.
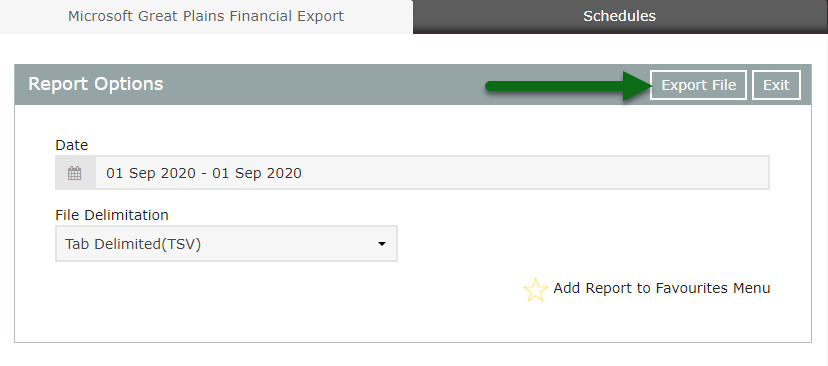
The file will now be generated using the options selected and can be imported into Microsoft Dynamics GP.
Use
- Go to Utilities > Financial Interface in RMS.
- Select the Date.
- Select a File Format.
- Select 'Export File'.
-
Guide
- Add Button
Guide
Go to Utilities > Financial Interface in RMS.
Select the Date.
Select a File Format.
Select 'Export File'.
The file will now be generated using the options selected and can be imported into Microsoft Dynamics GP.
Setup
- Log a Service Request for the financial interface to be set to 'Microsoft Great Plains'.
- Go to Setup > Accounting > Financial Interface in RMS.
- Navigate to the 'Mapping' tab.
- Enter the GL Account Codes & Descriptions in the Advances Ledger section.
- Enter the GL Account Codes & Descriptions in the Guest Ledger section.
- Enter the GL Account Codes & Descriptions in the City Ledger section.
- Select 'Save' and navigate to the 'Receipts' tab.
- Enter the GL Account Codes & Descriptions for the Receipt Types.
- Select 'Save' and navigate to the 'Credit Cards' tab.
- Enter the GL Account Codes & Descriptions for the Card Types.
- Select 'Save'.
-
Optional: Navigate to the 'Statistics' tab.
- Enter the Microsoft Dynamics GP GL Account Codes & Descriptions for the RMS Statistics.
- Save/Exit.
-
Guide
-
Use
- Add Button
Guide
Log a Service Request for the financial interface be set to 'Microsoft Great Plains'.
Go to Setup > Accounting > Financial Interface in RMS.
Navigate to the 'Mapping' tab.
Enter the GL Account Codes & Descriptions in the Advances Ledger section.
Enter the GL Account Codes & Descriptions in the Guest Ledger section.
Enter the GL Account Codes & Descriptions in the City Ledger section.
Select 'Save' and navigate to the 'Receipts' tab.
Enter the GL Account Codes & Descriptions for the Receipt Types.
Select 'Save' and navigate to the 'Credit Cards' tab.
Enter the GL Account Codes & Descriptions for the Card Types.
Select 'Save'.
Optional: Navigate to the 'Statistics' tab.
Enter the Microsoft Dynamics GP GL Account Codes & Descriptions for the RMS Statistics.
Select 'Save/Exit' to store the changes made.
The Financial Export can now be generated in RMS.
-
Use
- Add Button
Use
- Go to Utilities > Financial Interface in RMS.
- Select the Date.
- Select a File Format.
- Select 'Export File'.
-
Guide
- Add Button
Guide
Go to Utilities > Financial Interface in RMS.
Select the Date.
Select a File Format.
Select 'Export File'.
The file will now be generated using the options selected and can be imported into Microsoft Dynamics GP.