Auto Area Allocation
Utility to assign areas to reservations in RMS.
The Auto Area Allocation utility enables assigning areas to all reservations arriving in the selected period when using Book by Category in RMS.
When using Book by Category an area can be assigned to a reservation any time from initial creation up to reservation arrival. An area must be assigned to the reservation before it can be changed to 'Arrived' status on guest check-in.
Guests with a preferred category or area can have this information saved on their Guest Profile with the option to ignore preferences when assigning areas using the Auto Area Allocation utility.
Area allocation in the utility can be set to prioritise reservations based on the reservation creation date, reservation length of stay, or owner contracts on the area. Prioritising by reservation creation date will assign areas to reservations in the order they were made in RMS, reservation length of stay will assign areas to reservations with longer stays first, and owner contracts will prioritise assigning areas with owner contracts to assist with distribution of owner income.
Multiple allocation priorities can be selected and the order set to determine which rule takes precedence when determining the priority order of reservations being assigned an area.
A category or area can be setup to be excluded from auto allocation to prevent that category or area from ever being assigned to a reservation when using the Auto Area Allocation utility. An area or category excluded from auto allocation will always require manual selection on a reservation.
An area can be manually assigned directly on an individual reservation, on the Booking Chart, or on In/Out Movements.
Allocate Areas
- Go to Utilities > Auto Area Allocation in the side menu of RMS.
- Select 'Reservations Arriving Between' or 'Reservations Arriving Greater Than'.
- Select the Date Range or enter the Number of Days.
- Optional: Select the checkbox for a Category.
- Optional: Select the checkbox for an Area Grouping.
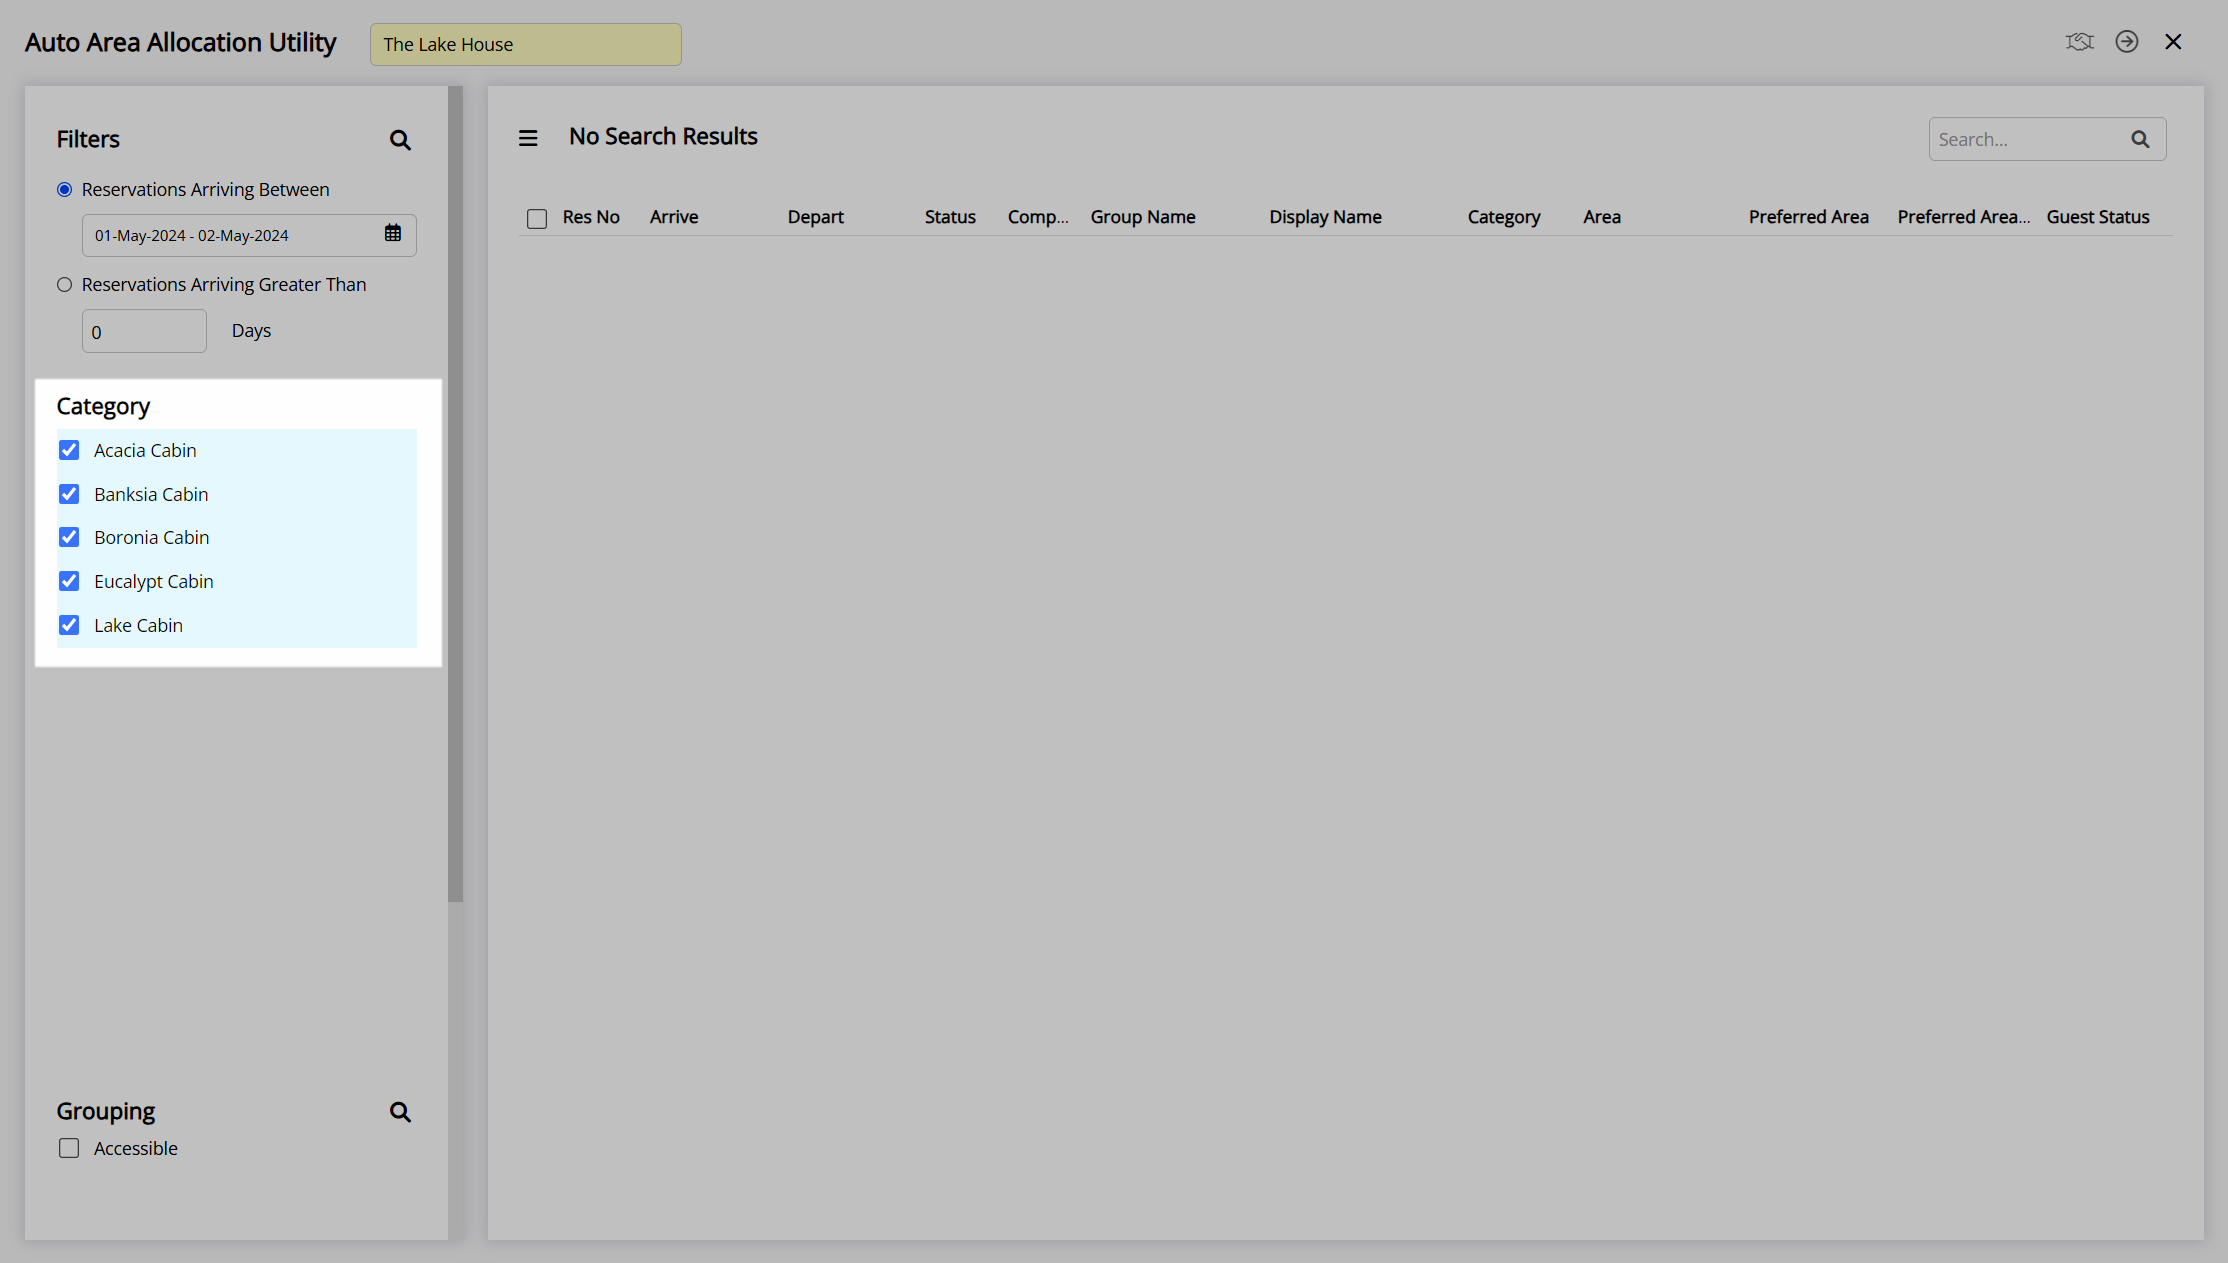
- Optional: Select the checkbox 'Ignore Preferences'.
- Optional: Select the checkbox 'Include Already Allocated Reservations'.
-
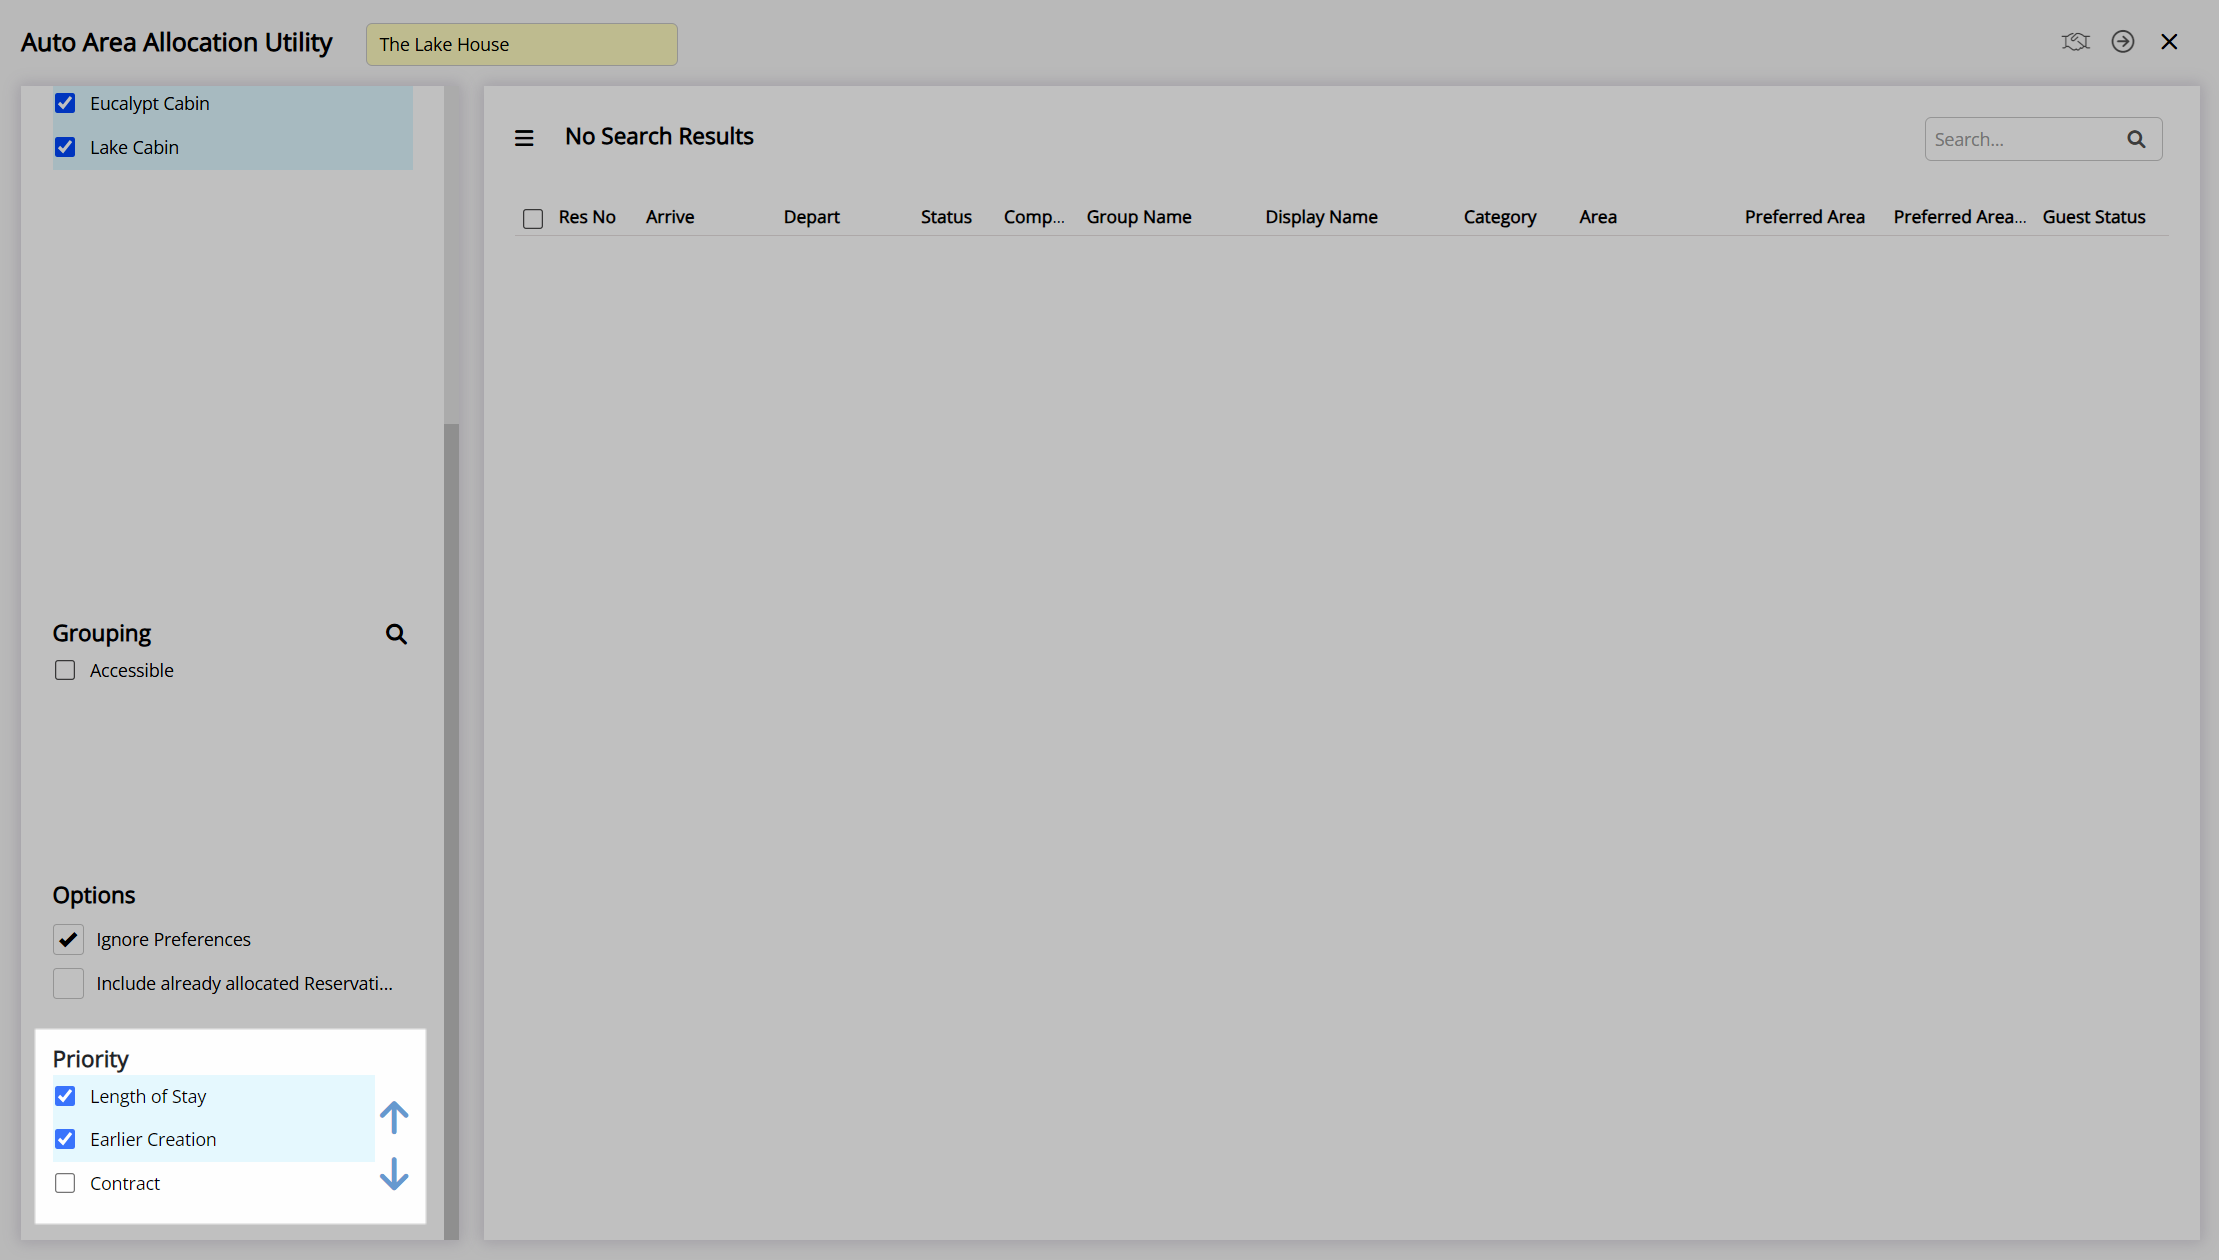
Optional: Set the Allocation Priority.
- Select the checkbox for a Priority.
- Select the
 or
or  to set the Priority Order.
- Select the
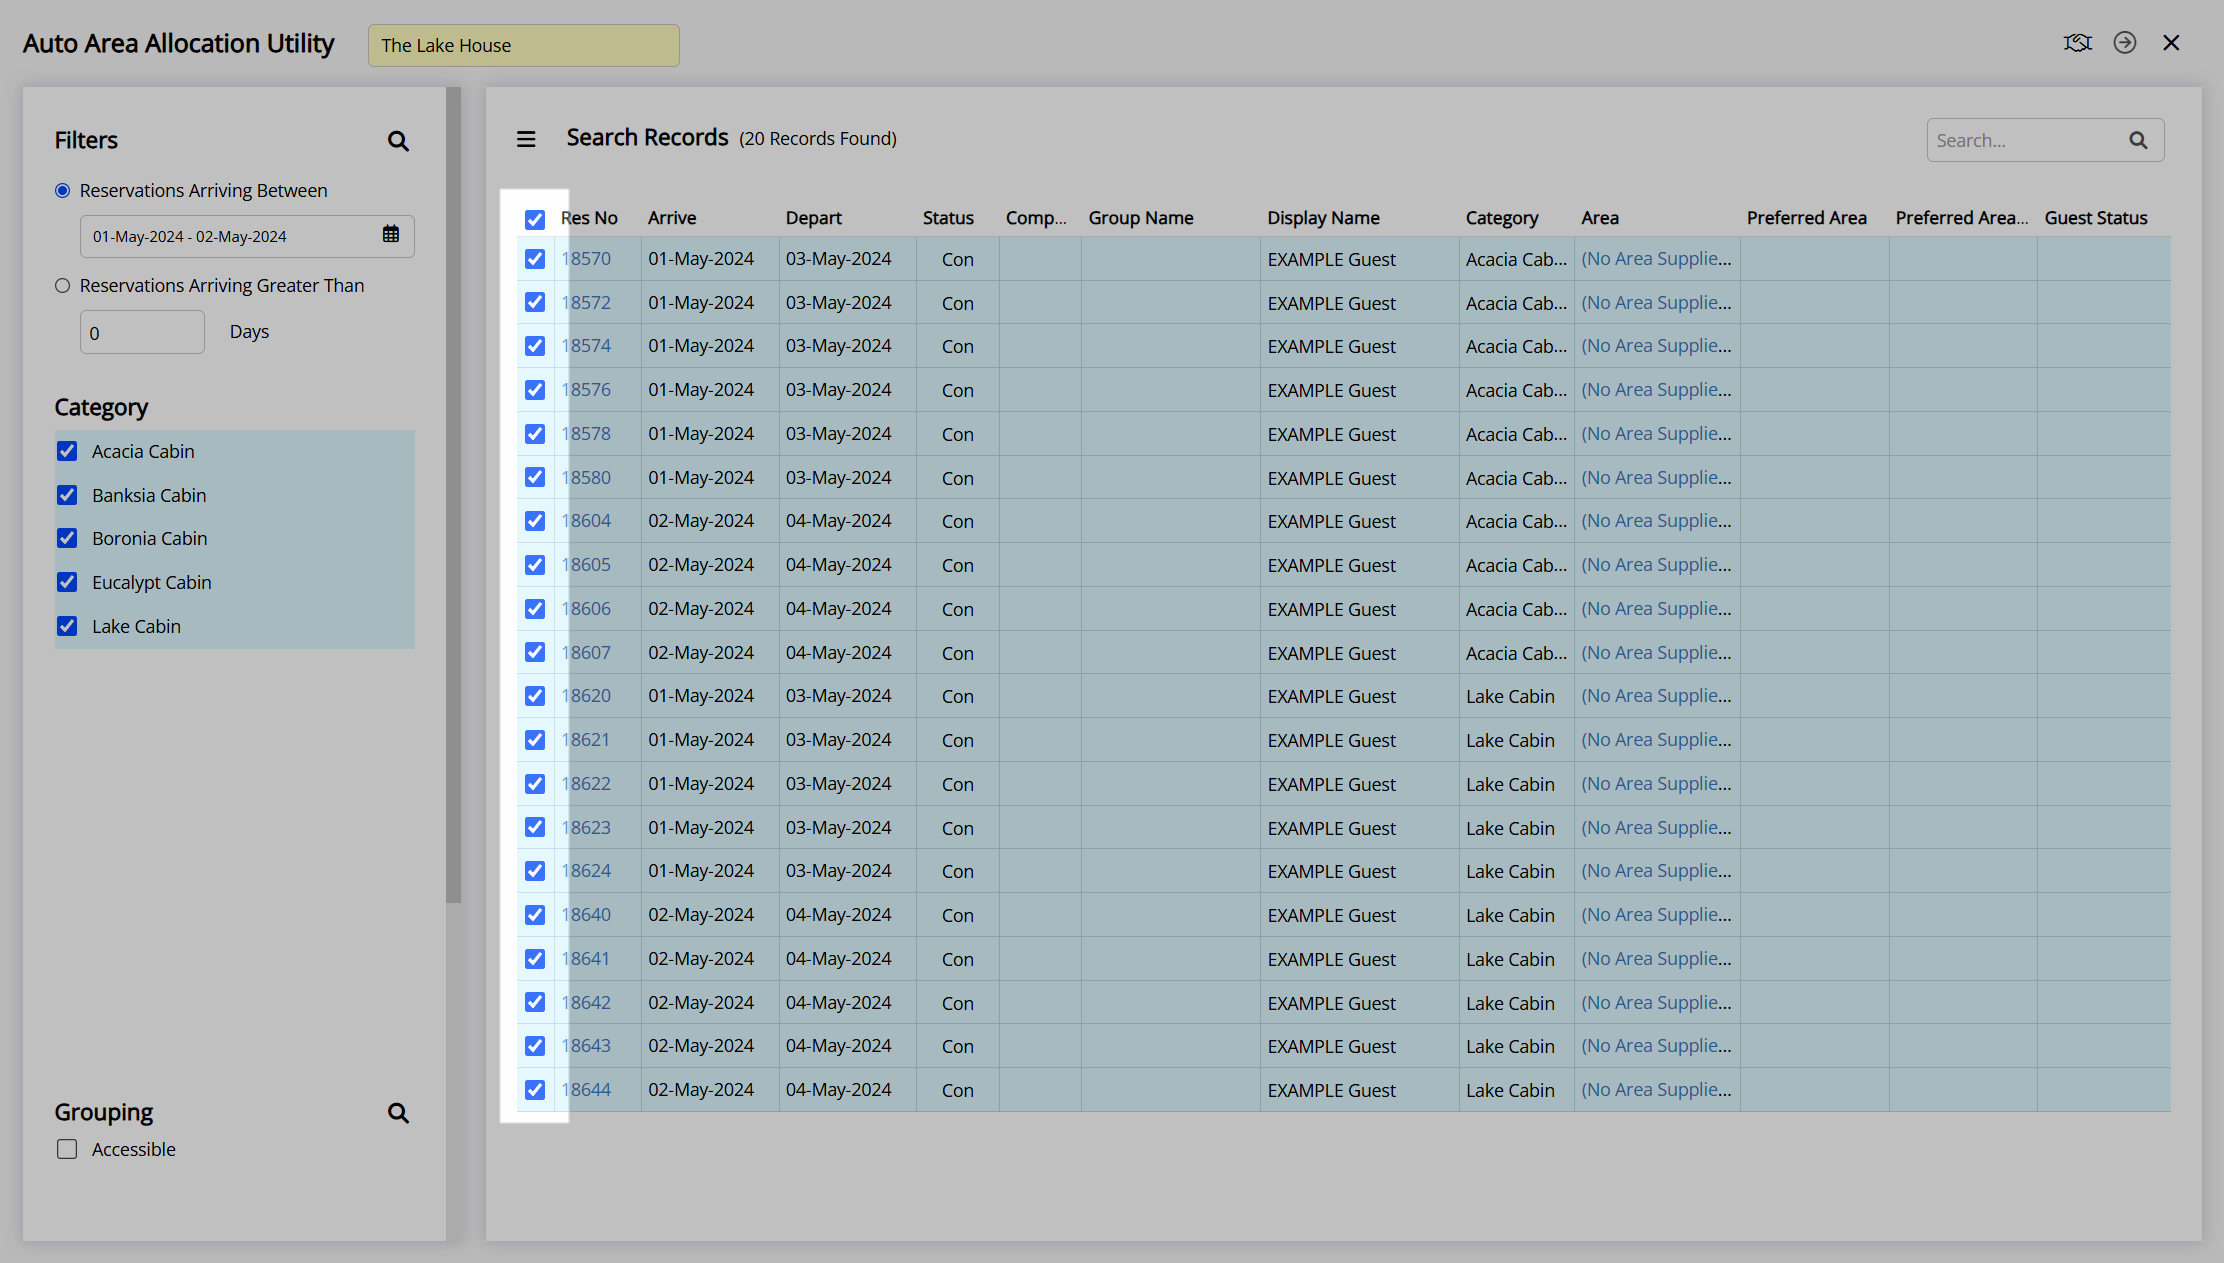
 'Search' icon.
 - Select the checkbox for a Reservation.
- Select the
 'Allocate Areas' icon.
 - Select the
 'Process' icon.
Go to Utilities > Auto Area Allocation in the side menu of RMS.
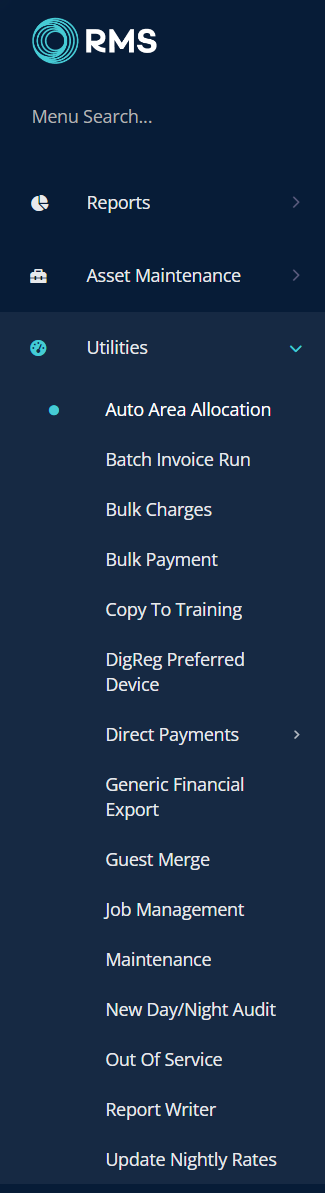
Select 'Reservations Arriving Between' or 'Reservations Arriving Greater Than'.

Select the Date Range or enter the Number of Days.
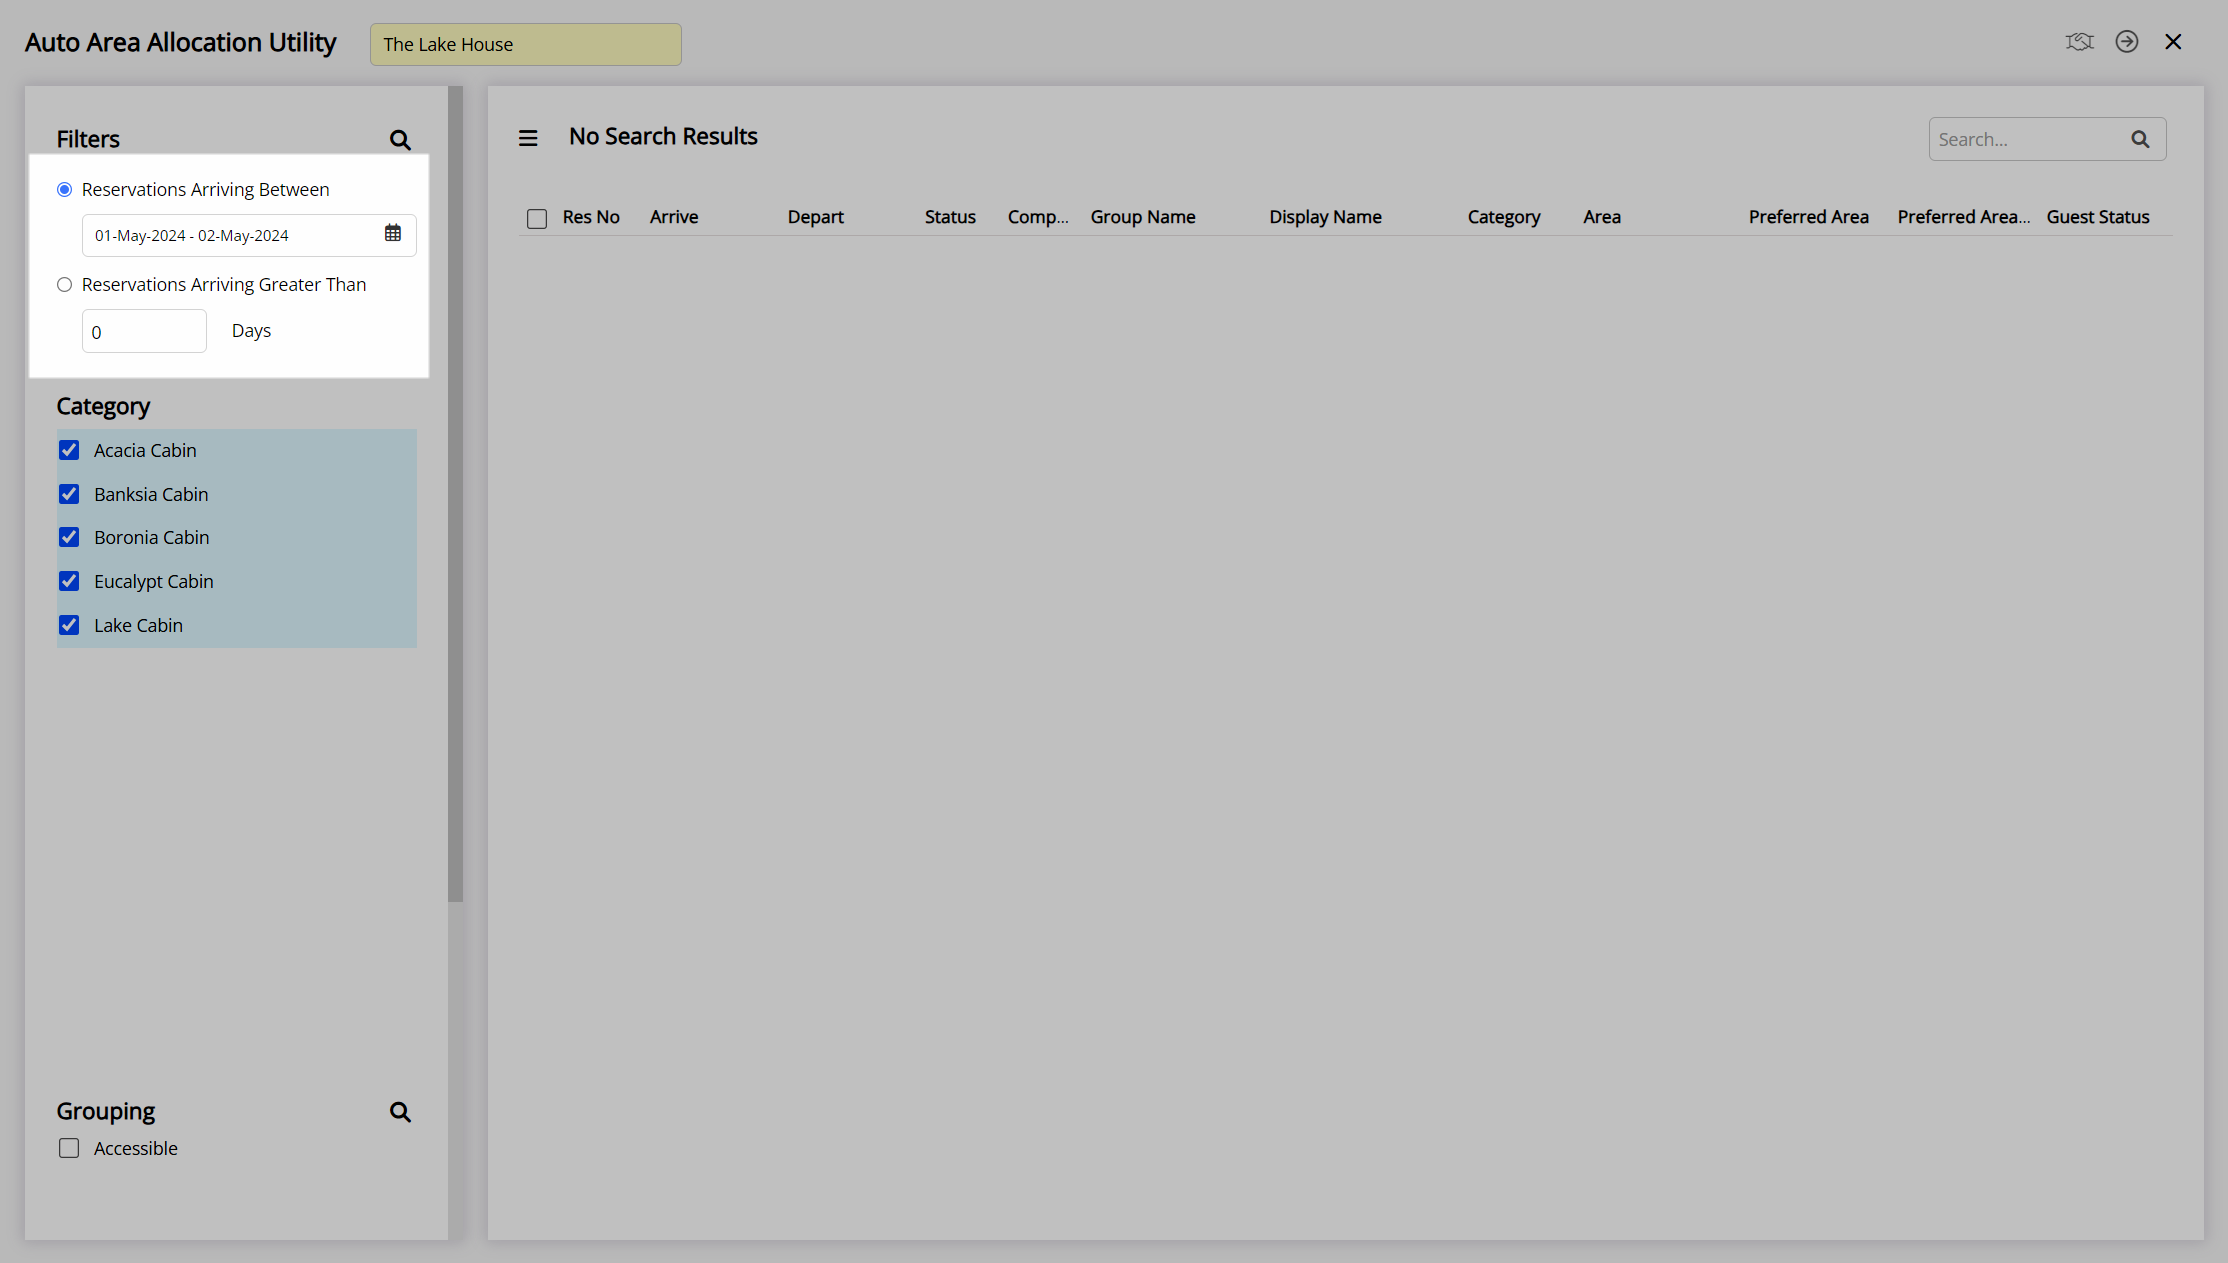
Optional: Select the checkbox for a Category.
Optional: Select the checkbox for an Area Grouping.

Optional: Select the checkbox 'Ignore Preferences'.

Optional: Select the checkbox 'Include Already Allocated Reservations'.
Optional: Set the Allocation Priority.
Allocation Priority
Select the checkbox for a Priority.
Select the  or
or  to set the Priority Order.
Select the  'Search' icon.

Select the checkbox for a Reservation.
Select the  'Allocate Areas' icon.

Select the  'Process' icon to confirm allocation of areas to the selected reservations.
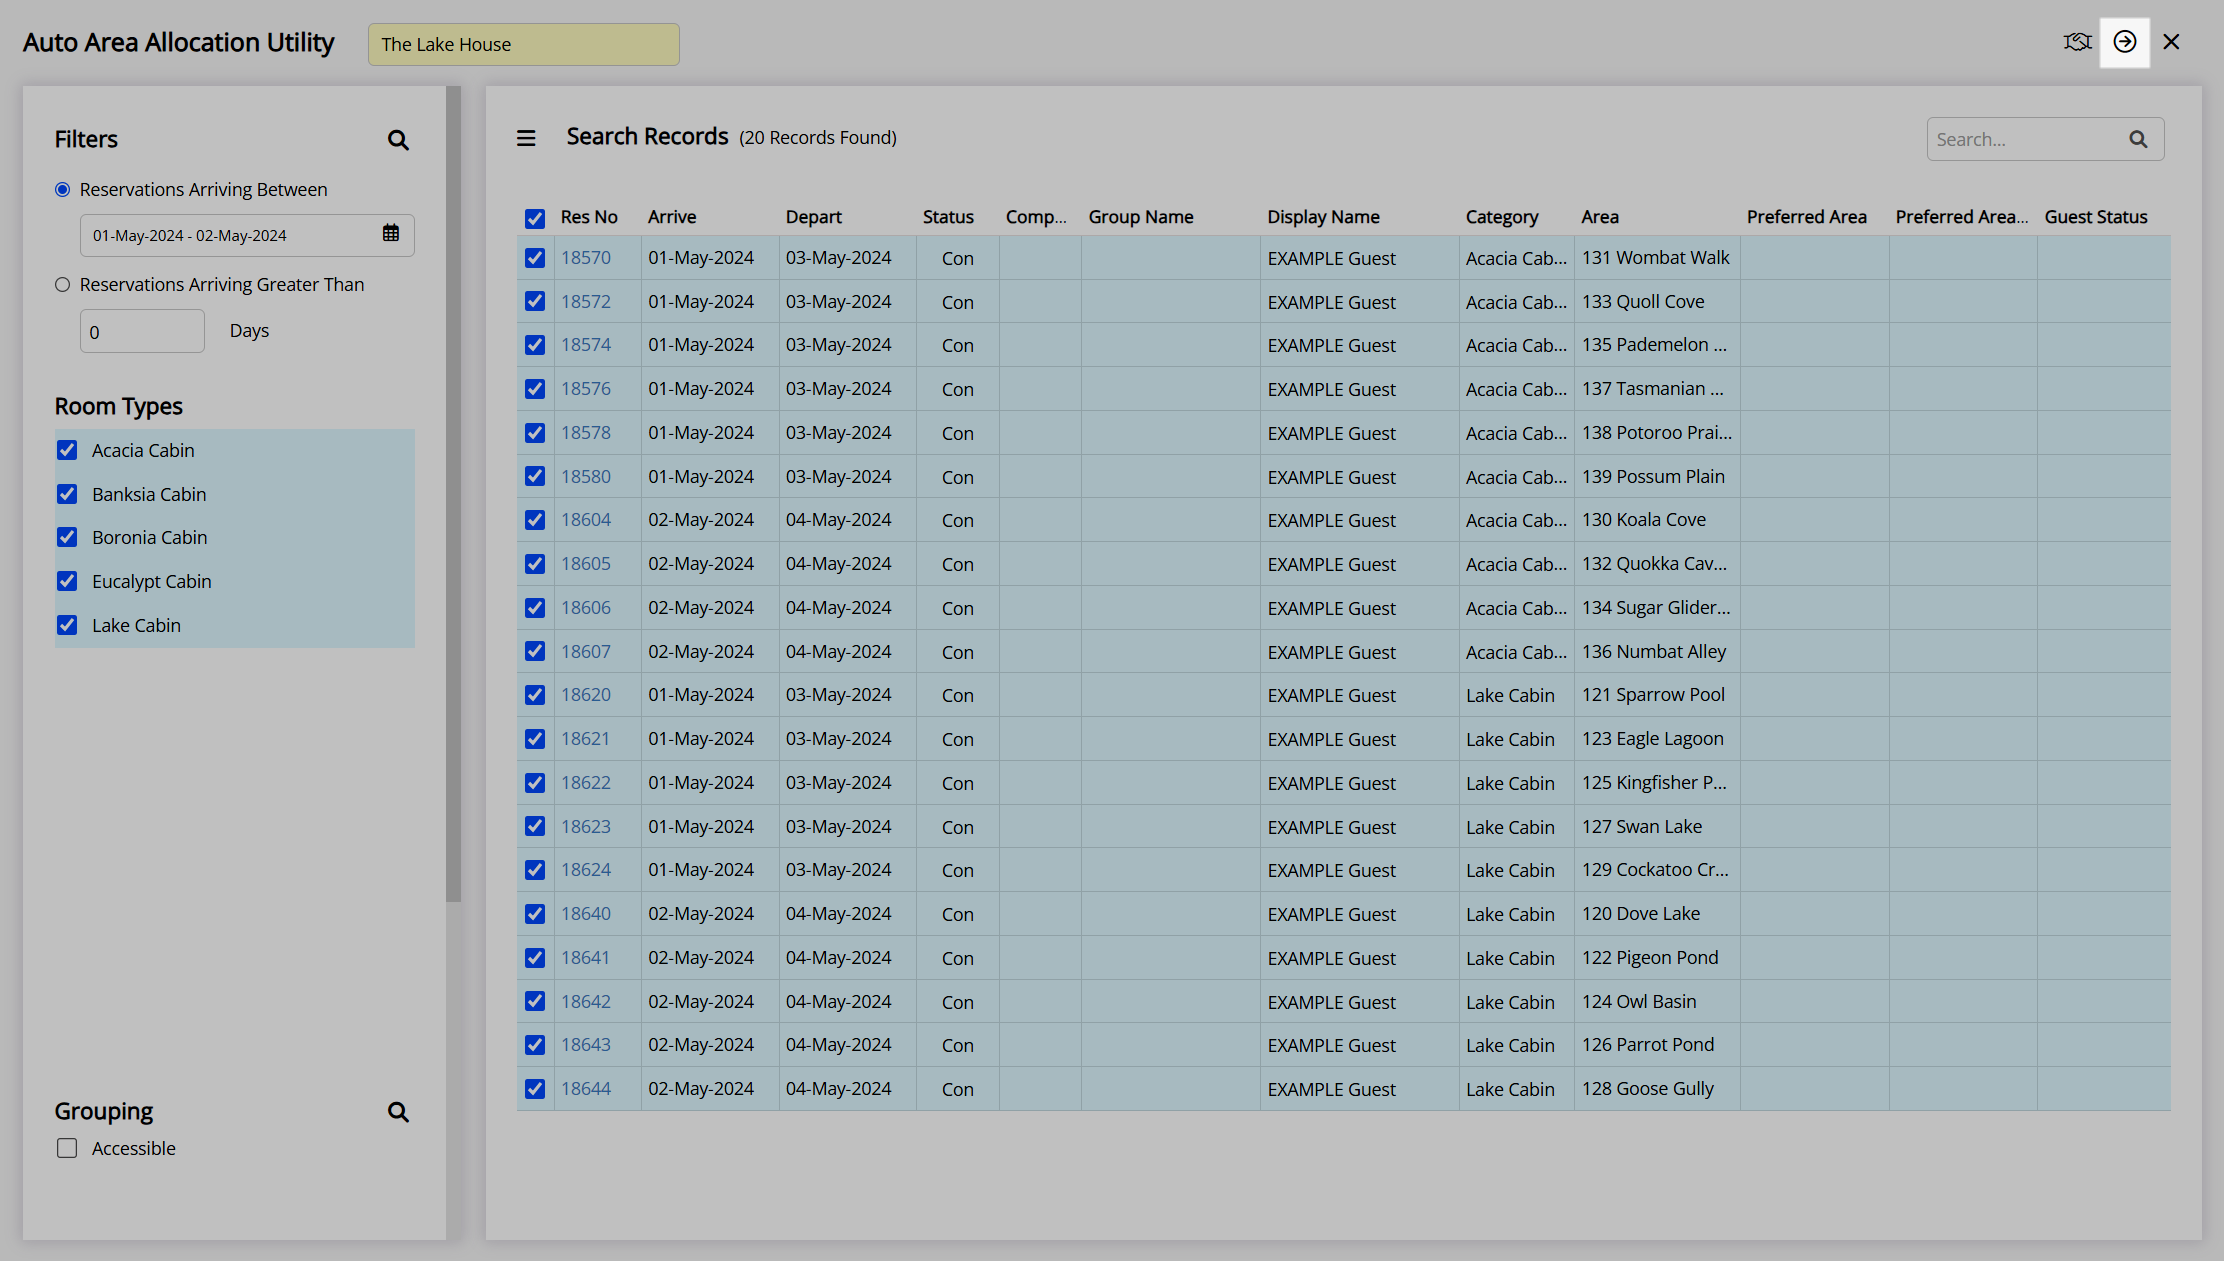
Areas will be automatically allocated to all selected reservations using the options and priorities set.
