Boomgates
Setup the access control options for the Boomgate module in RMS.
Boomgate access control determines the format for Access Codes, the Access Code slip template and interface options.
-
Information
-
Setup
- Add Button
Information
Boomgate access control determines the format for Access Codes, the Access Code Slip template and interface options.
Access Slips can be setup as a Form Letter and/or SMS template to provide the entry codes to Guests.
The options selected and code format will depend on the Access Control interface being used.

Boomgates are an Access Control module that can be enabled in the Module Market or by contacting RMS Sales.
The 1-Way SMS module is required to send Access Codes as an SMS.
Guest and Reservation are default System Labels that can be customised.

System Administrators will require Security Profile access to use this feature.
-
Setup
- Add Button
Setup
Have your System Administrator complete the following.
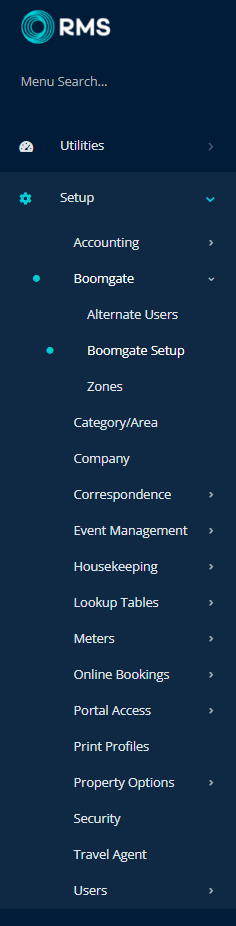
- Go to Setup > Boomgate > Boomgate Setup in RMS.
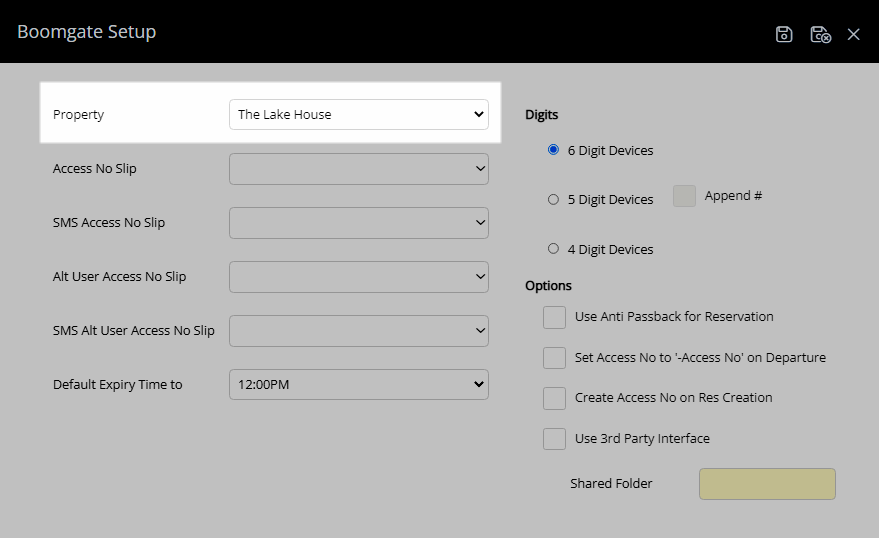
- Select a Property.
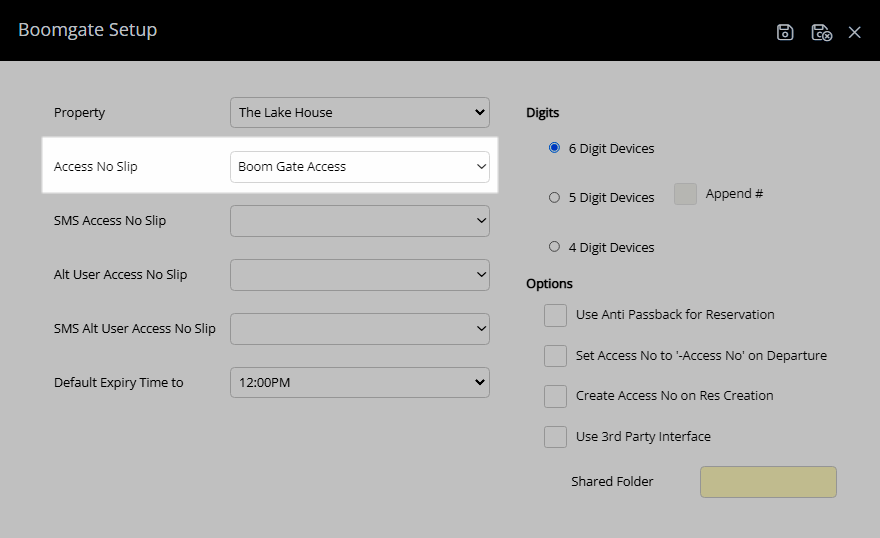
- Select a Form Letter for the Access Number Slip.
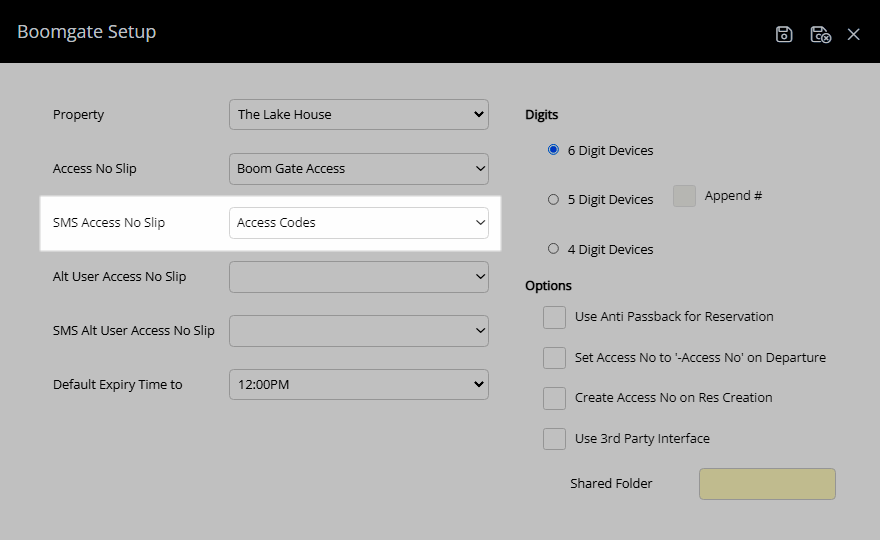
- Select an SMS Template for the SMS Access Number Slip.
- Select a Form Letter for the Alternate User Access Number Slip.
- Select an SMS Template for the SMS Alternate User Access Slip.
- Select the Default Expiry Time.
- Select the Access Code Format.
- Setup the Boomgate Options.
- Optional: Select the checkbox 'Use Anti Passback for Reservation'.
- Optional: Select the checkbox 'Set Access No to '-Access No' on Departure.
- Optional: Select the checkbox 'Create Access No on Reservation Creation.
- Select the checkbox 'Use 3rd Party Interface'. *
- Enter the Shared Folder for the Boomgate Interface.
- Save/Exit.

The Access Code format and the Boomgate Options selected will depend on the hardware used and the type of Boomgate Interface used with RMS.
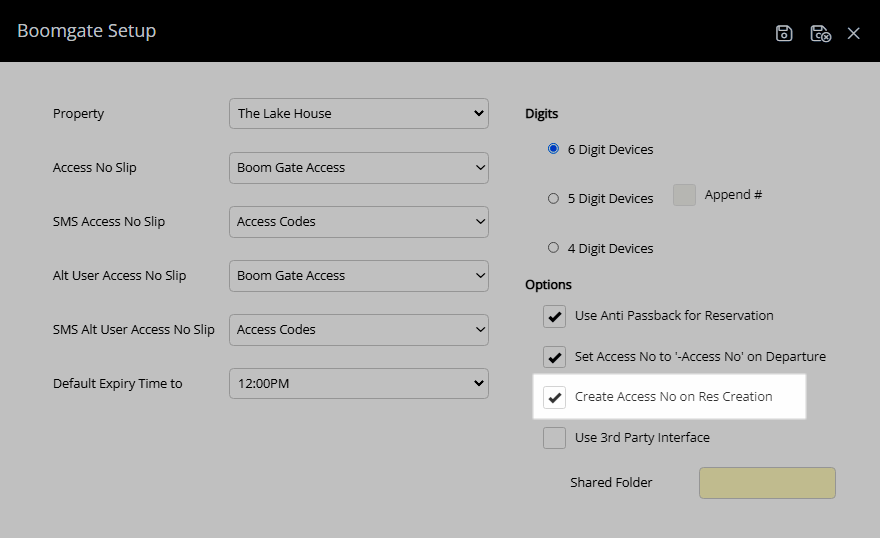
Access Codes created on Reservation Creation will create a new access code on check-in for reservations that check-in earlier than the set Arrive Time.
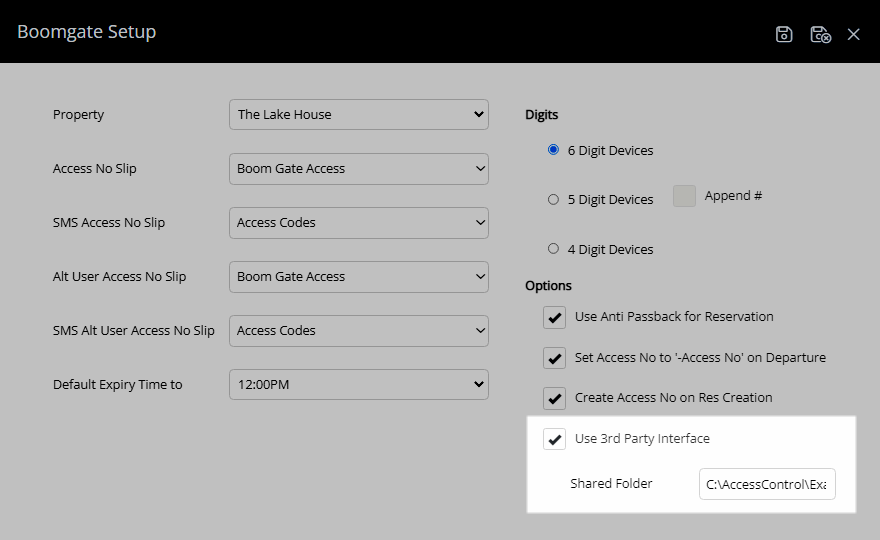
* Third Party Interface and the Shared Folder are required when using a third party application to communicate between RMS and the boom gates.
-
Guide
- Add Button
Guide
Go to Setup > Boomgate > Boomgate Setup in RMS.
Select a Property.
Select a Form Letter for the Access Number Slip.
Select an SMS Template for the SMS Access Number Slip.
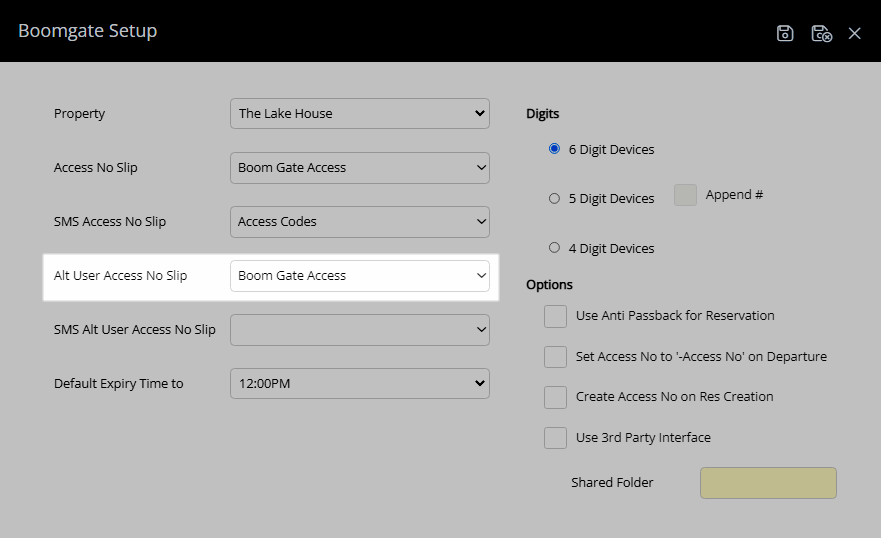
Select a Form Letter for the Alternate User Access Number Slip.
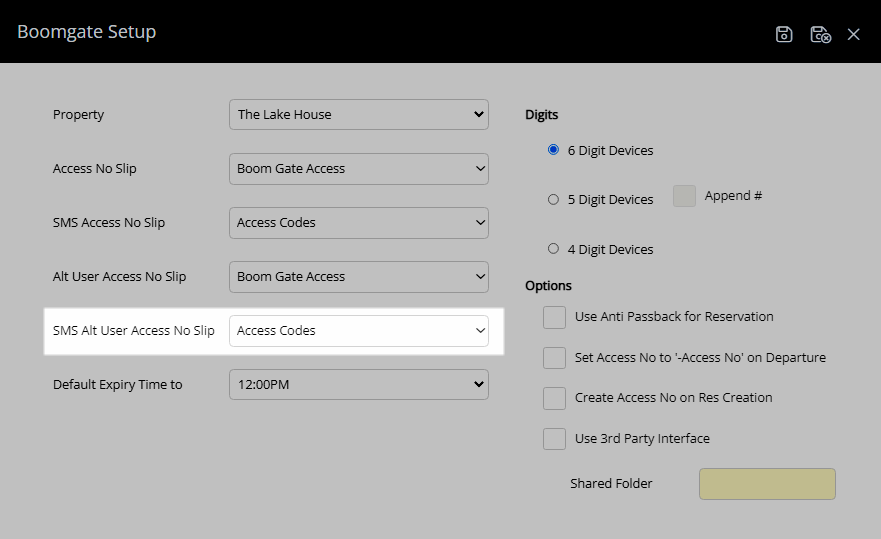
Select an SMS Template for the SMS Alternate User Access Slip.
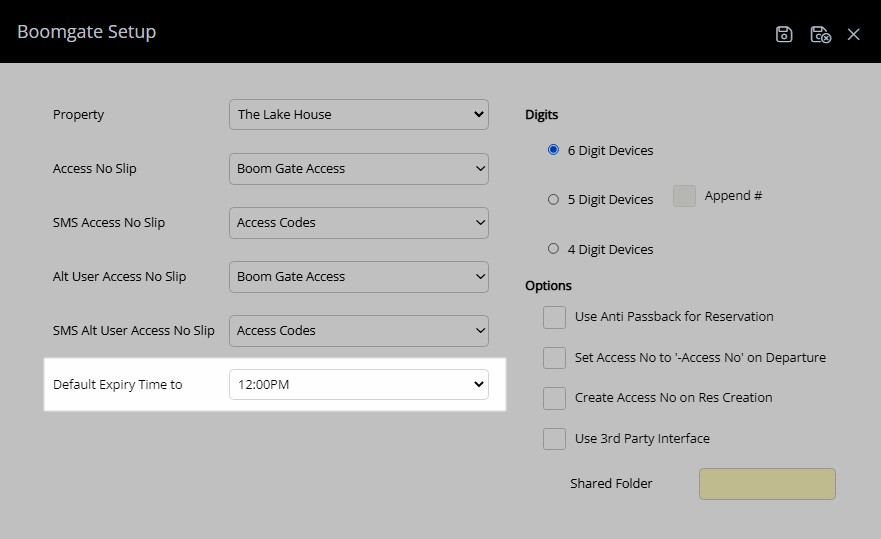
Select the Default Expiry Time.
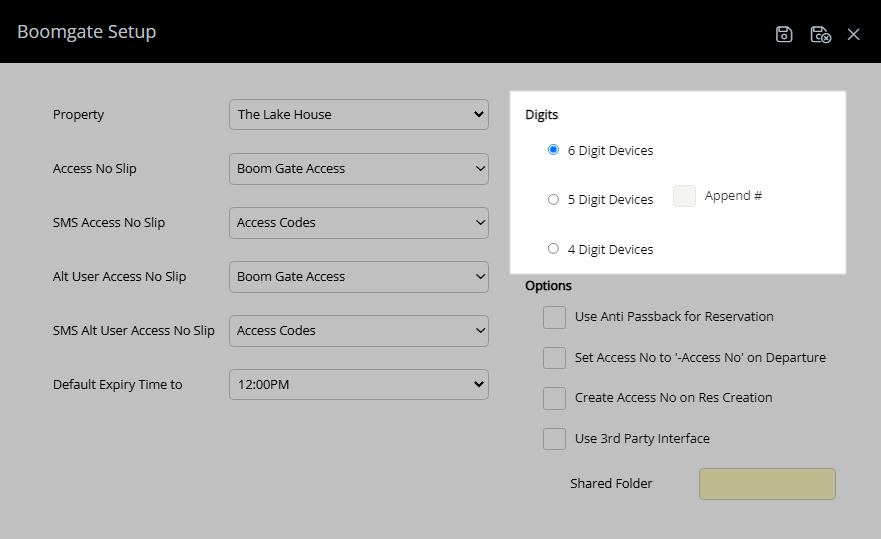
Select the Access Code Format.
Setup the Boomgate Options.
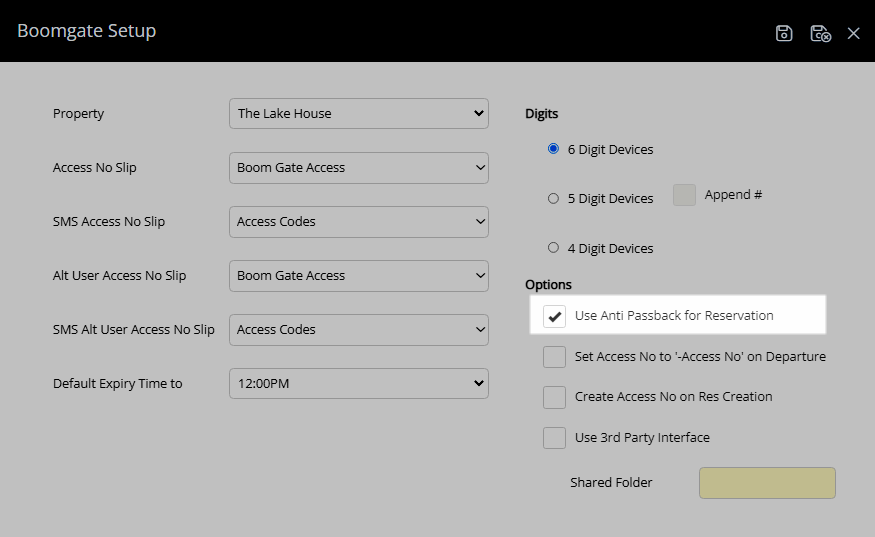
Optional: Select the checkbox 'Use Anti Passback for Reservation'.
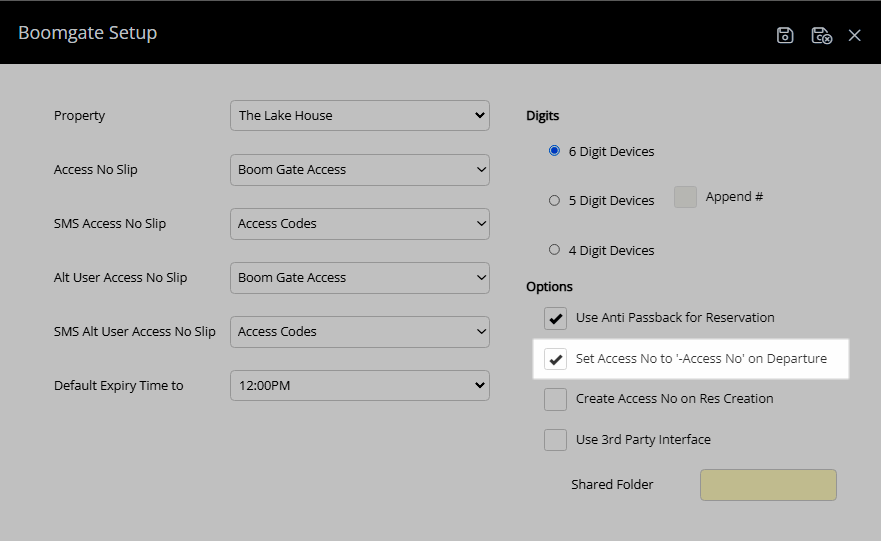
Optional: Select the checkbox 'Set Access No to '-Access No' on Departure.
Optional: Select the checkbox 'Create Access No on Reservation Creation.
If using an external application to communicate between the boom gates and RMS select the checkbox 'Use 3rd Party Interface' and enter the Shared Folder for the external Boomgate Interface.
Select 'Save/Exit' to store the changes made and leave the setup.
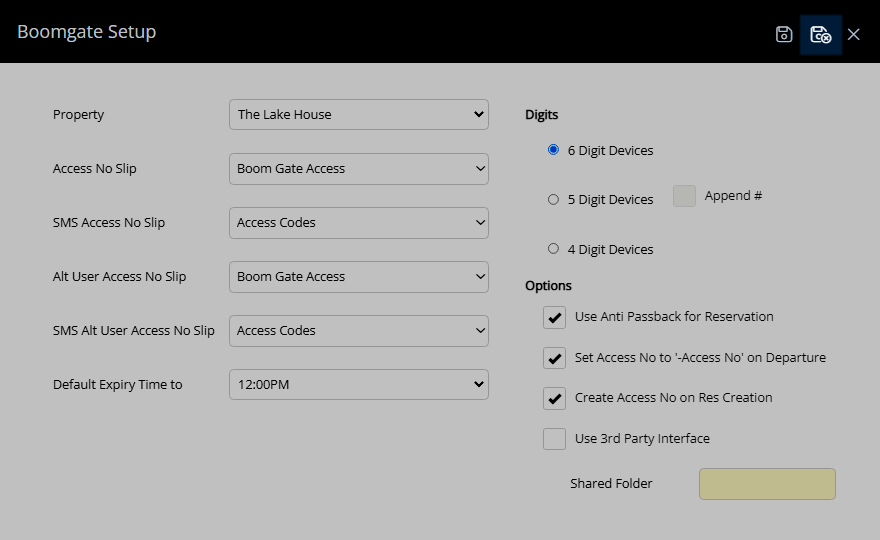
The selected options will be used for the Boomgate interface in RMS.
Setup
Have your System Administrator complete the following.
- Go to Setup > Boomgate > Boomgate Setup in RMS.
- Select a Property.
- Select a Form Letter for the Access Number Slip.
- Select an SMS Template for the SMS Access Number Slip.
- Select a Form Letter for the Alternate User Access Number Slip.
- Select an SMS Template for the SMS Alternate User Access Slip.
- Select the Default Expiry Time.
- Select the Access Code Format.
- Setup the Boomgate Options.
- Optional: Select the checkbox 'Use Anti Passback for Reservation'.
- Optional: Select the checkbox 'Set Access No to '-Access No' on Departure.
- Optional: Select the checkbox 'Create Access No on Reservation Creation.
- Select the checkbox 'Use 3rd Party Interface'. *
- Enter the Shared Folder for the Boomgate Interface.
- Save/Exit.

The Access Code format and the Boomgate Options selected will depend on the hardware used and the type of Boomgate Interface used with RMS.
Access Codes created on Reservation Creation will create a new access code on check-in for reservations that check-in earlier than the set Arrive Time.
* Third Party Interface and the Shared Folder are required when using a third party application to communicate between RMS and the boom gates.
-
Guide
- Add Button
Guide
Go to Setup > Boomgate > Boomgate Setup in RMS.
Select a Property.
Select a Form Letter for the Access Number Slip.
Select an SMS Template for the SMS Access Number Slip.
Select a Form Letter for the Alternate User Access Number Slip.
Select an SMS Template for the SMS Alternate User Access Slip.
Select the Default Expiry Time.
Select the Access Code Format.
Setup the Boomgate Options.
Optional: Select the checkbox 'Use Anti Passback for Reservation'.
Optional: Select the checkbox 'Set Access No to '-Access No' on Departure.
Optional: Select the checkbox 'Create Access No on Reservation Creation.
If using an external application to communicate between the boom gates and RMS select the checkbox 'Use 3rd Party Interface' and enter the Shared Folder for the external Boomgate Interface.
Select 'Save/Exit' to store the changes made and leave the setup.
The selected options will be used for the Boomgate interface in RMS.